Vmwp.exe: What It Is & How to Stop It
Vmwp.exe is a executable file related to Hyper-V

The Vmwp.exe is an executable file that is related to the Hyper-V in a Windows PC. It is an official Microsoft file that is required for the smooth functioning of Hyper-V.
If you get errors like Hyper-V failed to change state, you might want to stop the Vmwp.exe process. Doing so isn’t that straightforward because it can block the GUI of the virtual machine.
Today, we’ll explain how to safely stop the Vmwp.exe process.
How can I disable Vmwp.exe on my PC?
1. Disable the Hyper-V Windows feature
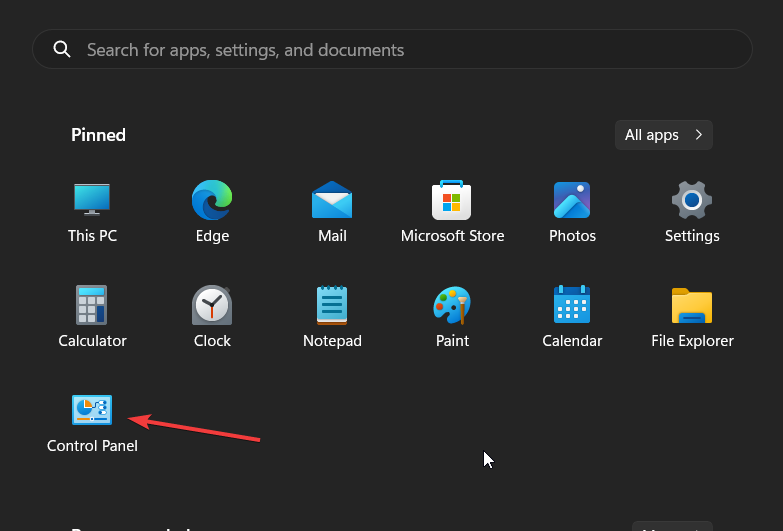
- Press the Win key to open the Start menu.
- Type Control Panel and open it.

- Click on Programs and Features.
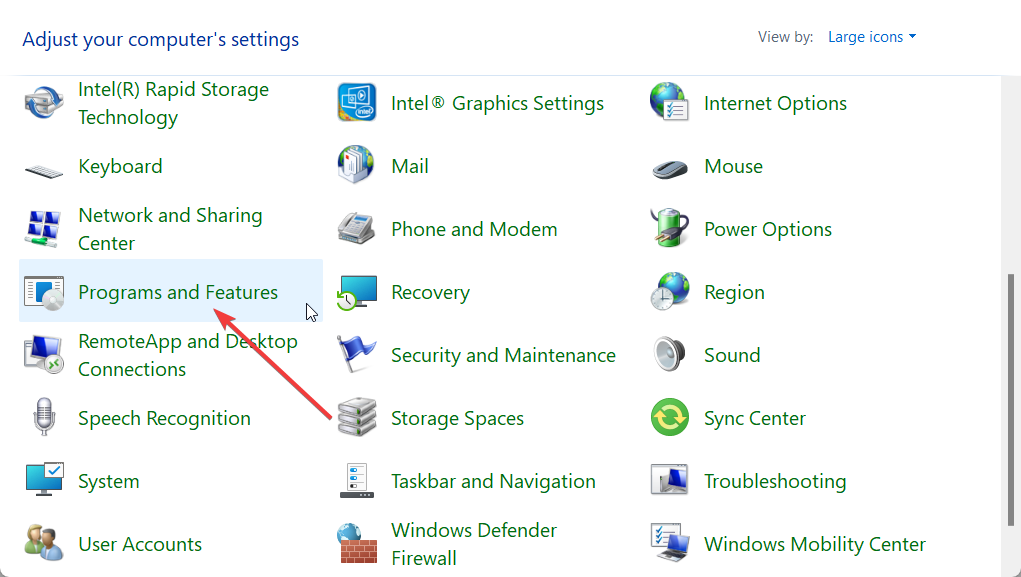
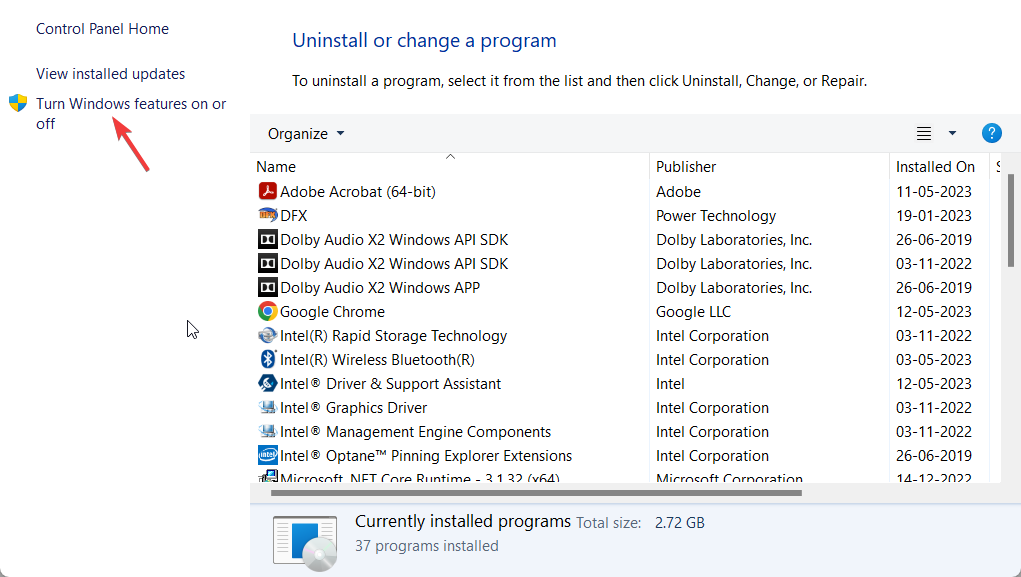
- Choose Turn Windows features on or off.
- Uncheck the Hyper V box.
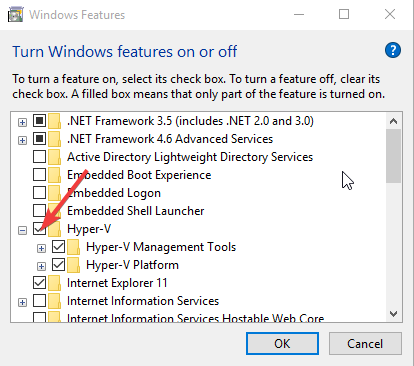
- Click OK to disable Hyper-V on your system and restart your PC.
2. Disable Hyper-V using PowerShell
- Open the Start menu by pressing the Win key.
- Type PowerShell and open the top result as an admin.

- Type the below command and press Enter.
Disable-WindowsOptionalFeature -Online -FeatureName Microsoft-Hyper-V-Hypervisor
- Reboot your PC.
3. Disable Hyper-V using BCDEDIT
- Press the Win key to open the Start menu.
- Type Command Prompt and open it as an admin.
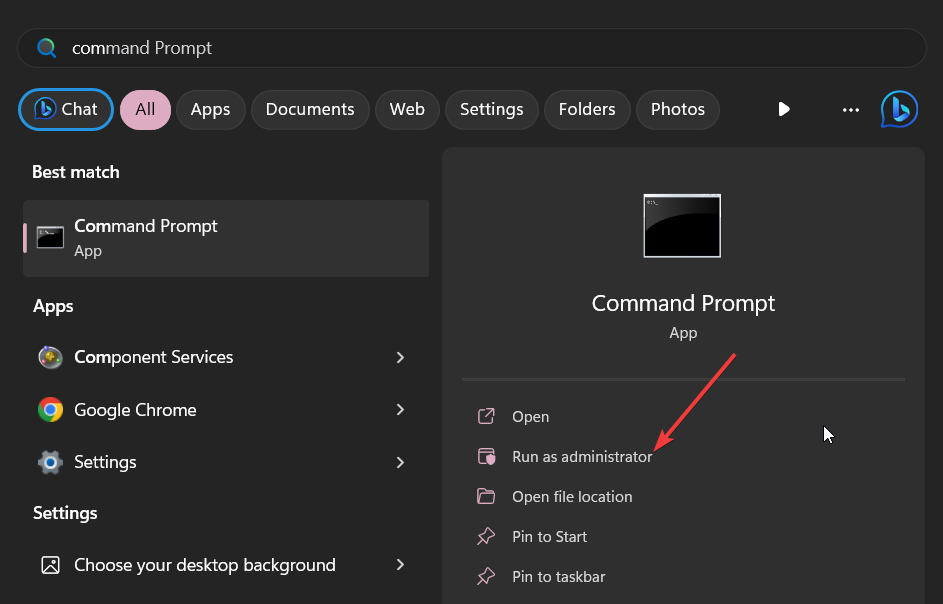
- Type the below command and press Enter.
bcdedit /set hypervisorlaunchtype off
- Reboot your PC to apply the changes.
4. Disable the Vmwp.exe process
- Press Ctrl + Alt + Esc to open Task Manager.
- Locate Vmwp.exe under the Processes tab.
- Right-click on it and select End Task.

When you end the Vmwp.exe process, it will disable Hyper-V till the next time you restart your PC. This is a safe way to disable the Vmwp.exe process on your PC.
5. Disable using Process Explorer
- Download Process Explorer.

- Install it on your PC.
- Launch Hyper-V Manager.
- Open the VM settings for the problematic virtual machine.
- Select the virtual hard drive options.
- Copy the path to the virtual hard disk file. It would be something like below.
C:\VMs\Ubuntu Hyper-V\Virtual Hard Disks\Ubuntu Hyper-V.vhdx - Launch Process Explorer.
- Press Ctrl + F and paste the path into the field and hit the Search button. This will list all the processes that are being used by the VHDX file.

- Locate Vmwp.exe, right-click, and select Kill Process.

Using Process Explorer, you can easily kill the Vmwp.exe process for the problematic Virtual Machine by following the above steps.
That is it from us in this guide. If you are coming across Hyper-V Error applying hard drive changes, then you should refer to our guide that will help you resolve the problem quickly.
We also have a quick guide that gives you 3 effective ways to disable Hyper-V on your Windows 11 computer.
Feel free to let us know in the comments below if this guide helped you understand details about Vmwp.exe.
Read our disclosure page to find out how can you help Windows Report sustain the editorial team. Read more


Improve this guide


User forum
0 messages