WDAGUtilityAccount: What is it & Should you Disable it?
This is a built-in account and it doesn't pose a security risk
Key notes
- If you want to disable this account, use the Windows Features tool.
- Adjusting Computer Management settings can also disable it.

Users have always been used to finding the admin and the usual local accounts on their PCs, but some users are curious about the WDAGUtilityAccount on the list of user accounts.
If you are wondering what this user account is, this guide will show you everything you need to know about it.
What is WDAGUtilityAccount?
The WDAGUtilityAccount is a user account used by the Windows Defender Application Guard (WDAG), and it’s part of Microsoft Edge and Office 365.
It is mainly used for private browsing and opening any website or link you try to access in a virtualized sandbox, thus isolating your browsing session from your desktop and user account.
How do I enable or disable the WDAGUtilityAccount?
1. Use the Windows features
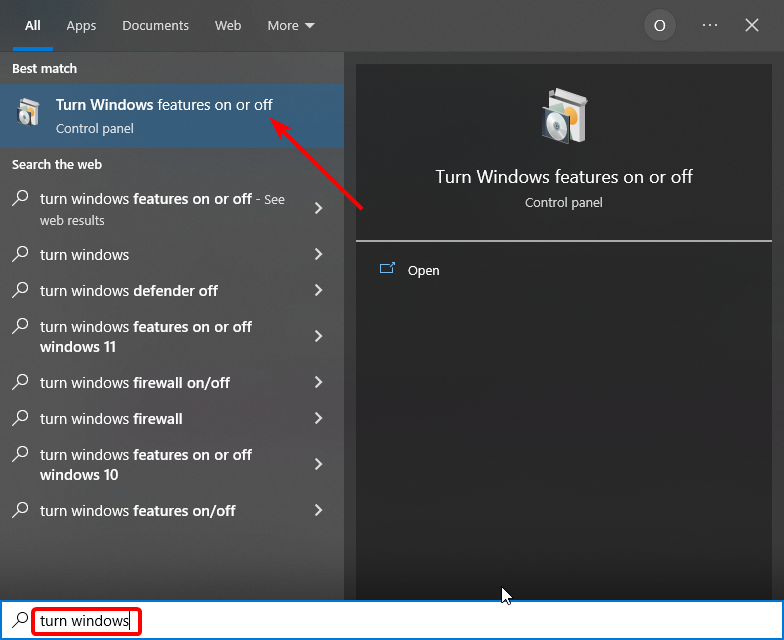
- Press the Windows key, type turn features, and select Turn Windows features on or off.
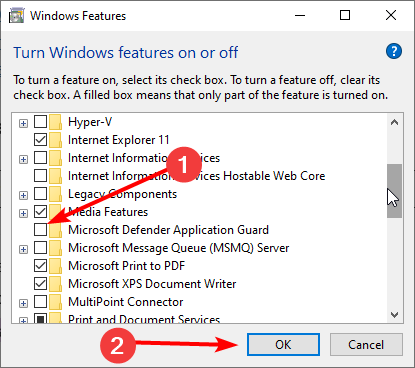
- Check the Microsoft Defender Application Guard box to enable it, or uncheck it to disable it.
- Now, click the OK button.
- Finally, wait for your PC to process the request and restart your PC to effect the changes.
One of the quickest ways to enable or disable the WDAGUtilityAccount is via the Windows Features. However, it must be mentioned that it is advisable to leave the default settings at it is.
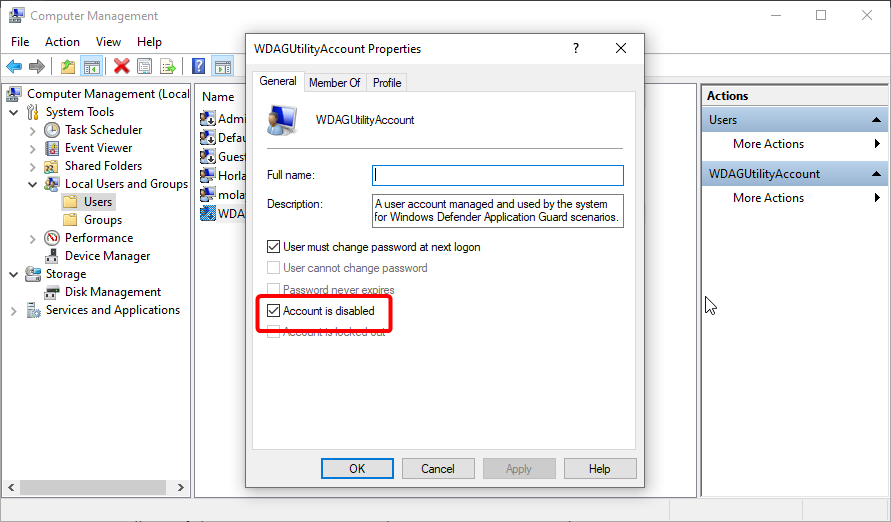
2. Use the Computer Management feature
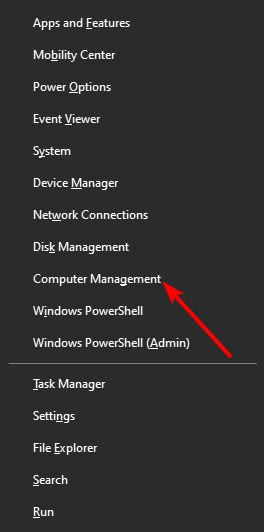
- Press the Windows key + X and select the Computer Management option.
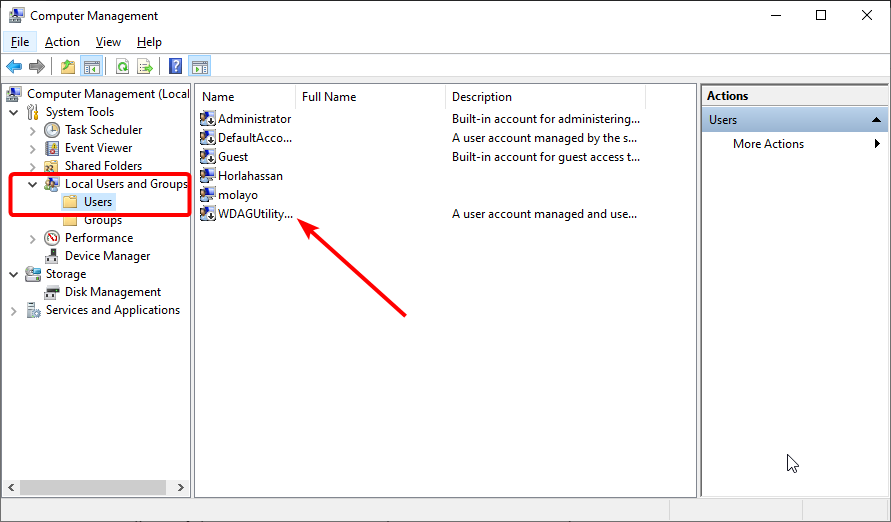
- Navigate to the path below in the left pane:
System Tools > Local Users and Groups > Users - Now, double-click the WDAGUtilityAccount option to open its properties.
- Finally, check the box for Account is disabled or change the Full name to disable it.
You can enable or disable the user account on your PC easily. However, it is advisable not to make changes to the properties. This is especially true when renaming the account, as this can make your PC vulnerable to threats.
How can I check if WDAGUtilityAccount is enabled?
- Press the Windows key, type cmd, and select Run as administrator under Command Prompt.
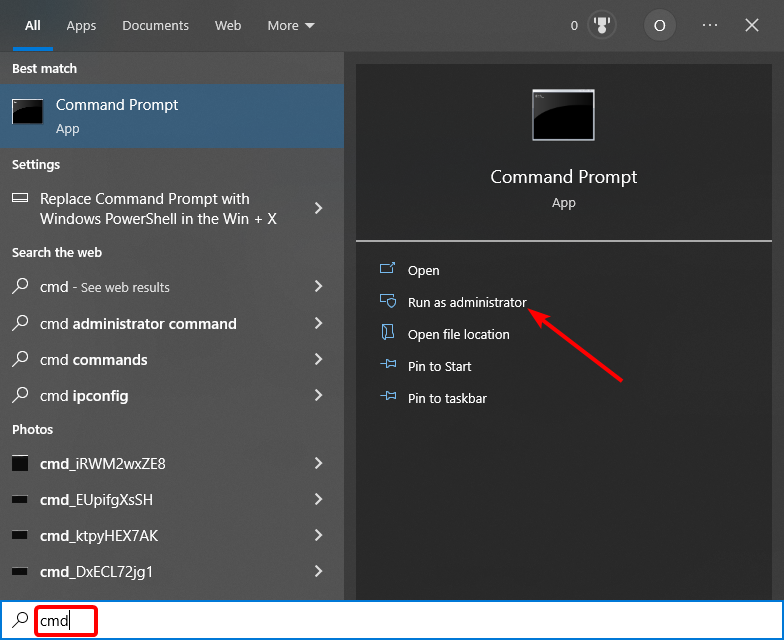
- Type the command below and hit Enter:
net user - Now, check the listed user accounts.

Another option is to use the Computer Management tool by following the steps below:
- Press the Windows key + X and select the Computer Management option.
- Follow the path below in the left pane:
System Tools > Local Users and Groups > Users - Now, double-click the WDAGUtilityAccount option.
- You will see if the account is active in the new properties window.
If the account is unavailable on the list of accounts, it is disabled.
With this, we can conclude this guide on the WDAGUtilityAccount feature on your PC. It is essential to mention that there is no way to delete this account on your PC, as it is a system feature.
Similarly, if your PC won’t let you add new user accounts, check our detailed guide to fix it. We also have a guide on how to manage users and groups, so don’t miss it.
To learn more about the Sandbox feature, we also have a guide on how to configure Windows Sandbox, so don’t miss it.
Feel free to let us know your experience with this feature in the comments below.
Read our disclosure page to find out how can you help Windows Report sustain the editorial team. Read more


Improve this guide


User forum
0 messages