Fix: Windows 10 Thinks Hard Drive / SSD is Removable
Give a try to these quick methods now
![]() 6 min. read
6 min. read
![]() Updated on
Updated on
Share this article
Improve this guide
Read our disclosure page to find out how can you help Windows Report sustain the editorial team. Read more
Key notes
- The internal Hard Drive should not be shown as an external device that can be quickly removed. This suggest a configuration issue and your computer might perform slower than usual.
- Let's correct this mistake by making some settings changes in Device Manager, updating BIOS and Windows and making sure everything else is properly configured.
Some Windows 10 users have reported concerns over the system thinking that their hard drives or SSDs are removable. If you’re experiencing the same, this article will help you resolve the issue.
When Windows 10 thinks hard drive is removable, it could also show your external USB flash drive in the Disk Drive section. But what is happening there?
This behavior is known to be found in systems where the installed SATA AHCI driver is in conflict with the computer’s motherboard and/or BIOS. By default, Windows will install a generic SATA AHCI driver when you install the operating system so that it gives basic functionality across different products.
In this case, the best thing is to install the most current drivers, such as SATA related drivers. For Intel systems, this would be the Intel Rapid Storage Technology driver that handles AHCI functionalities, as AMD has its own AHCI driver. The problem at hand is manifested when your internal SATA HDDs or SSDs are displayed as removable media in your taskbar.
Here are solutions you can use when Windows 10 thinks hard drive is removable.
What to do if Windows 10 thinks hard drive is removable?
1. General troubleshooting
- Restart your computer
- Check for and install any available Windows updates
2. Update BIOS from device manufacturer
Check and install available BIOS updates, but if none exist, use the steps below to override how the inbox driver surfaces devices on specific ports:
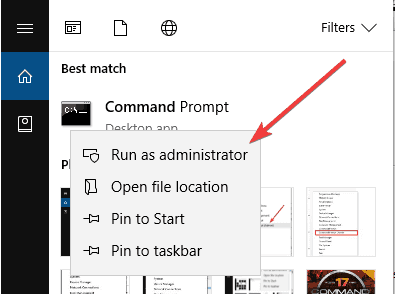
- In the search bar, type CMD
- Right-click Command Prompt and select Run as administrator

- In the command prompt window, type the following command in press enter: devmgmt.msc
- Under Disk Drives, identify the SATA device you would like the inbox driver to consider internal
- Right-click and select Properties to open properties for the device.
- Note the bus number from the properties overview e.g. Bus Number 1
- Type the following command in the previously opened command prompt and press enter:
exe add “HKLMSYSTEMCurrentControlSetServicesstorahciParametersDevice” /f /v TreatAsInternalPort /t REG_MULTI_SZ /d x(x corresponds to the Bus Number you noted in the previous step).
3. Use Registry Editor
Disclaimer: Before changing anything in the Registry Editor, back up your registry first.
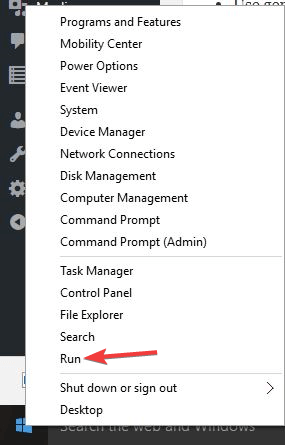
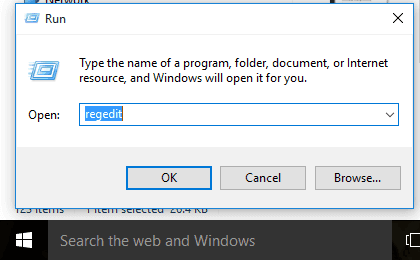
- Right-click Start and select Run

- Type regedit and press enter

- Find the following path:
HKEY_LOCAL_MACHINESYSTEMCurrentControlSetservicesmsahci
- Create a new KEY called Controller0
- Inside Controller0, create another KEY called Channel0
- Inside Channel0, create a new DWORD called TreatAsInternalPort
- Set the value to 1. This will set the SATA port 0 (Drive C) to no longer show up in Safely remove hardware)
- Go back to the Controller0 folder
- Inside Controller0, create a new KEY called Channel1
- Inside Channel1, create a new DWORD called TreatAsInternalPort
- Set the value to 1 (this sets SATA port 1 (Drive D) to no longer show up in Safely Remove Hardware)
- Repeat this process until all internal SATA ports are set to be treated as internal. If you have 6 SATA ports, set Channel0 up to Channel5. If your motherboard has fewer SATA ports, remember to start at 0.
- Reboot to allow changes.
4. Modify in Device Manager
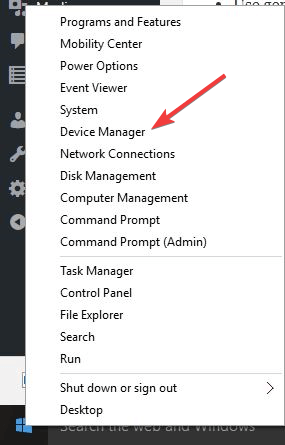
- Right-click Start and select Device Manager
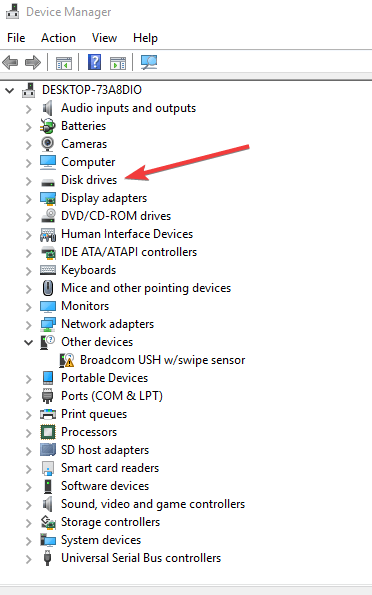
- Find Disk Drives and double click on it

- Right-click the internal hard drive (HDD or SSD)
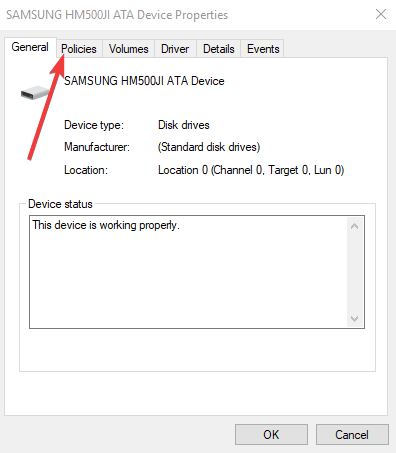
- Select Properties

- Go to Policies tab

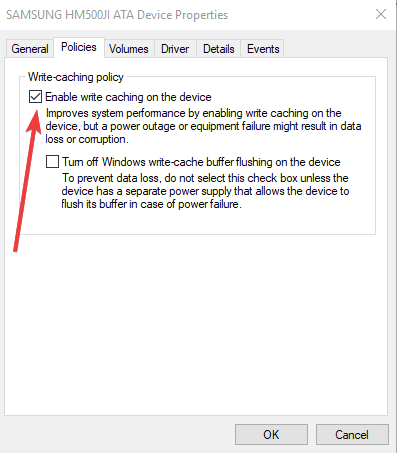
- Check that Write caching on the device is enabled and that there is no optimize for quick removal enabled. This is related to how Windows 10 thinks hard drive is removable

- Update the driver to the latest chipset and AHCI/RAID

5. Check BIOS
Go into your BIOS and check if the SATA port to which your hard drive is connected to has the Hot Plug enabled. It could mean that your motherboard supports hot-swapping of hard drives, which you can disable the AHCI feature on your motherboard and it will disappear.
Here’s how to enter BIOS settings on your Windows 10 computer:
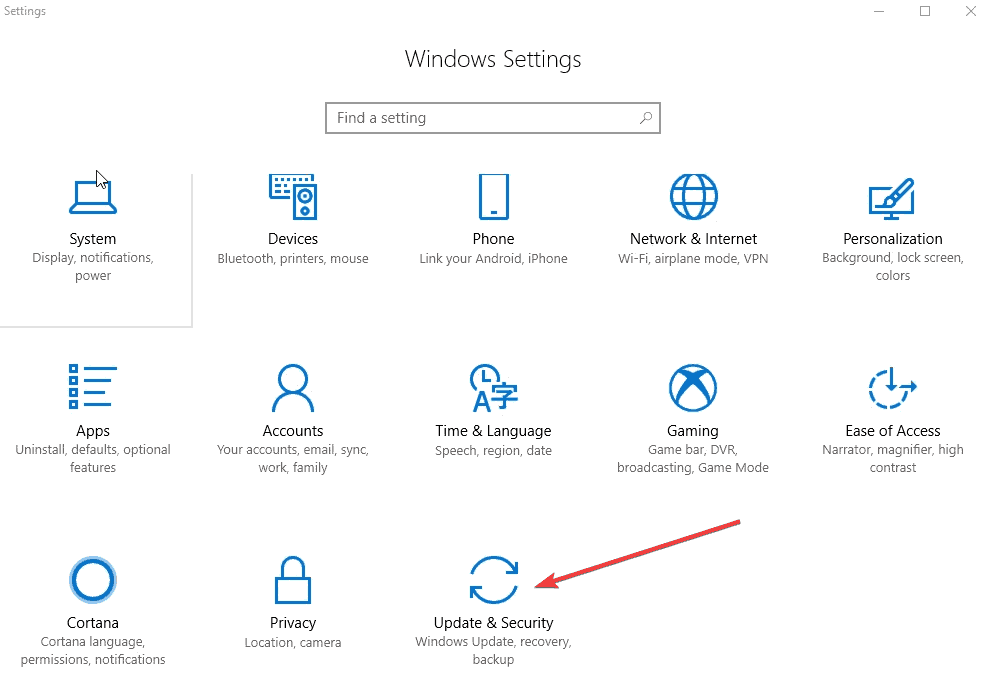
- Click Start and select Settings
- Select Update and Security

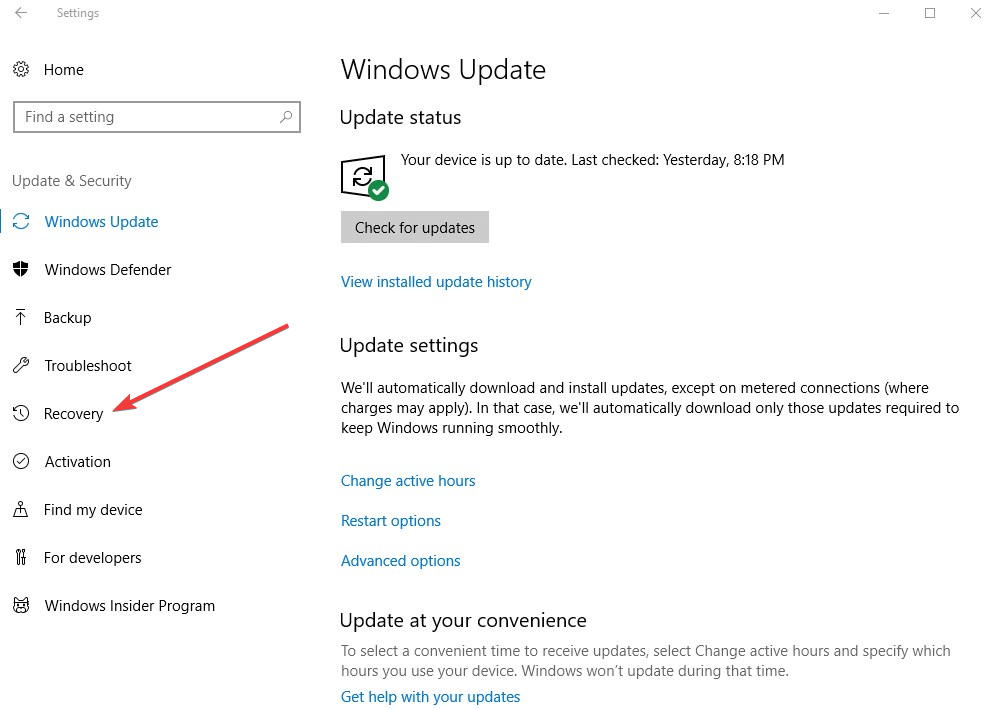
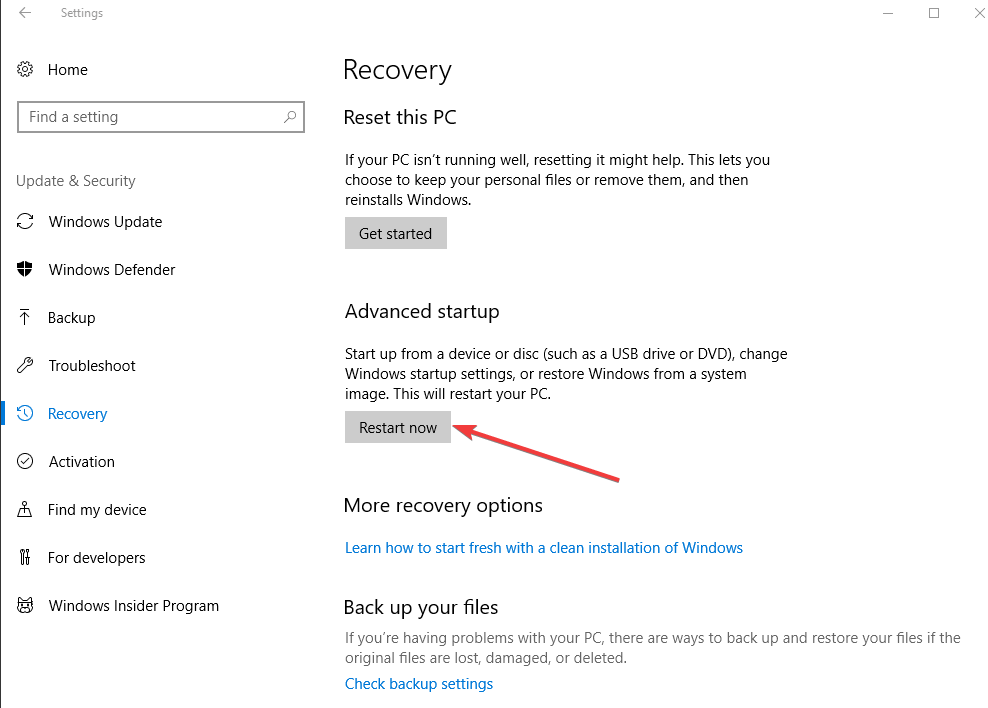
- Select Recovery on the left pane

- Click Restart Now under Advanced Startup

- Your computer will reboot to another menu. Click Troubleshoot.
- Click Advanced options.
- Select UEFI Firmware Settings.
- Click Restart. Your system will restart and take you to the BIOS. From here, check if the SATA port has Hot Plug enabled. Disable it if it is enabled.
Here’s what to do if you can’t hear your hard drive powering up.
6. User suggested solutions
Here are some additional solutions suggested by users on Microsoft’s forum:
- Install or update SATA AHCI driver as you could be running on the generic Windows driver. Check your motherboard manufacturer’s website for a current Windows 10 driver. (Or laptop manufacturer’s website if this is a different rig than that in your specs). If there’s no Windows10 driver, then use the most recent one. If there’s no SATA/AHCI driver there, you can get one if you install the most current version of Intel Rapid Storage Technology Driver
- Try using a different SATA port and also try plugging it with a different SATA cable. Go to your motherboard manufacturer’s website and make sure you have the latest SATA controller and chipset drivers for your model. Giving the BIOS reset a try might also be a good idea, it would get your BIOS settings back to factory defaults which could help with the proper detection of the HDD.
- This is generic problem of windows 64 bit versions. Microsoft has yet to find and fix the issue. It is related to performance. 64 bit operations cannot cope up so 64bit operating system is patched to treat internal drive as portable removable drive. Install 32bit version of windows, as this issue is not there.
- Tip for Windows 10 users: create a ‘Storage Pool’ through ‘Storage Spaces’. A Pool can exist of just 1 storage medium. That will integrate the removable storage to be seen as an internal drive.
- It’s not a solution for your system drive. For that the best bet is to find the most recent driver. If that does not work for you might want to change your 3rd party AHCI/RAID controller driver to the ‘Generic SATA AHCI controller’ that was shipped with Windows 10.
- In my case I had disks attached to a Marvell adapter show up as removable. After changing them to create an MS storage space instead of a Marvell mirrored drive, they appeared in the normal spot thus making them available to disk optimization too.
Did you know, you can change the serial number of a hard disk. And if you get the Unable to write to this disk in drive error, changing the file system will do!
Did any of these solutions help? Let us know in the comments section below.


User forum
2 messages