Fix Error 0x8007001F & Unblock Windows Update in 8 Steps
First run the Windows update troubleshooter
Key notes
- An issue with the audio drivers triggers the We couldn't install this update 0x8007001f error, but our guide will help you fix it quickly.
- Unfortunately, this problem prevents you from updating your OS, so it's imperative to solve it as soon as possible.
- We've listed all possible solutions to help you, including using the Microsoft Update Assistant.

Update errors aren’t a novelty in the Windows OS history. Some of them are easy to resolve, while others are quite challenging.
Today we’ll try to address an error that goes by the code 0x8007001F. This error is closely related to audio drivers and prevents users from updating Windows 10.
There are a few possible workarounds applicable to this problem, so follow these steps, and hopefully, we can work it out.
What causes Windows Update error 0x8007001f?
Glitches cause upgrade error 0xc1900208 and similar ones with Windows Update, and usually, a built-in troubleshooter can fix those.
For example, upgrade error 0x80070714 can occur if your firewall or antivirus is blocking the update process, so we encourage you to check your security settings.
An error such as this can also cause Windows installation failed in safe OS phase message to appear, so make sure that your installation media isn’t corrupted.
Update error 0x8007001F can prevent you from installing the latest updates, which can be a big problem. Speaking of update issues, here are some problems that users reported:
- Windows failed to install the following update with error 0x8007001f – We couldn’t install this update but you can try again (0x8007001f)
- Windows 10 update assistant error 0x8007001f
- 0x8007001f Windows 11, Windows 10, Windows 7
- Windows 11 install error 0x8007001f
- Windows update error 0x8007001f
- 0x8007001f – 0x20006, 0x3000d, 0x2000d
- Game Pass error 0x8007001f
Without further ado, let’s just jump right in!
How do I fix error 0x8007001F 0x20006?
1. Use the Windows update troubleshooter
- Click the Start button and select Settings.

- Now choose Update & Security.

- Click on Troubleshoot from the left pane, then select Additional troubleshooters from the right.

- Click on Windows Update to expand it, then hit the Run the troubleshooter button.

- The system will find any possible issue with the update and attempt to fix it. Just follow the additional steps to proceed.
2. Disable the antivirus
- Hit the Start icon and click on Settings.

- Select Update & Security.

- From the menu on the left, select Windows Security and click on Open Windows Security in the right pane.

- Select Virus & threat protection.

- If you don’t have a third-party antivirus installed, choose Virus & threat protection settings and disable Windows Defender protection. If you do, click on the Open app, which will bring you to the menu of your antivirus.

- Usually, the button to disable the antivirus is within its Security settings, but that may be different for every antivirus.
Although your antivirus will offer protection from malware, sometimes it can interfere with your system and cause a 0x8007001F error to appear.
We recommend changing your antivirus settings and disabling certain features to fix the problem. In the worst-case scenario, you might even have to remove your antivirus from your PC altogether.
Many users reported that both Norton and McAfee could cause this error to appear, so if you’re using one of these tools, be sure to remove them.
3. Uninstall the audio drivers
- Click the Start button, type device manager, and select the results.

- Navigate to the Sound, video, and game controllers section, right-click your audio device and select Uninstall device.

- If available, check the Remove driver software for this device. Now click the Uninstall button to remove the driver.

According to users, sometimes, error 0x8007001F can appear on your PC due to your audio drivers. For example, you might encounter this issue if your audio drivers are outdated or corrupted.
After that, you should try to download the latest drivers for your audio device. Then, simply visit your motherboard or sound card manufacturer’s website and download the latest drivers.
Up next, check if the problem is resolved. To avoid permanent damage to your PC by downloading and installing the wrong driver versions, we strongly recommend using Outbyte Driver Updater.
This tool will automatically download all the outdated drivers on your PC and help you fix this issue with only a few clicks.

Outbyte Driver Updater
Keep your drivers up to date to avoid such errors with this amazing tool.4. Restart the Windows Update Service
- Press Windows key + R and enter services.msc, then press Enter or click OK.

- In the Services list, search for Windows Update, right-click on it, and open Properties.

- Now choose Disabled as Startup Type.

- Save the changes and restart your PC; check if the service is still disabled after the reboot.
- Press the Windows key + E to start File Explorer, navigate the path below and find the SoftwareDistribution folder.
C:\Windows
- Rename the folder to SoftwareDistribution.OLD (you can delete it, as well, but why take unnecessary risks).

- Once again, start the Services app as shown in steps 1 and 2 and, in Properties, change the Startup Type from Disabled to Manual.

- Go to Start and open Settings on the left side.

- Open Update & Security and Check for updates.

Update service can be a culprit for various update issues. Additionally, it’s known for inflicting heavy CPU usage occasionally for no apparent reason.
Nevertheless, we will show you a possible workaround that can be used with most of the update errors. And the one we are currently addressing is not an exception.
Remember that you’ll need administrative access to change/delete system folders. This procedure proved as a good solution for multiple update errors. However, if the problem is persistent, move on to the next solution.
5. Perform SFC and DISM checks
5.1 Run a quick SFC scan
- Click the Start button, type cmd, and select Run as administrator to start Command Prompt with full privileges.

- When Command Prompt opens, type the following command and press Enter to run it:
sfc /scannow
- SFC scan will now start. This scan can take up to 15 minutes, so don’t interfere with it.
Sometimes error 0x8007001F can appear due to corrupted system files. If that’s the case, we recommend performing an SFC scan and repairing your files.
Once the SFC scan is finished, check if the problem is resolved.
The system update malfunctions are closely related to file corruption. In addition, some system files can get corrupted or quarantined due to malware infections.
For that reason, DISM (Deployment Image Servicing and Management) can be used to scan and resolve this issue by repairing broken files, so follow the steps below.
5.2 Run a DISM scan
- Hit the Windows button, type cmd, then select Run as administrator from the results.

- Type the following command and press Enter to run it:
DISM.exe /Online /Cleanup-image /Restorehealth
- The scanning will take a couple of minutes, so don’t interfere with the process.
6. Perform a clean boot
- Press Windows key + R and enter msconfig, then press Enter or click OK.

- Go to the Services tab, check Hide all Microsoft services, and click on the Disable all button.

- Go to the Startup tab and click Open Task Manager.

- Now, check if you have any programs you don’t want to run in the startup, right-click on them one by one and select Disable.

- Go back to the System Configuration window and click Apply and OK to save the changes.
- Restart your PC.
According to users, third-party applications sometimes interfere with your system, leading to this error. However, you might be able to fix the problem simply by performing a clean boot.
Once your PC restarts, all startup applications, and services will be disabled, ensuring that third-party applications don’t interfere with the upgrade process.
7. Create a new user account
- Click the Start button and select Settings.

- When the Settings app opens, navigate to the Accounts section.

- In the left pane, select Family & other people and then click on Add someone else to this PC.

- Now select I don’t have this person’s sign-in information.

- Select Add a user without a Microsoft account.

- Now enter the desired user name and click Next.

The issue might be a corrupted user account if you have problems updating due to error 0x8007001F. However, you might be able to circumvent this issue simply by creating a new user account.
After creating a new account, switch to it and check if the problem is resolved.
8. Perform an in-place upgrade
- Download the Microsoft Update Assistant and run it on your PC.

- If the tools detect a new update, select Upgrade this PC now. If not, you will see the message Thank you for updating to the latest version of Windows 10.

- Follow the instructions on the screen to complete the setup, and select the option to keep your files if you’re asked.
If you can’t install Windows updates due to error 0x8007001F, you might want to try performing an in-place upgrade. By doing that, you’ll force Windows 10 to update to the latest version.
Once the process is finished, you’ll have the latest version of Windows installed, and all your files and apps will be preserved.
How can I fix the update error 0x8007001F on Windows 11?
1. Windows Update Cache
- Press hotkeys Windows + X, then select Terminal (Admin).

- Type the script below and hit Enter.
net stop wuauserv
- Type C: and hit Enter.
- Now type the script below and hit Enter.
cd %Windir%\SoftwareDistribution - Finally, type the delete code below and hit Enter.
del /f /s /q Download
Although Windows 11 has an updated interface and new features, it still inherits many problems from Windows 10, including the Windows Update error code 0x8007001F.
However, all the solutions presented in this guide can also be applied to the new OS without any problems.
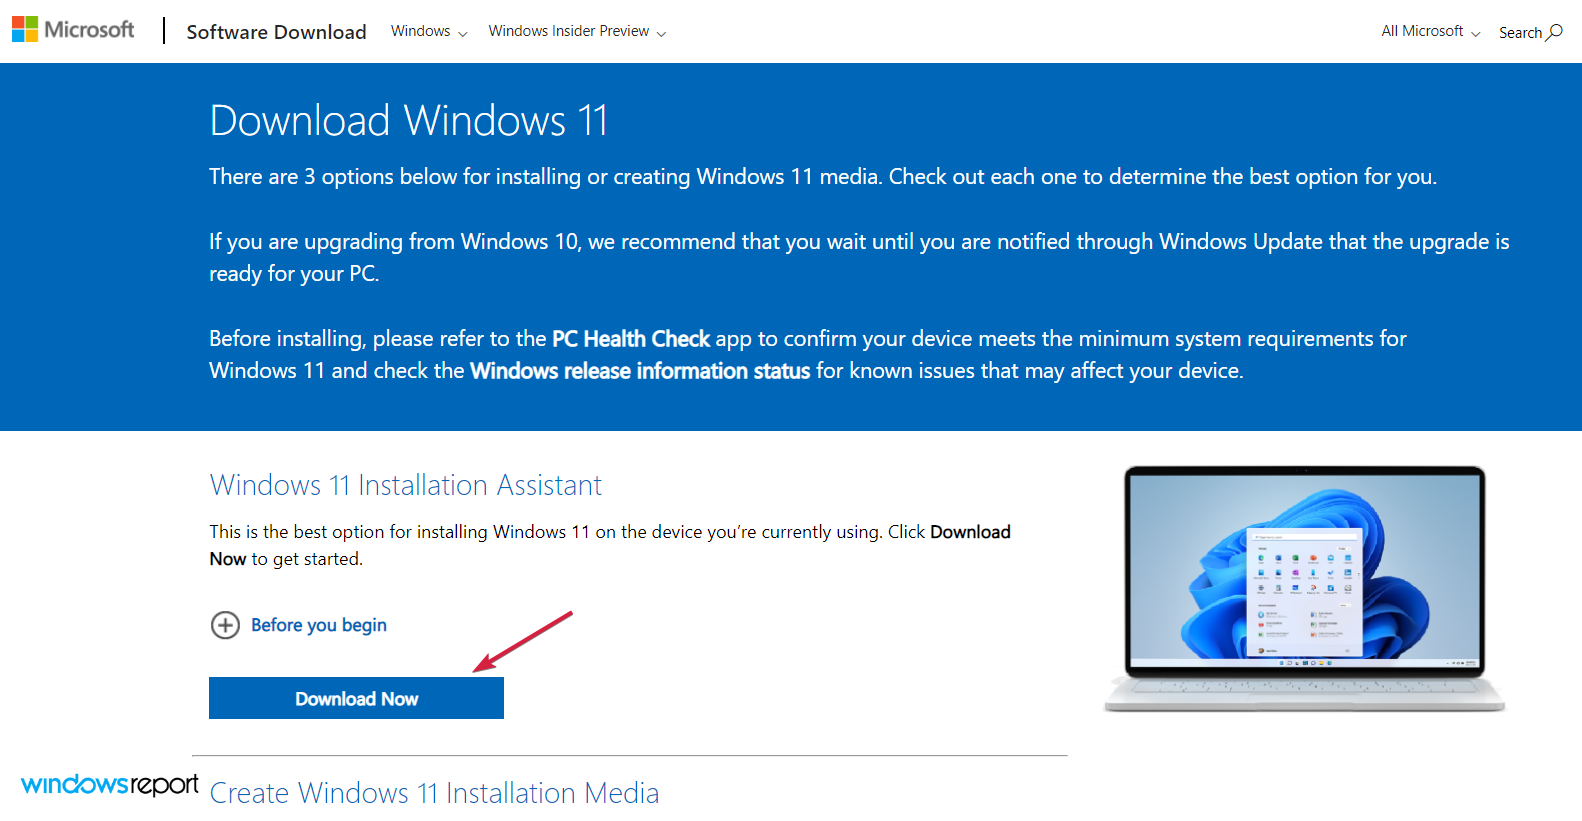
The only slight difference is for step 7, where you need to download the Windows 11 Installation Assistant instead.
Of course, the process will also be slightly different because it’s not an updater tool, but it will help you install a fresh copy of Windows 11.
However, if you keep your files within the procedure, your data will be OK. But as an added security measure, it’s better to back up your files first.
That should wrap it up. Your error should have been resolved if you had followed these instructions closely. In case you have some questions or additional workarounds, please be sure to inform us in the comments section.
Also, for any suggestions or additional problems, feel free to use our comments section below, and we will come back with an answer as soon as possible.
Read our disclosure page to find out how can you help Windows Report sustain the editorial team. Read more


Improve this guide


User forum
1 messages