Can't Change Resolution in Windows 11: How to Force It
Ensure your display driver is up to date before trying out other methods

If the screen resolution is set to anything other than the default (recommended) resolution or the Display resolution option is greyed out. You can fix the problem by following the steps outlined below.
Outdated graphics drivers, compatibility issues, hardware limitations, software conflicts, malware or viruses, as well as unauthorized changes made to the OS could be at the root of the problem.
Let’s fix them.
What can I do if I can’t change Windows 11 resolution?
1. Update the display card adapter driver
- Press the Windows key + I to open the Settings app and click on the Display option.

- Scroll down until you meet the Advanced display setting and click on it.

- Now click on the Display adapter properties for the Display 1 option.

- Navigate to the Adapter tab, then click on the Properties button.

- After this, go to the Driver tab and click on Update Driver.

Windows will automatically search for the latest display driver on your computer and install it. Now you can go back to the Display settings and change your resolution.
2. Update the NVIDIA adapter
- Right-click on the Start icon, then choose the Device Manager option.

- Now expand the Display adapters section, right-click the NVIDIA option, and tap the Update driver option.

- Click on the Search automatically for drivers option.

Now, wait for the process to end. Windows will update the driver to the latest version available. Make sure to restart your PC once the procedure is completed.
3. Reinstall the Display driver
- Right-click on the Start icon, then choose Device Manager.
- Now expand the Display adapters section, right-click on the Intel/AMD option, and tap Uninstall driver.

Once the operation is completed, restart your PC. While the computer is rebooting, Windows will automatically reinstall the driver.
4. Update Windows
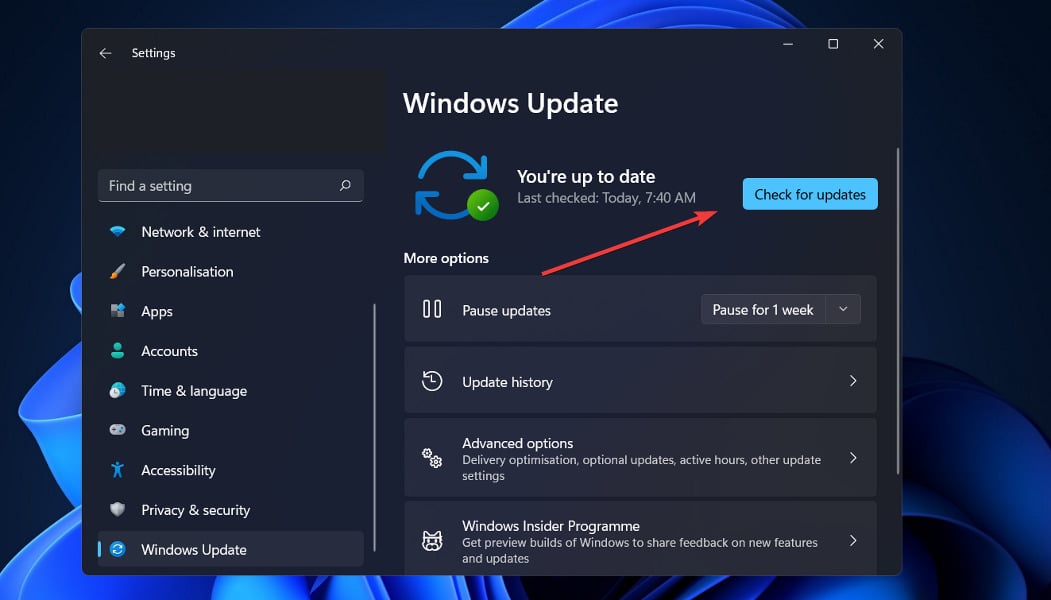
- Press the Windows key + I to open settings, then click on Windows Update to access the available updates.
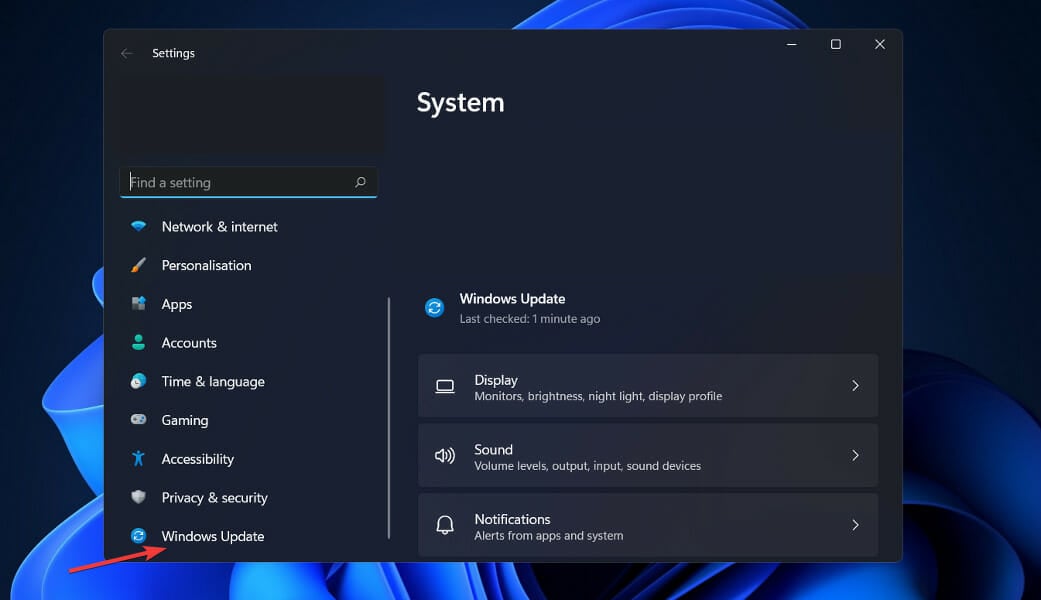
- If you have any new updates, click on the Install now option and wait for the process to complete; otherwise, click on its alternative: Check for updates.
You may be using an older version of Windows that’s creating the issue, which may be fixed by updating the operating system. In addition, a future software release will fix the bug.
5. Update other drivers
- Press the Windows key + I to open the Settings app, then navigate to Update & Security, followed by Advanced options on the right side.

- Now go to the Additional options section and click Optional updates to find the available driver updates.

- Now click on the Driver Updates option, select all the driver updates you are presented, and lastly, click on the Download & install button.

Even though Windows is responsible for most driver updates, if you have a problem, you can manually search for updates.
Using a professional driver updater is perhaps the safest way to update all your drivers and to also make sure they stay up to date at all times.
You can prevent these problems by using an automatic tool that will search and install the correct driver versions on your computer with just a few clicks. That's why we recommend you use Fortect and its Driver Updater feature. Here's how to do it:
- Download and install the Fortect app.
- Launch the software.
- Wait for the app to perform the initial scan of your entire PC or Laptop
- Afterward, navigate to the Driver Updater Section and start the scan process
- After the scan is complete, choose which drivers to update or click the update button

- Register and Activate for the full suite and automatic update, or use the 24-hour trial to update manually all that you have the time to
- Restart your PC to ensure the applied changes.
Disclaimer: In order to perform some operations, this software must be updated to the premium plan.
6. Run the SFC scan
1. Press the Windows + S key to open the Search box.
2. Type cmd in it to search for Command Prompt.
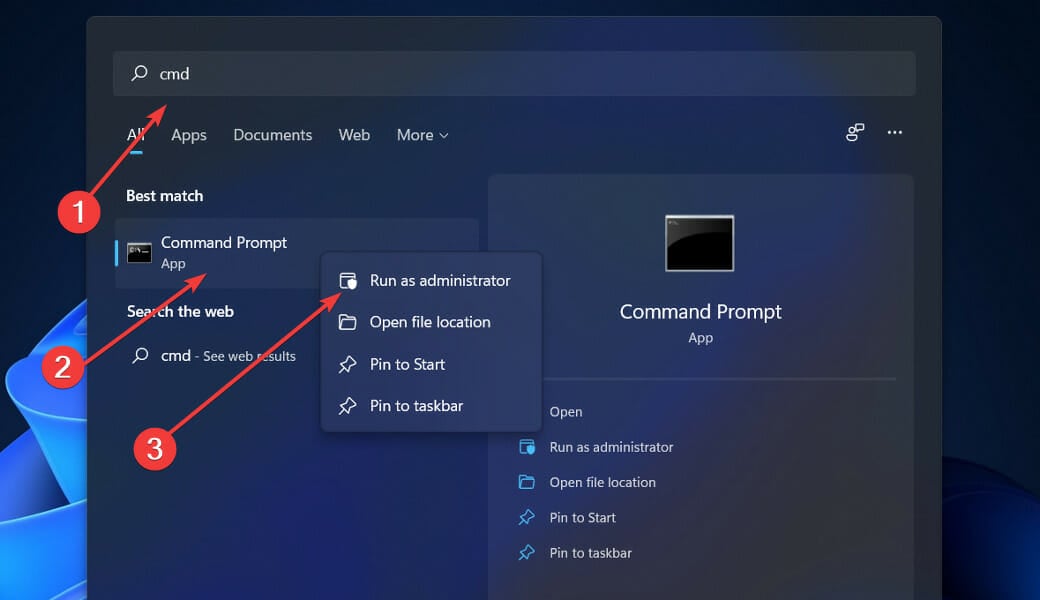
3. Next, right-click on the top relevant result to run it as an administrator.
4. Type or paste in the following command:
sfc /scannow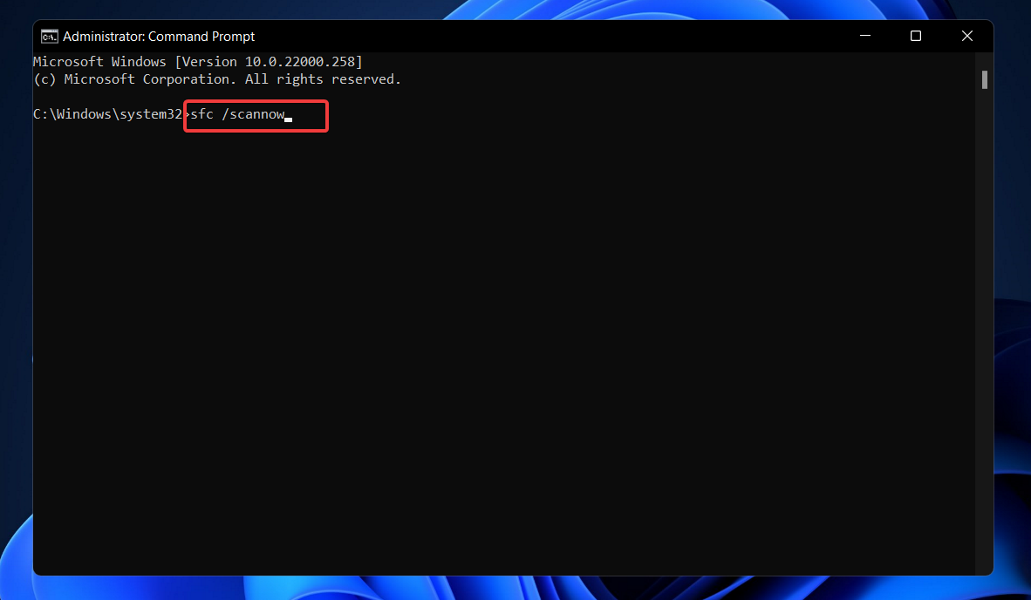
5. Press Enter to run the system file scanner.
6. Wait for the scan to complete. This can take a while.
7. After you’ve finished waiting for the procedure to finish, which may take some time, restart your computer.
If you are having issues when trying to change the display resolution on your device, system or device corruption could be to blame. This is why running a SFC scan via Command Prompt should fix the problem.
The SFC scan will find and fix any corrupted files that are causing screen scaling issues in your system.
It is also important to note that many third-party applications that allow you to select custom resolution options may not be supported entirely until Windows 11 is released in its final form.
You can find more information and potential solutions to the screen resolution issue that may apply to Windows 11 as well. Just check out our guide on how to fix the screen resolution issue in Windows 10.
Additionally, many users have benefited from reading our post on how to solve the dimming screen issue in Windows 11. So, if you are experiencing the same problem, take a look!
Let us know in the comments section below which solution worked best for you and what screen resolution you have.
Read our disclosure page to find out how can you help Windows Report sustain the editorial team. Read more


Improve this guide


User forum
0 messages