Hypervisor Error on Windows 11: How to Fix This BSoD
Get rid of the stop code Hypervisor error on Windows 11 in 4 steps
2 min. read
Updated on
Read our disclosure page to find out how can you help Windows Report sustain the editorial team Read more
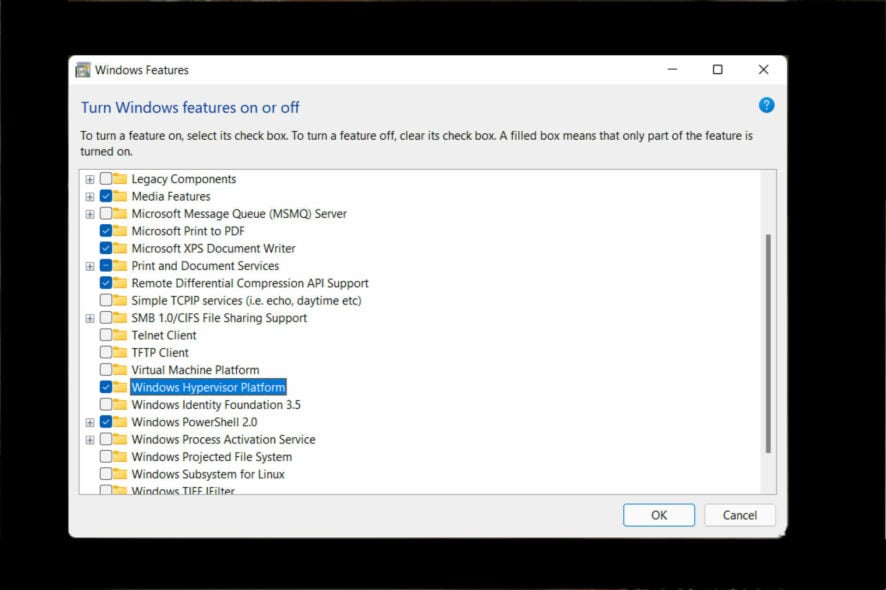
A hypervisor is a piece of software that can generate and operate virtual machines. It is often referred to as a virtual machine monitor, or VMM (VMs). The Hypervisor error cand be caused by outdated drivers, missing or failed updates, bad disk sectors or incorrect settings.
Before more complex solutions, reinstall Hyper-V and make sure that your OS and BIOS are updated. You may also consider a third-party solution such as WMware Workstation and forget all about fixing Hypervisor.
How can I fix the Hypervisor error in Windows 11?
1. Check if your CPU supports virtualization and enable it in BIOS
An easy way to fix Hypervisor error in Windows 11 is to check if your CPU supports virtualization and then to enable it in BIOS. Here’s how to do it:
- To fix the Windows 11 Hypervisor error blue screen, open the Settings app and head over to the System section.
2. Under Device specifications, check the details corresponding to your processor.
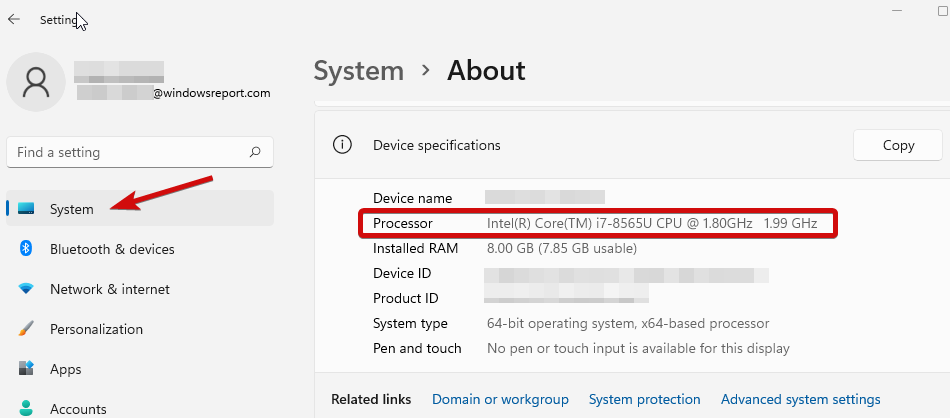
3. Next, go to the manufacturer’s site and check that your CPU supports virtualization (use the exact details you obtained during the previous step).
4. If it does, you’ll need to make sure that virtualization is enabled in your BIOS.
5. To do that, access your BIOS (If you need help, here’s how to enter BIOS on a Windows PC).
6. Click on Advanced Mode, then go to the Advanced tab.
7. Select CPU Setup/Configuration and set Intel R Virtualization Technology (for Intel) or SVM Mode (for AMD) to Enabled.
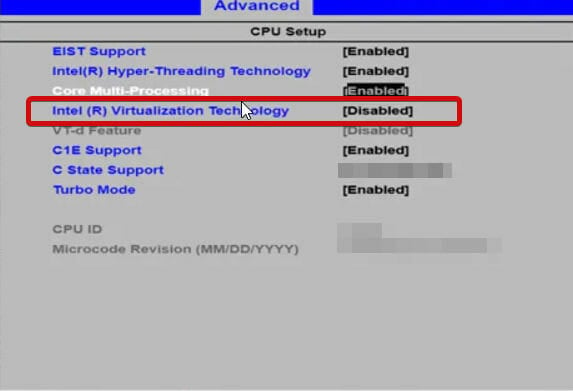
8. Make sure you save the changes before you exit this screen.
2. Update your drivers
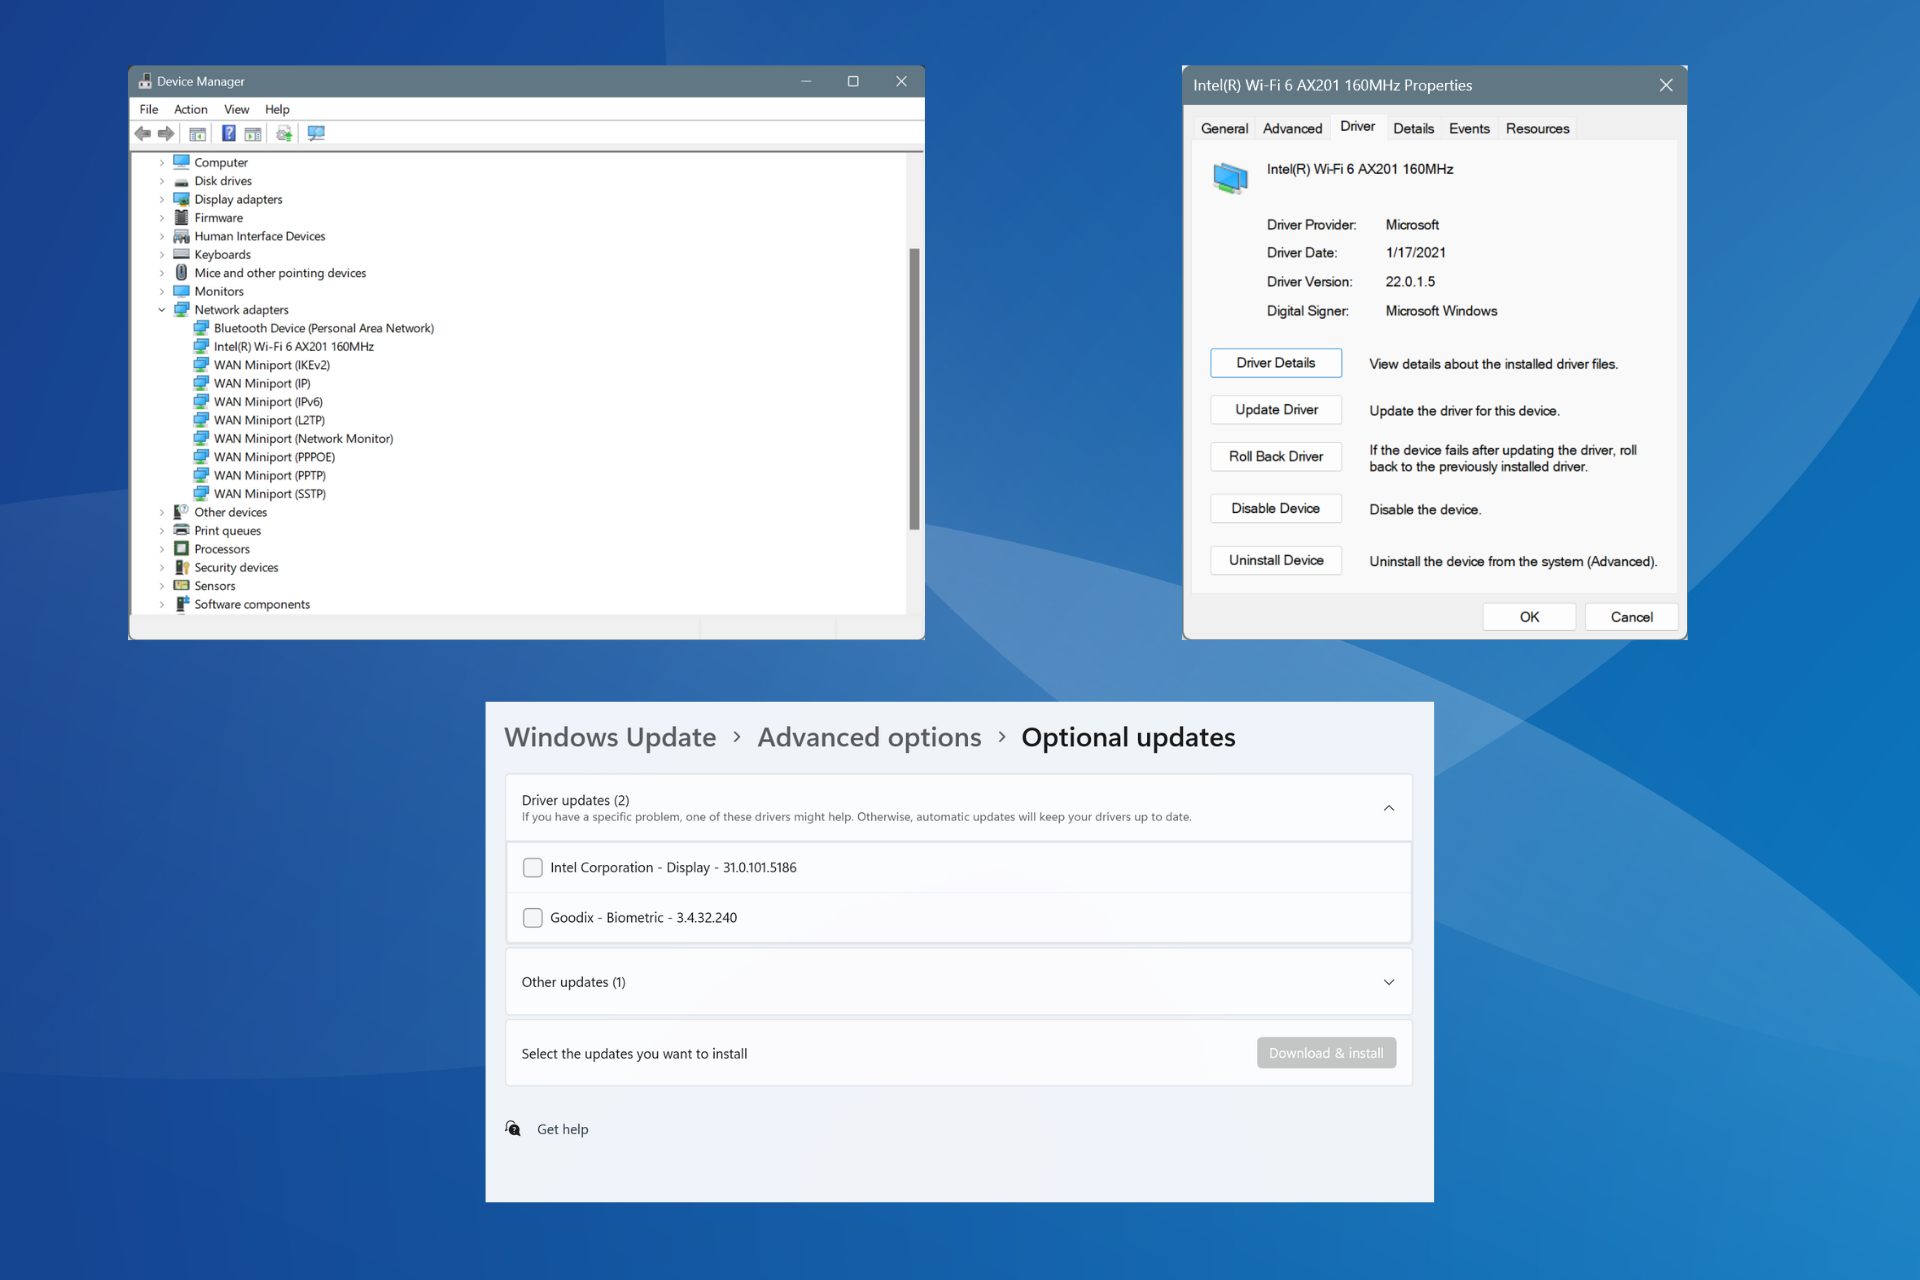
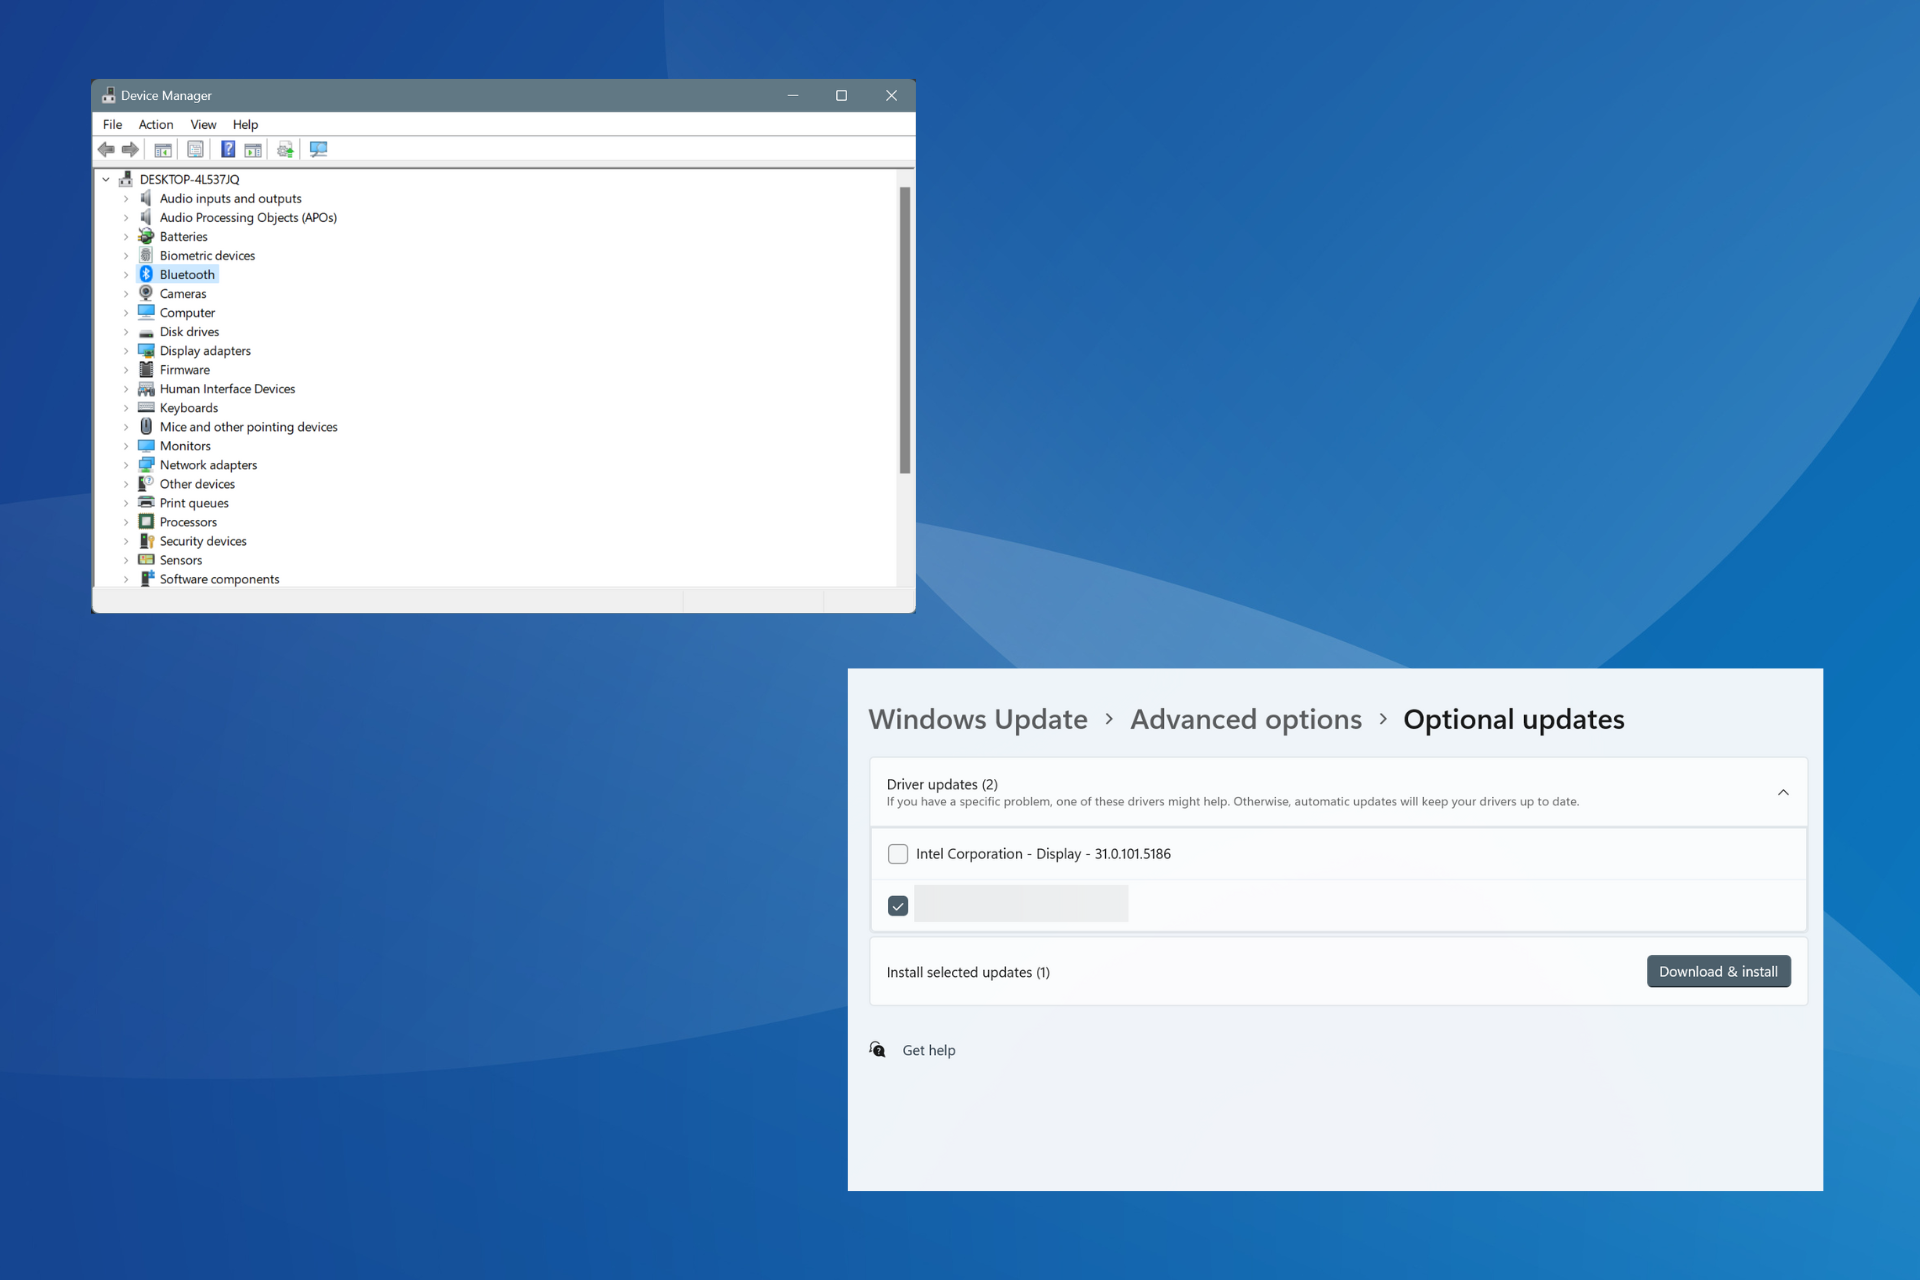
Missing or otherwise faulty drivers are notorious suspects when it comes to system errors such as stop code Hypervisor error in Windows 11. Keeping them in good shape is essential regardless of the version of Windows you’re currently running.
Now, there are numerous methods to update your drivers in Windows 11, but we reckon nothing beats an automatic tool that does the job for you. It’s quicker, more accurate and it saves you a lot of headaches.
3. Restart the corresponding service
- Hold the Windows key and type R to open the Run dialog box.
- Type in services.msc and hit Enter.
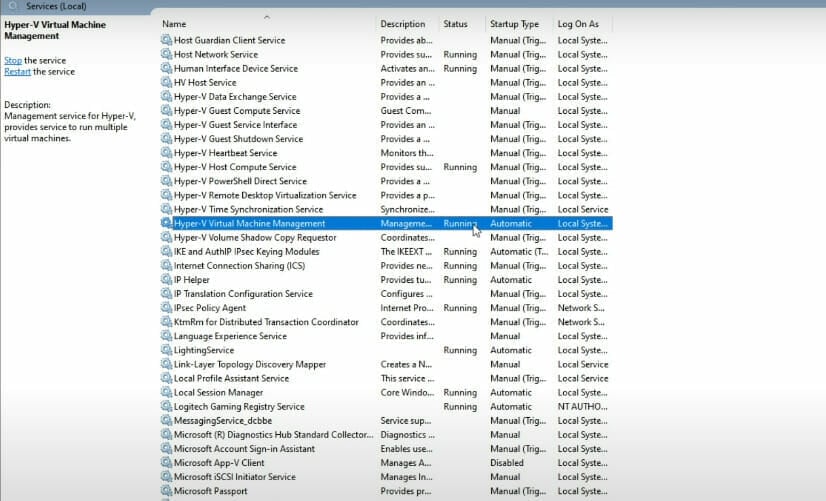
- In the list, locate the Hyper-V Virtual Machine Management.
- Right-click on this entry and if it is running, select Stop.
- Finally, restart the service and check it it helped solve the Can’t start because Hypervisor is not running in Windows 11.
4. Use Command Prompt
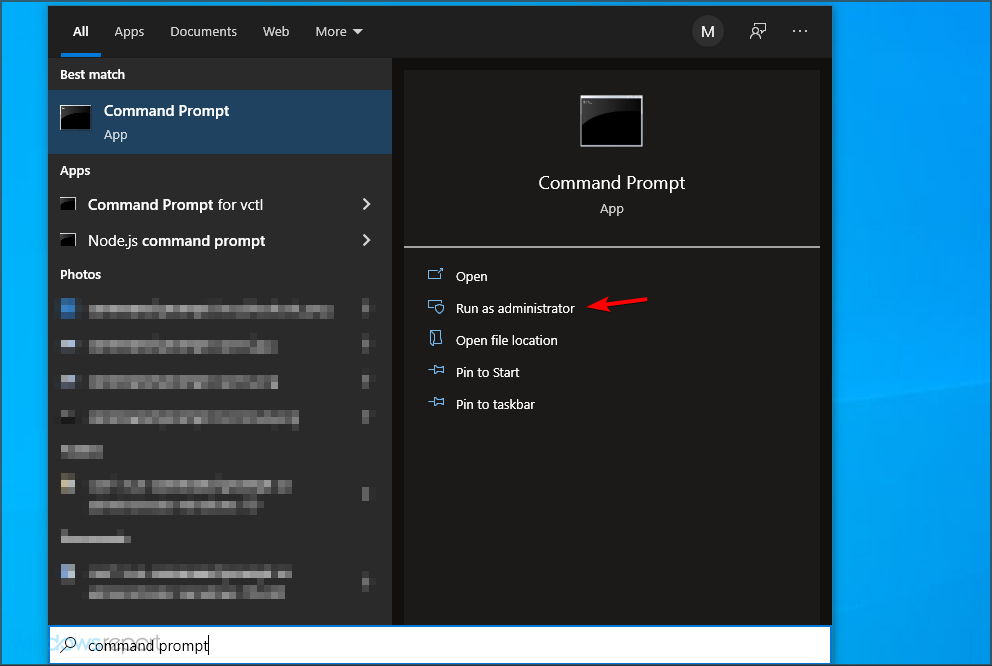
- Open the Command prompt with administrative priviledges.
- In the new window, type the following command and press Enter:
bcdedit /set hypervisorlaunchtype auto - Restart and check to see if it is working correctly.
After that is how you can easily fix the hypervisor_error on Windows 11. While it’s a common error, sometimes it can be challenging to properly solve it. If you encounter any connection errors on the way, be sure to check our article about Hyper-V not connecting on Windows 11.
We’ve also dealt with the hypervisor error on Windows 10 and solved it in just a few steps, but if you’ve found a simpler fix, please leave it in the comments section below and we’ll be sure to check it out.


