Windows 11 Screen Not Turning Off: How to Fix it
Give a try to these quick solutions right away
5 min. read
Updated on
Read our disclosure page to find out how can you help Windows Report sustain the editorial team. Read more
Key notes
- Usually, the Windows 11 screen is not turning off even if you have set its sleep mode because a background running app such as Steam is preventing that.
- The best solution to apply when Windows 11 screen is not turning off is to check the running applications or adjust their settings to allow that action.
- Also, make sure the duration for sleep and screen settings is not set to never to avoid issues with your screen not turning off.
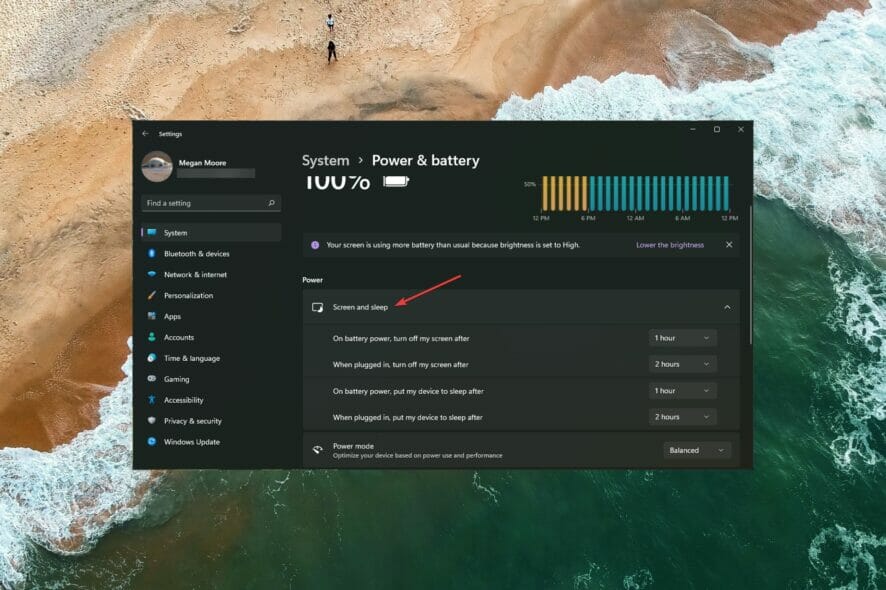
Windows 11 has the option to turn off the display after a set duration of inactivity. This feature saves power when users are away from their computer and don’t manually put it to sleep.
Users have reported issues with their display not turning off even after the set duration. Luckily, there are some simple solutions to this problem.
If you are having issues with your Windows 11 display not turning off after the set time, it could result from a faulty application or external device. Keep reading this article to find the solution.
How do I adjust sleep and screen settings?
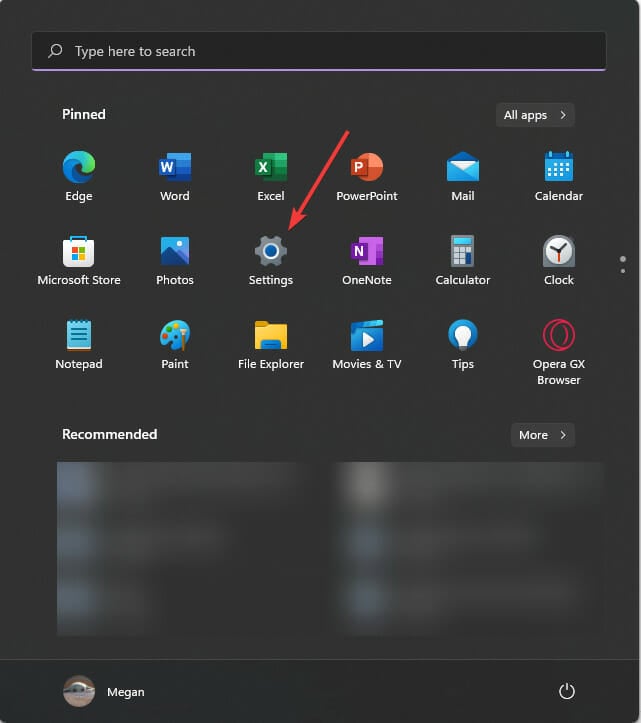
- Click on Start and go to Settings (or press Windows + I).
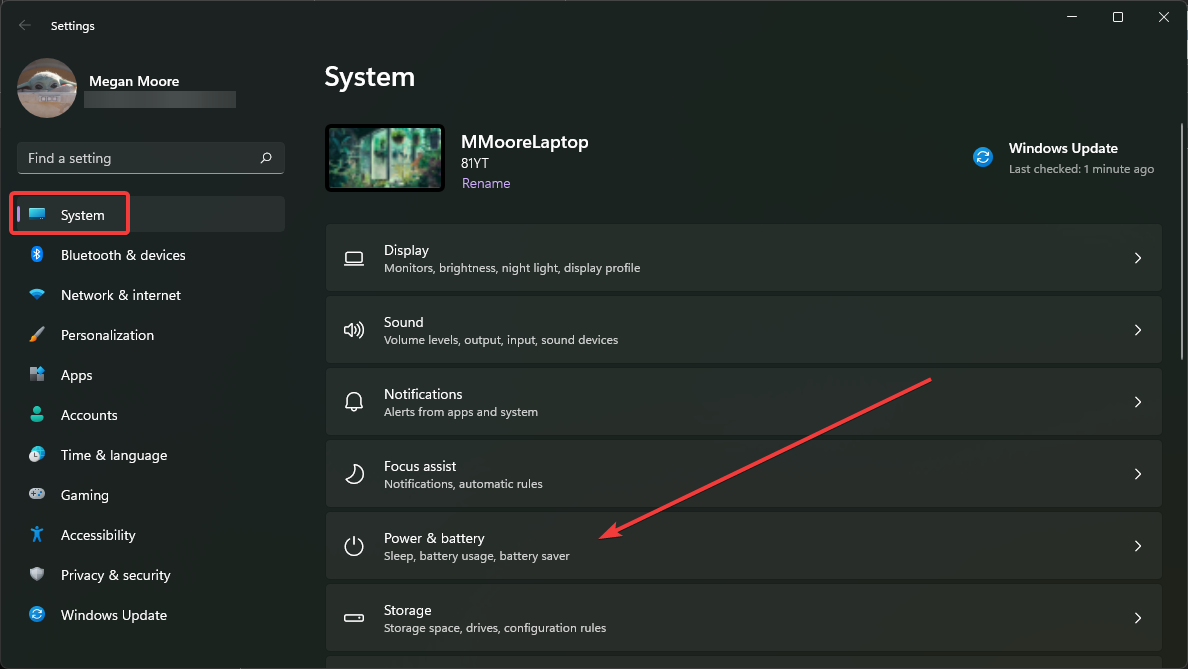
- Under System go to Power & battery.
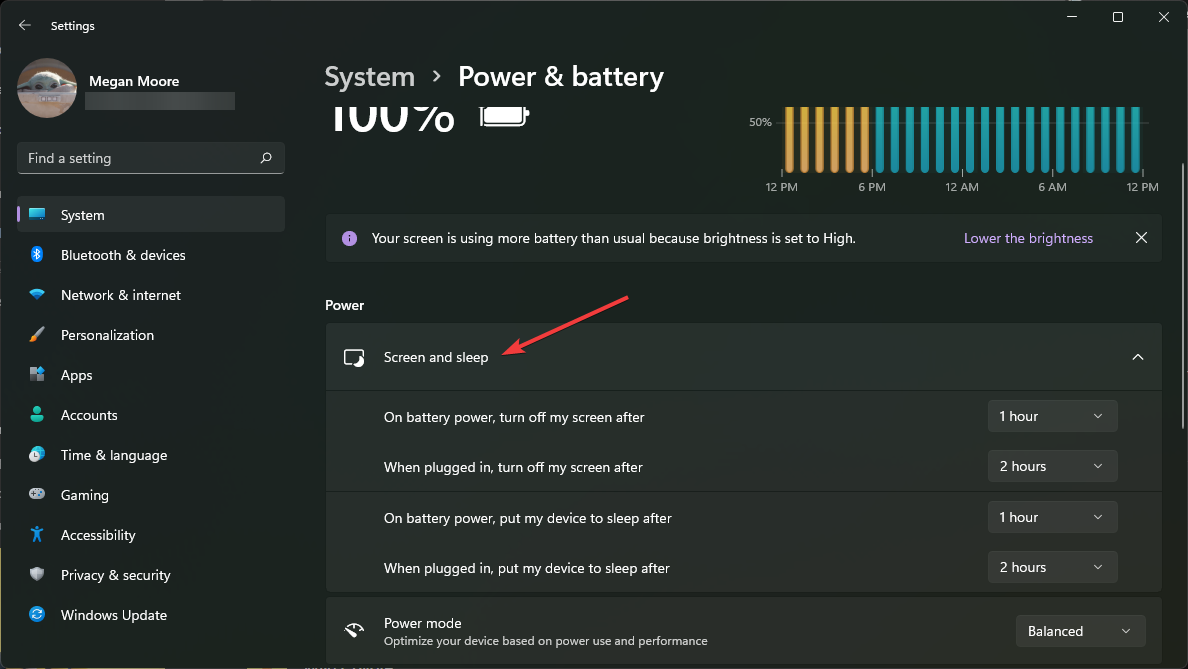
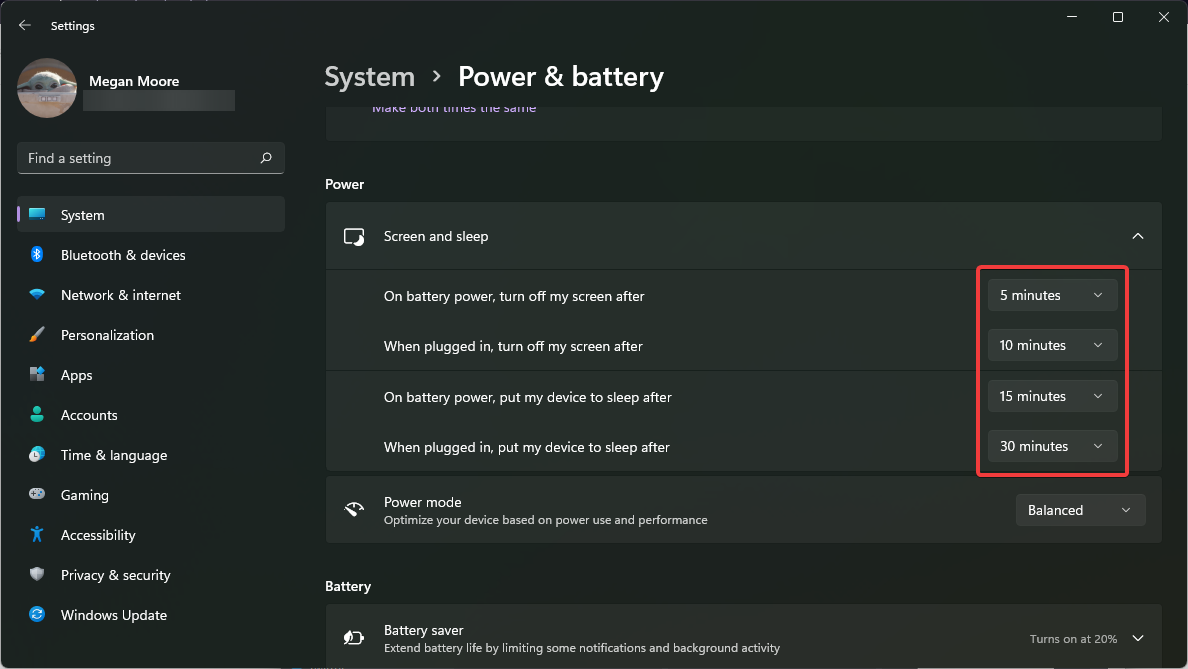
- Under Screen and sleep, adjust the times you want your display to go to sleep or turn off.
Users can adjust the time their device goes to sleep when plugged in and on battery power. They can also adjust the duration for their screen to turn off.
There is a difference between turning the screen off and going to sleep. Sleep mode turns off unused programs and applications to save energy after the set duration of inactivity. Turning the screen off does just as it states and only turns off the monitor, but all used programs or applications are still running.
For some of our readers, a background app such as Steam, was running in the background preventing the screen from turning off. Therefore, make sure that you close these apps or adjust their settings to allow this option.
In Steam, go to Desktop mode, and set the Display Properties to turn off the display after a suitable amount of time.
If you’re having issues with sleep mode not working in Windows 11, there are some quick solutions for that problem.
How do I fix Windows 11 not turning off display?
1. Check screen settings
- Click on Start and go to Settings (or press Windows + I).
- Under System go to Power & battery.
- Under Power, expand Screen and sleep.
- Ensure that the screen and sleep settings are not set to Never.
If the screen and sleep options are set to never, then that will prevent your display from turning off. Check to ensure you have set times selected for your screen and sleep settings.
2. Remove USBs
- Unplug any external devices (keyboard, controllers, etc.).
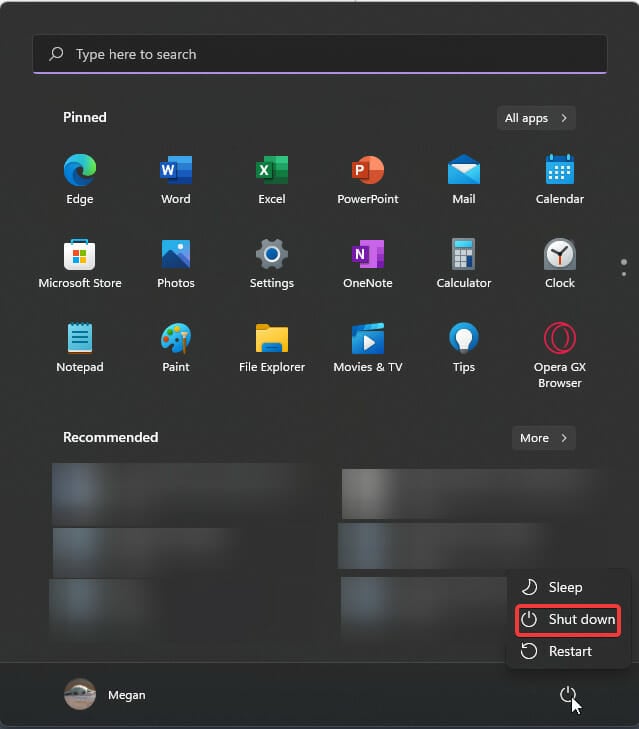
- Shut down your PC.
- If you’re using a PC with a monitor, unplug the display cable.
- After five minutes, plug the display cable back in and turn on your PC.
Sometimes, external devices connected to your PC via USB or Bluetooth can keep your monitor from turning off even after set sleep times. Remove any devices and restart your PC to see if that solves the issue.
Many users have reported the issue to be caused by an external controller. Disconnecting the device can fix the problem of your display not turning off.
3. Run hardware and device troubleshooter
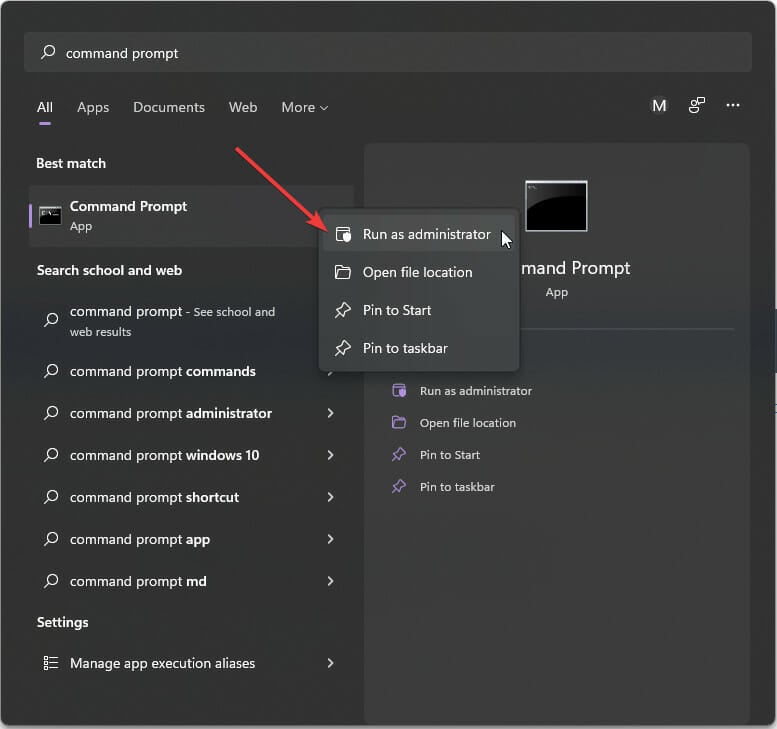
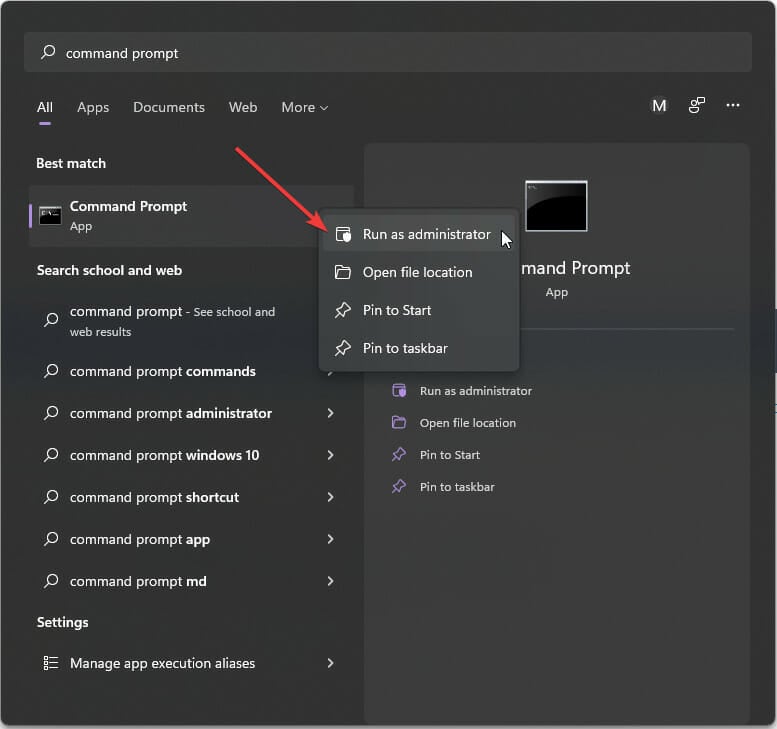
- Click on Start and search Command Prompt.
- Right-click and select Run as administrator.
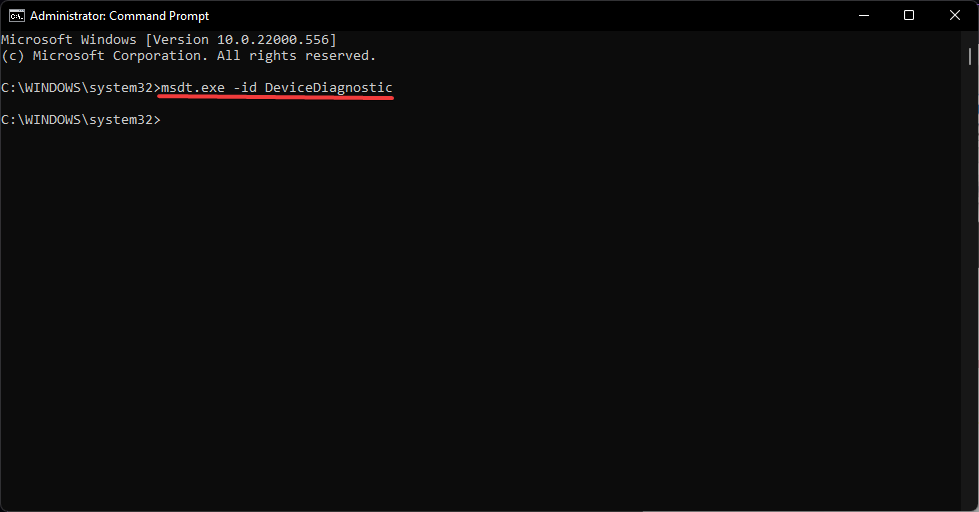
- Type msdt.exe -id DeviceDiagnostic and hit enter.
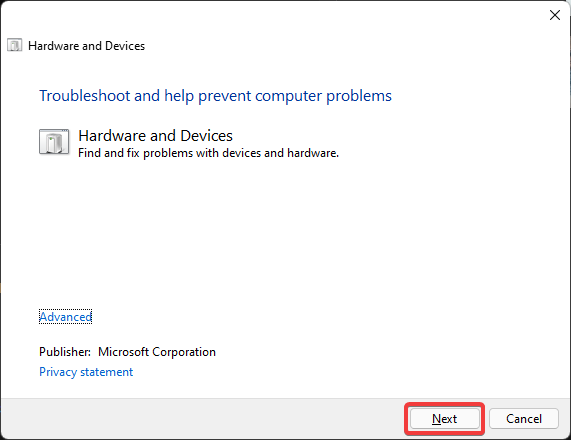
- Select Next to run the troubleshooter.
- Any issues with your devices will be displayed.
If solution 2 didn’t solve the issue, running the troubleshooter can give you a more detailed look at your devices and which might be causing the problem.
4. Check applications that hinder the display
- Click on Start and search Command Prompt.
- Right-click and select Run as administrator.
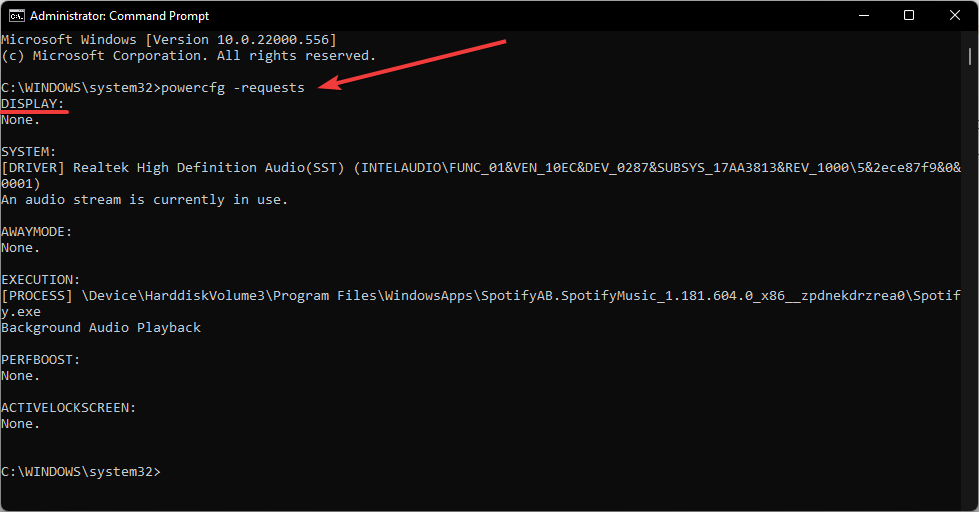
- Type powercfg -requests and hit enter.
- If there is an application listed under Display that means that the app is affecting your display and preventing it from turning off.
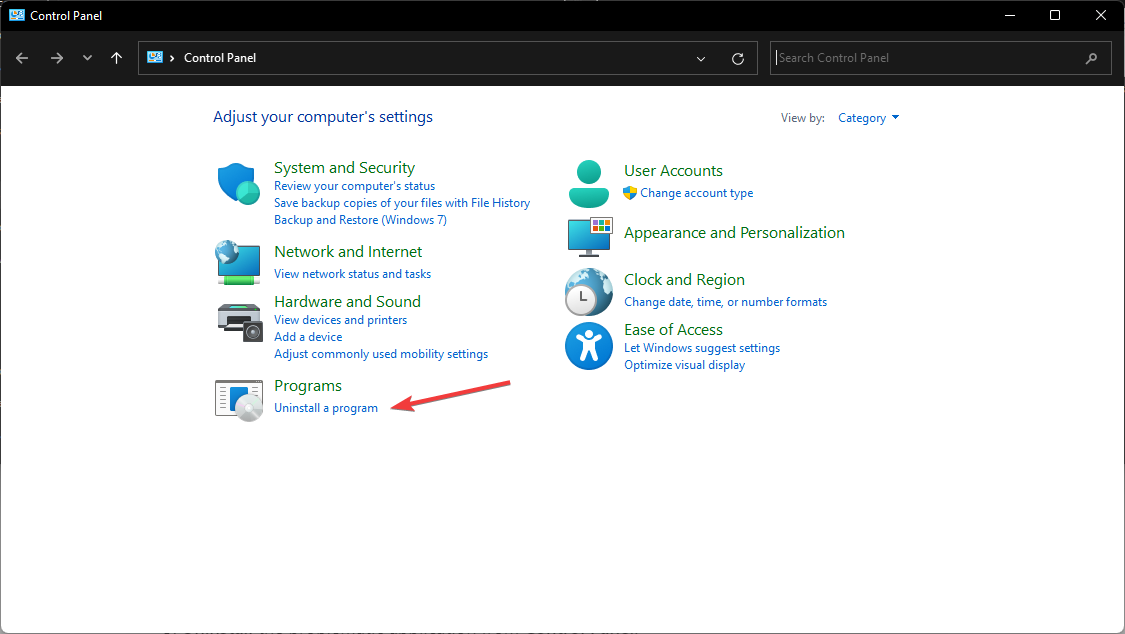
- Uninstall the problematic application from Control Panel.
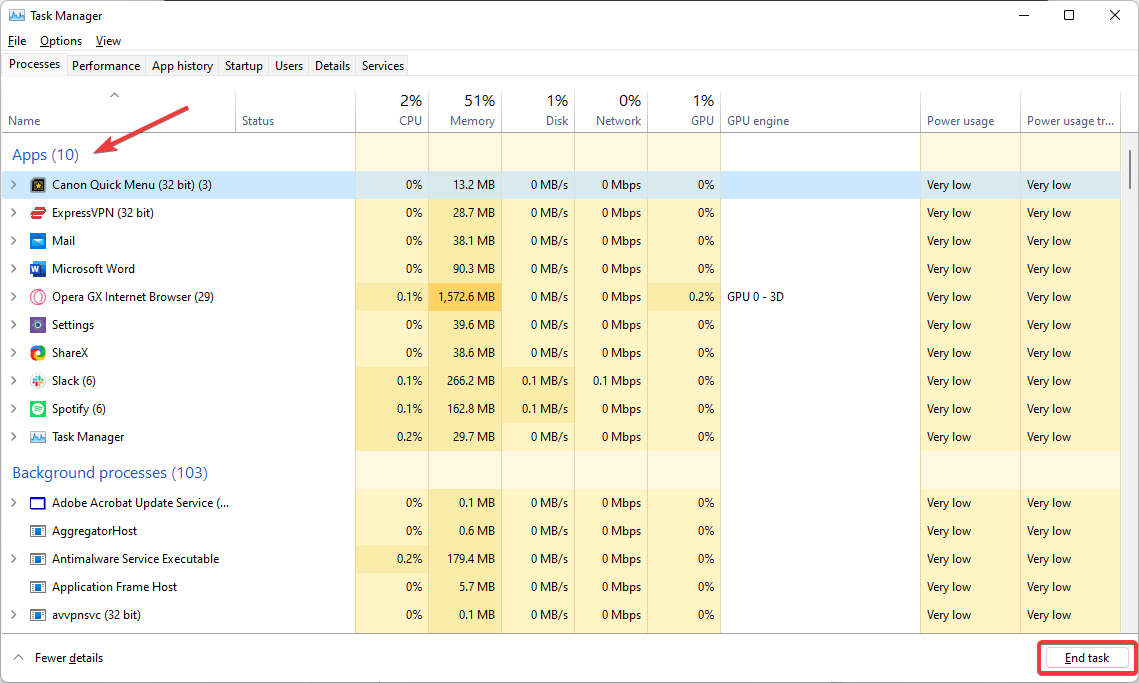
- If you don’t want to uninstall the program, open Task Manager.
- Select the program and click End task.
An application running in the background that affects your display may be the culprit. After identifying the culprit, users can remove the application if it’s not a necessary program.
If it is a necessary application, users can end the task in Task Manager which will allow the PC display to turn off.
5. Run power troubleshooter
- Click Start and open Settings (or press Windows + I).
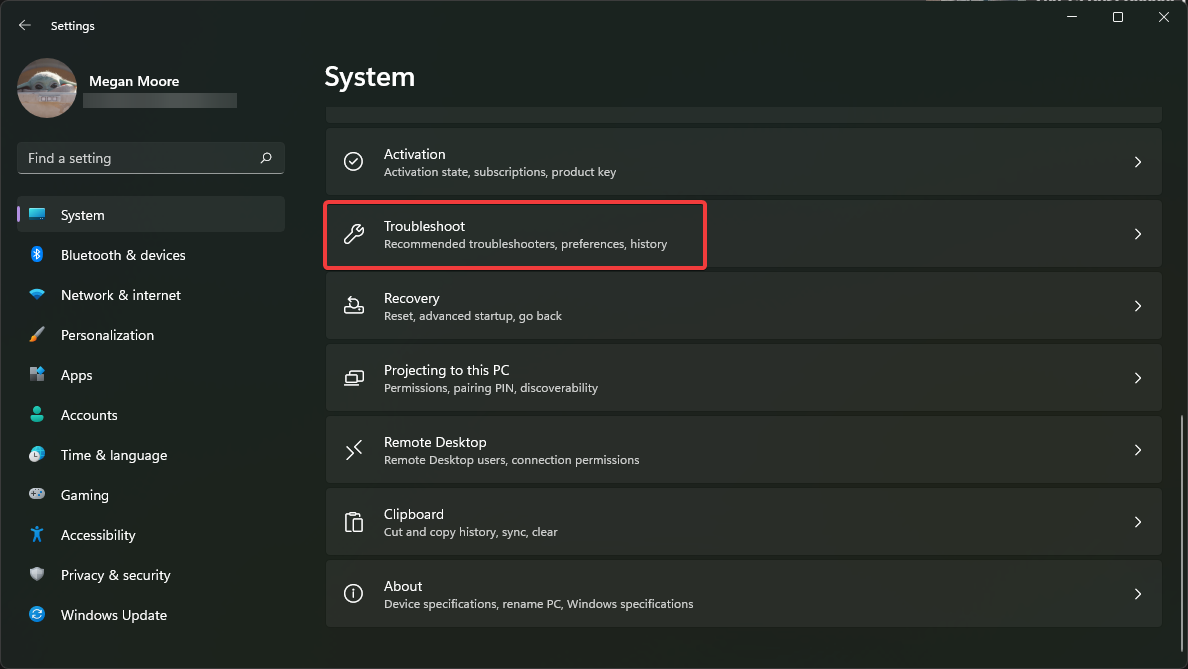
- In System, scroll down to Troubleshoot and select it.
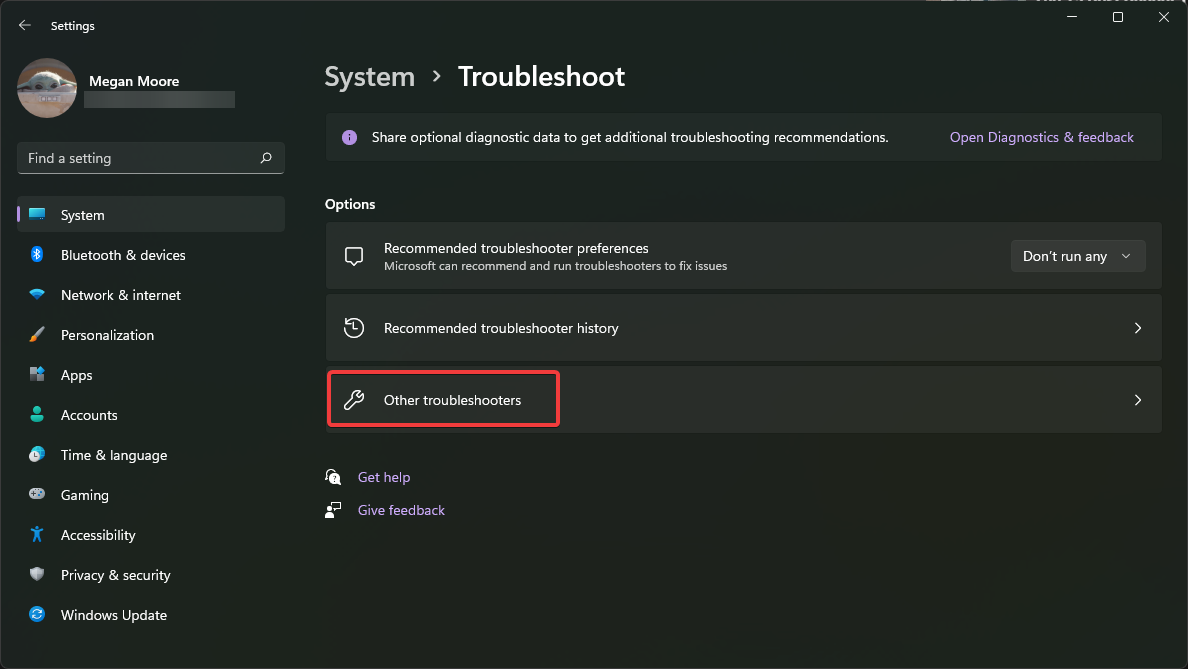
- Click Other troubleshooters.
- Find Power and select Run.
- Locate any issues.
Issues with the screen not turning off may be related to issues with your PC’s power. Running the troubleshooter will quickly help you locate any found issues and make the necessary adjustments.
6. Adjust power plan
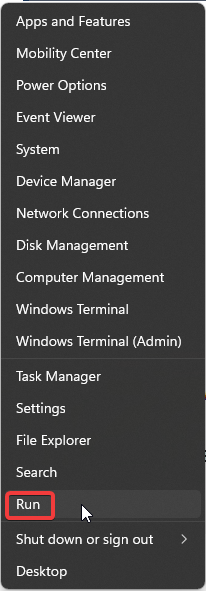
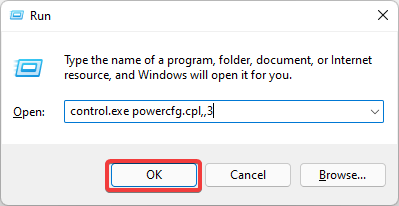
- Right-click on Start and select Run (or press Windows + R).
- Type control.exe powercfg.cpl,,3 and click OK.
- Expand USB settings, then expand USB selective suspend setting.
- In the drop-down menu, next to On battery and Plugged in select disabled for both.
- Click Apply, then OK.
Hopefully, one of the solutions above helped solve the issue of your screen not turning off after the set duration in Windows 11. Ensure that your sleep and screen duration is not set to never, so you don’t run into the issue again.
If you’re having difficulties connecting a wireless monitor to your PC, then we have solutions for that issue as well.
Let us know which solution worked for you in the comments below.




User forum
2 messages