Windows 11 Sleep Mode Not Working? 6 Ways to Fix it
Get back to saving energy with the sleep mode using these fixes
Key notes
- Sleep mode is a valuable feature that puts your computer to sleep whenever you want to walk away for a short time and not lose progress.
- However, the sleep mode may sometimes encounter problems such as not turning on properly.
- This guide will show you multiple methods you can take to fix any sleep mode issues on Windows 11.

Sleep Mode is one of the most valuable features of the Windows 11 operating system. It puts your device in a low-power state and lets you get back exactly where you left off.
It’s a great way to save on electricity without turning off your system and avoids the hassle of having to open all of your apps again.
It’s best used when you’re away from your computer for a short while. The Sleep mode, like hibernation, ensures that your power supply unit doesn’t overheat from extended use.
Users have reported that sleep mode is not working on their Windows 11 devices.
In this guide, we will show you the best ways to fix issues with this superb feature on Windows 11.
Why does my Windows 11 not sleep?
If Windows 11 is not entering Sleep, it might be because of outdated display drivers. You can fix this by updating them manually or with a dedicated tool.
Wrong power settings can also cause this issue. You only need to adjust it here, and things should be back to normal.
What are the differences between Sleep and Hibernation mode?
Windows 11 also has a hibernation mode that is similar to Sleep mode but has a distinct difference.
Whereas Sleep mode puts a computer in a low power state, hibernation mode has the computer take in a minimal amount of power while saving all the current settings on the hard drive. After that, it enters a state of being almost entirely off.
Hibernation mode takes a bit longer to turn on when the computer exits this state. You use this mode when you aren’t using your laptop for an extended period but don’t want to lose anything.
Check our excellent guide for a more detailed comparison between hibernation and Sleep mode.
How to fix Sleep Mode not working on Windows 11?
1. Set Sleep mode time manually
- Open the Windows Start menu by clicking the Start menu icon in the taskbar.
- Search for the Settings icon and click on it.

- Click on the System tab.

- In the System section, scroll down to the Power tab.

- In the next window, click on the Screen and sleep option.

- Customize the specific time the computer will be put to sleep.

- After the time has been set, close the window.
If the Sleep mode is not working automatically on Windows 11, it might be because the time settings are too long. By setting the timer yourself, you should be able to fix the issue.
2. Edit power plan settings
- Click on the magnifying glass icon on the taskbar to bring up the search bar.

- Type Control Panel in the search bar.

- Open the first entry you see.
- In the Control Panel window, click the Hardware and Sound option.

- On the next window, locate and click Power Options.

- On the left-hand side, select Change when the computer sleeps.

- Configure the settings to the desired time the computer will go to Sleep. As seen in this example, the display will turn off after 5 minutes, and the computer will sleep for 10 minutes.

If the processor fans are still running after activating the Sleep mode on Windows 11, it might be down to your power settings. This fix should restore normalcy in this case.
3. Update display driver
3.1. Update driver manually
- Press the Windows key + X and select Device Manager.

- Double-click on the Display adapters option to expand it.

- Right-click on each of the drivers there and select Update driver.

- Choose Search automatically for drivers.

- This will scan and show any available updates.
After updating your drivers, check if the Windows 11 Sleep mode is still not working.
3.2. Use a driver updater
The Sleep mode not working on Windows 11 issue may appear due to outdated display drivers on your PC.
To resolve power state issues, update graphics drivers with their latest versions. You can perform this action using Control Panel and search for available drivers in your system.
Yet, this process will eat a significant amount of time. But thankfully, you have dedicated software named Outbyte Driver Updater that can update old or broken drivers immediately.
This tool will scan your system for outdated drivers in seconds and find the official drivers from its extensive online database.

Outbyte Driver Updater
Scan and update all your drivers automatically with this excellent software for the health of your PC.4. Disable hybrid mode
- It would help if you first made sure hibernation mode was on. Then, click on the magnifying glass icon on the taskbar to bring up the search bar.

- In the search bar, type in cmd to bring up the Command Prompt.
- Click Run as administrator.

- Type the following command and press Enter:
powercfg /hibernate on
- Restart your computer.
- After restarting, click on the magnifying glass icon again.
- Type Control Panel and open the first entry.
- Click on the Hardware and Sound option.

- Click on the Power Options.

- Locate the Preferred plans section in the middle of the screen.

- Click on Change plan settings next to Balanced (recommended).

- In the next window, click Change advanced power settings.

- A small window will appear. Locate the Sleep option.
- Tap on the (+) plus icon next to Sleep to expand the set of options.

- Click on Allow Hybrid Sleep to bring another drop-down menu.

- Click Settings and turn off Hybrid mode.

- Afterward, move to Multimedia Settings and click on the (+) plus icon next to the entry.

- Click on When sharing media.

- Click on Prevent idling to Sleep next to Setting.

- Select Allow the computer to sleep in the drop-down menu.

- Locate PCI Express and click on the (+) plus icon to bring up the drop-down menu.

- Click the (+) plus sign next to Link State Power Management.

- Next to Setting, click on the drop-down menu and turn it Off.

- Once it’s off, hit Apply, then OK.

The Hybrid mode might be why the sleep mode is not working on Windows 11. While this feature is good, combining Sleep and hibernation can affect sleep mode.
5. Disable wake timers
- Click on the magnifying glass icon on the taskbar to open up the search bar.

- Type in Control Panel and click on the first entry.
- Click on Hardware and Sound.

- In this new window, click Power Options.

- Next to the Balanced (recommended) plan, click Change plan settings.

- Click Change advanced setting.

- Locate Sleep in these new windows and tap the plus (+) icon next to it.

- Click Allow wake timer and tap on Setting to bring up a drop-down menu.

- In this new menu, select Disable.

6. Deactivate fast startup
- Click on the magnifying glass icon on the taskbar to bring up the search bar.

- Search for Control Panel and open the first entry you see.
- In the Control Panel, click Hardware and Sound.

- Click Power Options.

- Click Choose what the power button does in the upper left-hand corner.

- In the next window, click Change settings that are currently unavailable.

- Click Turn on fast startup to turn it off and disable the function.

How do I force Sleep in Windows 11?
If your Windows 11 PC is not entering the Sleep mode automatically, you can enable it to sleep with the power button or the keyboard shortcut.
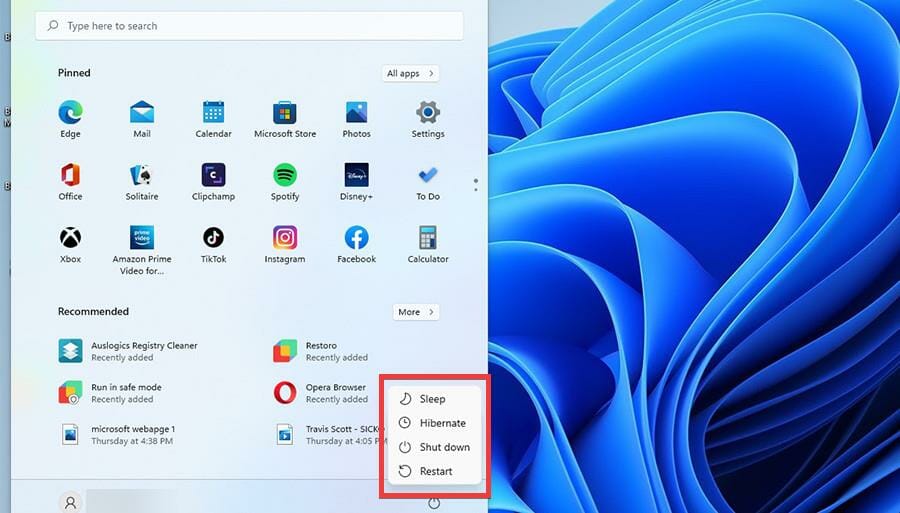
You can make Windows 11 sleep with the Alt + F4 shortcut or the Windows + X via the power user settings. Also, you can force it to Sleep by pressing the power button once.
Issues with the sleep mode on Windows 11 can be frustrating, as it takes away a significant power and time-saving feature. But with the fixes in this guide, you should be able to solve the problem effectively.
Are you having other issues like Black Screen After Sleep on Windows 10 and 11? Then, check our guide for the quick ways to fix it quickly.
Feel free to let us know if this guide’s solutions helped you fix the Windows 11 sleep mode not working issue in the comments below.
Read our disclosure page to find out how can you help Windows Report sustain the editorial team. Read more


Improve this guide


User forum
3 messages