Shell Infrastructure Host: Should I Delete or Disable it?
An Outdated OS might cause the Shell Host to use high resources
Key notes
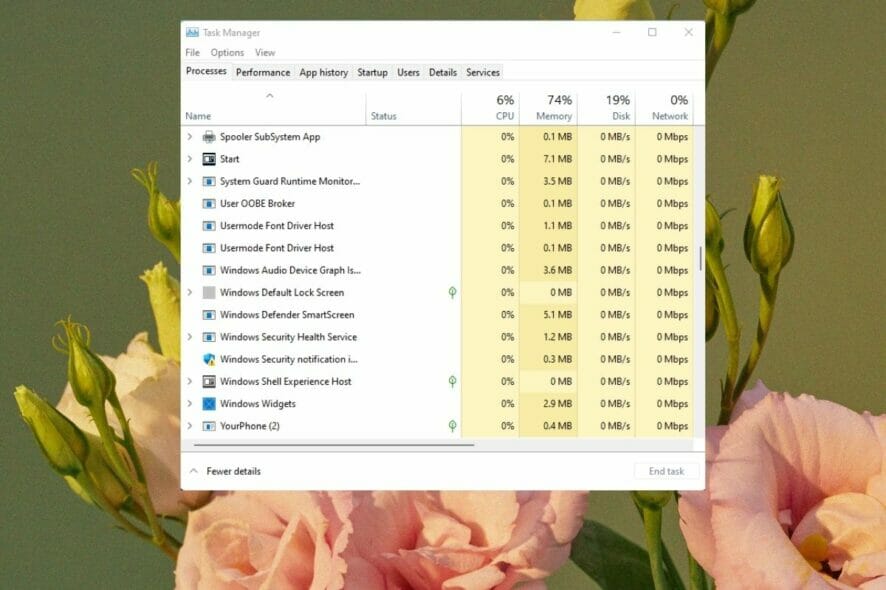
- There have been several complaints by Windows 11 users of the Shell Infrastructure Host using as much as 10% of CPU power.
- It causes the computer to lag and slows down system processes, and the fault could be caused by malware or stability issues.
- As the Shell Infrastructure Host is a critical constituent of Windows, it uses only a tiny amount of power by default.
The Shell Host dictates taskbar transparency, start menu layout, background images, and other graphical elements as a core function of Windows.
Unlike some processes you find running in the task manager, it doesn’t take up too much power. It shoots up about 1-3 percent at times. But you’ll mostly find it taking up 0% of your CPU.
So, if you notice a high CPU power usage by the Shell Host Infrastructure process on Windows 11, it means things are not standard on your PC. And this could be a sign of worse to come.
Thankfully, we have provided detailed fixes for the issue in the guide, as we did with the Shell Host Infrastructure has stopped working problem.
Why is Shell Infrastructure Host causing high CPU usage?
If the Shell Infrastructure Host uses high CPU resources, it can be down to an outdated operating system. In this case, you should try first to update your OS.
Also, the feature is responsible for processing the startup of essential UI elements. So, if you use slideshow desktop background photos, the Shell Infrastructure Host might use high CPU power. Here, switching to a static one is advisable.
Lastly, the problem can be down to corrupt system files. You can fix this by repairing the files with the built-in repair tools or dedicated software.
Is Shell Infrastructure Host necessary?
The Shell Infrastructure Host is essential in handling a series of graphics UI elements on Windows PC. Some of these processes include the background, Taskbar, and Start Menu.
So, the process is necessary for various graphic elements and shouldn’t be deactivated.
What can I do if Windows 11 Shell Infrastructure Host uses a high CPU?
1. Update Windows
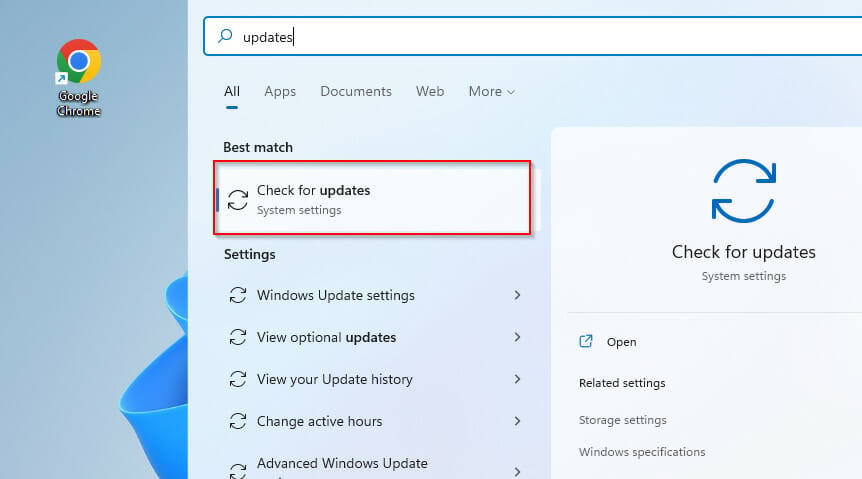
- Go to the Start menu by clicking on Windows + S.

- In the search bar, enter updates.
- Click on Check for Updates.
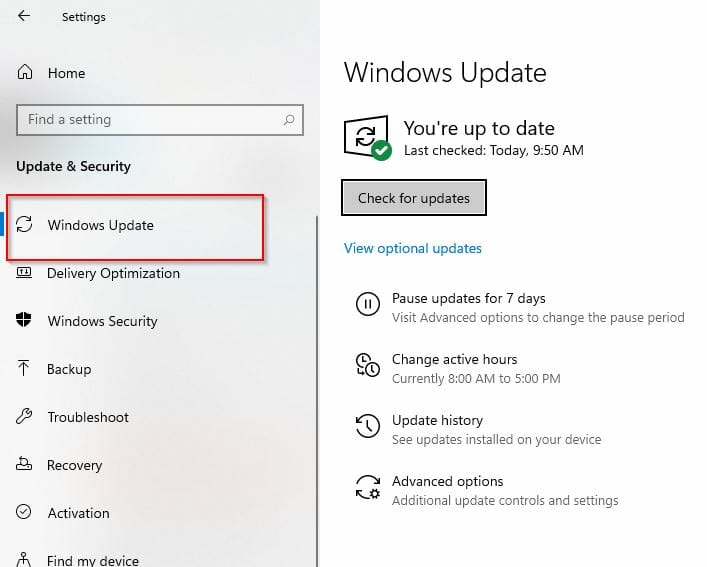
- From the dashboard to the left of the new screen, click on the Windows Update option.
- Click the Check for updates button.
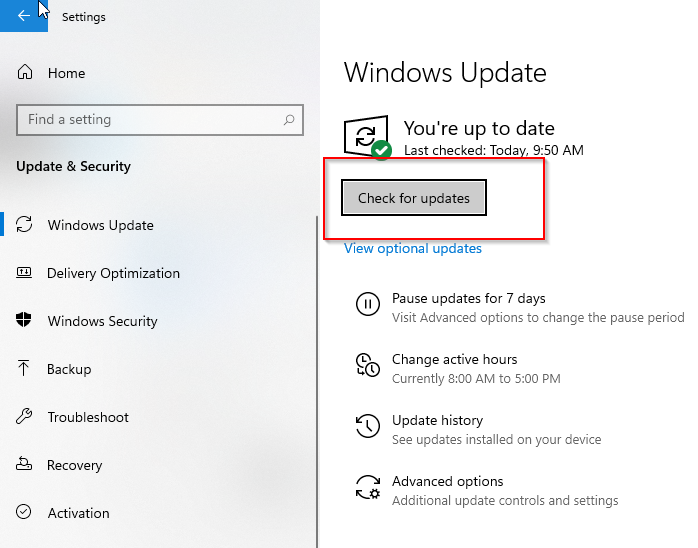
- Update your OS as required.
2. Go through your system files
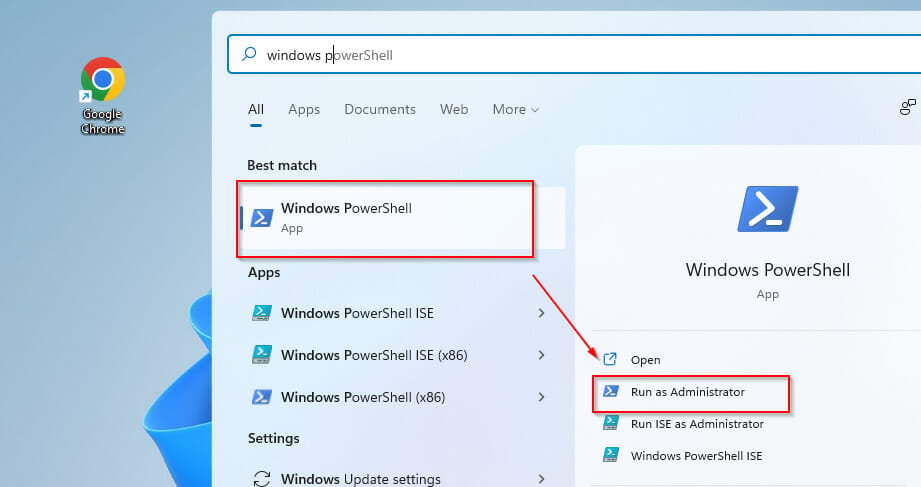
- Open the search box by pressing Windows + S.
- In the search bar, type in Windows Powershell.
- Click on Run as Administrator.
- Grant user control and wait for the PowerShell panel to open.
- Enter the following into the command line and press Enter to run it:
sfc scannow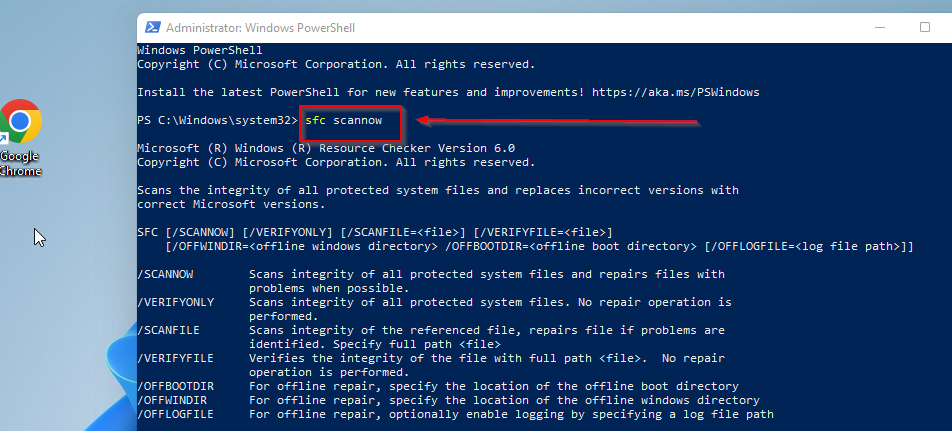
You’ll have to wait a few seconds after this as the SFC scans and repairs any broken system components.
If this seems like a tedious task, you can always use third-party repair software. These tools scan your entire computer for corrupted or damaged system files and replace them with fresh Windows originals.
3. Run DSIM
- Open up the items list by pressing Windows + X.
- Click on the Windows PowerShell (Admin) option.
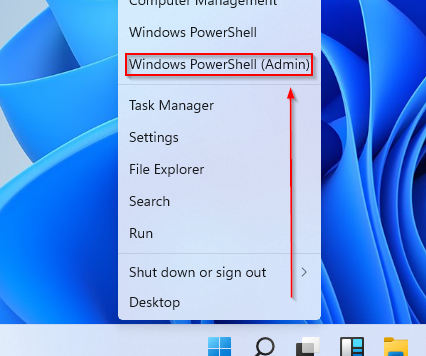
- Grant the user control and wait for the panel to open.
- Enter the command below and click on Enter to run it:
DISM.Exe /Online /cleanup-Image /Restorehealth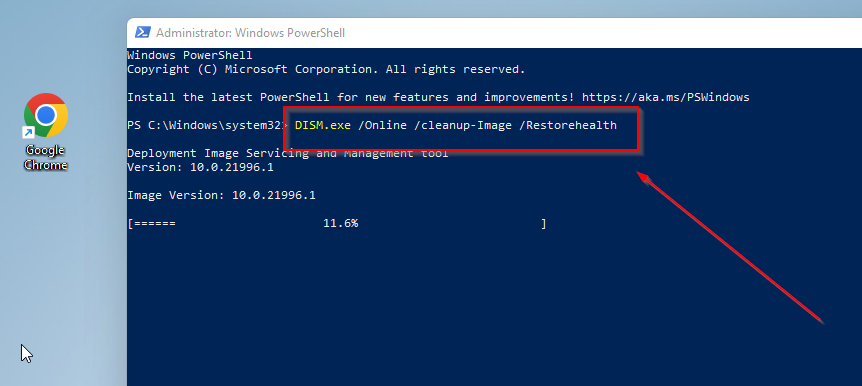
You’ll have to wait a couple of minutes to complete the process. Other than this, you can run a simple antivirus scan to be sure.
Can I end Shell Infrastructure Host?
You can end the Shell Infrastructure Host process like every other process from the Task Manager. However, it warns that your PC will be unusable or shut down if you deactivate the feature.
And since the process is generally safe, it is advisable not to end it.
With the information in this guide, you should be able to fix the Shell Infrastructure Host high CPU usage on Windows 11. Although this same issue was reported on Windows 10, we have resolved it accordingly.
When the CPU usage for any system component is abnormally high, the resulting overheating can cause your PC to shut down abruptly, So you might want to check out this guide on how to fix CPU temperature on Windows 10/11.
Here’s to hoping that this guide was a great and informative read. If your Shell Host uses a high CPU, don’t hesitate to troubleshoot using any techniques.
The section below is open for your awaited comments and suggestions.
Read our disclosure page to find out how can you help Windows Report sustain the editorial team. Read more


Improve this guide

User forum
3 messages