Windows 11 Won’t Eject External Hard Drive? How to Force it
5 min. read
Updated on
Read our disclosure page to find out how can you help Windows Report sustain the editorial team Read more
Key notes
- Some users are reporting that Windows 11 won't eject the external hard drive even after multiple attempts.
- Often, this can be fixed by restarting your computer, but sometimes you need to get a little more hands-on.
- One option is to disconnect the power cord from the hard drive and then reconnect it, which may allow the operating system to properly eject it.
- Another option is to force stop any processes that may be preventing Windows from correctly removing the hard drive.
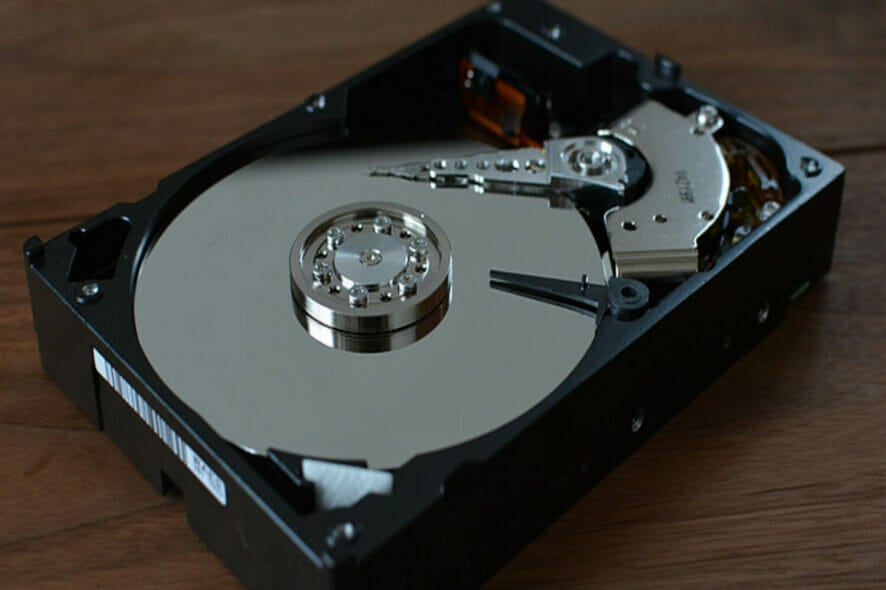
Some users are reporting that they are not able to safely eject their external hard drive on Windows 11. This can be a major problem for users using the external hard drive for backup purposes.
If your Windows 11 won’t eject your external hard drive (or any other external media for that matter), it can be very frustrating. Your computer might freeze, crash, or even restart when you try to eject an external hard drive. Fortunately, there are several ways to fix this problem.
Removing a hard drive with Windows is fairly easy, but you need to do so safely to avoid data being corrupted or damaged.
If you are unable to safely eject the external hard drive or the option isn’t available, there may be some causes. For instance, the drive may still be in use (try closing all applications), or there could be outdated drivers.
This article highlights some of the most important causes of this issue and provides quick fixes that may resolve the issue.
Why Windows 11 won’t eject the external hard drive?
If your external hard drive is not safely ejected, you might get an error message such as Failed to safely eject volume, Devices have been found or Eject button on an external drive is missing.
Windows 11 could issue the warning for two main reasons:
- The drive contains files that are currently in use. If the background processes or applications are using the files stored on the external drive, it can cause the issue.
- USB drivers on your system are outdated or malfunctioning.
What can I do if Windows 11 won’t eject the external hard drive?
1. Restart your PC
Restarting your computer is the first thing to consider when you’re experiencing this issue. Shutting down your computer closes down all applications and third-party processes.
Including the ones that are accessing files on the external hard. You can eject the external drive when the system boots up again.
2. Update USB drivers
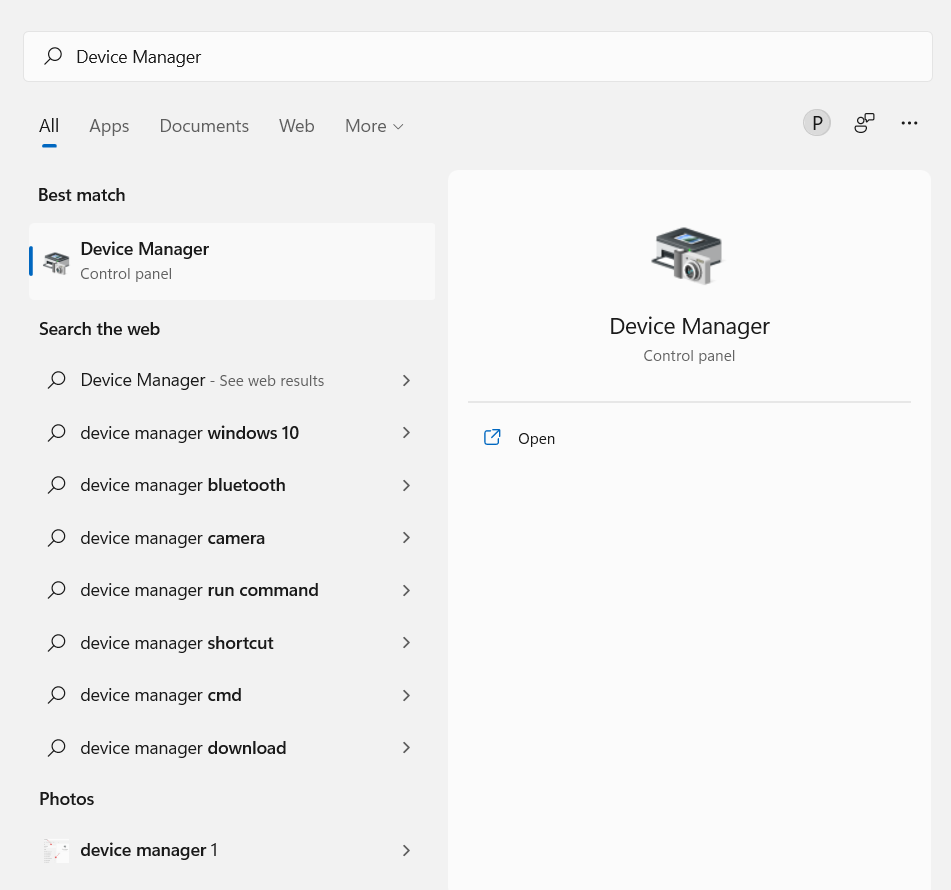
- Go to the Windows Search bar and type Device Manager. Hit Enter.
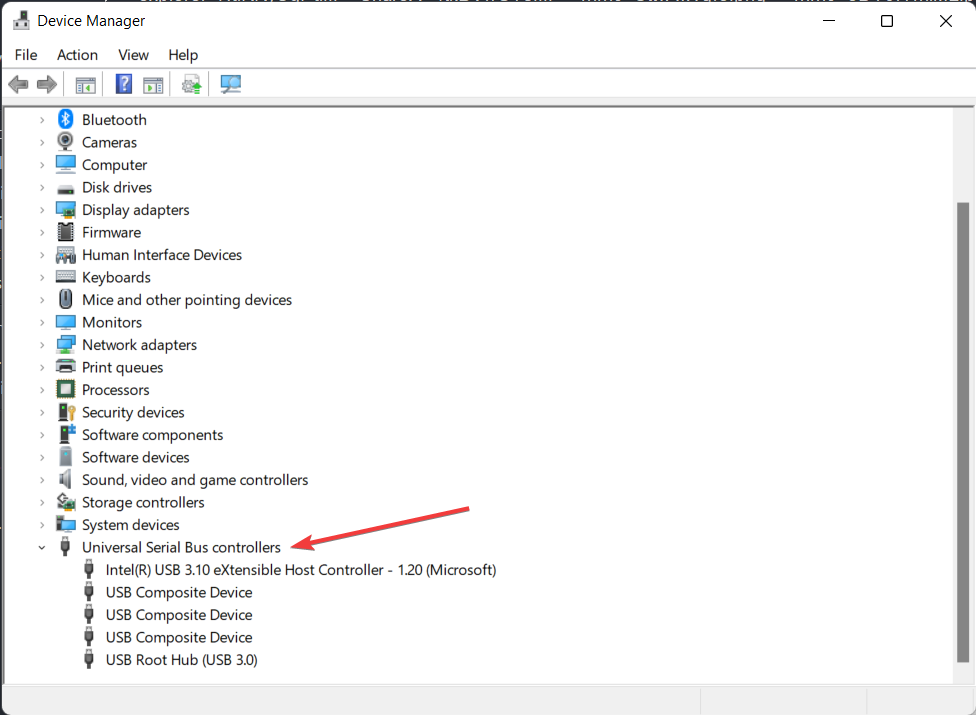
- Expand the Universal Serial Bus Controller option.
- If you see an entry with a yellow exclamation mark, right-click it and select Update Driver.
Outdated or incorrect USB drivers can also affect your ability to eject the drive from your computer. To fix this issue, simply update your USB drivers and then try ejecting the drive again.
You can also update drivers through the Outbyte Driver Updater. It is a powerful, easy to use driver update software tool that allows you to find and download the latest official drivers for your computer.
It can even help you install them automatically. With an intelligent user interface, Outbyte Driver Updater is easy for both novice and advanced users to navigate.
3. Use Command Prompt
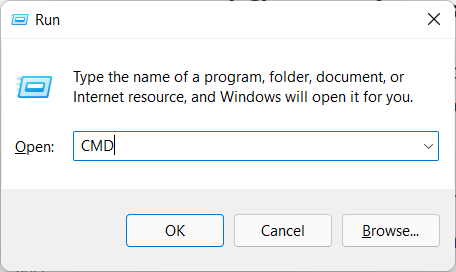
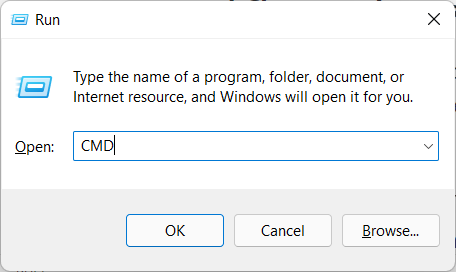
- Press Windows + R to open the Run dialog window.
- In the Run window, type CMD and hit Enter. This will open up the elevated Command Prompt. window.
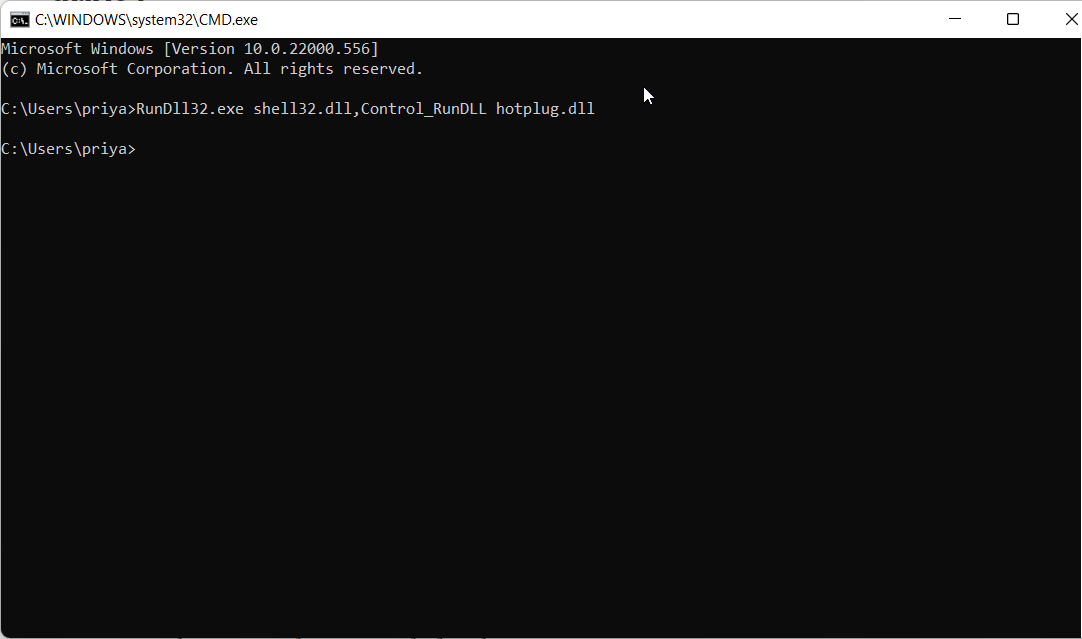
- Once in Command Prompt, copy and paste the following and hit Enter:
RunDll32.exe shell32.dll,Control_RunDLL hotplug.dll - Select the drive you want to eject and click Stop.
You can easily access the Safely Remove Hardware utility through Command Prompt. This should open the disk utility and allow you to safely eject your external hard drive.
4. Run Windows Hardware and Device Troubleshooter
- Go to the Run dialog window, type CMD, and hit Enter.
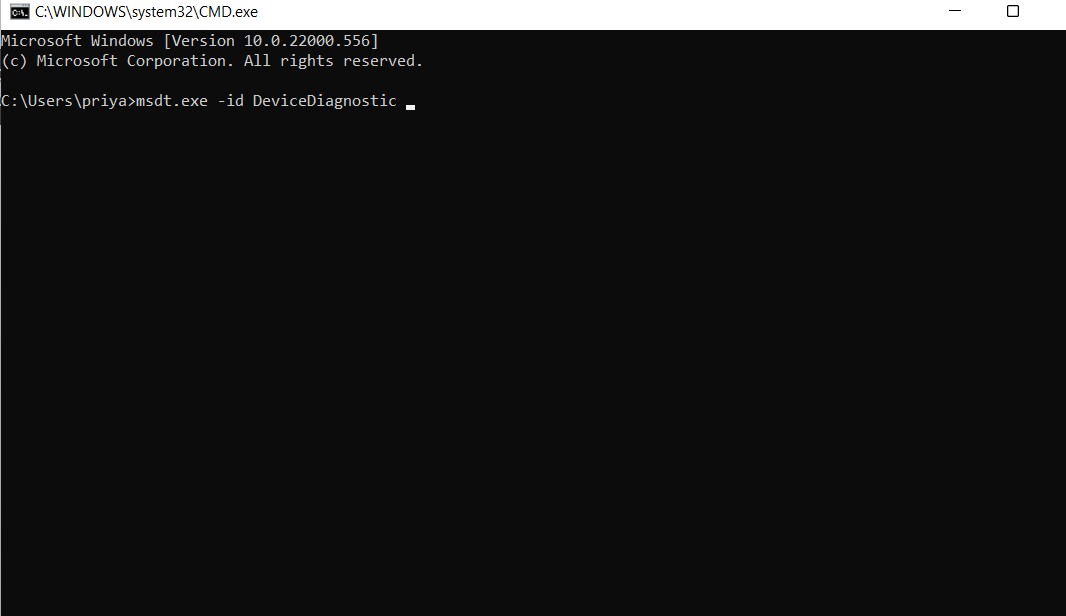
- In the Command Prompt window that opens, copy and paste the following and hit Enter:
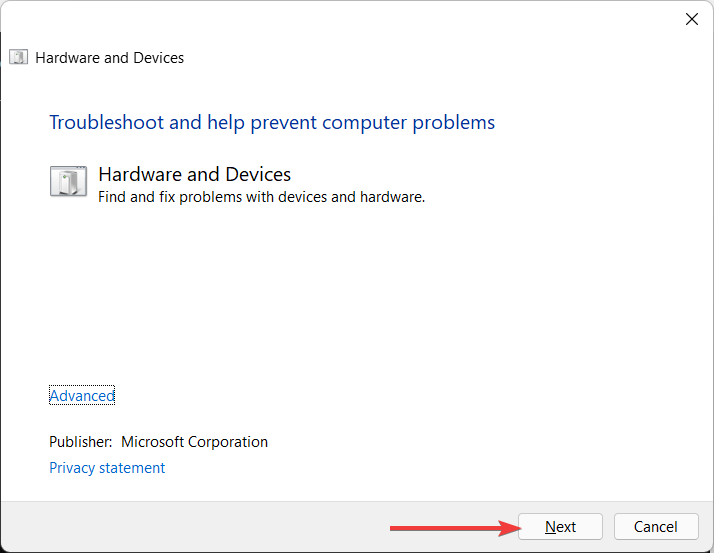
msdt.exe -id DeviceDiagnostic - Click Next to run the troubleshooter.
The Windows Hardware and Devices Troubleshooter diagnose common problems with your computer. If you are experiencing any issues removing an external hard drive, the Troubleshooter can help fix the problem.
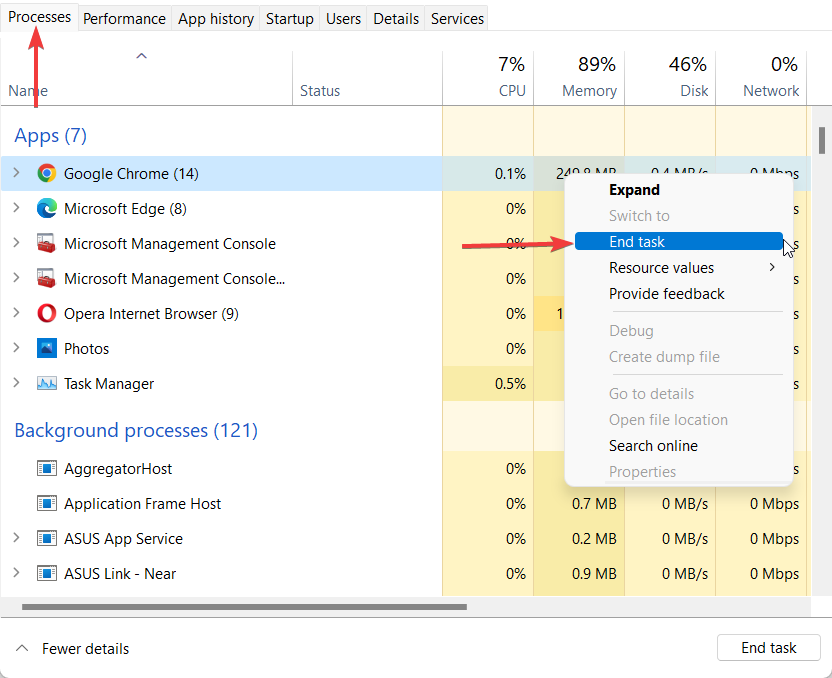
5. Close running tasks in Task Manager
- Go to the Windows Search bar, type Task Manager, and hit Enter.
- In Task Manager, select the Processes tab and you should be able to see a list of running processes.
- Right-click any program that appears to be taking up too many resources and select End Task.
If you ever find problems ejecting the external drive, the best way to fix it is to close any programs that are open in the Task Manager.
Is it safe to remove a drive without ejecting it?
Firstly, it’s worth mentioning that most of the time you can unplug your devices without safely ejecting them. It’s only when we start to make this a habit that problems might arise.
If you unplug your USB device while data is being written, it may become corrupted. Moreover, it can slow down a lot of operations on your computer, or even move files around that you may have been working on for hours.
The above two methods should suffice to fix your problem of external hard drives not ejecting on Windows 11.
You can also consider installing the latest Surface updates to fix outdated drivers.
If you have any questions, let us know by leaving a comment below and we will try to help you out.


User forum
0 messages