How to transfer Live Mail files from Windows 7 to Windows 10
3 min. read
Updated on
Read our disclosure page to find out how can you help Windows Report sustain the editorial team Read more

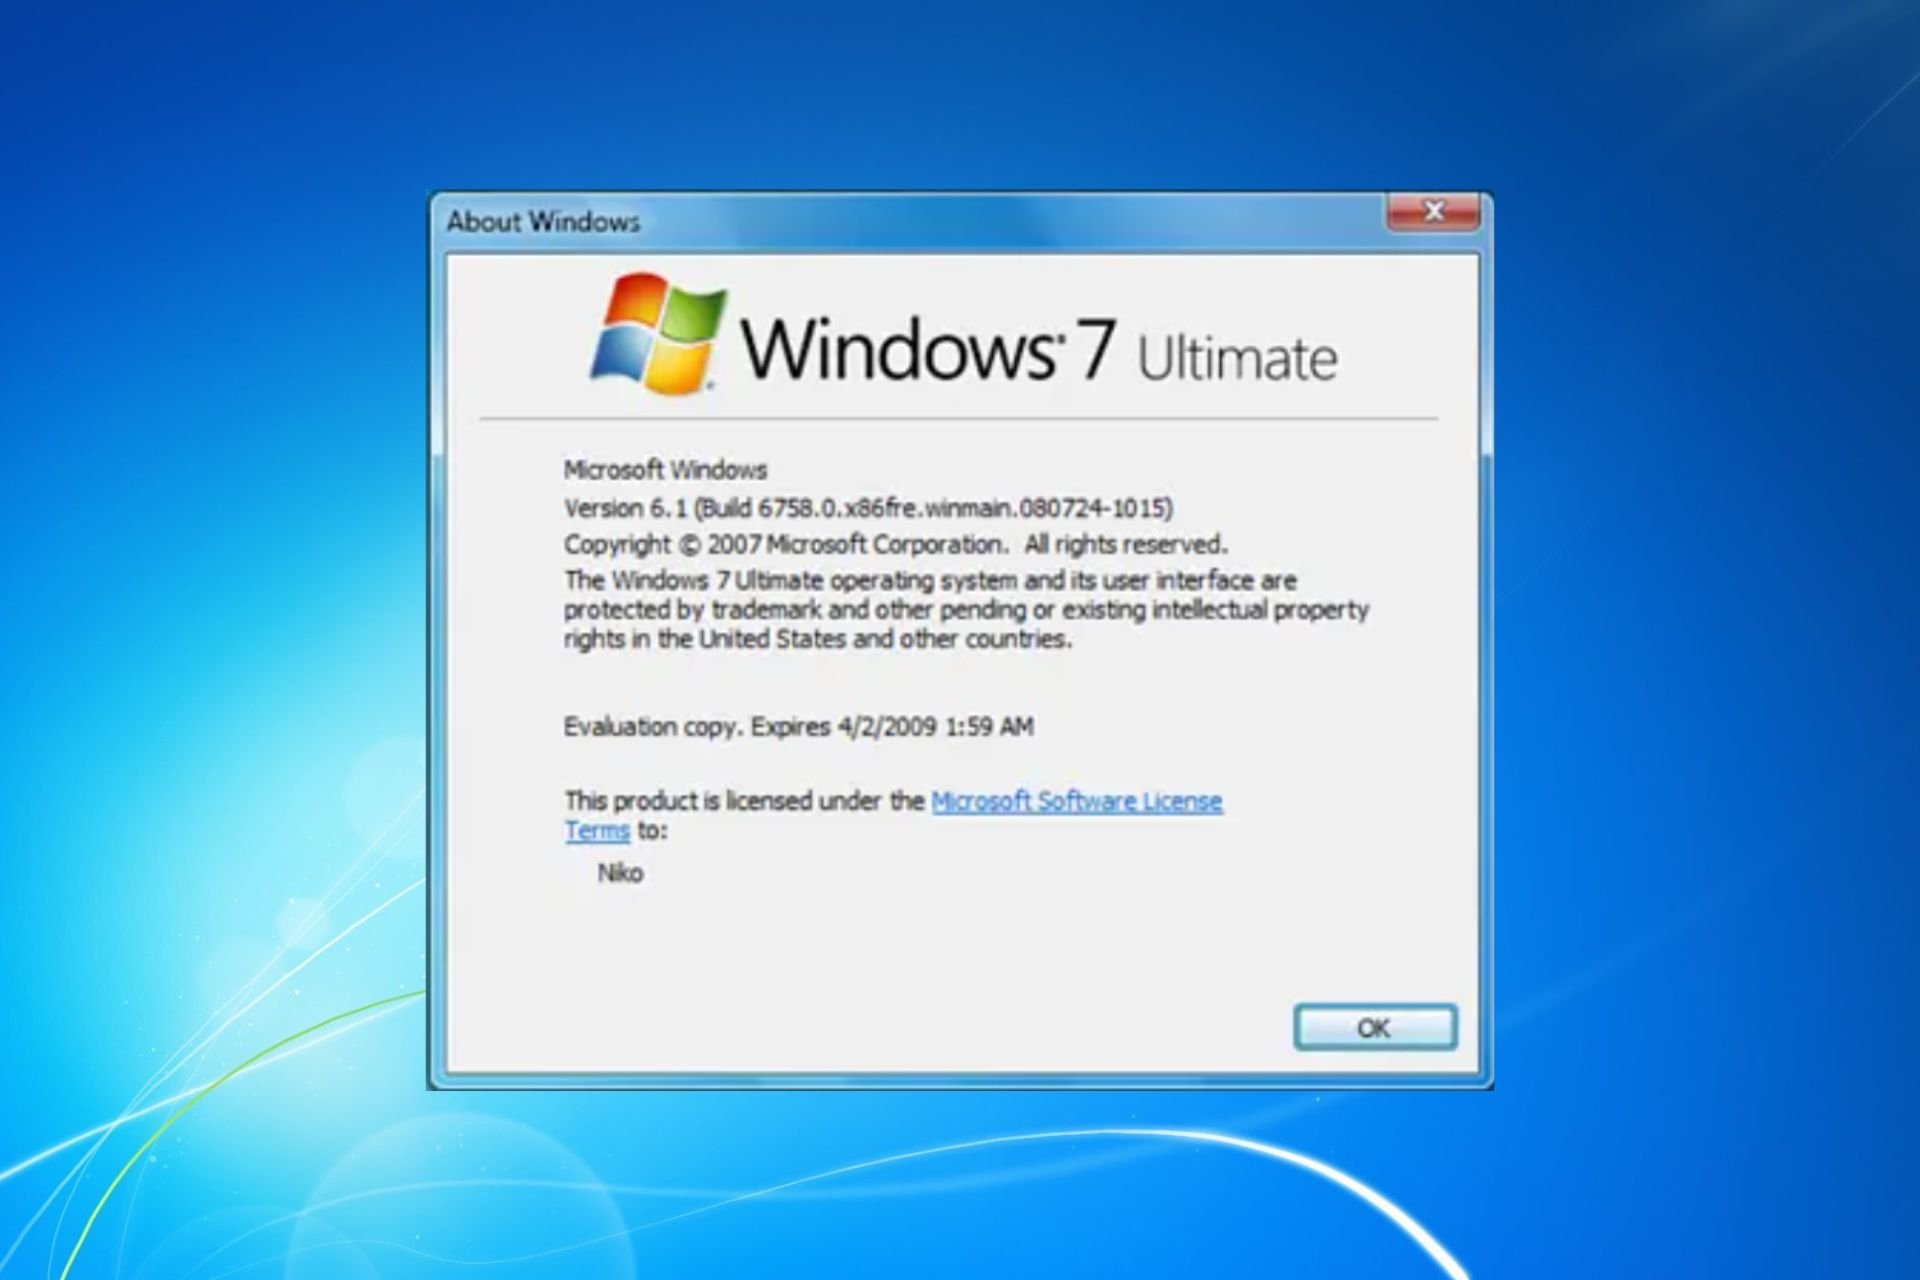
Windows 7 no longer receives support from Microsoft, and as such, many users are now forced to upgrade to the much more advanced Windows 10.
Those that have business licenses for their Windows OS can also opt to get the Windows 7 Extended Support, although this too is just a temporary solution.
Thus, upgrading does seem like the best choice, if not for the many concerns users are having for their personal data. One good example is how users are wondering how they could transfer their Windows Live Mail messages from their Windows 7 PC to Windows 10.
How do I transfer my Live Mail messages to Windows 10?
One neat feature that will help us in our endeavor is that Windows Live Mail includes functions for exporting and importing mail messages and newsgroup posts.
This is a useful way of backing up to avoid data loss in the event of a computer malfunction. Additionally, it also helps transfer data from one installation of the program to another.
1. Export the Live Mail messages
In order to successfully export the emails, follow these steps:
- Before starting, set Windows Live Mail to Work offline
- This is mainly to minimize interference
- All you need to do is disconnect from the network and disable your anti-virus before starting
- Create a folder on your desktop
- This is where you will export the messages
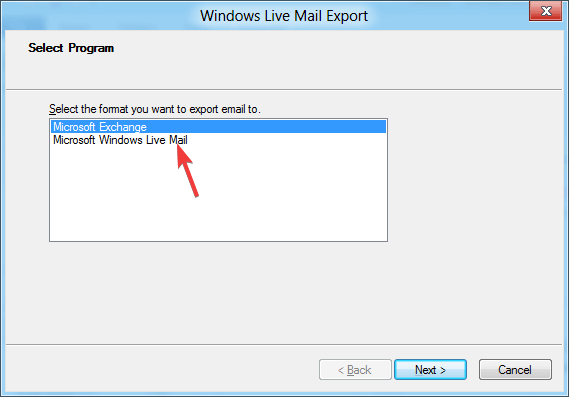
- Open the Export wizard
- Select the temporary folder and select All folders
- Check that the number of files in each folder within the temporary folder
- Make sure it is one more than the number of messages in the corresponding folder in Windows Live Mail
- Copy the temporary folder to its final destination on your Windows 10 PC
Not a big fan of Outlook? Check out these great alternatives!
2. Import the messages in Windows 10
The messages will be stored in EML format, and if Windows 10‘s Outlook is the default program to open EML files, then all you will need to do to add them si double-click them.
Once the message is open, you can use the Save button to store it in the Inbox folder or the Move command to save it to the folder of your choice.
Conclusion
By following these steps, you should be able to successfully migrate Live Mail messages from a Windows 7 PC to Windows 10‘s Outlook.
The only noticeable drawback of this method is that once the EML files have been exported, adding them in Outlook can only be done one at a time. Thankfully enough, this isn’t a process that takes long at all, but it can get frustrating if the number or EMLs that need adding is large.
Did you find this article useful? Let us know in the comments section below.
RELATED ARTICLES YOU SHOULD CHECK OUT:

