How to download Windows Live on Windows 10
Microsoft is quite attached to UWP apps and their development that there’s a little space for the old Windows programs. Microsoft Essentials 2012 was the last iteration which provided users with Windows Live. And that suite was a fan favorite for a long time. Now, many of users who moved to Windows 10 had a hard time getting used to the UWP successors.
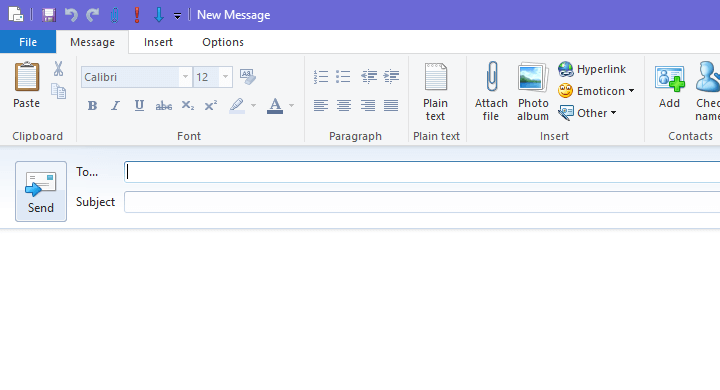
Download and configure Windows Live Mail in Windows 10
Now, even though the Essentials suite was discontinued back in January of 2017, you can still use it. This includes Windows Live Mail, which is, based on the opinions of so many users, much better choice than the subpar built-in Mail & Calendar app. In regards to lack of support, we’re glad to inform you that it won’t take much out of Windows Live. Even though security patches are not available and this email client isn’t the safest one to use, it’s still available. If you can deal with it, the app still can be used on Windows 10.
There are no too much available sources to get the application suite, though. Since it was officially discontinued, the download links are either rather scarce or come from suspicious third-party sources. Luckily, we find and tested one semi-official download link and it worked out just fine. The installation and configuring settings is just like with any third-party email client.
Here’s how to get Windows Live as the part of the Essentials 2012 suits:
- Download Essentials 2012, here.
- Install the suite and open Windows Live Mail.
- Open Properties and choose File > Options > Email accounts.
- Add your Microsoft account and credentials.
- Check the “Manually configure server settings” box.
- For the incoming server, enter mail.outlook.com and choose port 993.
- For the outgoing server, enter smtp-mail.outlook.com and choose port 587.
- Save settings and wait until the emails are synchronized.
That should do it. If this was helpful, make sure to give us a shout in the comments section below.
Read our disclosure page to find out how can you help Windows Report sustain the editorial team. Read more


Improve this guide


User forum
0 messages