What is Windows Protected Print Mode and How to Enable it
The feature makes printing more seamless and secure
Key notes
- Windows Protected Print Mode (WPP) is now available in the Windows Insider build.
- You can enable or disable the feature via Local Group Policy Editor or Registry Editor.
- Keep reading to find out what our experts have to say about it!
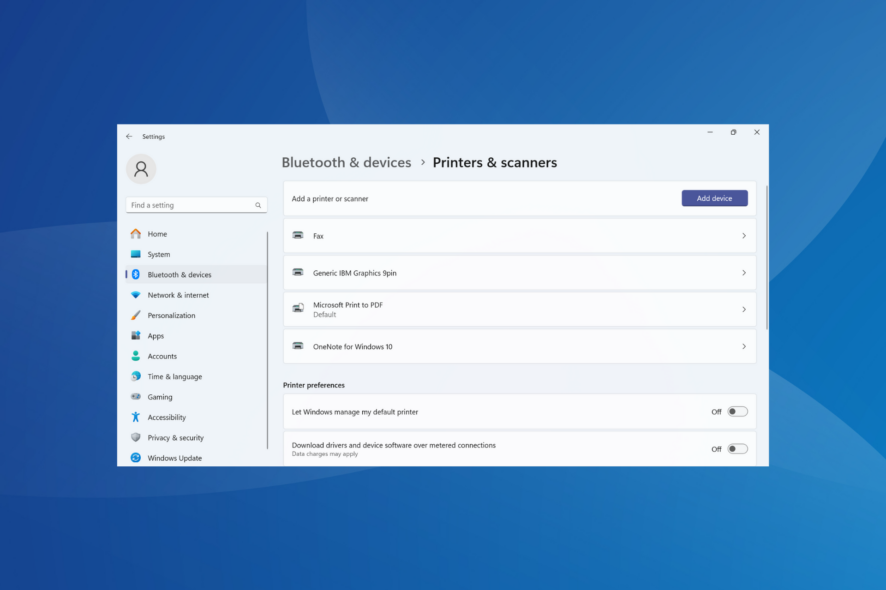
Microsoft has announced several changes in the Windows 11 Insider Preview Build 26016 to improve, modernize, and secure the print experience, and the Windows Protected Print Mode is a part of it. The feature intends to redefine how users print from a Windows device.
What is Windows Protected Print Mode?
Windows Protected Print Mode or WPP disables third-party printer drivers and only supports printers certified by Mopria. WPP will be enabled by default on Windows.
In the WPP mode, the OS would block the loading of malicious modules and legacy configurations and perform XPS rendering as the user instead of System to limit the impact of bugs and vulnerabilities.
How do I enable or disable Windows Protected Print Mode?
1. Using the Local Group Policy Editor (gpedit.msc)
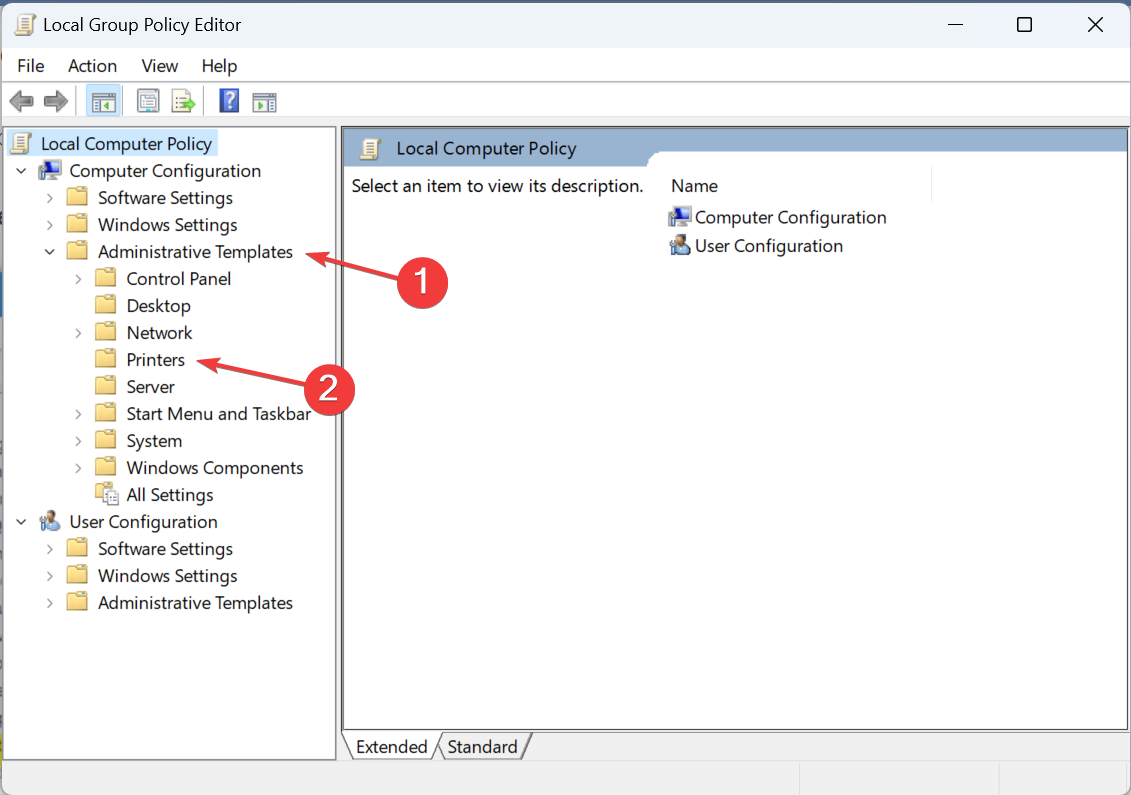
- Press Windows + S to open Search, type Local Group Policy Editor in the text field, and click the relevant result.
- Expand Administrative Templates under Computer Configuration, and then double-click on Printers.
- Select the Configure Windows protected print policy from the right.
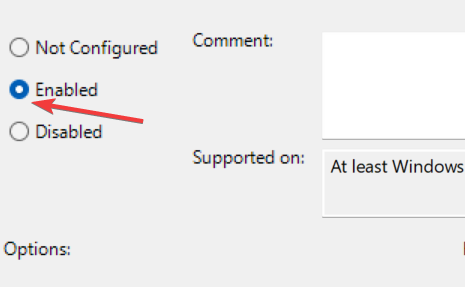
- To turn on Windows Protected Print Mode, select Enabled.
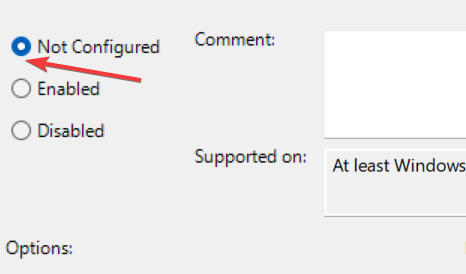
- To turn off Windows Protected Print Mode, select Not Configured or Disabled.
- Finally, click on Apply and OK to save the changes.
If you can’t find the built-in utility, check the installed edition of Windows 11. The Local Group Policy Editor is not available in the Home edition, but you can always manually install gpedit.msc.
2. Using Registry Editor
 Tip
Tip
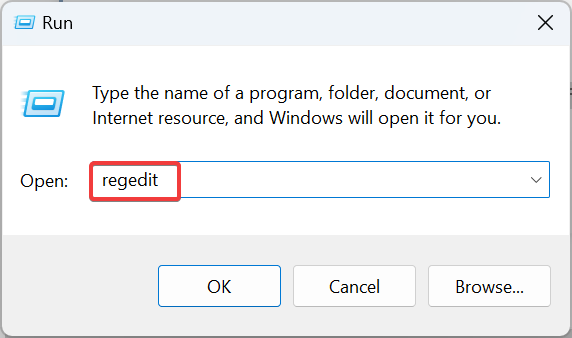
- Press Windows + R to open Run, type regedit in the text field, and hit Enter.
- Click Yes in the UAC prompt.
- Navigate the following path or paste it in the address bar and then hit Enter:
HKEY_LOCAL_MACHINE\SOFTWARE\Policies\Microsoft\Windows NT\Printers\WPP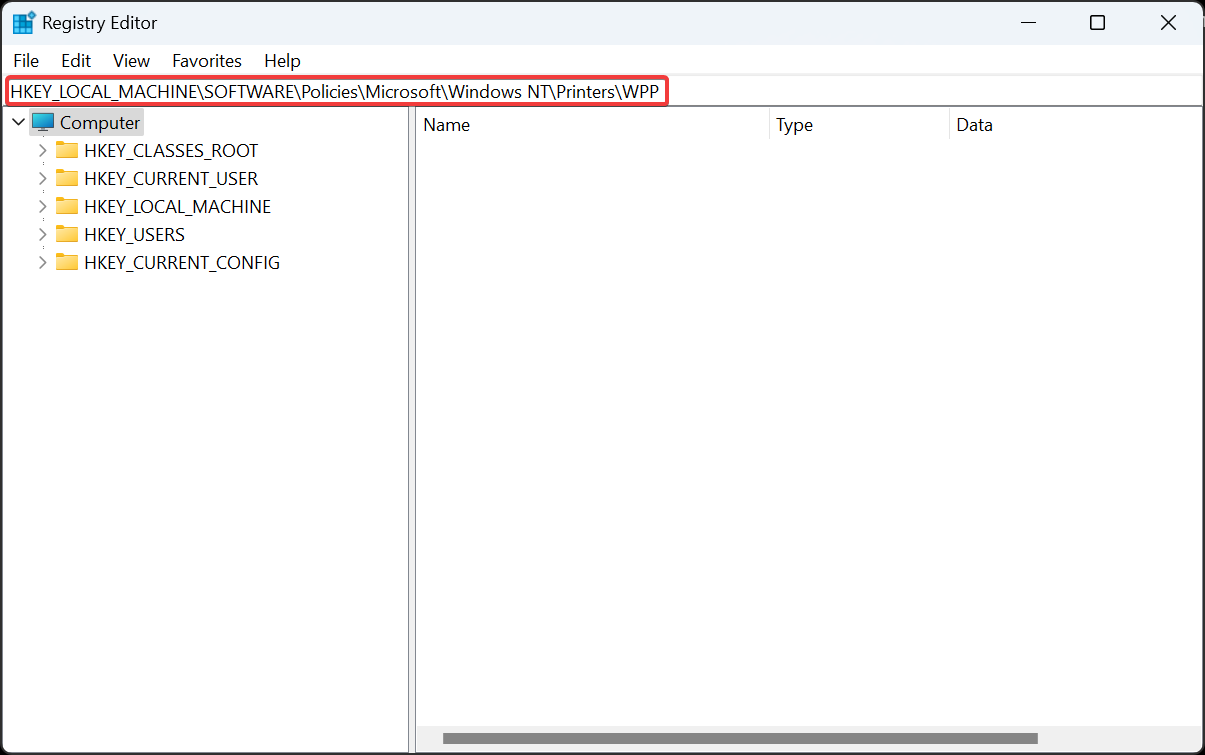
2.1 Enable
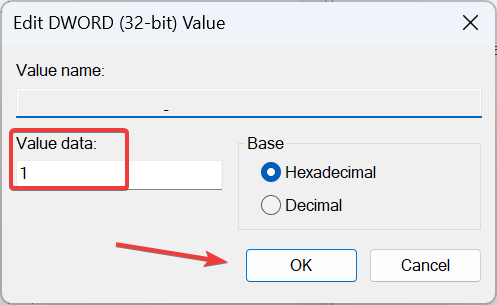
- Right-click on the WindowsProtectedPrintMode DWORD on the right, and select Modify.
- Enter 1 under Value data and then click OK to save the changes.
- Similarly, set the following as the Value data for the corresponding DWORDs:
- EnabledBy: 2
- WindowsProtectedPrintGroupPolicyState: 1
- WindowsProtectedPrintOobeConfigComplete: 1
2.2 Disable
- Right-click on the WindowsProtectedPrintMode DWORD, and then select Modify.
- Enter 0 under the Value data field, and click OK.
- Now, right-click on the EnabledBy DWORD, and then select Delete.
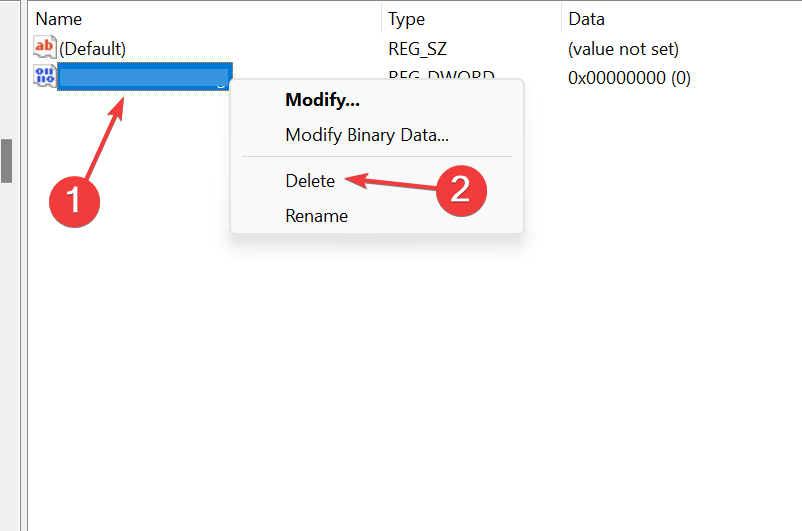
- Click Yes in the confirmation prompt.
- Similarly, delete the following DWORDs:
- WindowsProtectedPrintGroupPolicyState
- WindowsProtectedPrintOobeConfigComplete
- Restart the computer for the changes to apply.
Remember, Windows Protected Print Mode won’t be available in the regular versions of Windows 11 for quite some time and has only yet been released in the Canary channel. To find out more about the feature and other changes, read Microsoft’s official blog post.
Before you leave, find out some quick tips to speed things up if your printer is printing slowly.
For any queries or to share your thoughts on the new feature, drop a comment below.
Read our disclosure page to find out how can you help Windows Report sustain the editorial team. Read more


Improve this guide

User forum
0 messages