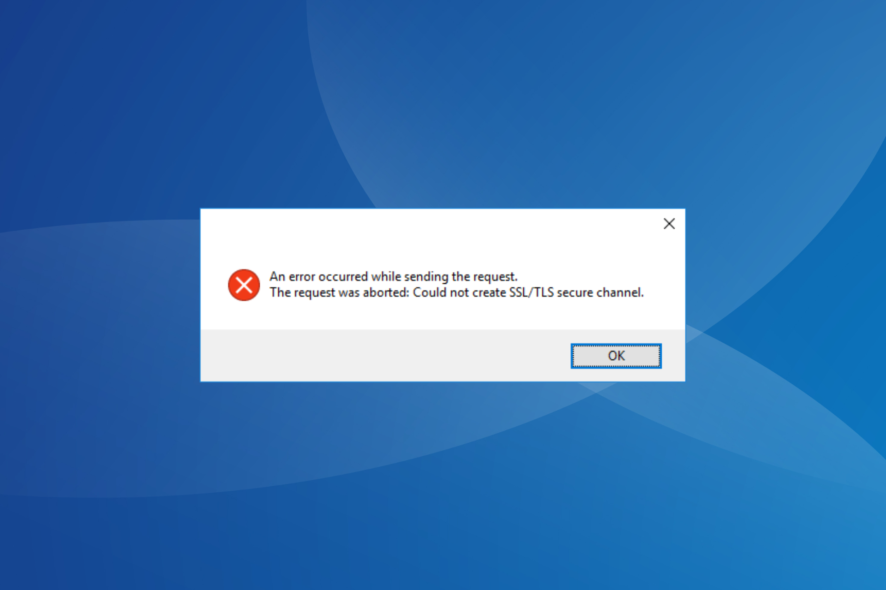
Server 2012: Could Not Create SSL/TLS Secure Channel [Fix]
Find out what worked for other users!
4 min. read
Updated on
Read our disclosure page to find out how can you help Windows Report sustain the editorial team. Read more
Key notes
- When you come across Could not create SSL/TLS secure channel error in Windows Server 2012, it will terminate the process.
- A quick fix is to set the ServicePoint to TLS 1.2.
- For many users, enabling SSL3 and TLS via the Registry did the trick.

If you encountered The request was aborted: Could not create SSL/TLS secure channel error in Windows Server 2012 when trying to show a document in WebView, you are not the only one. A few saw it when a request was made to an https endpoint on Cloudflare.
This issue can be extremely frustrating, and it will not allow you to create an SSL/TLS secure channel, so your server setup can not be completed accordingly. So, let’s find out how you can fix Could not create SSL/TLS secure channel.
How do I fix SSL TLS secure channel error?
1. Set ServicePoint to TLS 1.2
- Find the global.asax file inside the root of your site.
- Right-click it -> select View code.
- You should be able to find an Application_Start method inside the file mentioned above.
- Add these lines to the code to force TLS 1.2:
namespace YourApplication
{
    public class WebApiApplication : System.Web.HttpApplication
    {
        protected void Application_Start()
        {
            //**Add these lines**
            if (ServicePointManager.SecurityProtocol.HasFlag(SecurityProtocolType.Tls12) == false)
            {
                ServicePointManager.SecurityProtocol = ServicePointManager.SecurityProtocol | SecurityProtocolType.Tls12;
            }
            //**Add these lines**

            AreaRegistration.RegisterAllAreas();
            GlobalConfiguration.Configure(WebApiConfig.Register);
            FilterConfig.RegisterGlobalFilters(GlobalFilters.Filters);
            RouteConfig.RegisterRoutes(RouteTable.Routes);
            BundleConfig.RegisterBundles(BundleTable.Bundles);
        }
    }
}
Some users reported that setting the ServicePoint to TLS 1.2 solved things when they came across could not create SSL/TLS secure channel in Windows Server 2019.
2. Download the Security Advisor update manually
- Visit the official Microsoft webpage, scroll down, and expand Microsoft Download Center.
- Download the installer that corresponds to the version of Windows you’re running.
- Run the setup and follow the on-screen instructions to install it.
When you see The request was aborted: Could not create SSL/TLS secure channel in Windows Server 2016, installing the security advisor update should fix things!
3. Enable SSL3 and TLS and add TLS 1.1 and TLS 1.2
3.1 Enable SSL3 and TLS
- Access the App Server Instances, and select the server by using the left pane.
- Click on HTTP Server and HTTP Server Listeners on the left side.
- Select the required HTTP listener.
- Under the section SSL/TLS settings, activate the options you require.
3.2 Add TLS 1.1 and TLS 1.2
- Press Windows + R, type regedit, and press Enter.
- Navigate to the following location:
HKEY_LOCAL_MACHINE\SOFTWARE\Microsoft\.NETFramework\v4.0.30319. - On the empty portion, right-click, select New, choose DWORD (32-bit) Value, and name it SchUseStrongCrypto.
- Now, double-click on the DWORD, set the Value data to 1, and click OK to save the changes.
- Once done, restart the computer.
We hope the methods mentioned above have helped you fix the Windows server 2012 error Could not create SSL/TLS secure channel.
Before you leave, find out the best Windows Server backup software and never worry about losing data.
We would love to know if this guide helped you. Please feel free to leave a comment.


User forum
0 messages