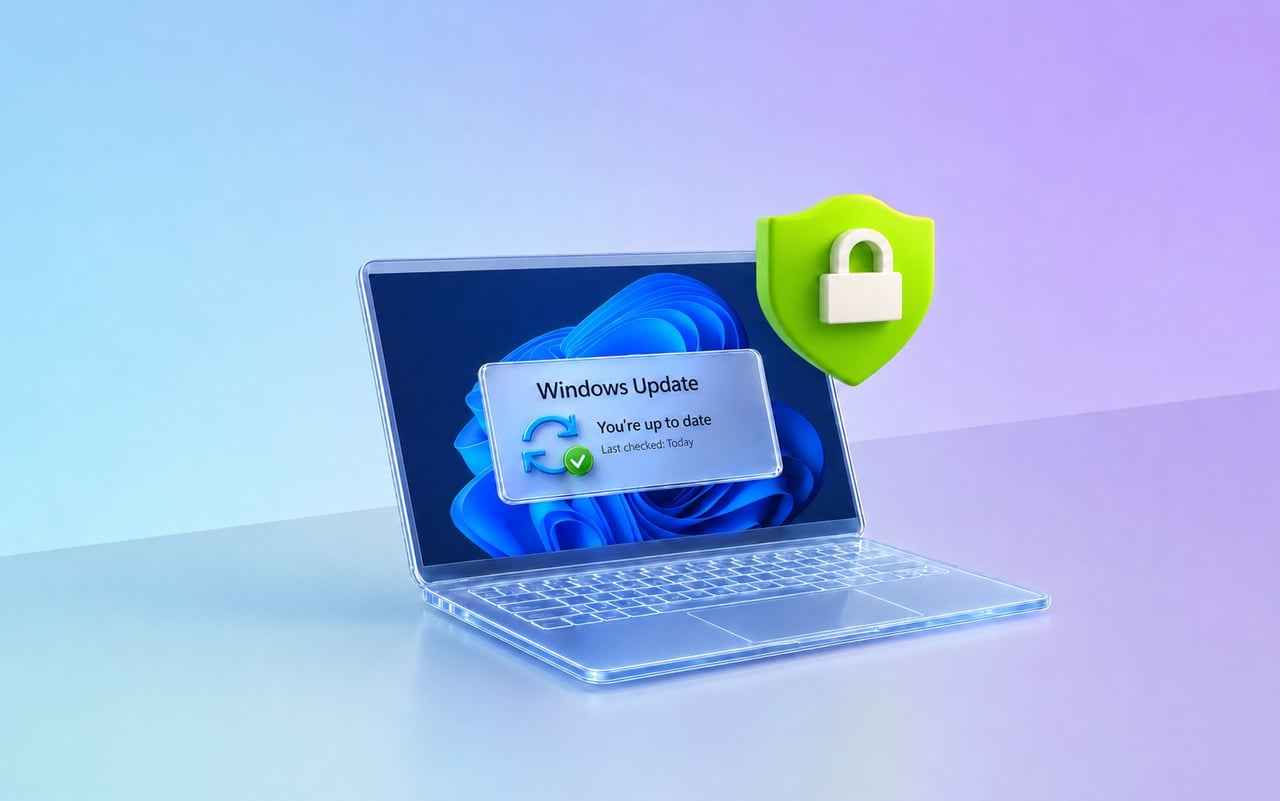
Windows Update Error 0x8024000b [Solved]
Key notes
- Windows Update errors are quite common, but so are the solutions to fixing them.
- For example, we will be showing you how to fix Windows Update error 0x8024000b in this article.
- This error occurs when Windows cannot read a file required for the installation of an update.

Error 0x8024000b is another in a long line of Windows Update error codes. That error, like the other update issues, stops Windows receiving updates. This error arises when Windows can’t access the manifest update file.
When the error occurs, you’ll see an error 0x8024000b and Operation was cancelled error message within Settings’ Windows Update tab. Read on to find out how to fix it.
How can I fix the error 0x8024000b?
1. Run the Windows Update troubleshooter
Numerous users have confirmed that the Windows Update troubleshooter fixed error 0x8024000b for them.
- First, click the Type here to search taskbar button in between Cortana and the Start menu.
- Enter troubleshoot in the Type here to search box.
- Click Troubleshoot settings to open a Troubleshoot tab in Settings.

- Select the Windows Update troubleshooter, and click its Run the troubleshooter button.

- If the troubleshooter has a potential resolution, click the Apply this fix option.
2. Clear superseded updates
Clearing superseded updates on your desktop or laptop is another way to fix error 0x8024000b.
- To do that, open the Cleanup (decline) superseded updates page on Microsoft Technet.
- Click the Cleanup-WSUSserver.ps1 button on that page.

- Open File Explorer by clicking its taskbar button.
- Open the folder you downloaded the script to.
- Right-click the script file and select the Run with Powershell context menu option.
- Then restart Windows after running the script.
3. Change the Spupdsvc.exe’s file title
- Try renaming the Spupdsvc file. To do that, press the Windows key + R key combination, which opens Run.
- Input this command into Run’s text box and press Enter:
- cmd /c ren %systemroot%System32Spupdsvc.exe Spupdsvc.old.

- cmd /c ren %systemroot%System32Spupdsvc.exe Spupdsvc.old.
- Close Run’s window, and restart your desktop and laptop.
- Run the Windows Update once more.
4. Reset Windows Update components
Some users might need to reset Windows Update components to fix error 0x8024000b.
- To do so, open Windows 10’s search utility.
- Type cmd in the search utility’s text box.
- Right-click Command Prompt to open its context menu, and select the Run as administrator option.
- Then input these separate commands into the Command Prompt:
net stop wuauserv
net stop cryptSvc
net stop bits
net stop msiserver
- Enter Ren C:WindowsSoftwareDistribution SoftwareDistribution.old in the Prompt, and press the Return keyboard key.

- Input the Ren C:WindowsSystem32catroot2 Catroot2.old command and press Return to edit the catroot2 folder title.
- Enter the following commands separately, and press Return after each one:
net start wuauserv
net start cryptSvc
net start bits
net start msiserver
5. Restore Windows to an earlier date
- Rolling Windows back to a restore point with System Restore might also be worth a shot.
- Enter rstrui in Run and click OK to open System Restore.
- Press the Next button to proceed to the restore points list.
- Select the Show more restore points option to fully expand the list of restoration points.

- Choose a restore point that will roll back Windows to a time when there wasn’t an update issue.
- You’ll lose some software installed after the selected restore point.
- To see what software gets deleted, click the Check for affected programs button.

- To see what software gets deleted, click the Check for affected programs button.
- Click Next and Finish to roll back the platform.
So, try fixing error 0x8024000b with the resolutions above. They are among the most likely fixes for the error, as researched online.
Let us know which of the solutions worked best by leaving us a message in the comments section below.
Read our disclosure page to find out how can you help Windows Report sustain the editorial team. Read more


Improve this guide


User forum
0 messages