Windows Update Error 0x80244007 [SOLVED]
4 min. read
Updated on
Read our disclosure page to find out how can you help Windows Report sustain the editorial team Read more
Key notes
- Has error code 0x80244007 already plagued your update plans?
- If so, do check the steps listed below to promptly remove this obstacle.
- Take a look at our Windows 10 Troubleshooting Hub as well and find all the answers you seek in one place.
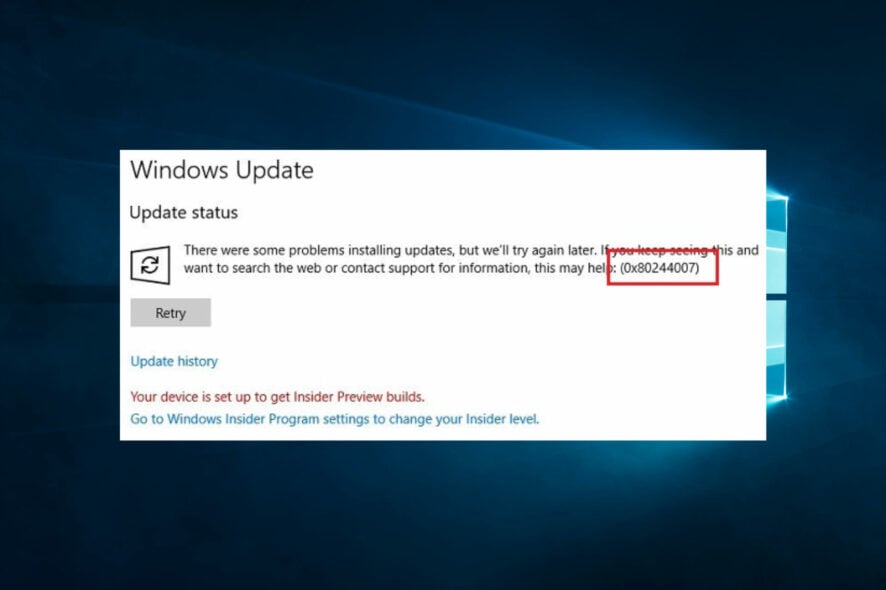
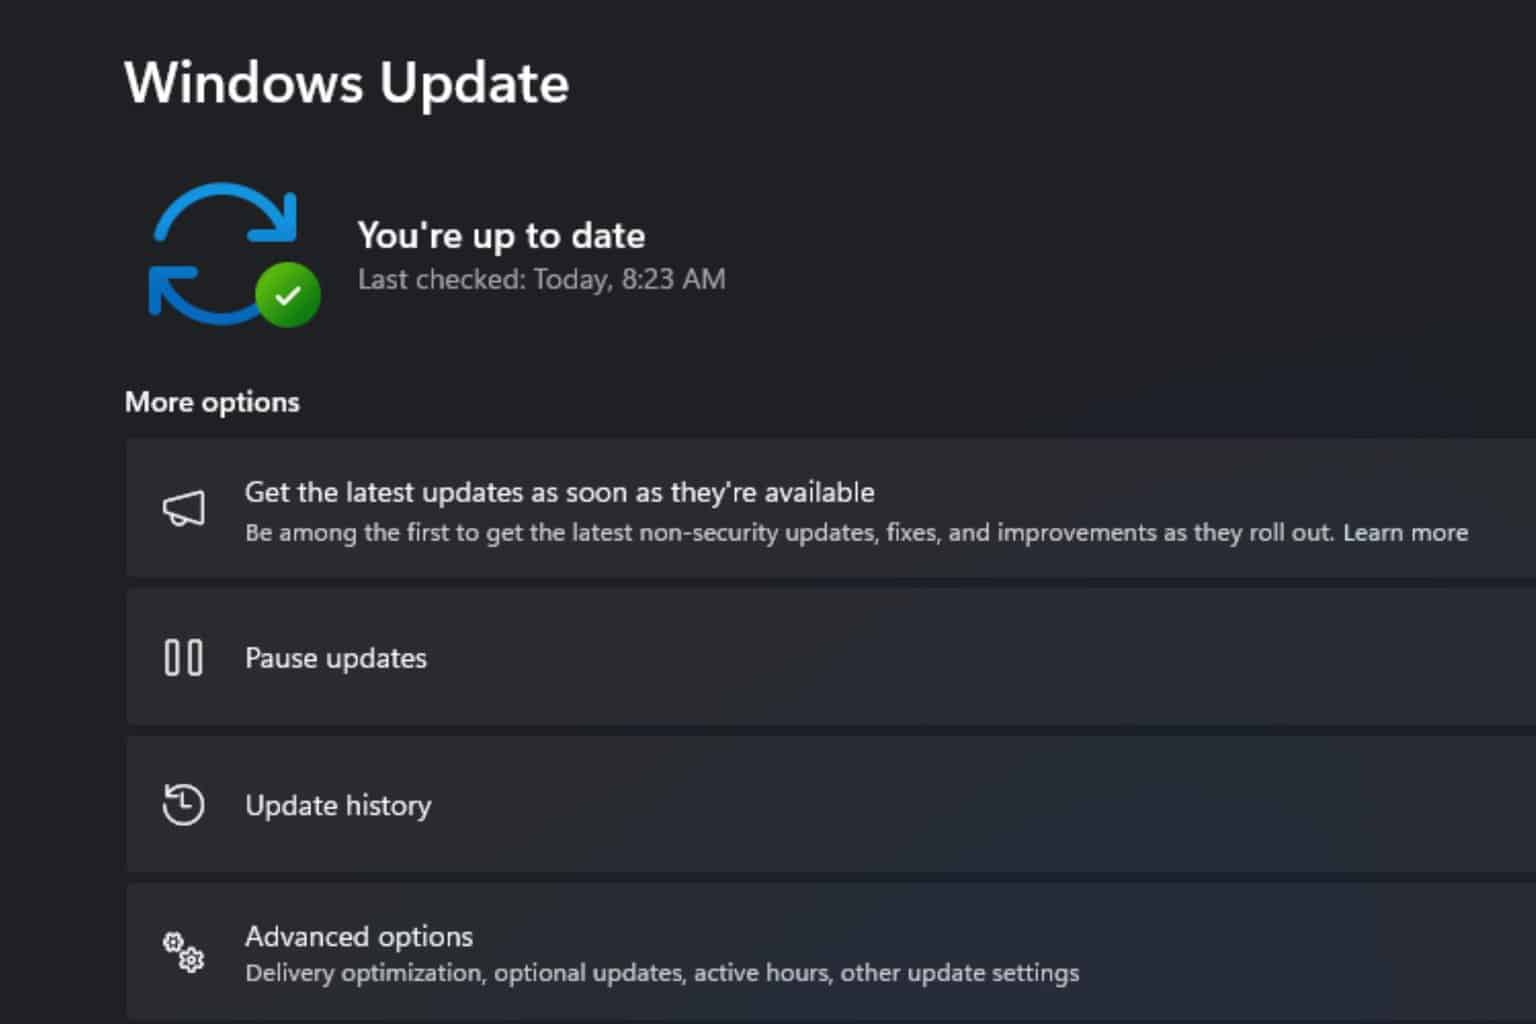
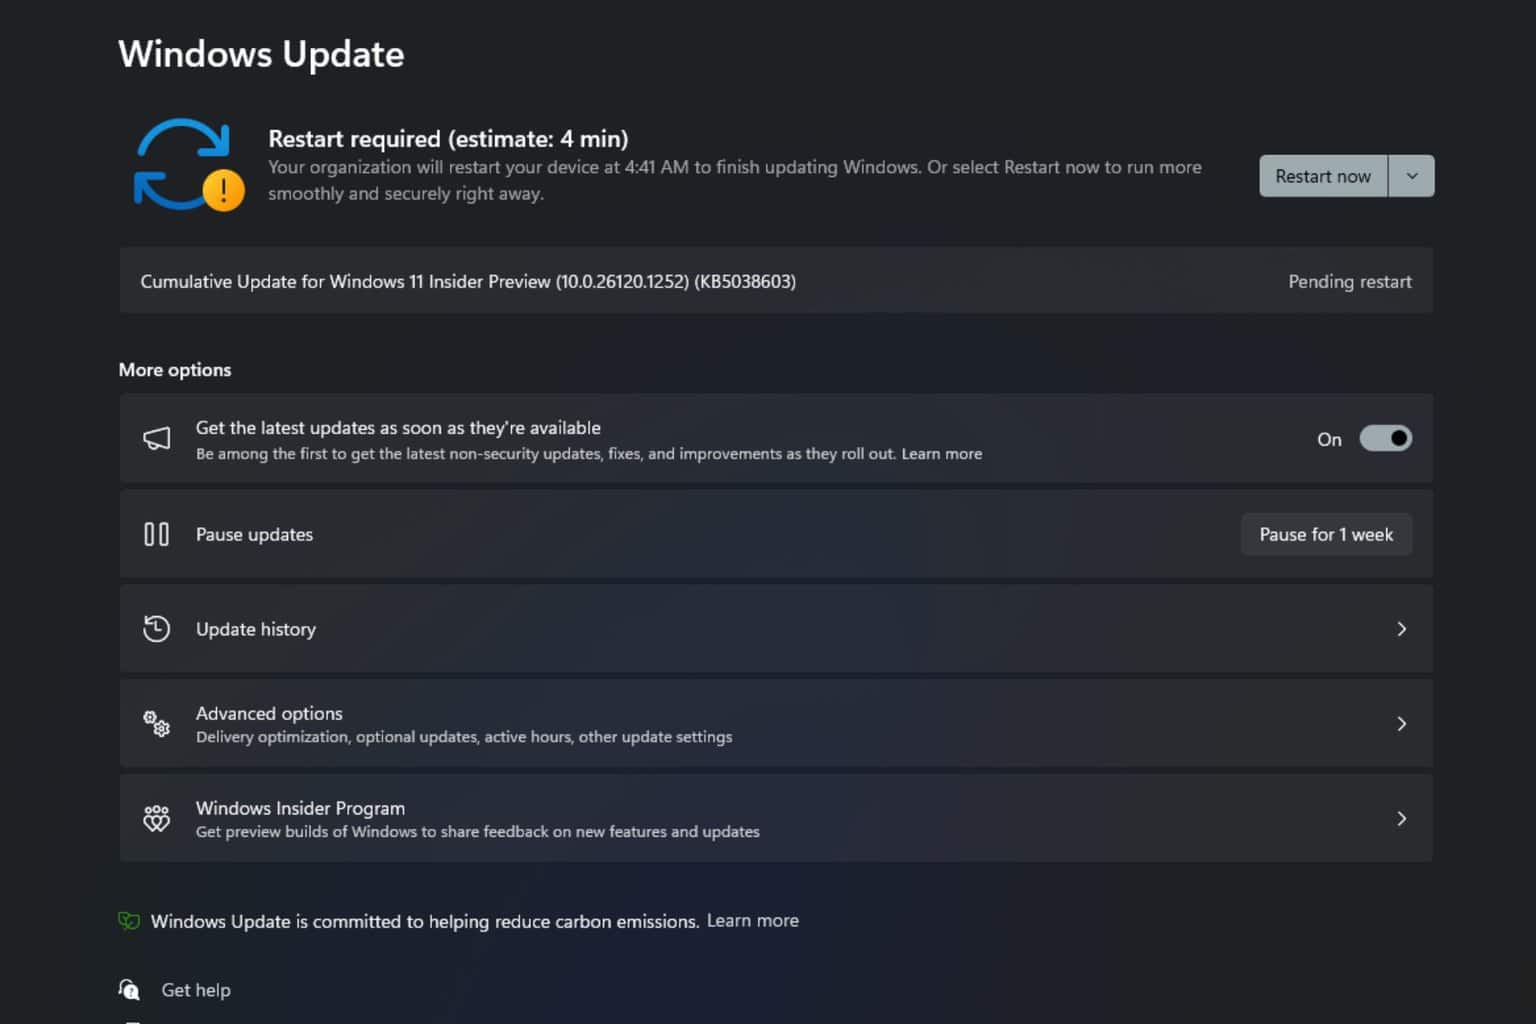
The scenario of confronting with Windows updates that are not working properly are numerous. Certain users experience the lack of any new install updates, repeated installation of the same updates, endless reboot cycles, and all sorts of error codes. For example, they describe getting the 0x80244007 error code.
This happens when they try to install certain updates by using the Windows Update function. In most cases, affected users are also receiving the following error message: There were some problems installing updates, but we’ll try again later.
The good news is that in this post we will talk about some of the reasons behind the Windows Update error 0x80244007 and offer practical troubleshooting solutions to solve it.
How can I fix the Windows Update error 0x80244007?
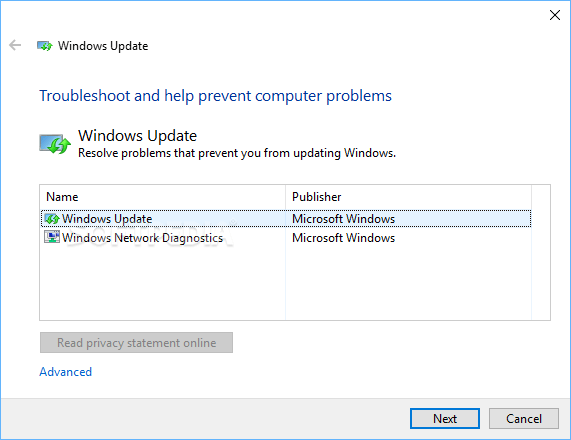
1. Try running the Update troubleshooter
- First of all, select Start > Settings > Update & Security.
- Then, open up the Troubleshooting tab of the Settings app.
- Once you’re inside the Troubleshooting tab, select Windows Update under Get up and running.
- Then, select Run the troubleshooter from the newly appeared context menu.
- After successfully starting the utility, wait patiently until the initial scan is complete.
- Depending on the issue that you’re encountering, you might be prompted to do some additional steps.
- Lastly, just click on Restart.
Any time you get an error code like 0x80244007 while downloading and installing Windows updates, the Update Troubleshooter can begin scanning and help to fix the problem. Make sure you have Internet access and apply the above steps.
2. Clean out junk files with Disk Cleanup
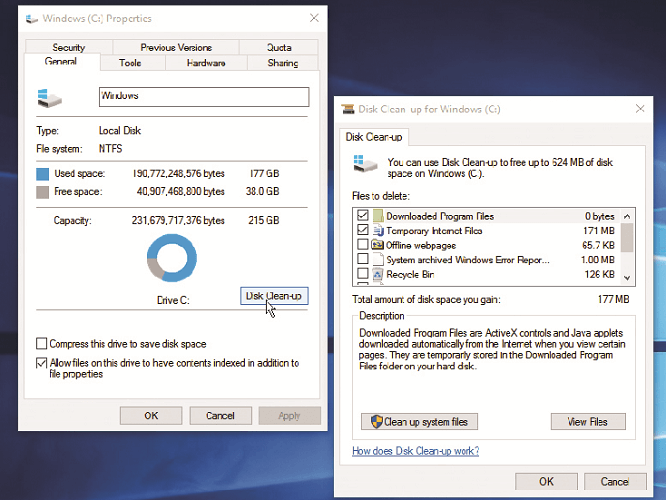
- Enter into Start > File Explorer > This PC.
- Up next, right-click your main hard drive and select Properties.
- Don’t hesitate to click the Disk Cleanup button.
- You’ll then see a list of items that can be removed, including temporary files and more.
- For even more options, click Clean up system files.
- Feel free to tick the categories you want to remove.
- Then, just click OK > Delete Files.
One of the main causes of the Windows update error 0x80244007 is that Windows couldn’t renew the cookies for Windows Update. If you’re still seeing that dreadful message, you can also clear temporary or junk files to resolve it via Disk Cleanup.
Don’t worry if you run into any Disk Cleanup issues. Just check this guide and quickly solve the problem.
3. Run the System File Checker (SFC) utility
- Open up a Run dialog box by pressing the Windows key + R keyboard shortcut.
- Up next, type cmd inside the newly opened text box and press Ctrl + Shift + Enter to open up a Command Prompt with admin access.
- Right-click it and select Run as administrator.
- If you are prompted for the admin password, enter the password and click OK.
- A new completely black window should then open. You can type commands directly into this window.
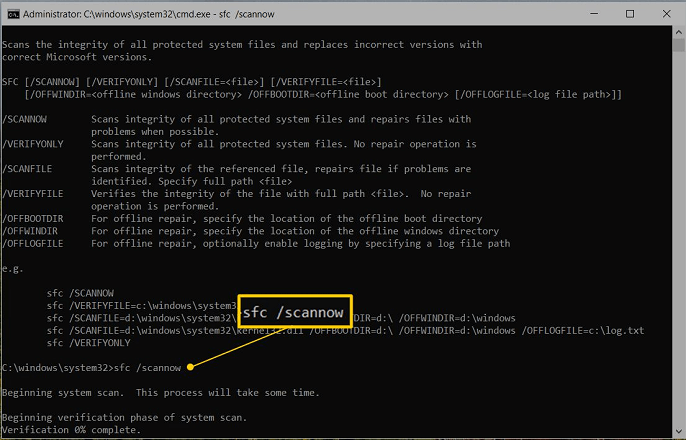
- Type sfc/scannow and press Enter.
- This process could take a long time, so feel free to minimize the window and return later.
- When the SFC process is finished, restart your computer and see if the issue is resolved.
Instead of spending time trying to find out the core of the 0x80244007 error message, use the System File Checker tool. This is designed to quickly fix the most common issues that may be preventing your computer from updating correctly.
4. Reset the Software Distribution folder
- Open Start.
- Search for Command Prompt, right-click the result, then select Run as administrator.
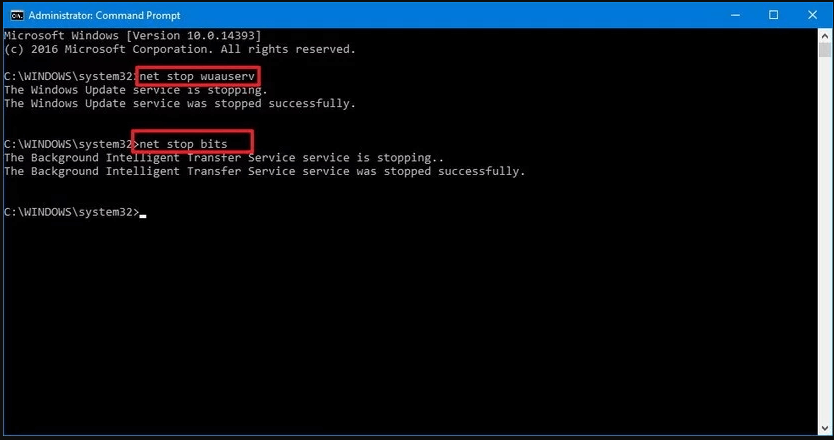
- Then, you need to type the following commands to stop the Windows Update Service and the Background Intelligent Transfer Service, then press Enter:
net stop wuauserv
net stop bits - Next, in the File Explorer go to the Software Distribution folder.
- Don’t hesitate to delete the folders inside by pressing the Delete button.
- Once you’ve completed the above steps, Windows 10 will reconfigure the folder and re-download all the necessary components.
If you keep seeing the same Windows update error, let us finally walk you through the steps to delete the content inside the Software Distribution folder.
When it comes to fixing the Windows update error 0x80244007, there are several things that you can do, from utilizing the built-in Update troubleshooter to resetting the Software Distribution folder.
If all the previous troubleshooting steps failed, you could also try resetting all Windows Update components or performing a repair install.
Do you know any other way to bypass this Windows update issue? Feel free to share it with us in the comments section below.

