Xvidcore.dll Missing or Not Found: How to Fix It
If xvidcore.dll missing simply install the necessary codec pack
2 min. read
Updated on
Read our disclosure page to find out how can you help Windows Report sustain the editorial team Read more
Key notes
- Xvidcore.dll is part of Xvid codec pack and it’s necessary if you want to play video files.
- Simply download the coded pack to fix the problem with missing DLL file.
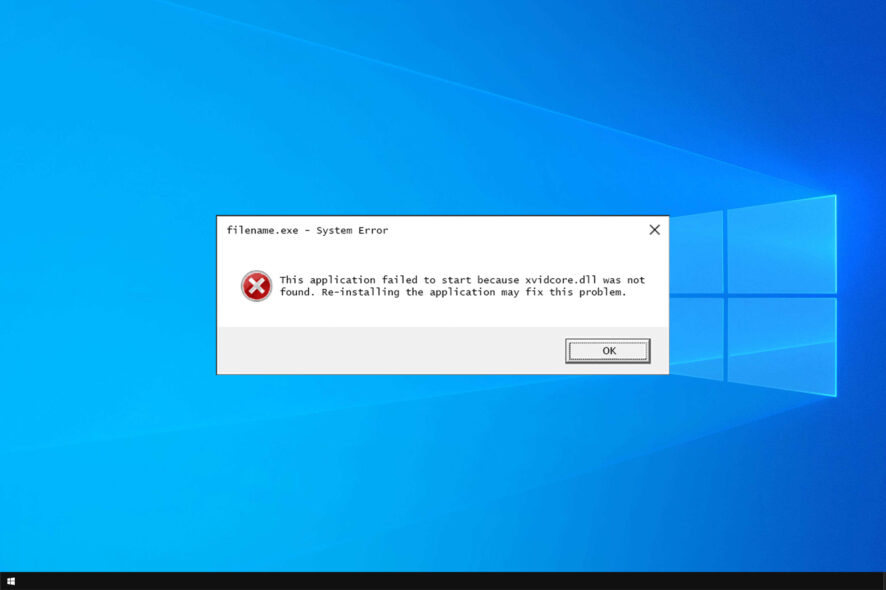
For your PC to work properly, you need to have the necessary files, and one of those files is xvidcore.dll.
If this file is missing, certain components or applications might not work properly, so it’s important to fix any errors you might have with it.
To learn more about missing files, we have a great guide on how to restore missing DLL files on Windows 10, so we strongly suggest you check it out for more information.
What is xvidcore.dll?
In case you’re not familiar xvidcore.dll is a part of Xvid Codec. Video codecs were used in the past to allow users to play certain video formats.
To learn more, we suggest reading our guide on how to install video codecs or checking the list of the best video codec packs.
What can I do if xvidcore.dll missing or not found?
1. Use a dedicated DLL fixer
Xvidcore.dll is a third-party DLL, and if it’s missing on your PC, you probably won’t be able to play videos that require it.
Although you can download this file manually, you can always rely on a specialized DLL repair tool to help you with that.
2. Install Xvid codec manually
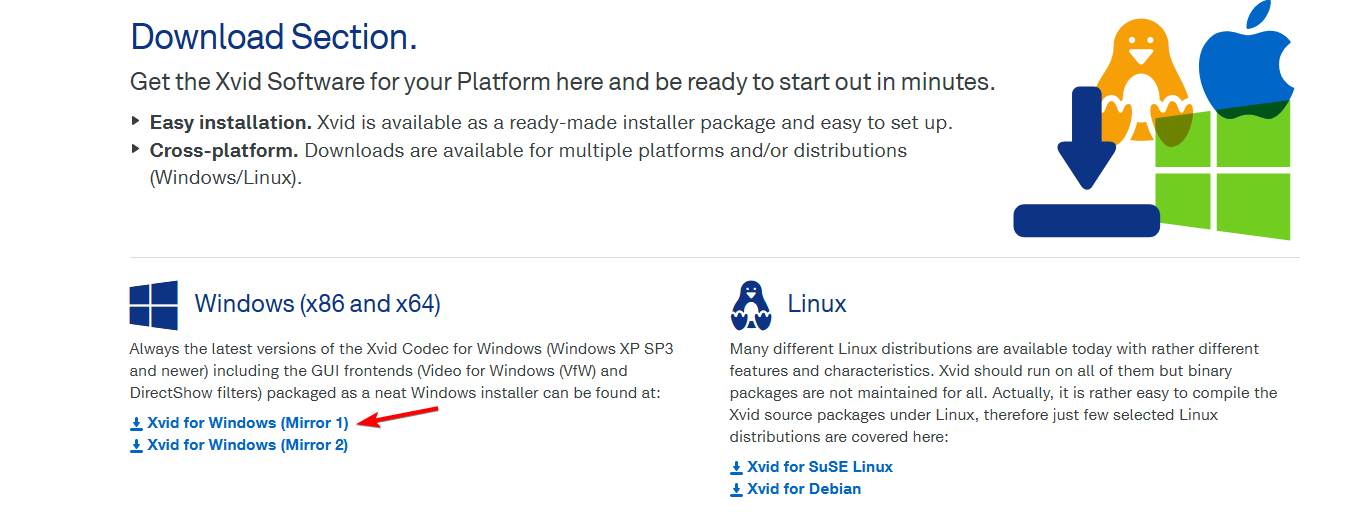
- Visit the Xvid download page and select Xvid for Windows.
- Once the file is downloaded, double-click it to run it.
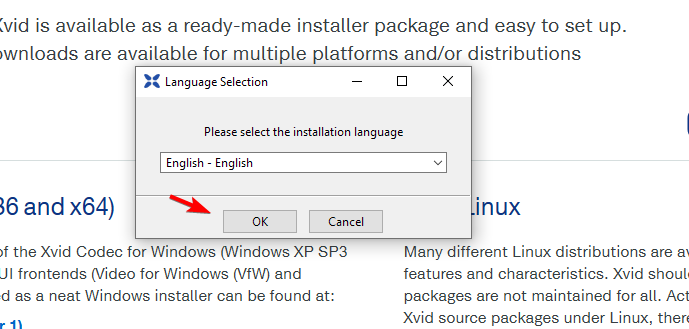
- Select the desired language and click OK.
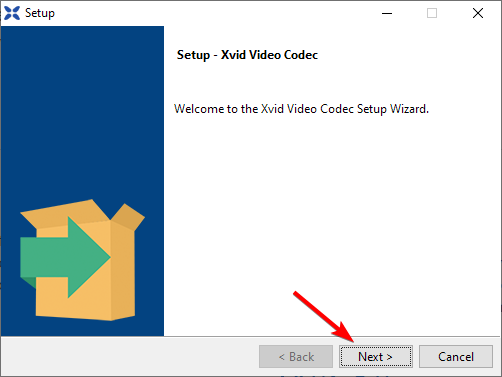
- Click Next to proceed.
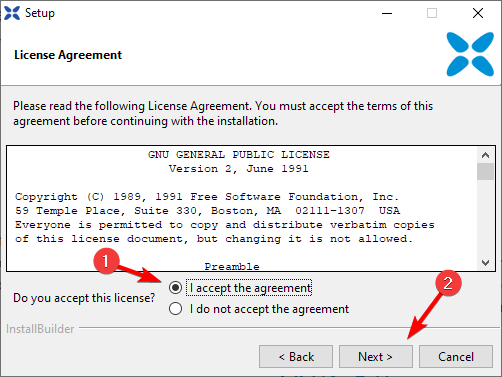
- Accept the terms of service and click on Next.
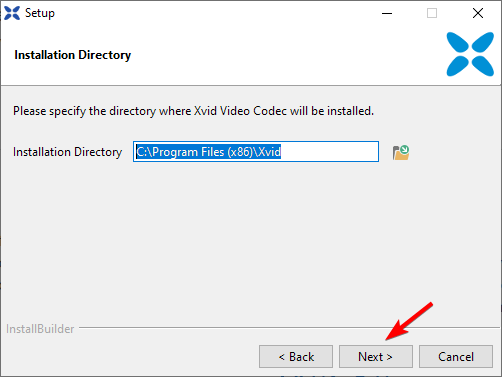
- Choose the installation directory. You can usually leave it as it is and just click Next.
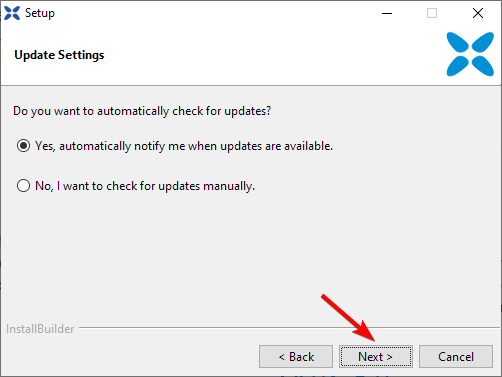
- Select Yes, automatically notify me when updates are available, and choose Next.
- You’ll be asked to select a decoder. Don’t select anything and just click Next.
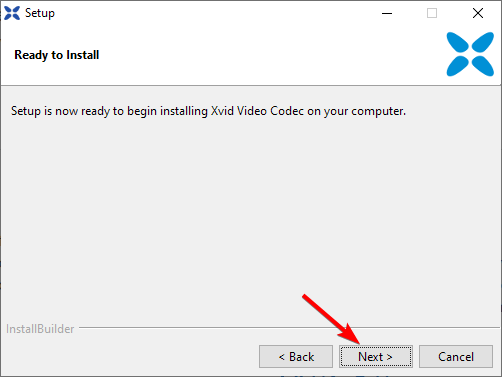
- Lastly, click Next and wait for the setup to finish.
As you can see, fixing this problem is pretty simple; you just need to install the missing components.
Although we showed you the solutions for Windows 10, you can restore missing DLL files on Windows 11 by following similar steps.
What solution did you use to fix this problem? Let us know in the comments section below.





User forum
0 messages