Windows 7 USB/DVD Download Tool - How To Use It With Ease
![]() 3 min. read
3 min. read
![]() Published on
Published on
Share this article

Improve this guide
Read our disclosure page to find out how can you help Windows Report sustain the editorial team Read more
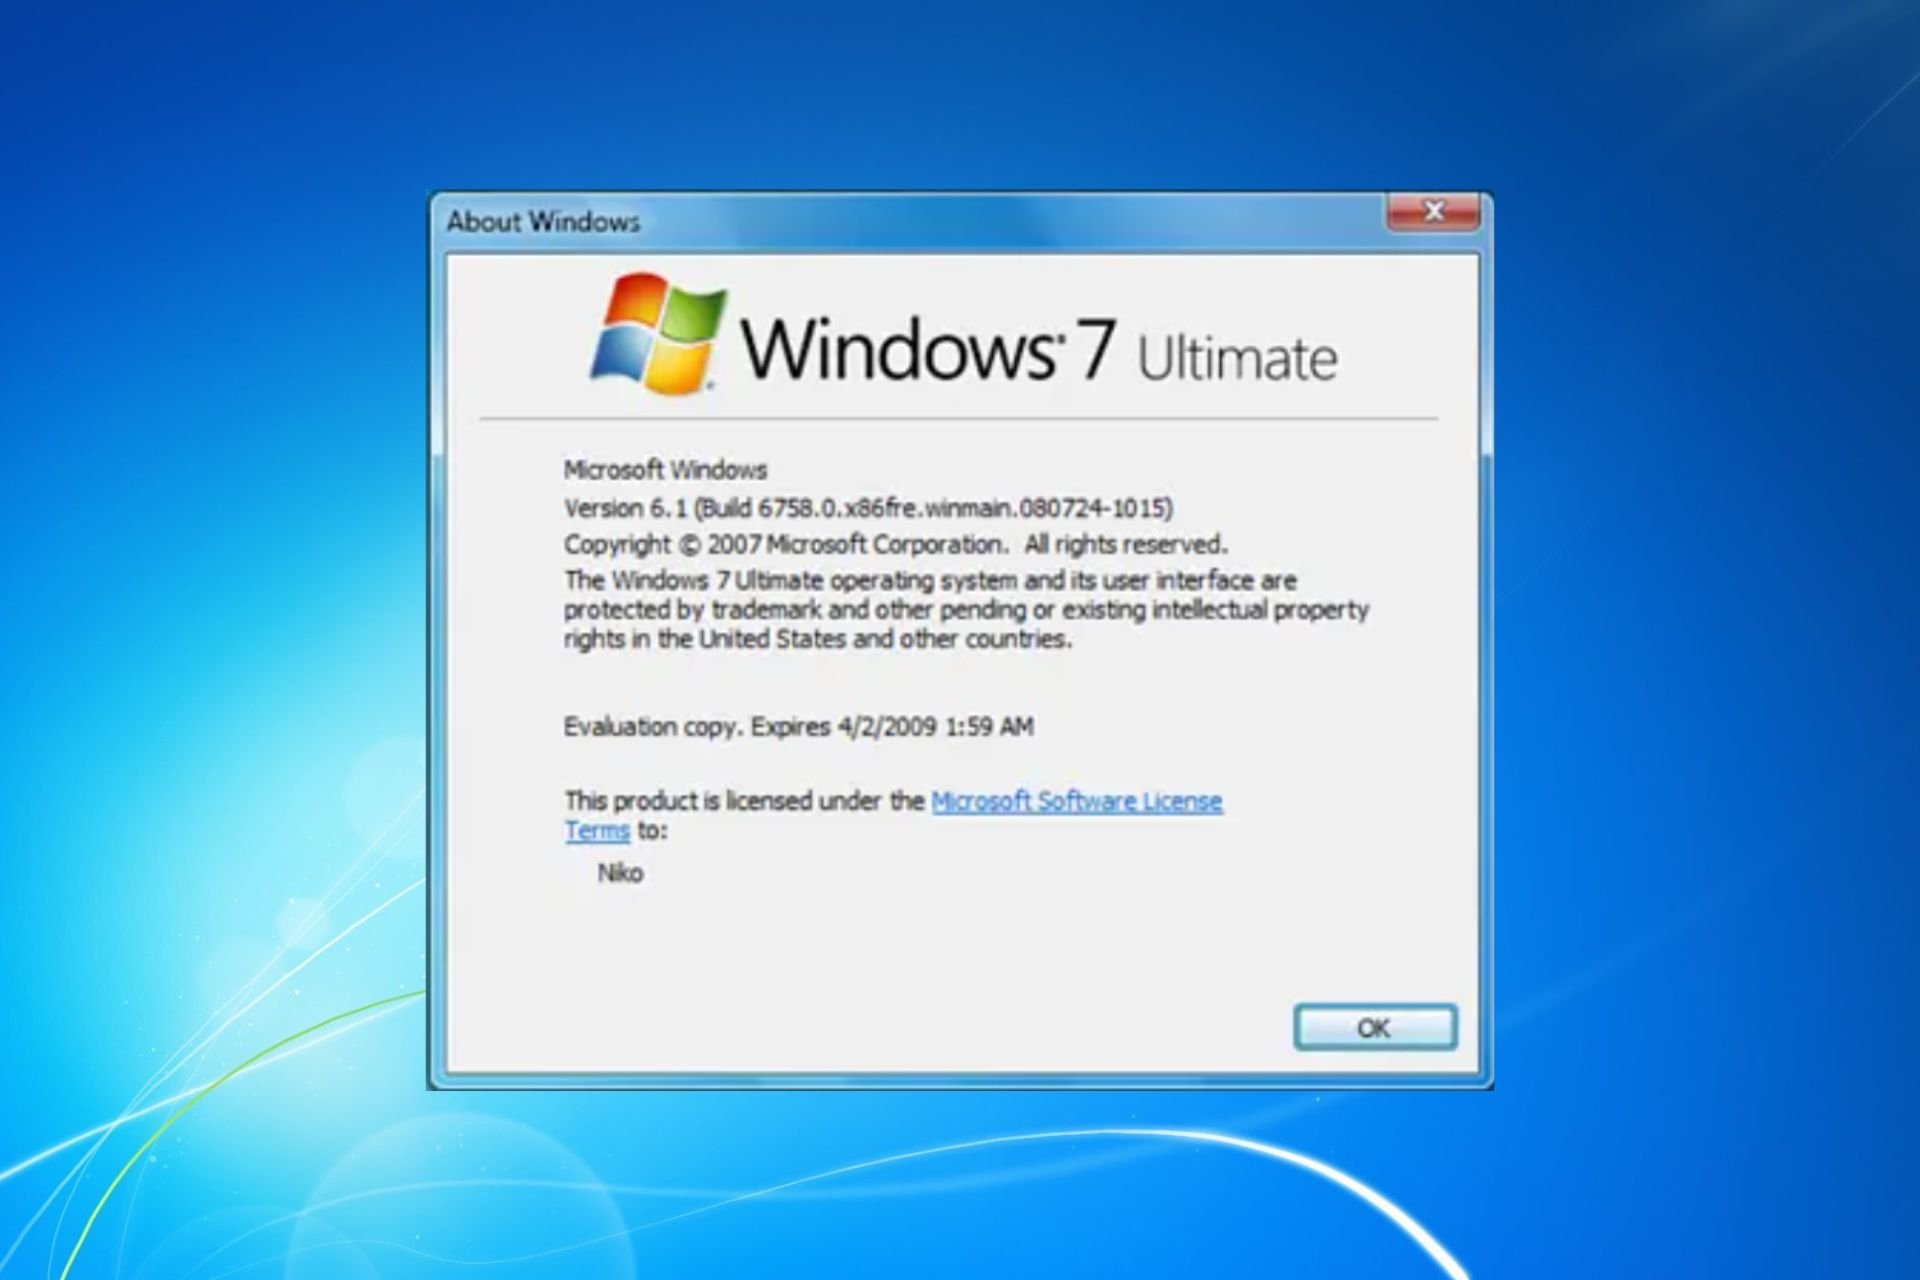
The Windows 7 USB/DVD Download Tool makes it easy to install or reinstall Windows 7. This version continues to have a dedicated user base due to its stability and intuitive interface. However, the traditional installation methods through CD/DVD are becoming outdated, especially with the increase of devices without optical drives.
I’ll show you how to use this tool in the step-by-step guide below.
So, let’s begin!
How To Use the Windows 7 USB/DVD Download Tool
Using this tool is straightforward, even for users that aren’t tech-savvy. Simply follow these instructions:
Create a Bootable USB Drive or DVD
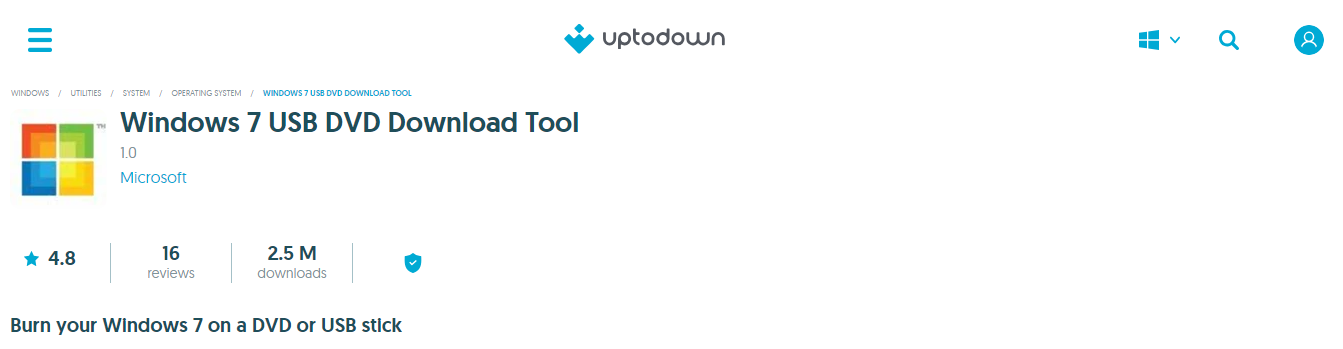
- Go to uptodown to download the Windows 7 USB/DVD Download Tool.
- Locate the setup file (usually in your Downloads folder) and double-click it to start the installation.
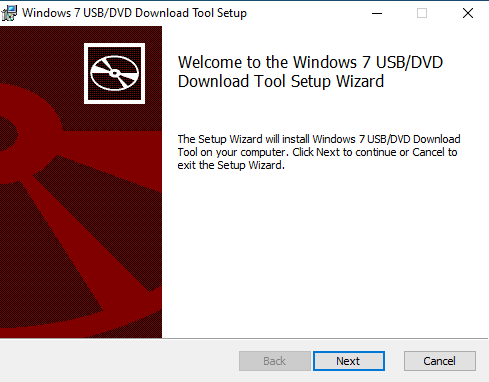
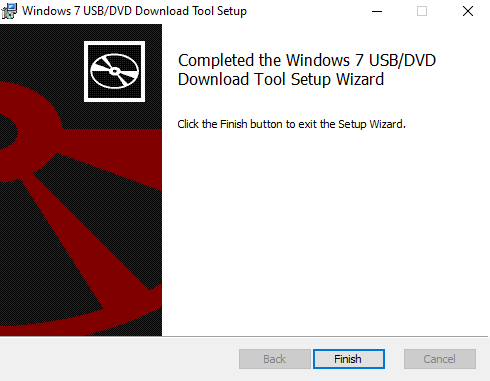
- Follow the on-screen instructions in the installation wizard to complete it.
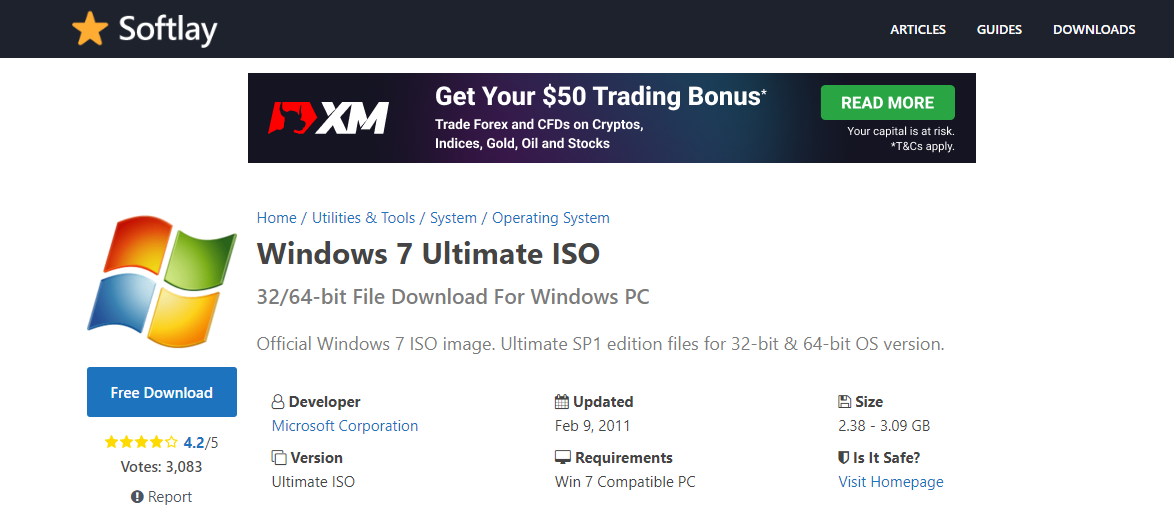
- Visit a reliable source like Softlay to download the Windows 7 ISO file. Unfortunately, Microsoft’s website no longer officially provides ISO files for Windows 7.
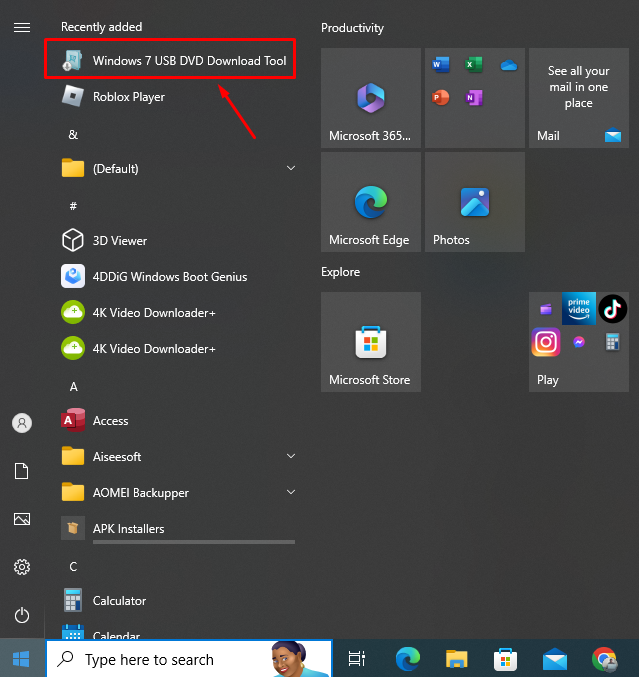
- Launch the Windows 7 USB/DVD Download Tool from your Start menu or applications list by double-tapping it.
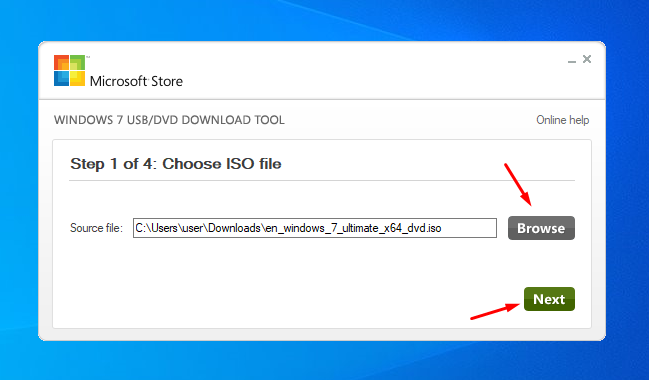
- Click on the “Browse” button in the tool’s interface, select the Windows 7 ISO file, and click “Next.”
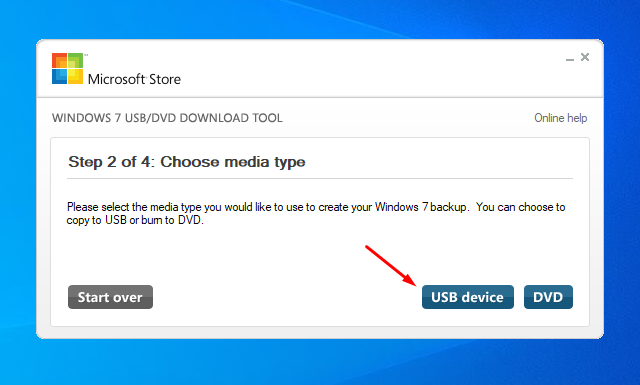
- You can choose between creating a bootable USB device or a DVD. I’ll select a USB device.
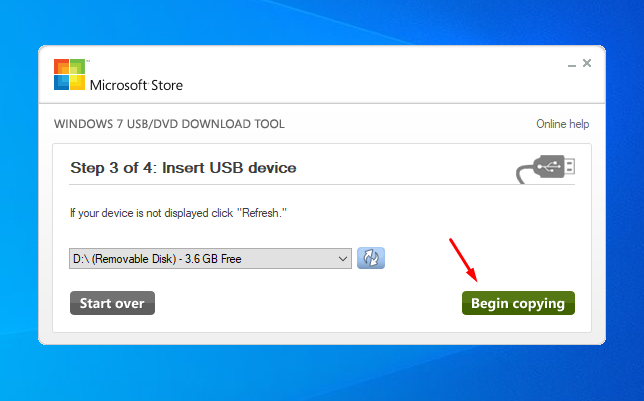
- If you chose USB, insert your USB flash drive into an available port on your computer. Ensure that it has at least 4GB of free space and that there are no important files on it, as it’ll be formatted. If you chose DVD, insert a blank DVD.
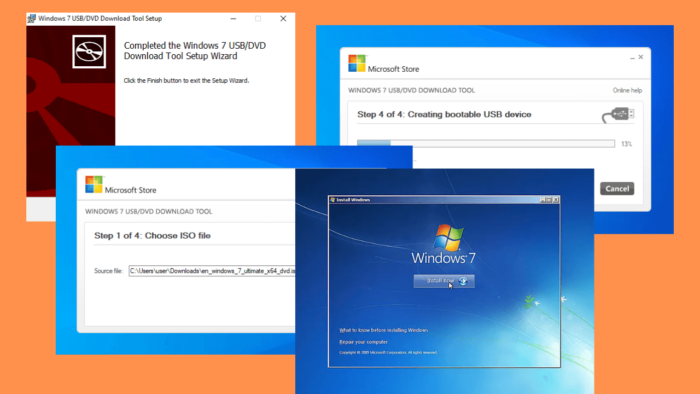
- Click “Begin copying” to start the process. The tool will format the USB drive or prepare the DVD and then copy the Windows 7 files onto it. This process may take several minutes, so be patient.
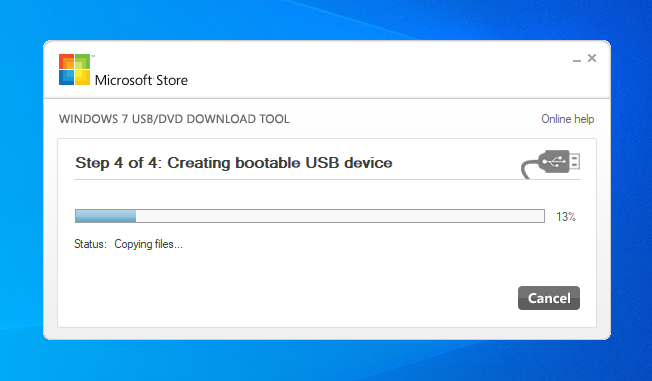
- A progress bar will display the status of the copying process. Once it reaches 100%, your bootable USB drive or DVD is ready.
You’re almost done.
Boot from the USB or DVD
- Insert your newly created bootable USB drive or DVD into the computer where you want to install Windows 7.
- Restart the computer.
- Enter the BIOS or UEFI settings by pressing a specific key during startup (usually F2, F9, F10, F12, Del, or Esc depending on your PC type). You’ll see the key on the screen during the initial boot process.
- Set the boot order to prioritize the USB drive or DVD as the first boot device. Use the on-screen instructions to move them to the top of the list. Windows will then load the files.
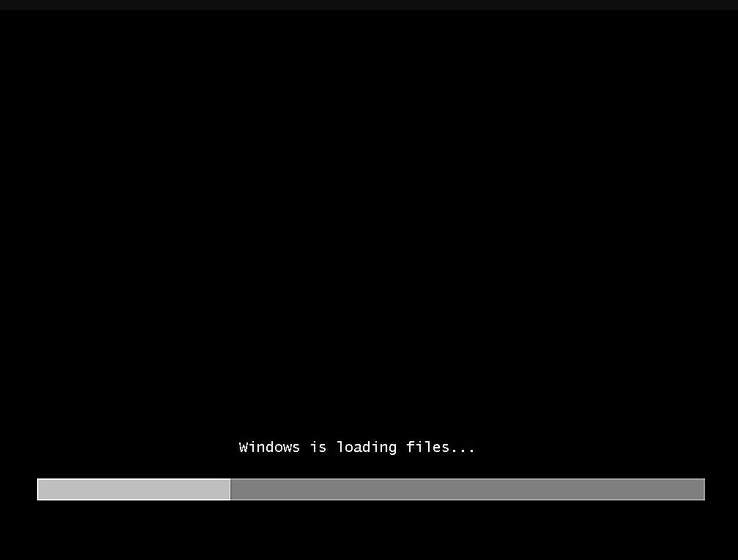
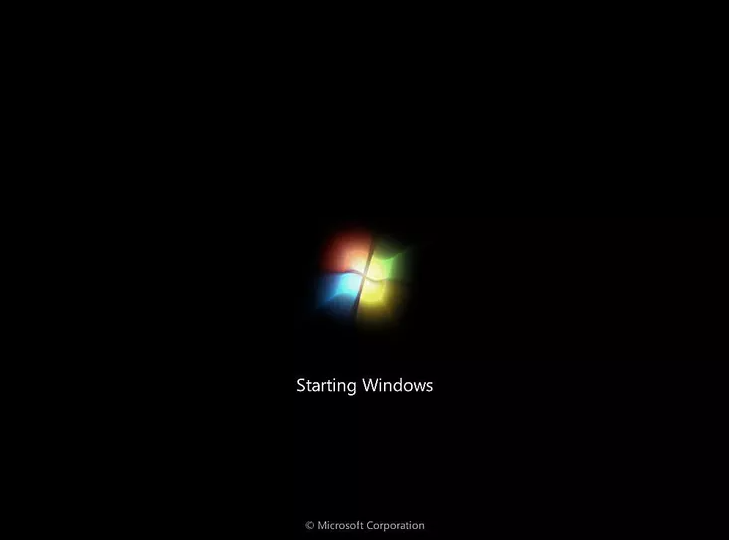
- After restarting, your computer should boot from the USB drive or DVD.
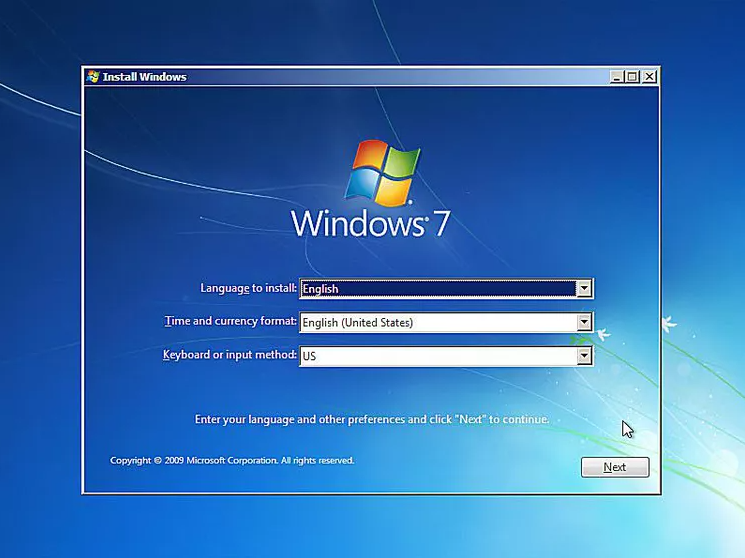
- Follow the on-screen instructions to begin the Windows 7 installation process. This includes selecting your language, time and currency format, and keyboard or input method.
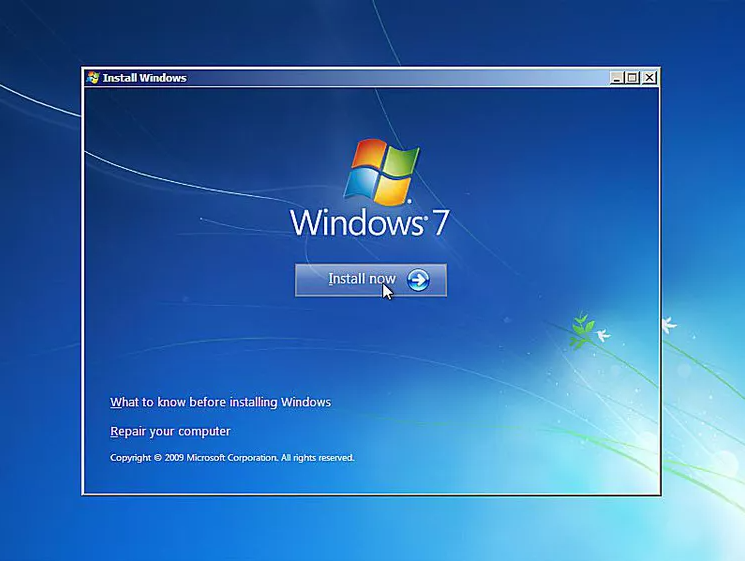
- Click “Install Now” and follow the prompts to complete the process.
That’s it!
The Windows 7 USB/DVD Download Tool is an essential utility for anyone looking to install or reinstall Windows 7. Follow the above steps to create a bootable USB drive or DVD, so that you’re always prepared for installations.
We’ve also got you covered if you’re facing random shutdowns or if you can’t upgrade to Windows 10.