FIX: DNS_PROBE_FINISHED_BAD_CONFIG error in Windows 10/11
Key notes
- DNS_PROBE_FINISHED_BAD_CONFIG error appears in the Google Chrome browser when your Internet connection is giving you a hard time. First step? Restart your router.
- If simple restarting didn't solve the problem, try with renewing your IP address. You can do that using Command Prompt and typing two simple commands. Easy, right?
- The Internet connection errors section coveres the most frustrating issues with your system: lack of Internet.
- It's not so easy to solve all the errors but in the Windows 10 errors hub you can learn how to do that like a pro.

DNS_PROBE_FINISHED_BAD_CONFIG error is not that uncommon, and it can be seen on all versions of Windows, so it’s no wonder to see this error on Windows 10 as well.
Fortunately for you, this error is quite easy to fix and today we’ll show you how to do it.
DNS_PROBE_FINISHED_BAD_CONFIG error appears in Google Chrome browser when your internet connection is giving you problems and there are few simple ways how to fix it.
Table of contents:
- Restart your router
- Renew the IP address
- Flush the DNS cache
- Reset IP catalog
- Change the DNS servers
- Disable your antivirus
- Install the latest network drivers
- Disable website blockers
- Check your browser
How can I fix DNS_PROBE_FINISHED_BAD_CONFIG error?
Solution 1 – Restart your router
This is quite straightforward, just press the power button on your router, wait for a minute and turn your router back again. This should reset your IP address and fix the problem.
Solution 2 – Renew the IP address
But if simple restarting didn’t solve the problem with DNS_PROBE_FINISHED_BAD_CONFIG error, you can try with renewing your IP address.
And if you’re not sure how to do that, just follow these instructions:
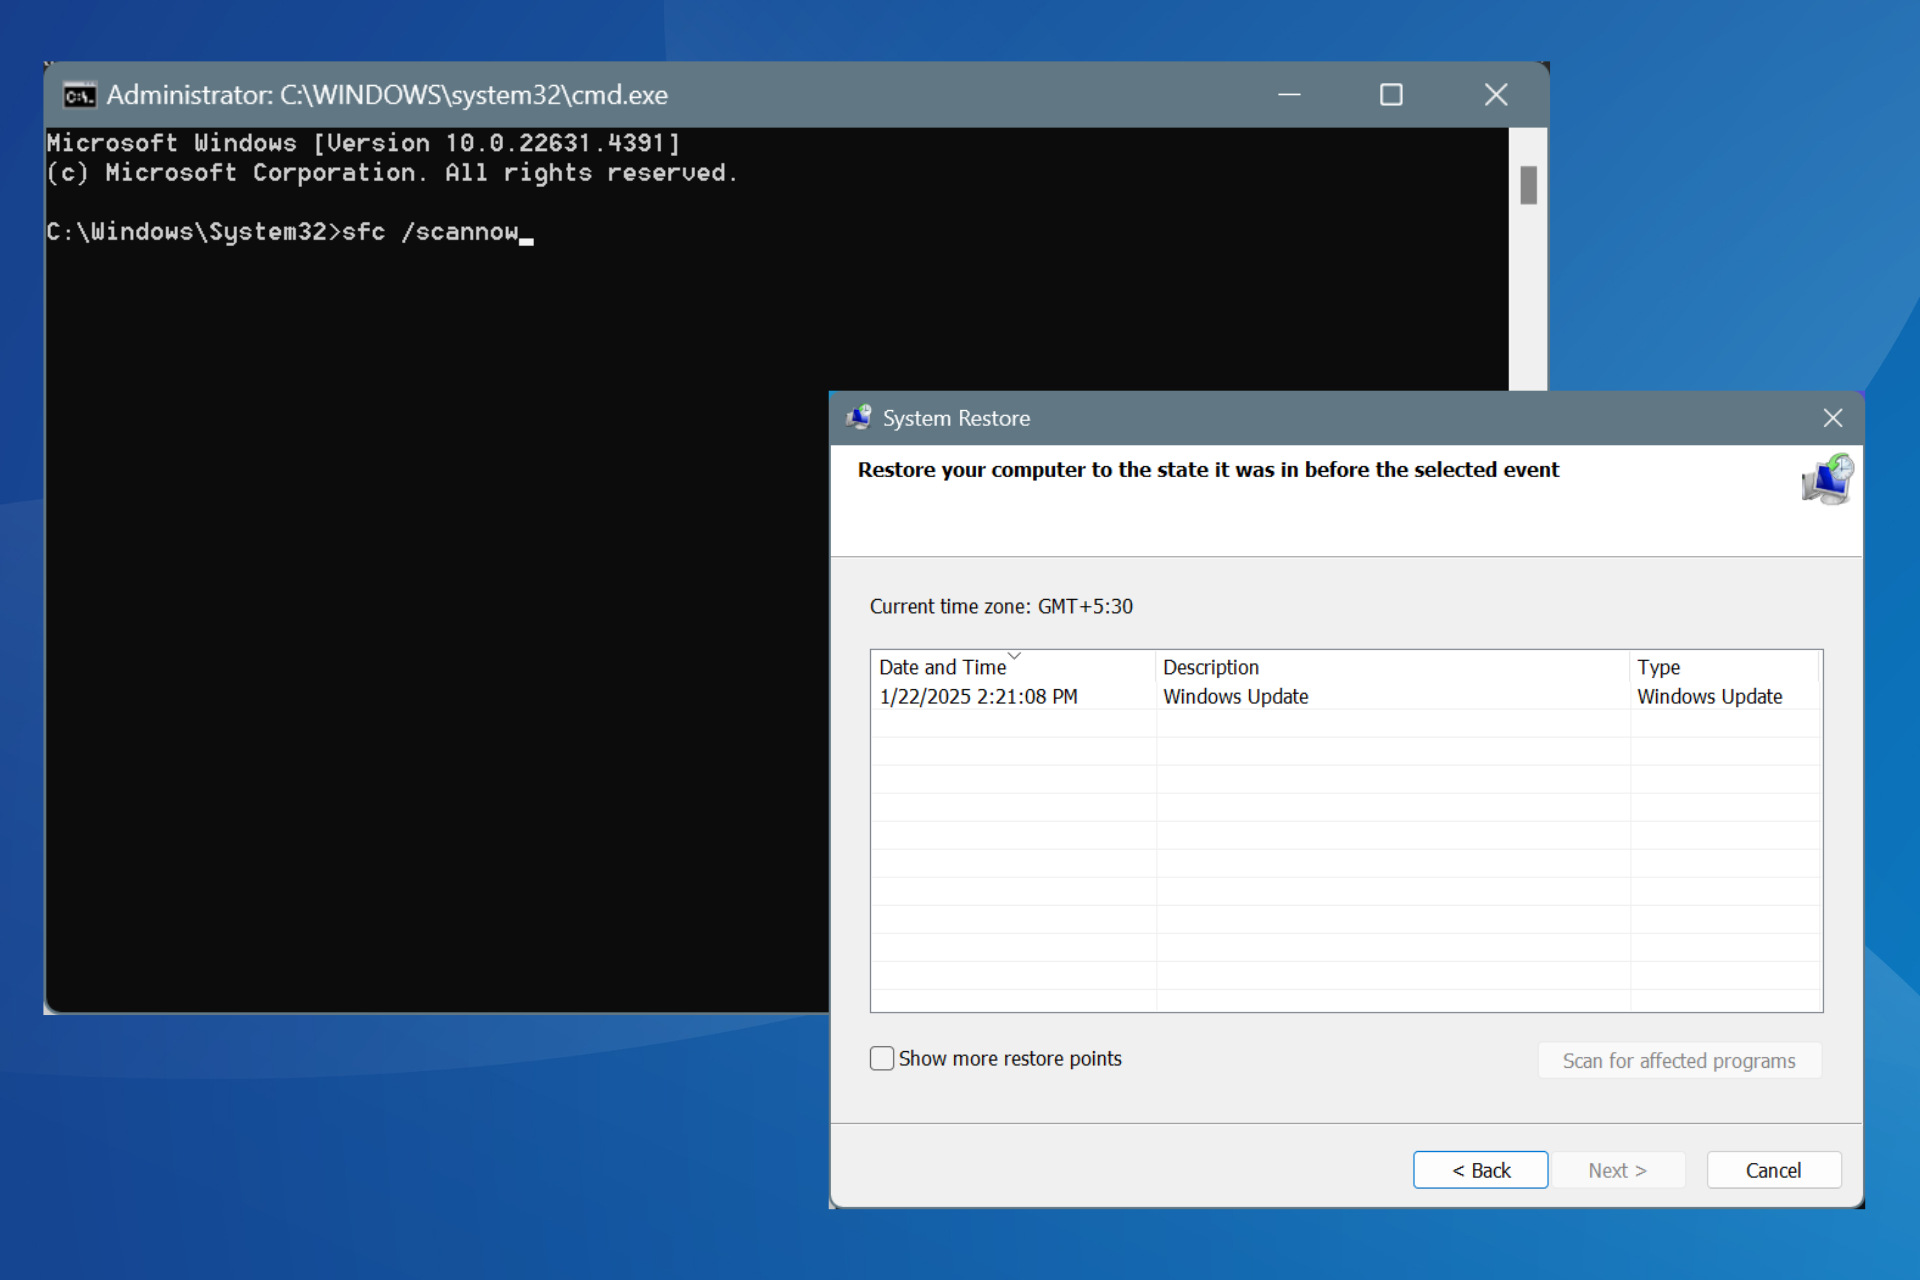
- Run Command Prompt by pressing Windows key + R and typing cmd into it.
- When Command Prompt starts type the following line and press Enter to run it:
- ipconfig /release

- ipconfig /release
- This will release your IP address.
- Now enter this line and press enter to run it:
- ipconfig /renew

- ipconfig /renew
Solution 3 – Flush the DNS cache
The next thing we’re going to try is flushing the DNS cache. To do so, follow these instructions:
- Open Command Prompt like we explained in the previous solution.
- When Command Prompt opens type this line and press Enter to run it:
- ipconfig /flushdns

- ipconfig /flushdns
Solution 4 – Reset IP catalog
- Open Command Prompt and run this line:
- netsh int ip reset

- netsh int ip reset
- Next type this line and press Enter to run it:
- netsh winsock reset catalog

- netsh winsock reset catalog
Solution 5 – Change the DNS servers
And if nothing from above helped, you can try to change the DNS servers, and see if the error is solved. To change the DNS servers, do the following:
- Press Windows key + R and when Run dialog opens type ncpa.cpl and press Enter.
- This should launch Network Connections window.
- Locate your connection and right click it. Choose Properties.
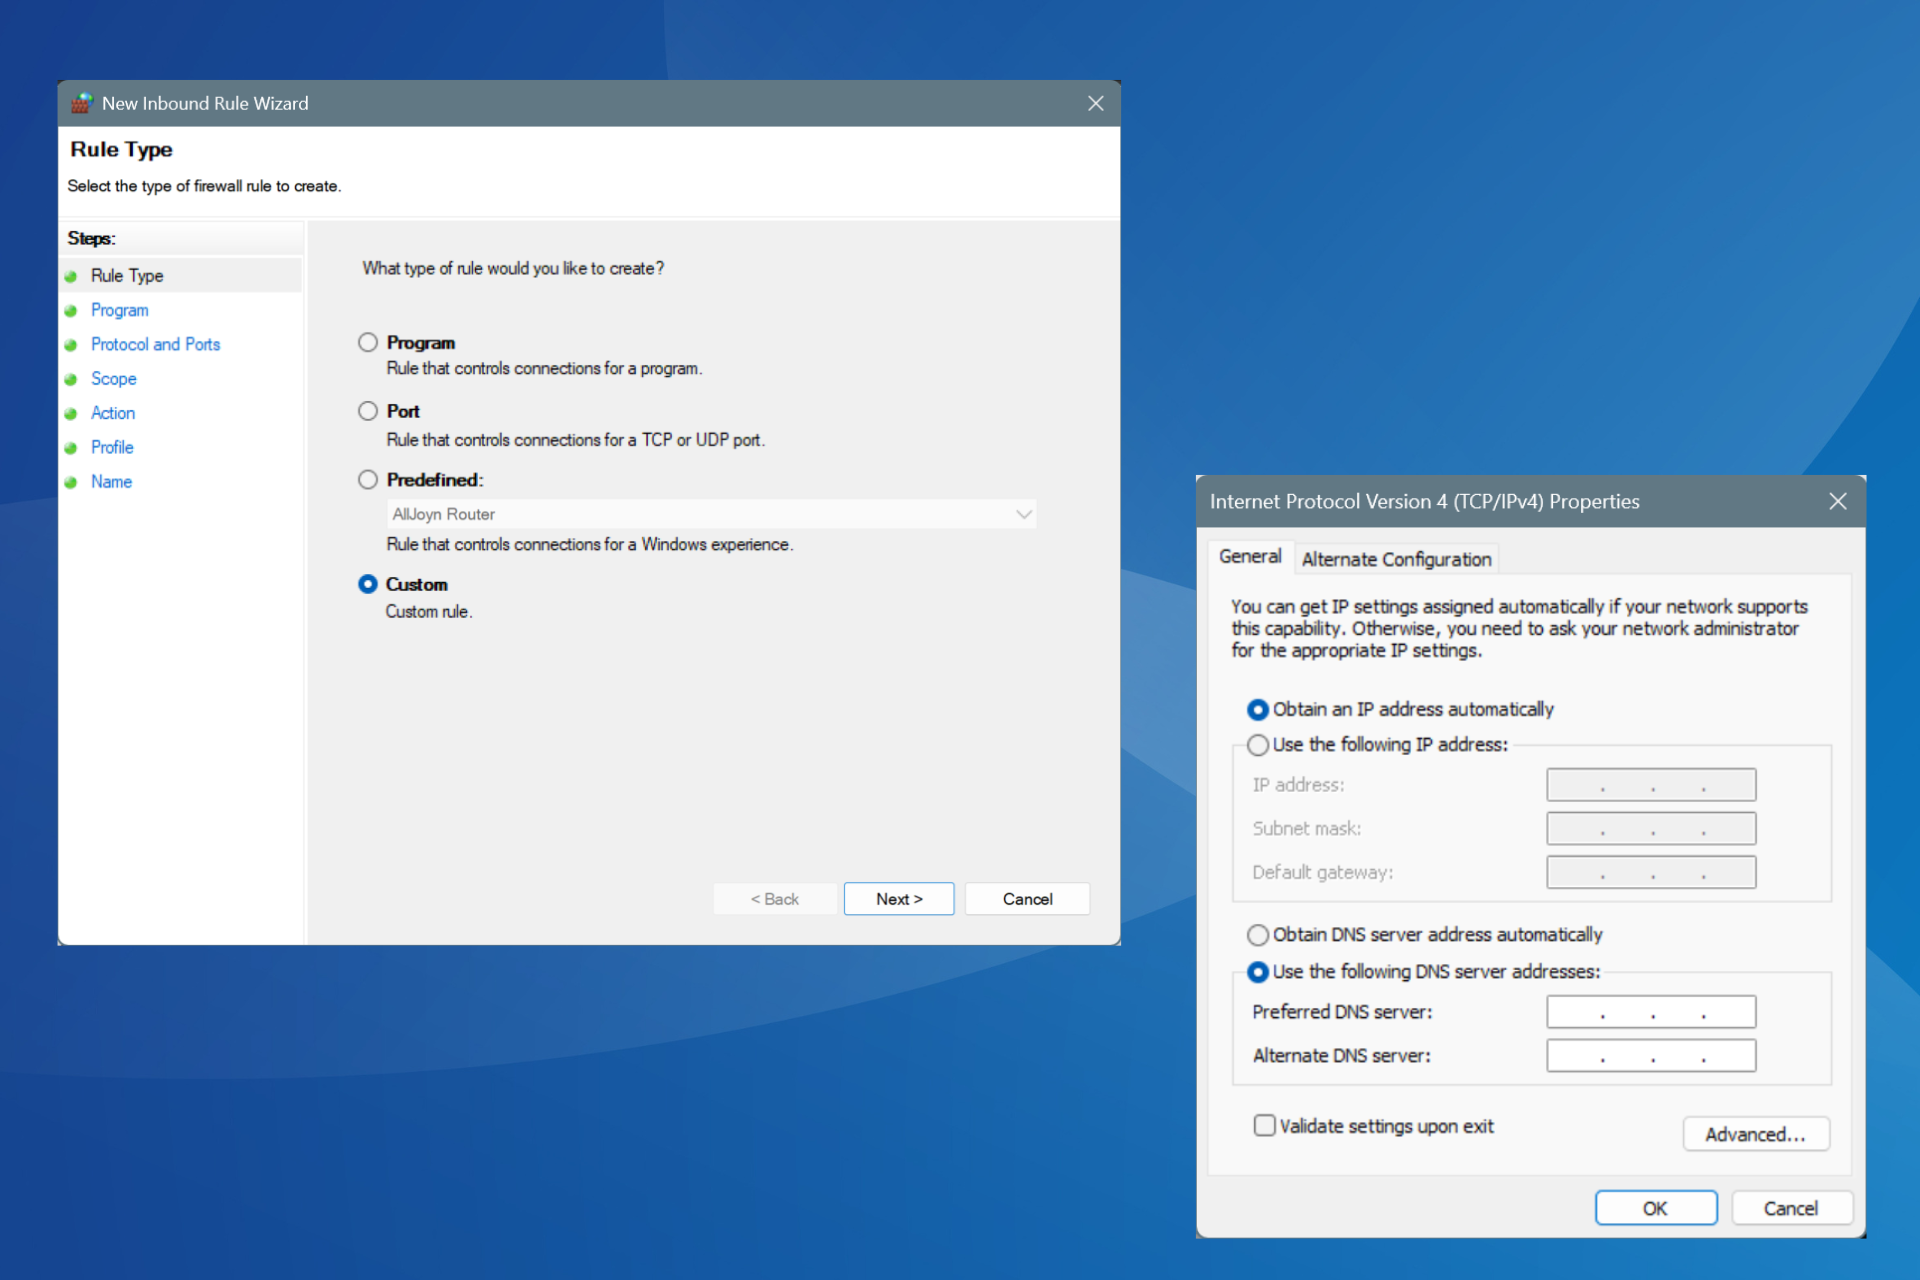
- Select Internet Protocol Version 4 and click Properties.
- In the Internet Protocol Version 4 Properties window click the Use the following DNS server addresses.
- Set these values:
- Preferred DNS server: 8.8.8.8
- Alternate DNS Server: 8.8.4.4
- Click OK to save your settings.
Solution 6 – Disable your antivirus
If nothing worked, try disabling your antivirus. If you’re using Windows Defender, here are the steps to follow to turn it off:
- Go to Start, type defender and click on the first result to launch the Windows Defender Security Center.
- Now, click on the Virus and threat protection settings

- Go to Real Time Protection and toggle off the option.

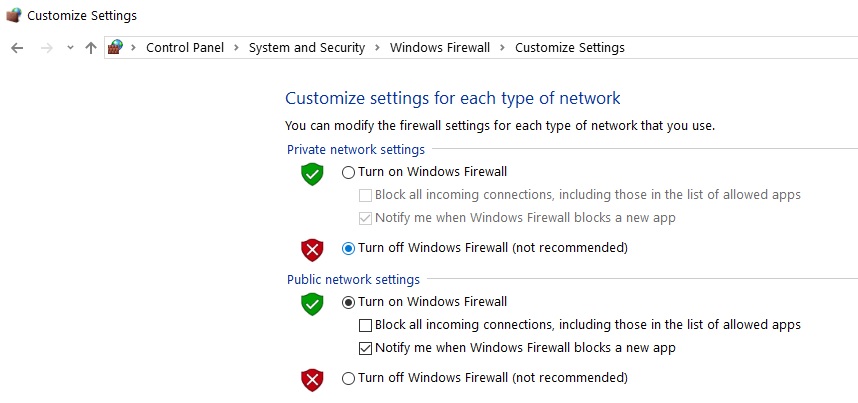
Once you have disabled your antivirus, do the same with your firewall.
- Go to Start > Control Panel > System & Security > Windows Firewall
- Click on the option “Turn Windows Firewall on and off”

- Turn off the firewall.
Once you’ve disabled both your antivirus and firewall, check if the error persists. Don’t forget to enable both security solutions after you finished the test.
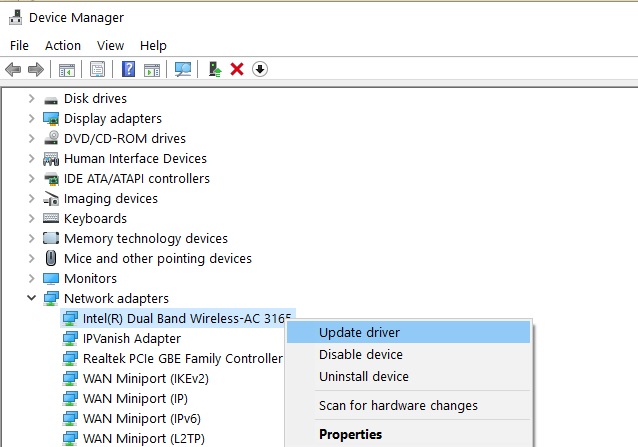
Solution 7 – Install the latest network drivers
If your network drivers are outdated or corrupted, this may explain why you’re getting the DNS_PROBE_FINISHED_BAD_CONFIG error.
Go to Device Manager, and update your network drivers and check if this solution worked for you.
Solution 8 – Disable website blocking software
If you’re using website blockers, temporarily disable these tools to see if this solution fixes the problem.
Some users confirmed that the error disappeared after they turned off their website blockers. Do test this solution to see if it works for you as well.
Solution 9 – Check your browser and delete temp files, cache, and cookies
And finally, the last solution on our list: make sure that your browser is not actually the one causing the error. Delete cookies, temporary files, and cache and check if this helps.
For more information on the steps to follow, go to your browser’s official support page.
That’s about it, I hope at least one of these five solutions helped you to solve the problem with DNS_PROBE_FINISHED_BAD_CONFIG error in Windows 10.
If you have any comments or questions, just reach for the comments section below.
Read our disclosure page to find out how can you help Windows Report sustain the editorial team. Read more


Improve this guide

User forum
3 messages