Media Streaming not Working on Windows 10/11: How to Fix it
Restarting the necessary services should fix this
![]() 4 min. read
4 min. read
![]() Updated on
Updated on
Share this article

Improve this guide
Read our disclosure page to find out how can you help Windows Report sustain the editorial team Read more
Key notes
- If media streaming is not working on your PC, it might be because of the wrong policy settings.
- You can fix this issue by replacing the media player cache folder.
Many users prioritize the Windows Media Streaming feature before third-party streaming solutions. That’s an obvious choice if you instead trust built-in Windows features. However, it seems Media Streaming isn’t working for some users in Windows 10.
Supposedly, some of them encountered grayed-out features and could not start it. We prepared a few solutions that should help you substantially to address that. Make sure to check them out below.
What can I do if Media Streaming isn’t working in Windows 10/11?
1. Enable automatic play
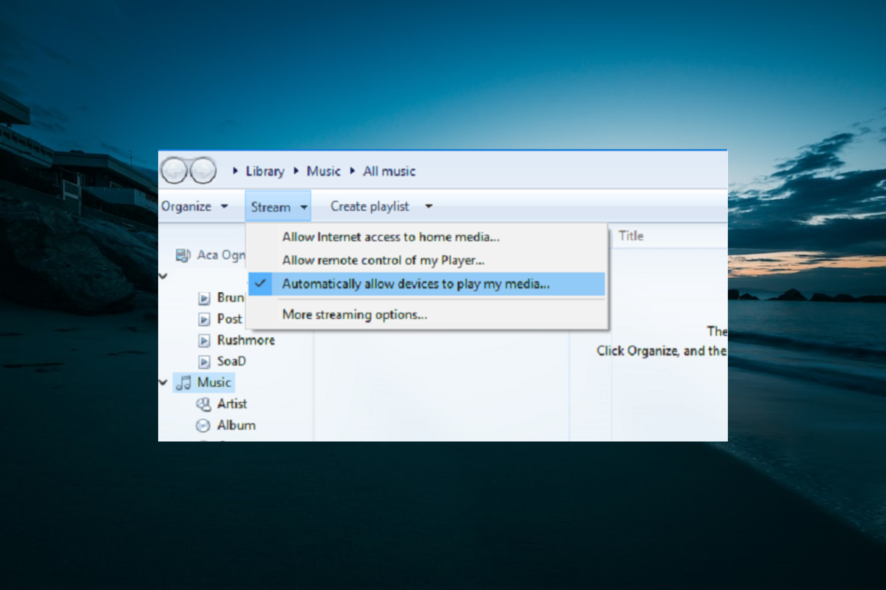
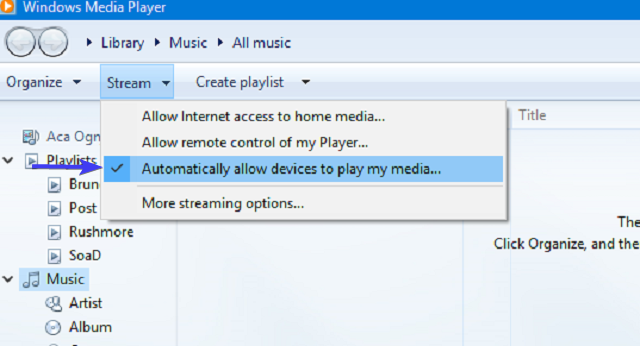
- Open Windows Media Player.
- Click on the Stream drop-down menu near the Menu bar.
- From the drop-down menu, choose Automatically allow devices to play my media.

- Restart Windows Media Player and try again.
First things first, in order to cast or stream any multimedia file via Windows Media Player, you’ll need to enable automatic play. This procedure is simple, and you should be able to make it work quickly.
2. Turn on Search Indexing
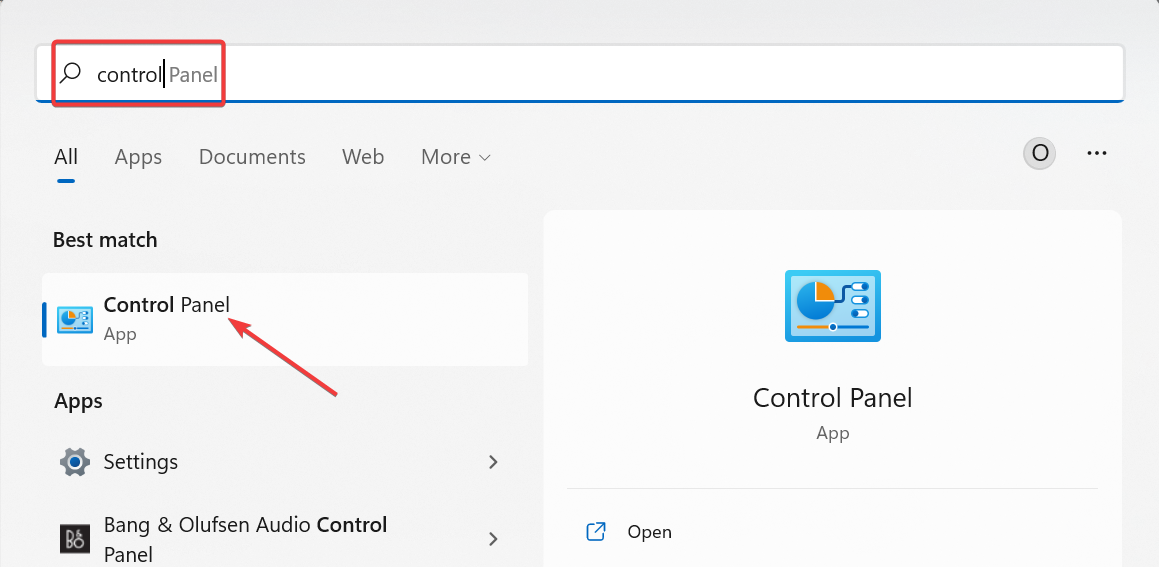
- In the Search bar, type control and open Control Panel.

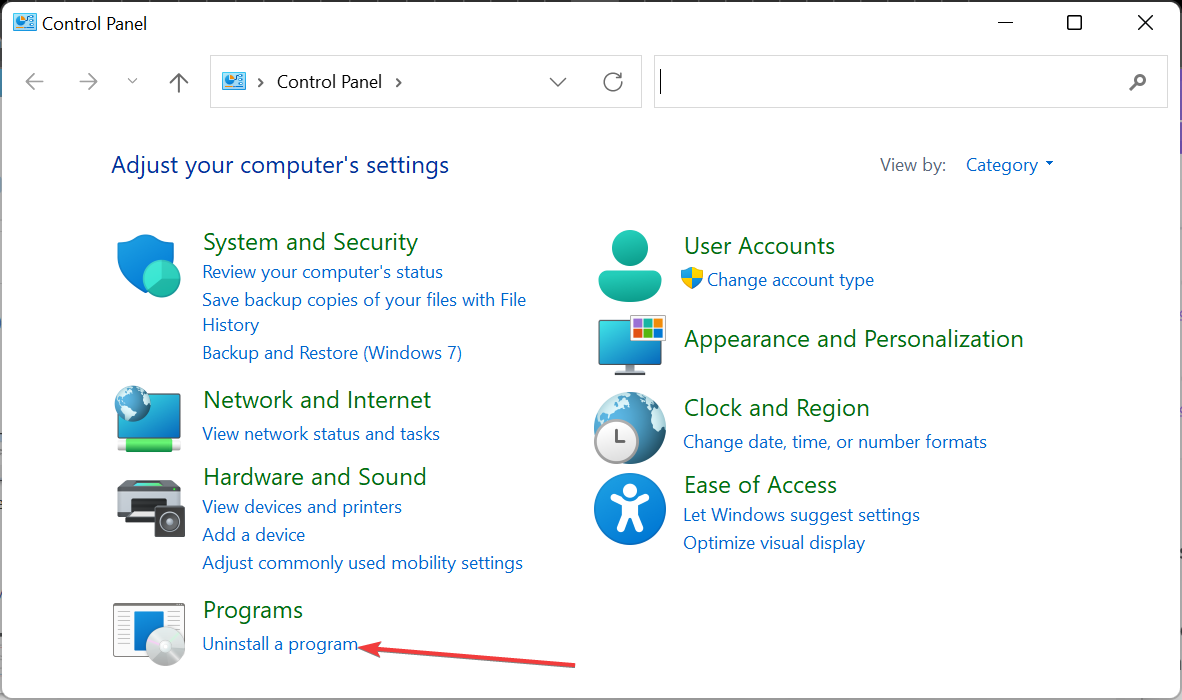
- Choose Uninstall a program under Programs.

- Click Turn Windows Features on or off from the left pane.
- Check the box next to a Windows Search Indexing to enable it.
- Restart your PC to apply changes.
A few knowledgeable users were reminded that Media Streaming is connected to Windows Search Indexing and, thus, can be affected. If you disabled Windows Search Indexing, we advise you to re-enable it.
This will, hopefully, resolve issues with Media Streaming.
3. Change the Local Group Policy
- In the Windows Search Bar, type gpedit.msc, and open Local Group Policy Editor.
- Follow this path:
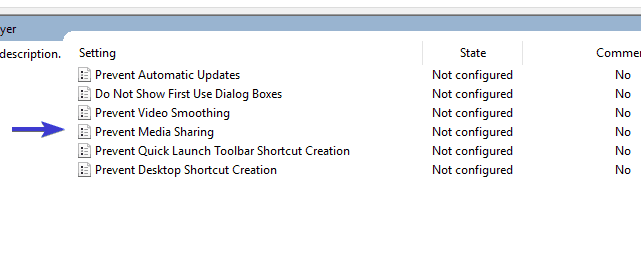
Computer Configuration > Administrative Templates > Windows Components > Windows Media Player - Right-click on Prevent Media Sharing and choose Edit.

- Click on Disabled and confirm changes.
- Restart your PC and try enabling Media Streaming again.
Local Group Policy is there for configuring and managing various permissions within a system. Now, there are some protective permission settings with the main purpose of preventing unauthorized streaming.
Therefore, you’ll probably want that setting disabled to fix the Media Streaming error. For that, you’ll need Administrative permission on your PC.
4. Check the related services
- In the Windows Search bar, type services.msc, and open Services.
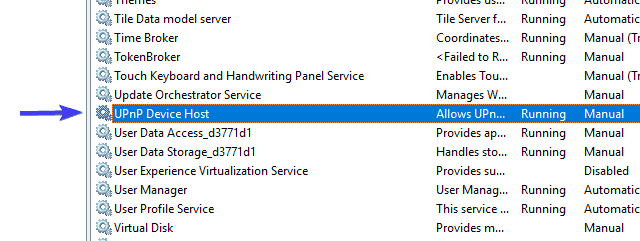
- Navigate to UPnP host service, right-click it, and open Properties.

- Set the Startup type to Automatic, click Stop, and then Start to restart this service. Then click OK.
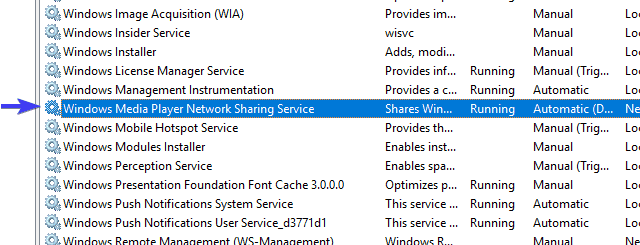
- Now, navigate to the Windows Media Player Network Sharing service and repeat the same procedure.

- Close Services and look for changes.
Like every other Windows component, Media Sharing has more than a few related services that govern everything. Now, by default, once you’ve enabled Media Streaming, they should change status to Active. However, it seems that some of them are, for no apparent reason, permanently disabled.
That occurrence will, consequently, prevent Media Streaming from commencing. Luckily, you can start them manually in a few simple steps.
5. Replace the Media Player cache folder
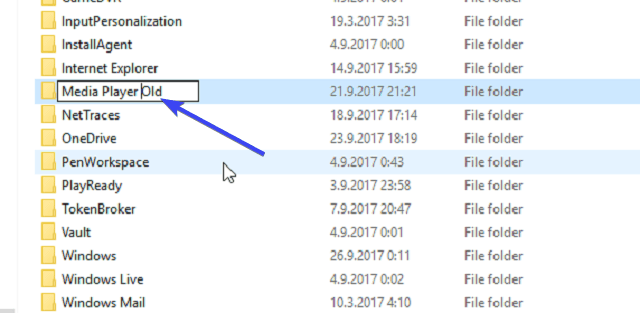
- Copy this path and paste it into the Windows Search bar:
%userprofile%appdatalocalmicrosoft - Rename Media Player to Media Player.Old.

- Restart your PC and start Windows Media Player.
Windows Media Player stores cache and configuration data in the AppData directory. These files can get corrupted or incomplete and thus provoke a lot of issues with Windows Media Player or, in this distinctive occurrence, Media Streaming through Media Player.
You can delete this folder or its content, but we advise you to rename it and continue your life. The next time you start Windows Media Player, the system will re-create the Media Player folder so you can start from scratch.
That should do it. We certainly do hope you managed to overcome issues with Media Streaming and finally make it work. And once done, learn how to enable DLNA in Windows and stream data across compatible devices on the network.
In the same vein, if you are dealing with Video streaming problems on your PC, check our guide to fix it.
Don’t forget to share your experience with Media Streaming issues with other readers. You can do so in the comments section below.