The Media Is Write Protected: 5 Methods to Remove It
Solve the error in no time to regain access to your drive
![]() 4 min. read
4 min. read
![]() Updated on
Updated on
Share this article

Improve this guide
Read our disclosure page to find out how can you help Windows Report sustain the editorial team Read more
Key notes
- The media is write-protected and usually appears due to your drive settings.
- Changing the settings or the registry is one way to fix this issue.
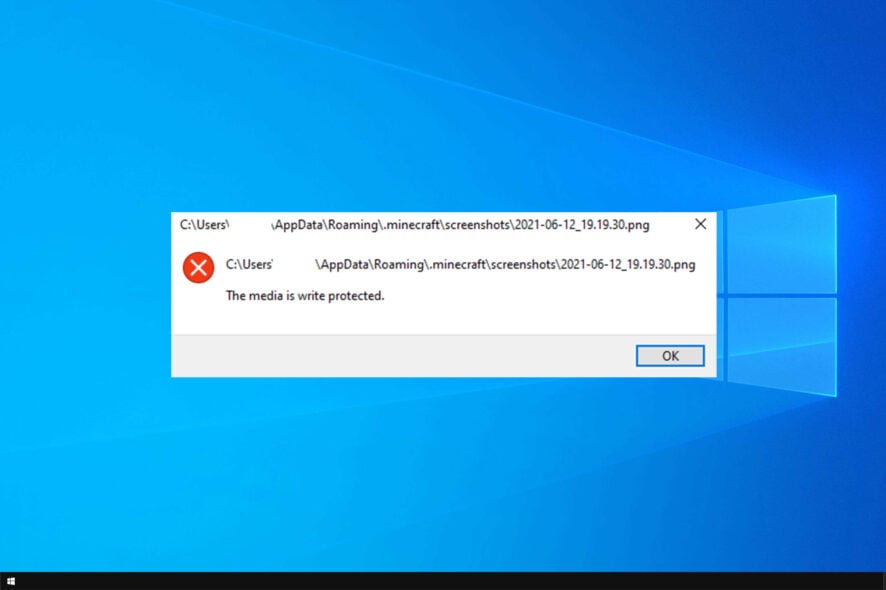
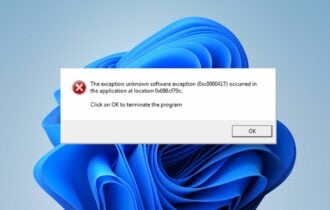
We use all sorts of drives to store our data, but sometimes you might get The media is write protected message while trying to do so.
This error is somewhat similar to System cannot write to the specified device error, which will cause you problems while saving data.
Luckily, there’s a way to deal with this issue, and in today’s guide, we’re going to show you the best methods that you can use to fix this problem.
Why are my files suddenly write-protected?
This issue can occur due to several reasons:
- Software glitches – Sometimes, certain software can give you this error. Reinstalling the application usually fixes the issue.
- Drive errors – In some instances, drive errors can cause this issue. Scan your drive to fix these problems.
- Your settings – Sometimes, files and drives can have certain settings that prevent writing. Change them to fix the issue.
How can I fix The media is write protected error?
Before we start, there is a simple check that you need to perform:
- Check for lock switch – The media is write protected on an SD card, and some USB drives can appear due to the lock switch. If your device is locked with it, you won’t be able to write data to it.
1. Reinstall the software that is giving you this error
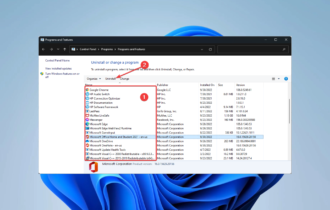
- Press Windows key + X and choose Apps and features.

- Select the application that is giving you this error.
- Click on Uninstall to remove it.

- Once the software is removed, install it again.

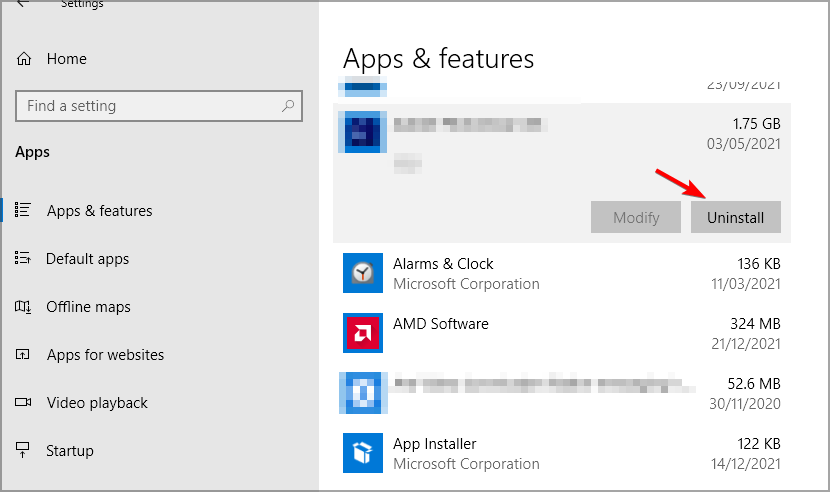
Users reported this issue with uTorrent software, but if you’re having this problem with another software, be sure to give this method a try.
2. Check your disk for errors
- Press Windows key + X and choose Windows PowerShell (Admin).
- Enter the following command and press Enter:
chkdsk c: /f - Wait for the scan to finish.


If you’re getting The media is write protected on hard drive your hard drive, be sure to give this solution a try.
 NOTE
NOTE
3. Use diskpart
NOTE
- Connect your USB drive to the PC.
- Press Windows key + X and choose Windows PowerShell (Admin).
- Once it opens, enter
diskpart
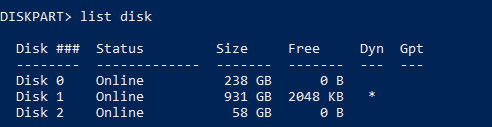
- Now enter
list disk
- Use the file size value to find the desired disk. Note, this will probably be different on your PC. We used
select disk 2
- Lastly, run the following command:
attributes disk clear readonly

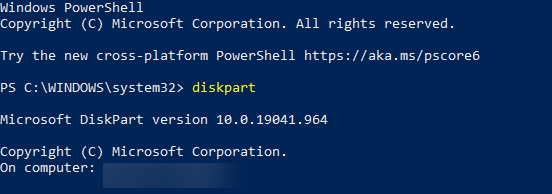

If case you’re getting The media is write protected in diskpart, perhaps is time to format your drive.
4. Change folder properties
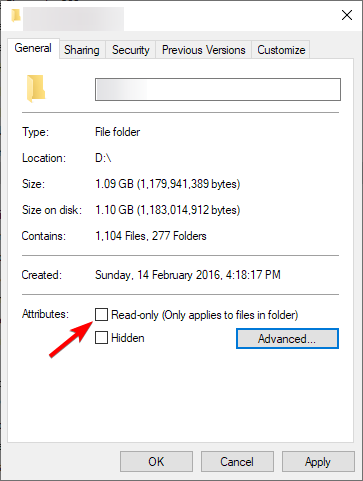
- Locate the directory that is giving you this error.
- Right-click it and choose Properties.

- Make sure that Read-only option isn’t checked and click on Apply and OK.


After doing that, check if the problem is still there.
5. Tweak the StorageDevicePolicies key
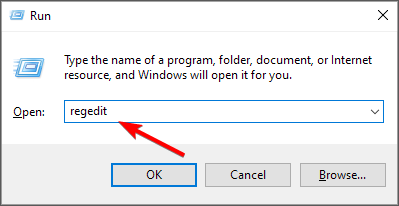
- Press Windows key + R. Enter regedit and click OK.

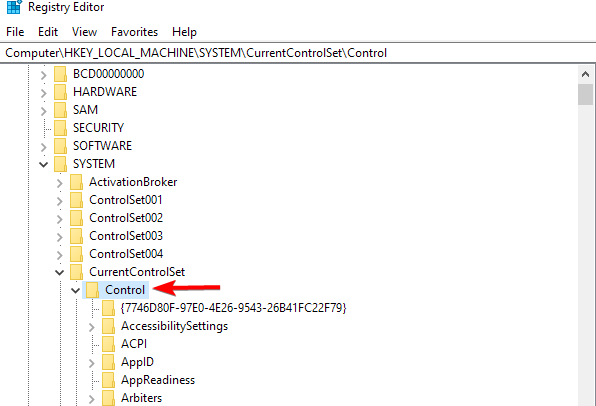
- Navigate to the following key:
Computer\HKEY_LOCAL_MACHINE\SYSTEM\CurrentControlSet\Control
- In the left pane, navigate to StorageDevicePolicies key. If you can’t find it, move to the next step.
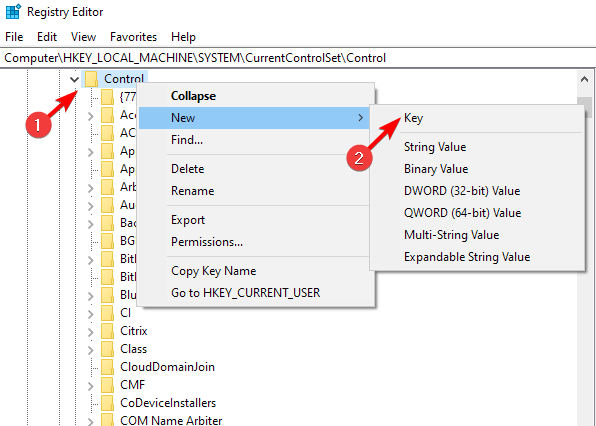
- Right-click the Control key. Now expand the New section and select Key.

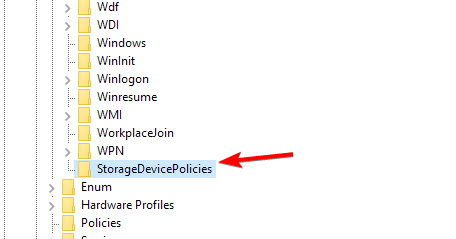
- Name the new key StorageDevicePolicies and move to it.

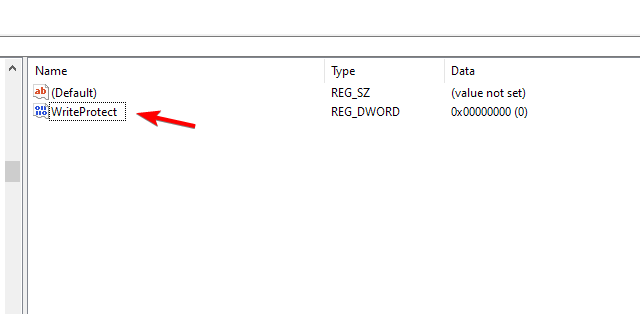
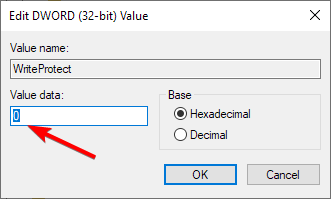
- Look for WriteProtect DWORD in the right pane.

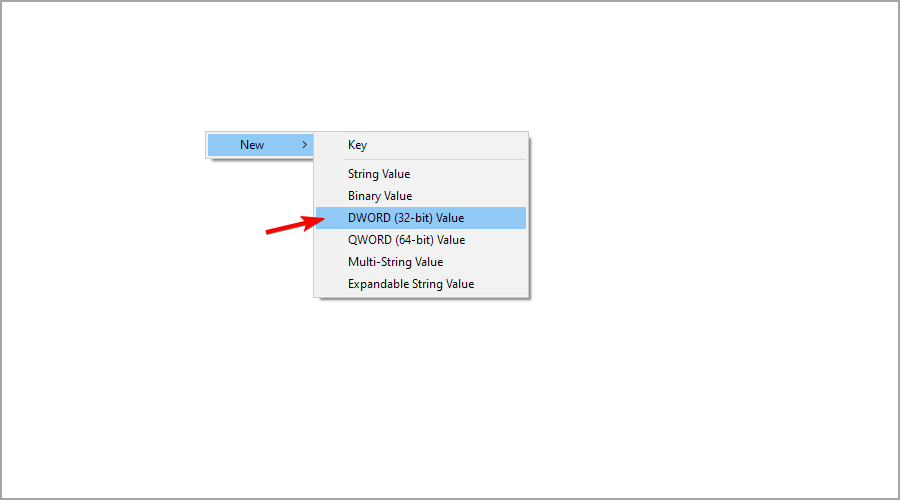
- If it’s not available, right-click the empty space and choose New. Next, select DWORD (32-bit Value).
- Name the new DWORD WriteProtect. Double-click it to open its properties.
- Check if its Value data is set to 0. If not, change it.

There you go; we hope that the solutions listed above helped you fix this error message. If you’re having additional problems, visit our Error writing to file guide for more information.
Did you find a different solution that worked for you? Let us know in the comment section below.