0x000000C1 Error Code: Unable to Install Printer [3 Fixes]
Restart the Spooler services when this error occurs
Key notes
- You can encounter the 0x000000C1 error code when trying to install a printer.
- The error can occur due to outdated printer drivers or corrupt system files on the computer.
- Update the printer drivers to resolve the error and adjust the Registry entries to troubleshoot.

The 0x000000C1 error code occurs when installing a printer on a Windows computer. It can prevent you from using your printer and be frustrating to fix. Therefore, we will examine how to fix the 0x000000C1 error code on your PC.
Likewise, we have a detailed article on how to fix printing errors on Windows PCs.
Why do I get the 0x000000C1 error code?
Several factors can cause the 0x000000C1 error code. Some include:
- Outdated or corrupted printer drivers – If the printer driver is outdated or corrupted, it can affect the communication between the Windows OS and printer and cause the 0x000000C1 error code.
- Printer spooler service issues – Issues with the printer spooler service, which manages print jobs in the queue, can also cause this error code.
- Faulty printer cables – Faulty or damaged printer cables can prevent the printer from communicating with the computer and cause this error.
The following causes differ on various computers. Hence, we will discuss ways to fix the issue.
What can I do if get unable to install printer error code 0x000000C1?
Apply the following before proceeding with advanced troubleshooting:
- Check for Windows OS updates on your computer.
- Restart your computer and printer.
- Perform a Disk Clean up / Disk Defrag.
Proceed with the advanced steps below if the error persists.
1. Restart the Print Spooler service
- Right-click the Windows icon and select Run to open the Run dialog box. Type services.msc and press Enter to open the Windows Services.
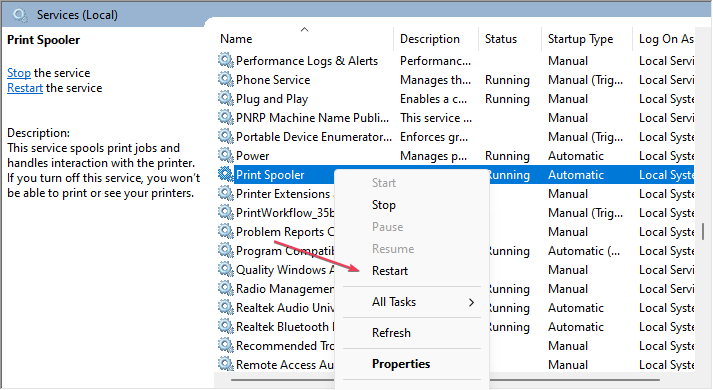
- Navigate to the Print Spooler option and check its status. If the Print Spooler status displays running, right-click it and select restart.
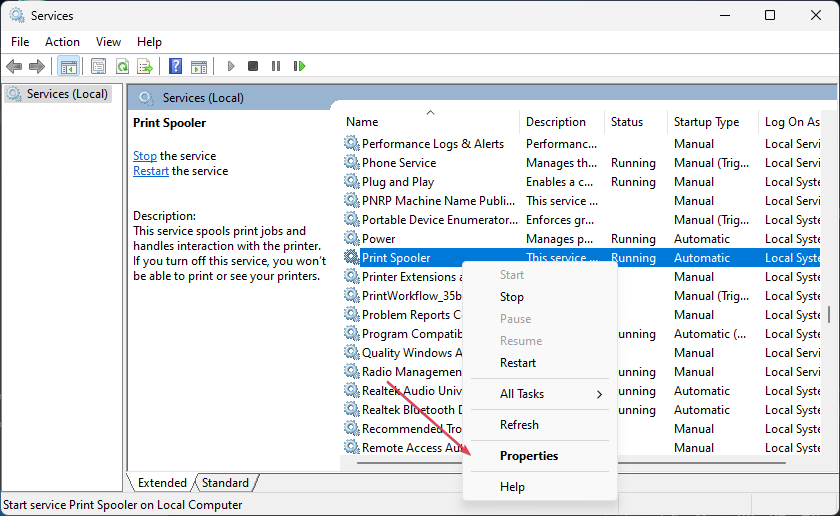
- If the status doesn’t display running, right-click it and select Properties.
- Click the Start button in the Services Status section. Select OK and restart your device.

Restarting the print spooler can help resolve issues preventing the printer from being installed correctly. Check our comprehensive guide on fixing Local Print Spooler Service is not running on your PC.
2. Use the Windows troubleshooter
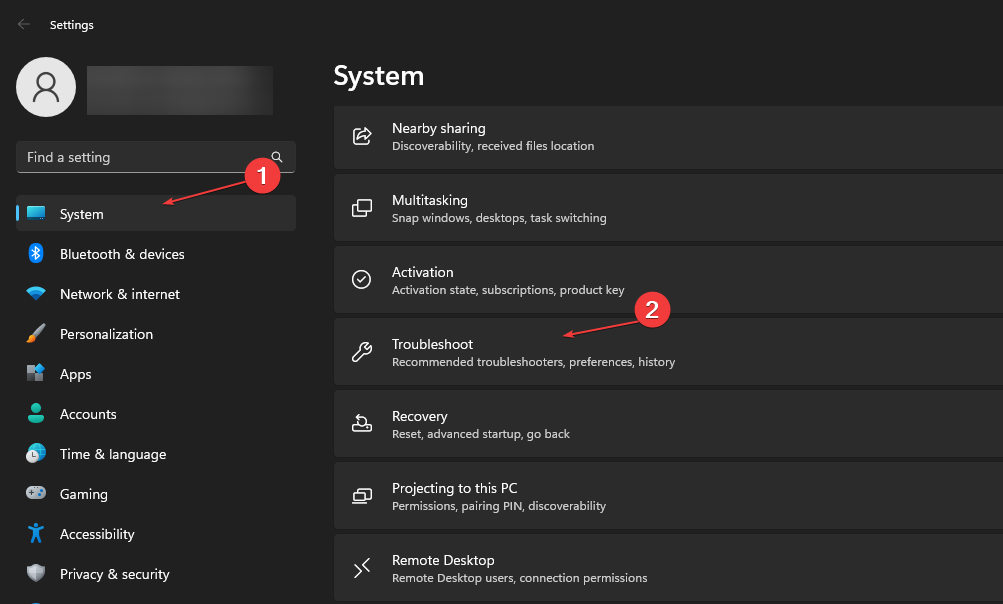
- Press the Windows + I key to open the Windows Settings.
- Click the System tab and select Troubleshooter from the left pane.
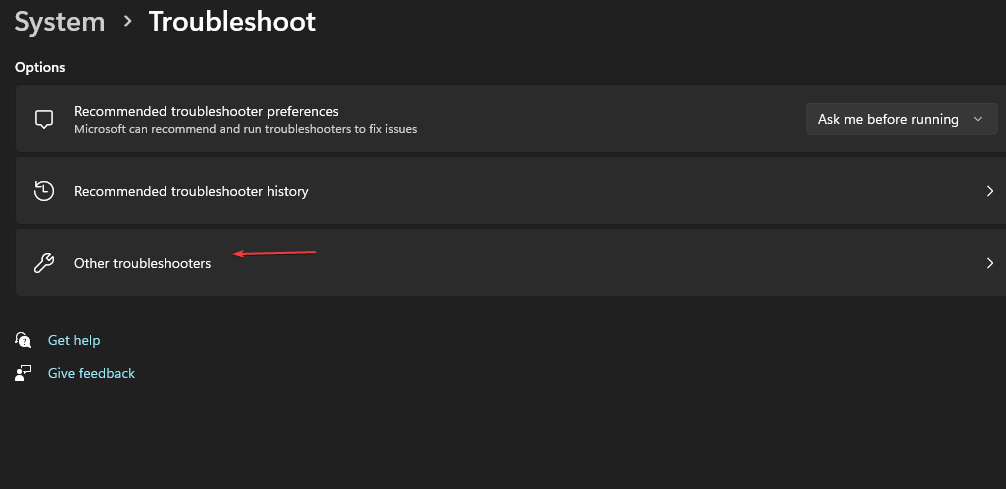
- Choose other troubleshooters link from the right side pane.
- Click on the Run button beside the Printer option.
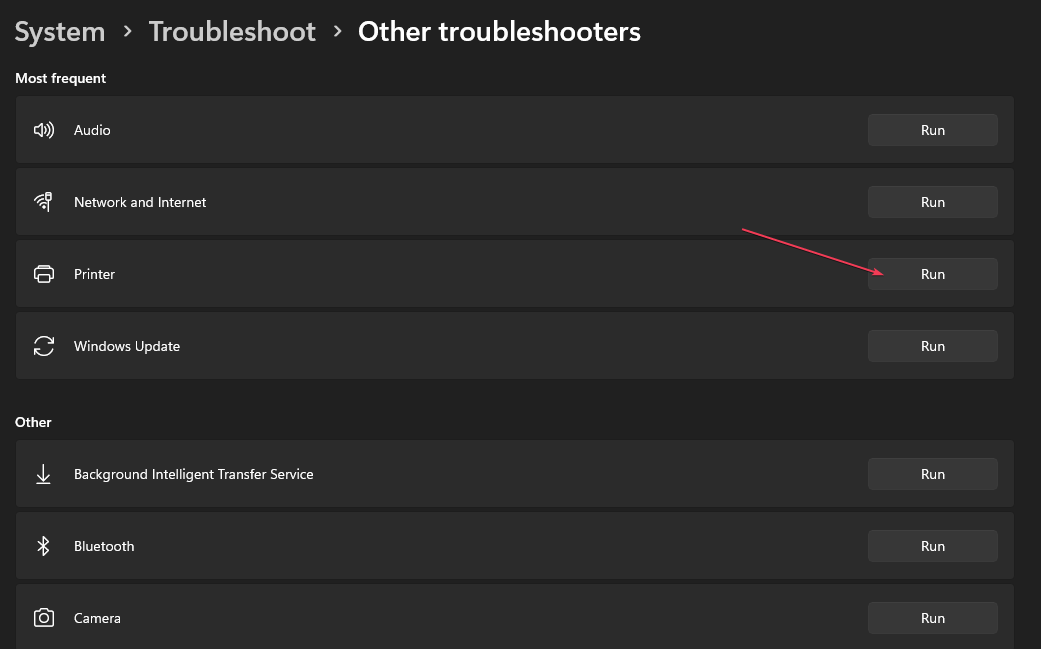
- Follow the on-screen command and restart your PC.
Using the Windows inbuilt printer troubleshooter will fix issues with the printer. Read our detailed guide on the best Windows troubleshooter tools to fix issues on your computer.
3. Modify the Registry Editor and update the printer driver
3.1 Stop Printer Spooler services
- Press the Windows + R to open the Run dialog box, type services.msc, and press Enter to open the Windows Services.
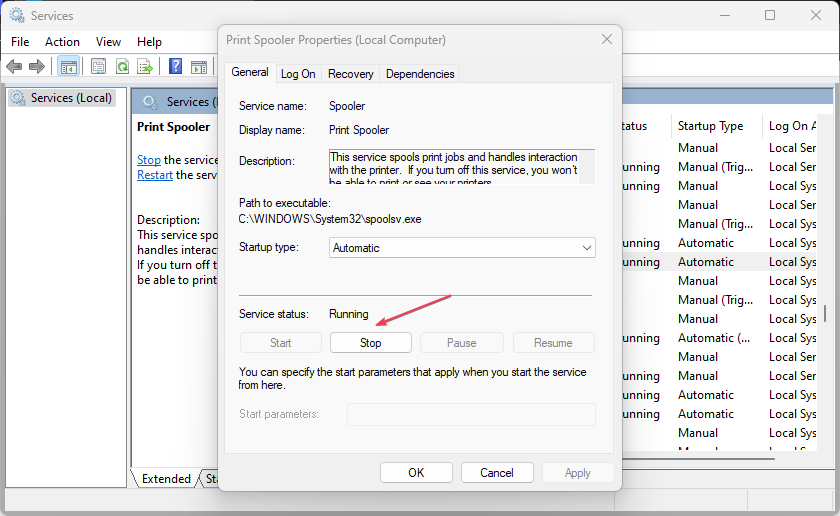
- Scroll to the Print Spooler, right-click on it, and select Properties.
- Then, click the Stop button and select OK.
- Left-click the Windows icon, type File Explorer, and press Enter to open it.
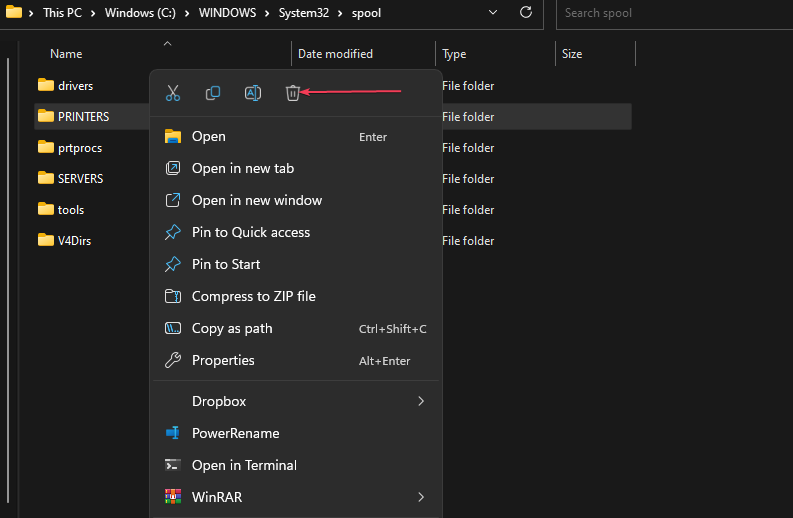
- Navigate to the following path:
C:\Windows\System32\Spool\Printers - Right-click on the folder, and select Delete from the context menu.
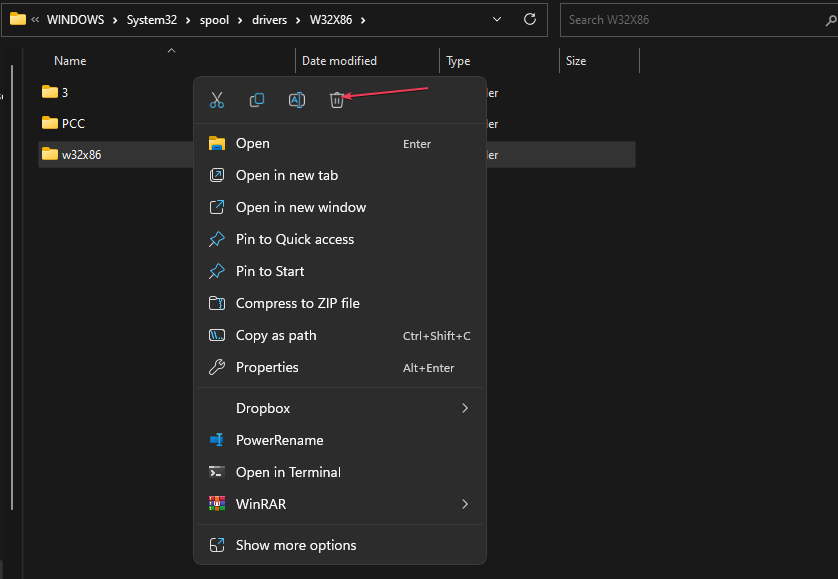
- Then, navigate to the following path:
C:\Windows\System32\Spool\Drivers\w32x86 - Right-click the w32x86 folder and select Delete from the menu.
3.2 Modify the Registry Editor
- Press the Windows key, type regedit, and press Enter to open the Registry Editor.
- Copy and paste the following path into the Registry Editor address bar and press Enter.
- For 32bit computer:
HKEY_LOCAL_MACHINE\SYSTEM\CurrentControlSet\Control\Print\Environments\Windows NT x86\Drivers\Version-x(x represents the version number which varies on different PC).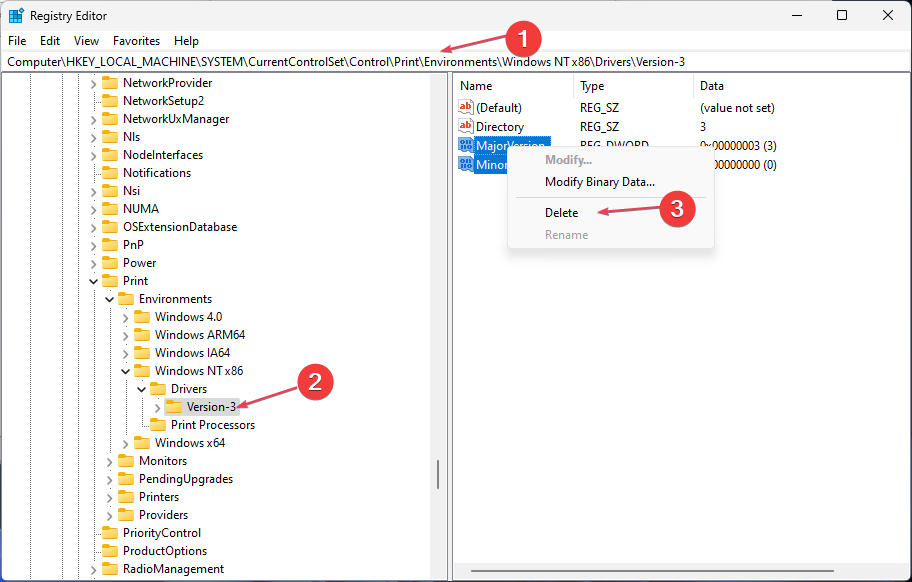
- For 64bit computer:
HKEY_LOCAL_MACHINE\SYSTEM\CurrentControlSet\Control\Print\Environments\Windows x64\Drivers\Version-x(x represents the version number which varies on different PC).
- For 32bit computer:
- Select all the entries in the Registry Editor and delete them all.
- Go to Windows Services, start the Print Spooler, and restart your computer.
3.3 Update the driver
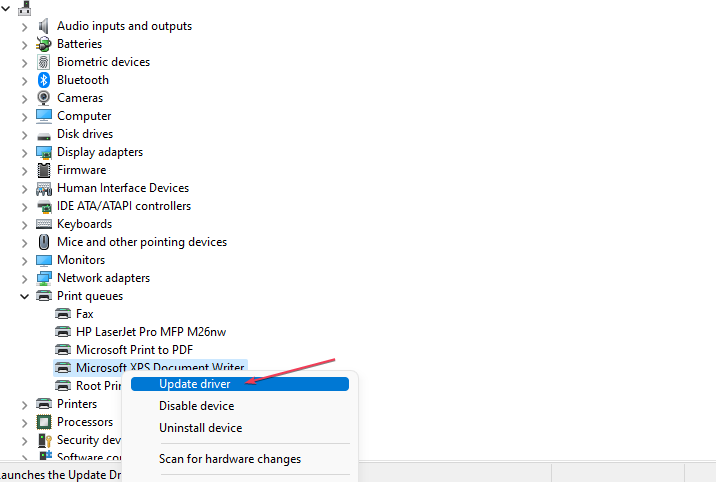
- Press the Windows, type Device Manager, and launch it.
- Navigate to Print queues, right-click the driver, and select Update driver from the menu.
- Select Search automatically for drivers.
- Wait for the process to complete and restart your device.
As an alternative to this, you can automatically update all PC drivers with a standalone application like Outbyte Driver Updater.
This software will fully scan the OS and detect all the outdated drivers, and then install them simultaneously.
Modifying the Windows Registry Editor and updating the printer driver will troubleshoot issues with printer installation.
Check our guide about how to master the Windows Registry with Registry Editor in Windows 11.
Conclusively, you can read about how to fix printer error 0x00000b11 on Windows PCs. Also, check our guide on fixing printer error 1260 with a couple of steps on your computer.
Did you find a different solution? Share it with us in the comments section below.
Read our disclosure page to find out how can you help Windows Report sustain the editorial team. Read more


Improve this guide


User forum
0 messages