Windows Update Error 0x8024402c? 5 Ways to Fix it
Error 0x8024402c will prevent you from installing updates
Key notes
- Clearing the update cache can help you fix this problem permanently on your PC.
- Check your firewall settings and make sure that it's not interfering with update process.
Many reported 0x8024402c error while trying to download Windows Updates, and this can be a big problem since it can leave your system vulnerable.
Fixing this issue should be your priority, and in today’s guide, we’re going to show you the best ways to fix this problem on your PC, so let’s get started.
What is error 0x8024402c?
This is a Windows Update error, and it’s caused by the following:
- Windows update cache can cause this issue, so you might have to remove it from your PC.
- Windows Firewall interference can sometimes prevent certain components from working.
- Issues with the DNS or hosts file can also cause this problem to appear.
How do I fix error code 0x8024402c?
Before attempting any advanced troubleshooting steps, go through the following:
- Turn off background apps running on your PC.
- Fix your network connection.
- Disconnect external devices plugged into the computer.
- Restart Windows in Safe Mode and check if the error persists.
If you can’t resolve the error, go ahead with the solutions below:
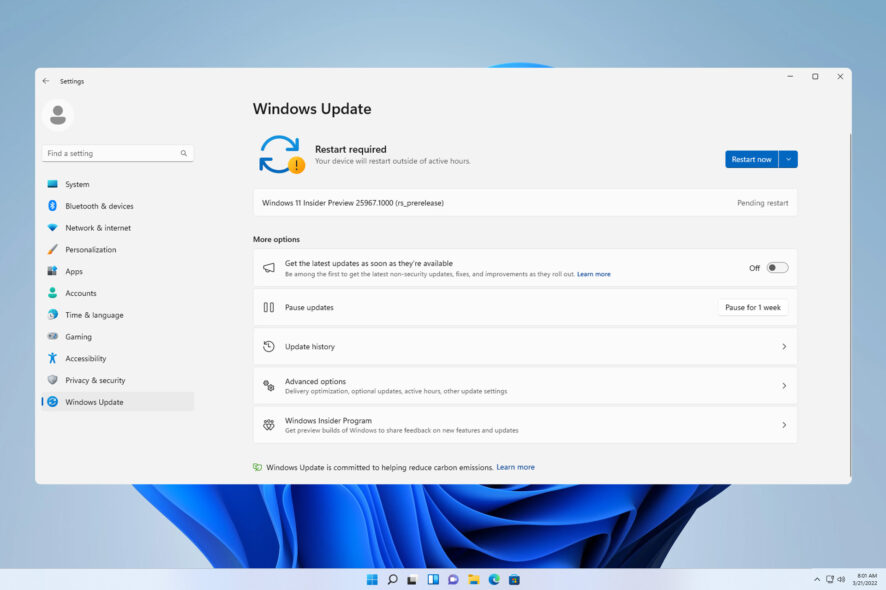
1. Run Windows Update troubleshooter
- Press the Windows + I key to open the Settings app.
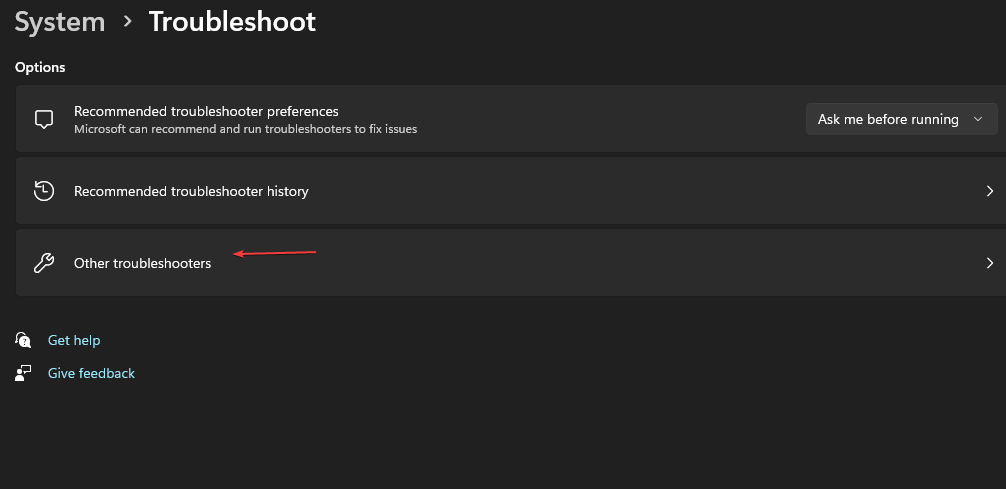
- Click System, select Troubleshoot, then click on the Other troubleshooters.
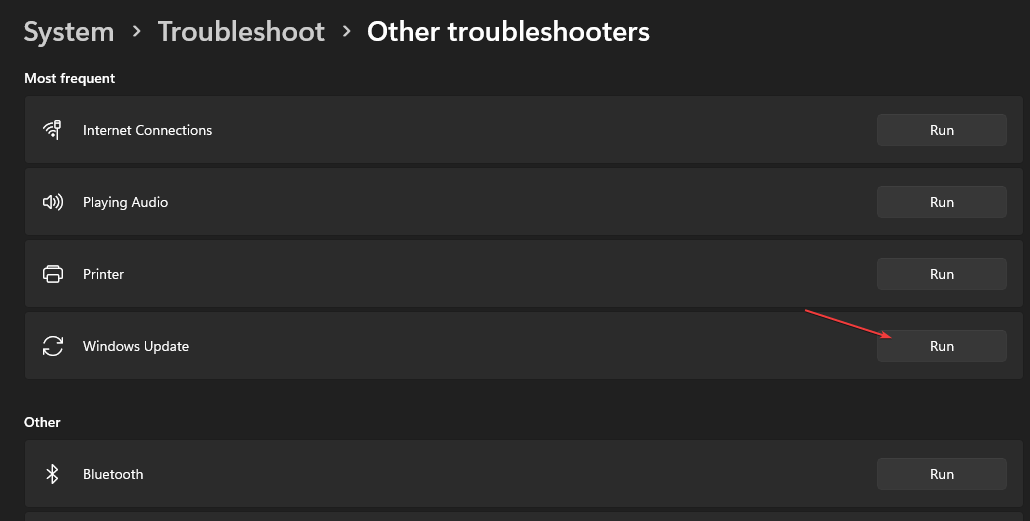
- Go to Most frequent, select Windows Update, and click on Run.
- Follow the on-screen instructions to complete, then restart your PC.
The Windows Update troubleshooter will detect and resolve issues affecting the Windows updates process. Read our guide on ways to run the Windows Update troubleshooter on Windows 11.
2. Clear Windows Update cache via File Explorer
- Press Windows + E to open File Explorer.
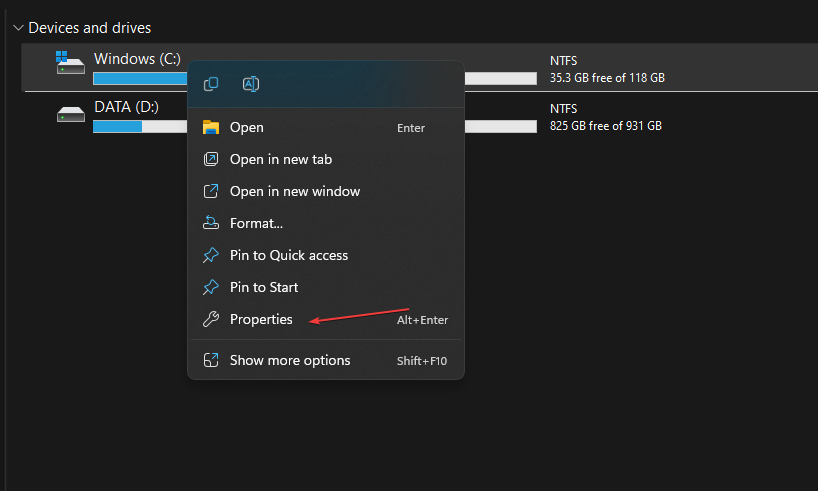
- Navigate to Local Disk (C), right-click on it, and click on Properties.
- Click on Disk Clean-up, then click the Cleanup system files button.
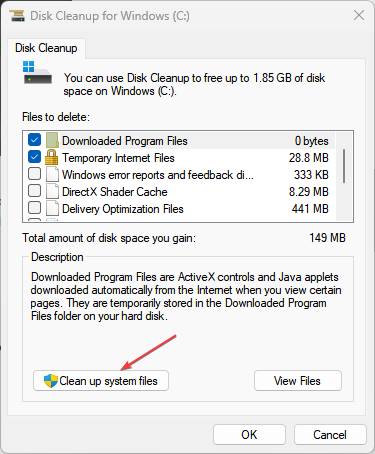
- Check the boxes for Windows upgrade log files and Temporary Windows Installation files, then click OK.
- Exit the File Explorer and restart the PC.
Deleting the update cache files will clear the corrupt files causing the update error. Read our article on what to do if File Explorer keeps crashing your PC.
3. Disable Windows Firewall
- Click the Start button, type control panel, then press Enter to open the Control Panel.
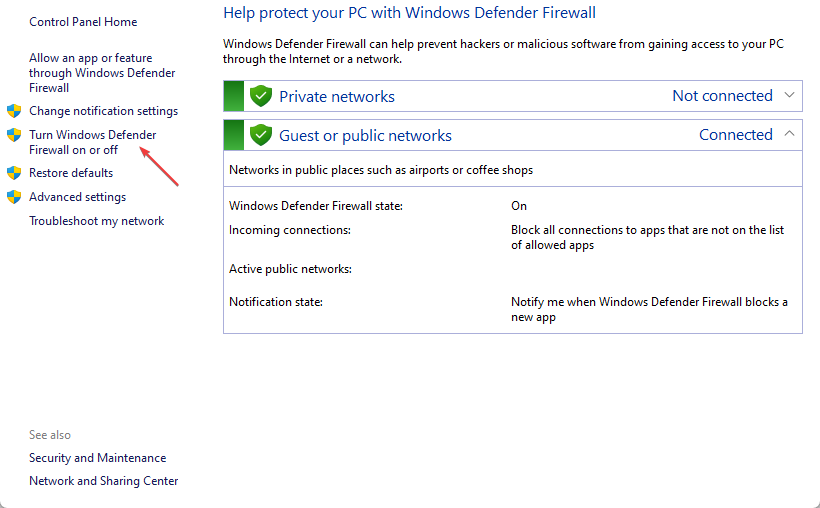
- Select the Windows Defender Firewall option.
- Click the Turn Windows Defender Firewall on or off option from the left pane.
- Go to the Private network settings and Public network settings, then click the radio buttons for the Turn off Windows Defender Firewall (not recommended) option.

- Exit the Control Panel and restart your PC to see if you’re able to update it.
Disabling the Windows Defender Firewall will resolve any interference it’s causing in the Windows update process and fix the 0x8024402c error.
4. Change your DNS Server Address
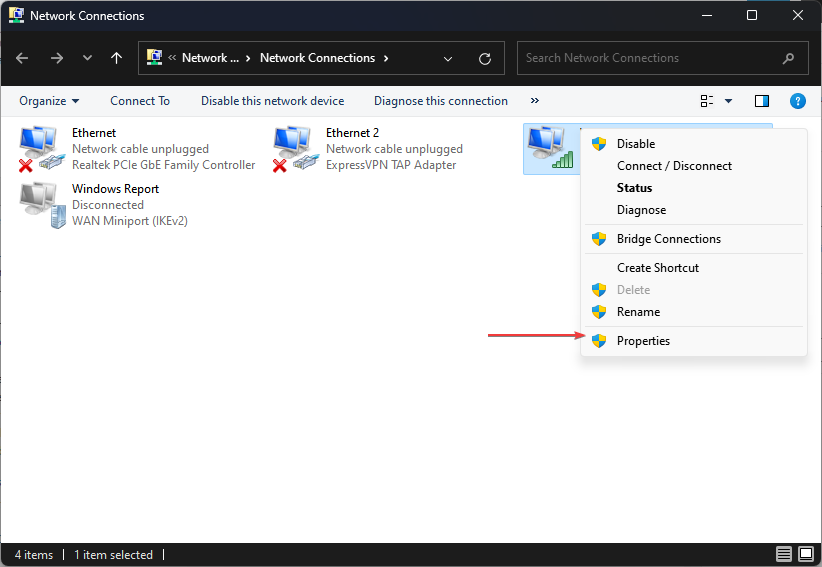
- Press Windows + R key to open the Run dialog box, type ncpa.cpl, and click OK to open the Network Connection page.
- Right-click your network adapter and select Properties from the drop-down.
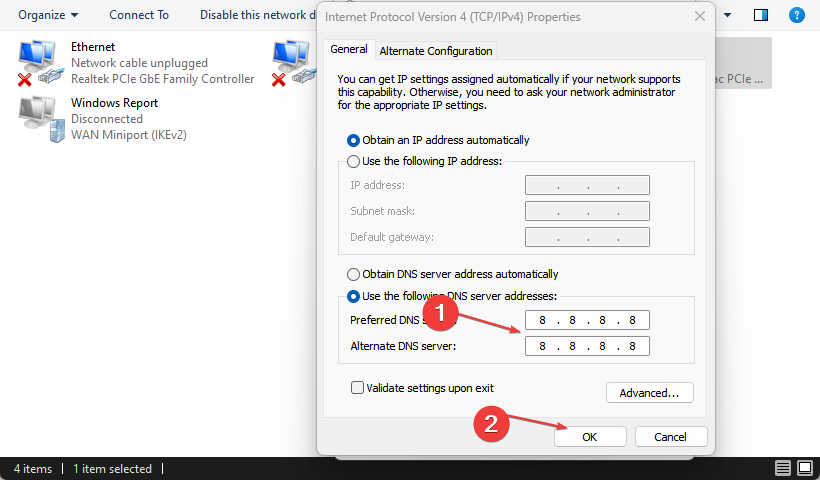
- Select Internet Protocol Version 4 (TCP/IPv4) and click Properties.
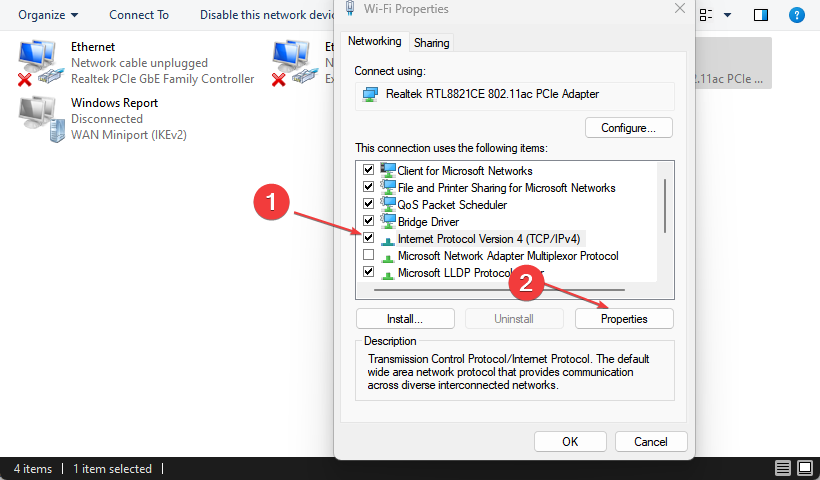
- Tick the box for the Use the following DNS server addresses option, type 8.8.8.8 in the Preferred DNS server, and 8.8.8.8 for the Alternate DNS server, then click OK to save settings.
- Restart your PC, then try updating Windows to check if the error persists.
Read about checking and changing the DNS server on Windows 11 if you’re having trouble with the steps above.
5. Check the hosts file
- Press the Windows key + S and type notepad. Right-click Notepad and choose Run as administrator.

- Click on File and select Open.

- Next, navigate to
C:\Windows\System32\drivers\etc - Set the following options to All files and double-click on hosts.

- Locate 0.0.0.0 anywhere in the file and delete that entire line.

- Press Ctrl + S to save changes.
In case you are interested in our guide about Windows Update stuck at 100% and ways to fix it, check here.
Also, check how to fix 0x800f0900 Windows Update error on Windows 11.
If you have further questions or suggestions, kindly drop them in the comments section.
Read our disclosure page to find out how can you help Windows Report sustain the editorial team. Read more


Improve this guide


User forum
1 messages