0x87d01107 Error Code: How to Fix This SCCM Issue
Get rid of issues and quickly install or deploy updates
3 min. read
Updated on
Read our disclosure page to find out how can you help Windows Report sustain the editorial team Read more
Key notes
- The 0x87d01107 error is often encountered when deploying updates on devices in the domain.
- This issue often arises due to problems with the distribution point or an incorrect command.
- To fix things, check the metadata and verify that the configured policies are not conflicting, amongst other solutions.
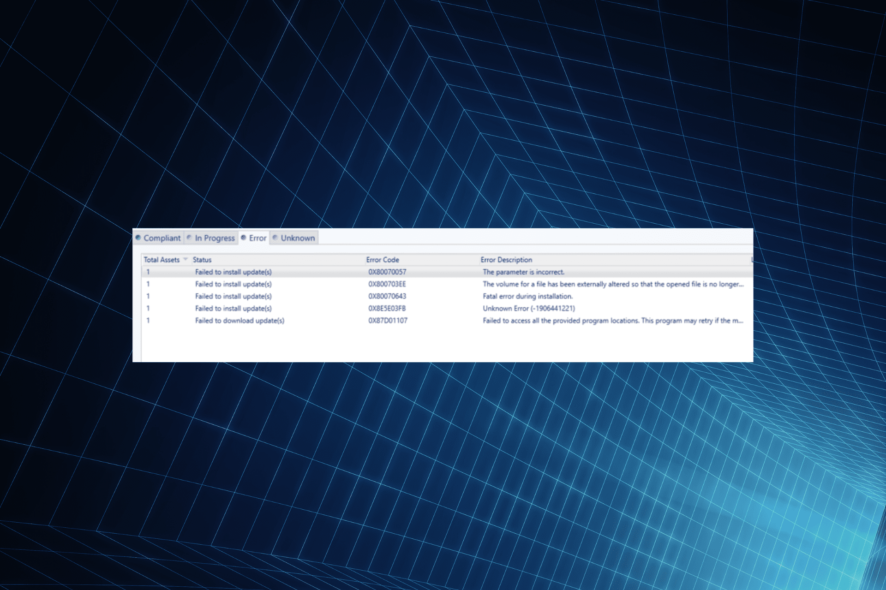
SCCM (System Center Configuration Manager), now known as the Microsoft Configuration Manager, is software for administrators to manage devices on the Active Domain directory. But while deploying updates or installing an application, some got the 0x87d01107 error.
The problem is intricate, and given that it’s not extensively covered as of now, things are difficult to resolve. And we are here to help with that. Keep reading to find out how you can get rid of the 0x87d01107 SCCM error!
What is SCCM error code 0x87d01107?
The error indicates an inability to download or deploy updates for various reasons. The complete message reads, Failed to access all the provided program locations. This program may retry if the maximum retry count has not been reached.
Here are a few reasons users get the 0x87d01107 error:
- Issues with the Distribution Point (DP): DP plays a critical role in deploying updates on the devices in the domain, and if it’s not updated or contains the latest changes, you will likely get the error.
- Choice of deployment method: There are a few methods available, and though each should work, sometimes, you may need to go with a specific one for that case.
- Incorrect commands: Many also reported that the commands they used either pointed to an incorrect location or had some inconsistencies.
How do I fix error 0x87d01107?
Before we move to the slightly complex solutions, here are a few quick ones to try:
- Try again! Often, the quickest fix is to try multiple times in case a trivial bug triggers the error.
- Disable any active firewall since it could conflict with the connection. This also works against CcmSetup failed with error code 0x80004005.
- Ensure the metadata is properly downloaded, in a deployable format, and published to WSUS. Then, check whether SCCM error 0x87d01107 is fixed.
- Verify that the configured policies are set correctly and are not a barrier to installation or the update deployment process.
If none work, move to the fixes listed next.
1. Make sure nothing conflicts with the installation
The 0x87d01107 error message indicates that the cached installation media was deleted before it could be applied. This often happens due to a conflict or an improper setup.
A quick fix, in this case, is to verify the error logs, identify what’s causing the problem, and take the necessary steps to eliminate it.
2. Refresh the Distribution Point
- Right-click on the application, and select Properties.
- Go to Content Locations, and choose Select Location.
- Now, click on Redistribute.
- Once done, click OK to save the changes.
Another solution that worked for many was to refresh the Distribution Point when faced with the 0x87d01107 error. If this doesn’t work, you can always clear the Distribution Point.
3. Reinstall OS on the affected device
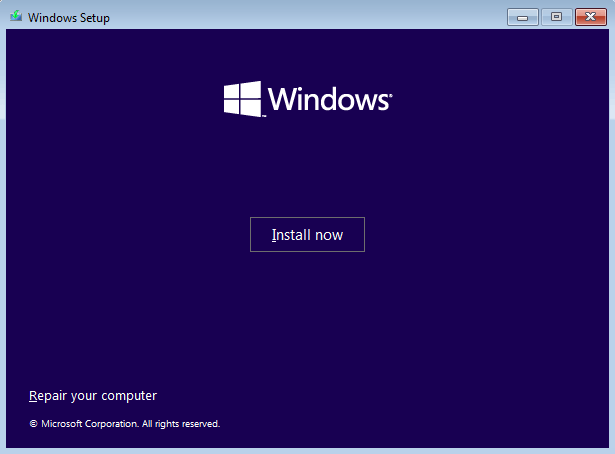
The last option is to start fresh on the affected device when nothing else works. All you have to do is create a bootable USB, select it in the BIOS, and then reinstall Windows on the PC.
Though this may not be a viable fix for many, reinstalling the OS could be used as a last resort.
One of these solutions should have helped fix the 0x87d01107 SCCM error while installing applications or deploying updates on a PC in the active domain.
Before you leave, check some quick tips to increase the SCCM client cache size.
For any queries or to share more solutions with us, drop a comment below.


User forum
0 messages