80092004 Windows Update Error: How to Fix It
Check expert solutions for quick troubleshooting
6 min. read
Updated on
Read our disclosure page to find out how can you help Windows Report sustain the editorial team. Read more
Key notes
- The 80092004 error prevents users from installing the latest Windows version and has affected quite a few recent updates.
- It can happen both due to problems with the update or an issue at the user’s end.
- To fix things, repair the corrupt system files, reset the update components, or perform an in-place upgrade, amongst other solutions.
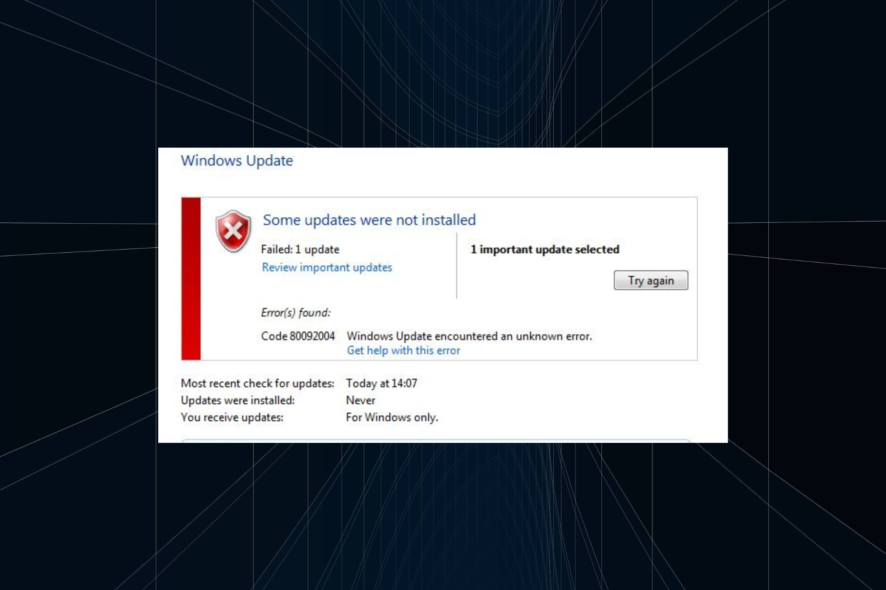
Windows Update errors are uncommon and usually point toward an issue at the user’s end. But there have been cases when the update itself was buggy and, subsequently, the problem was widespread. One such is the 80092004 update error.
When unable to install updates, the situation becomes problematic, given users miss out on the latest features and security patches.
But our experts did manage to identify the problem and came up with solutions that helped others. Keep reading to find out!
What is error code 8009204 Windows Update?
The code 80092004 indicates that the PC couldn’t find the correct cryptographic values in the update and, as a result, rejected it. This is because Microsoft stopped signing packages with SHA-1 and only uses SHA-2 ever since August’19. And if Windows looks for the former, the error code appears.
Here are a few reasons you might encounter the error:
- Problems with the update: In a few cases, the problem appeared only while installing specific updates for all users, which points to a bug in the update itself. So, you should verify whether others, too, are facing the problem.
- Corrupt system files: Even corrupt system files are likely to affect the update process and may trigger the 80092004 error in Windows 10.
- Issues with the update components: Windows Update Components are critical for installing updates, and misconfiguration here can lead to a range of errors.
How do I fix error code 80092004?
Before we head to the tricky fixes, here are a few quick ones:
- Restart the computer and retry the update.
- Disable the built-in Windows Security or any third-party antivirus installed on the PC. If that works, uninstall the program to fix things for good.
- Make sure you have fast Internet speed.
If none work, move to the solutions listed next.
1. Run the built-in troubleshooters
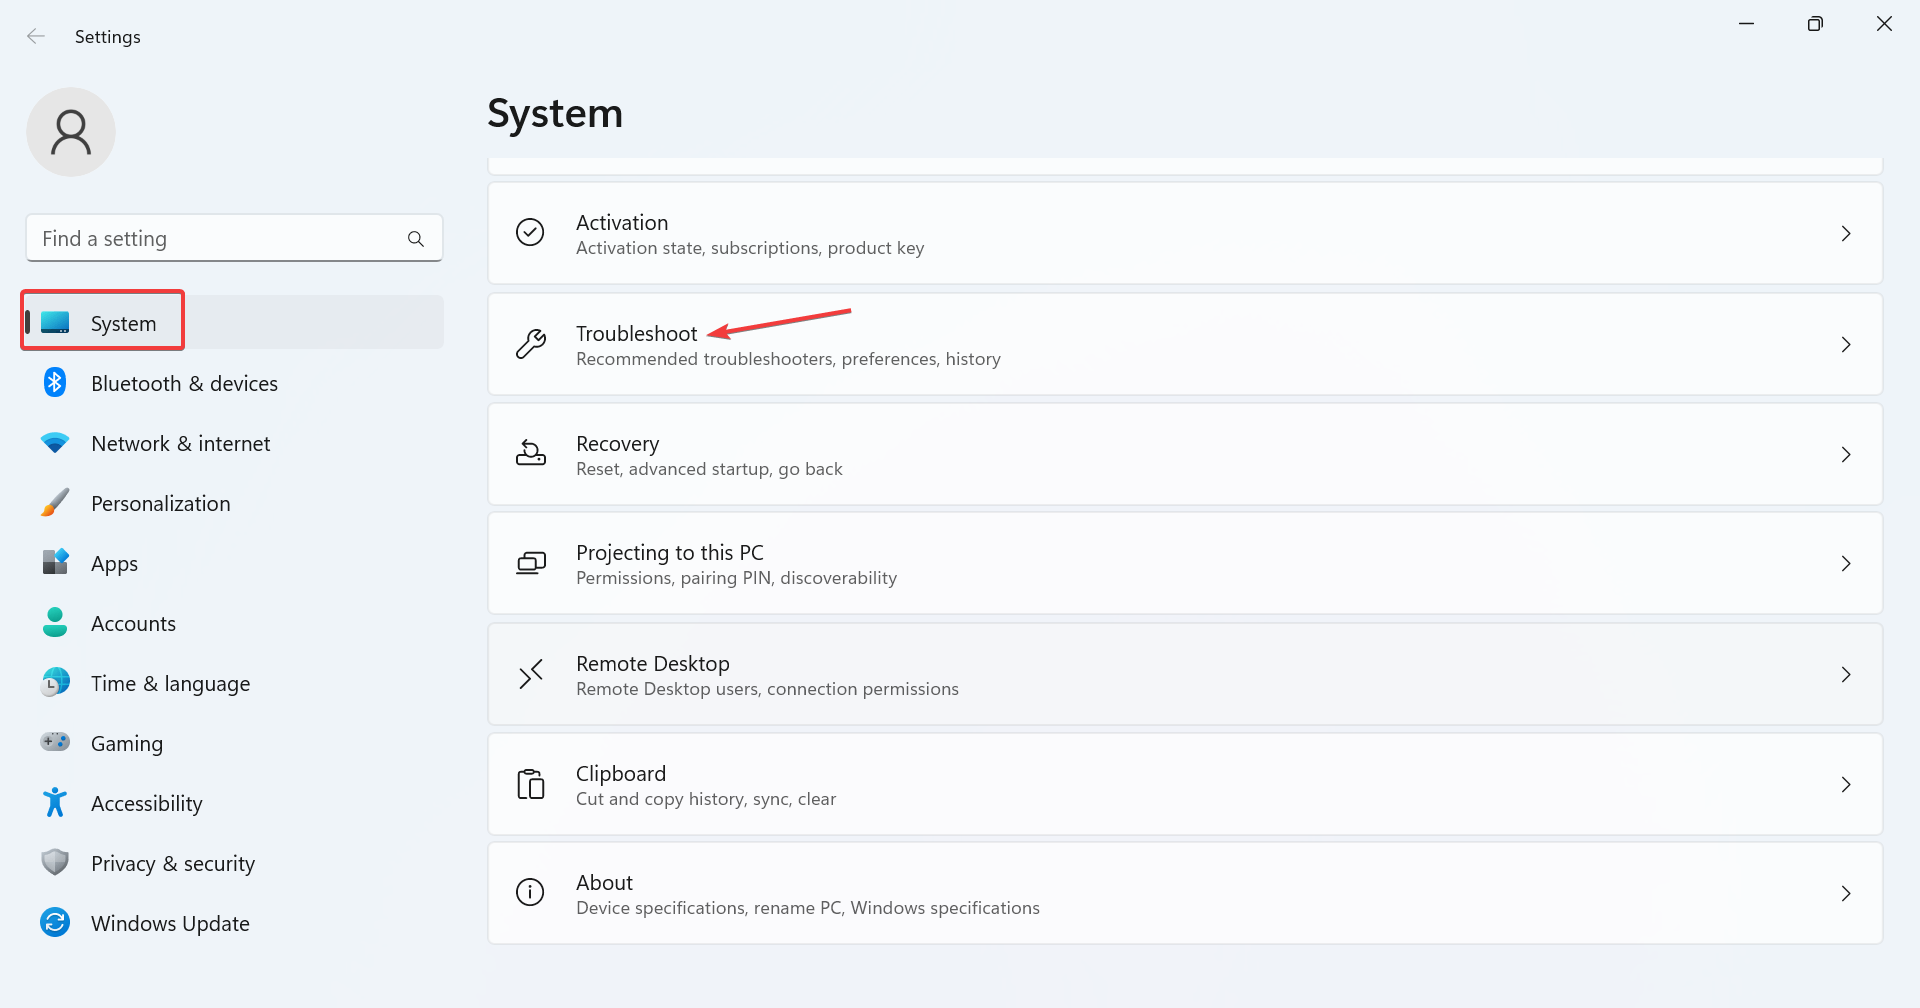
- Press Windows + I to open Settings, and click on Troubleshoot on the right in the System tab.
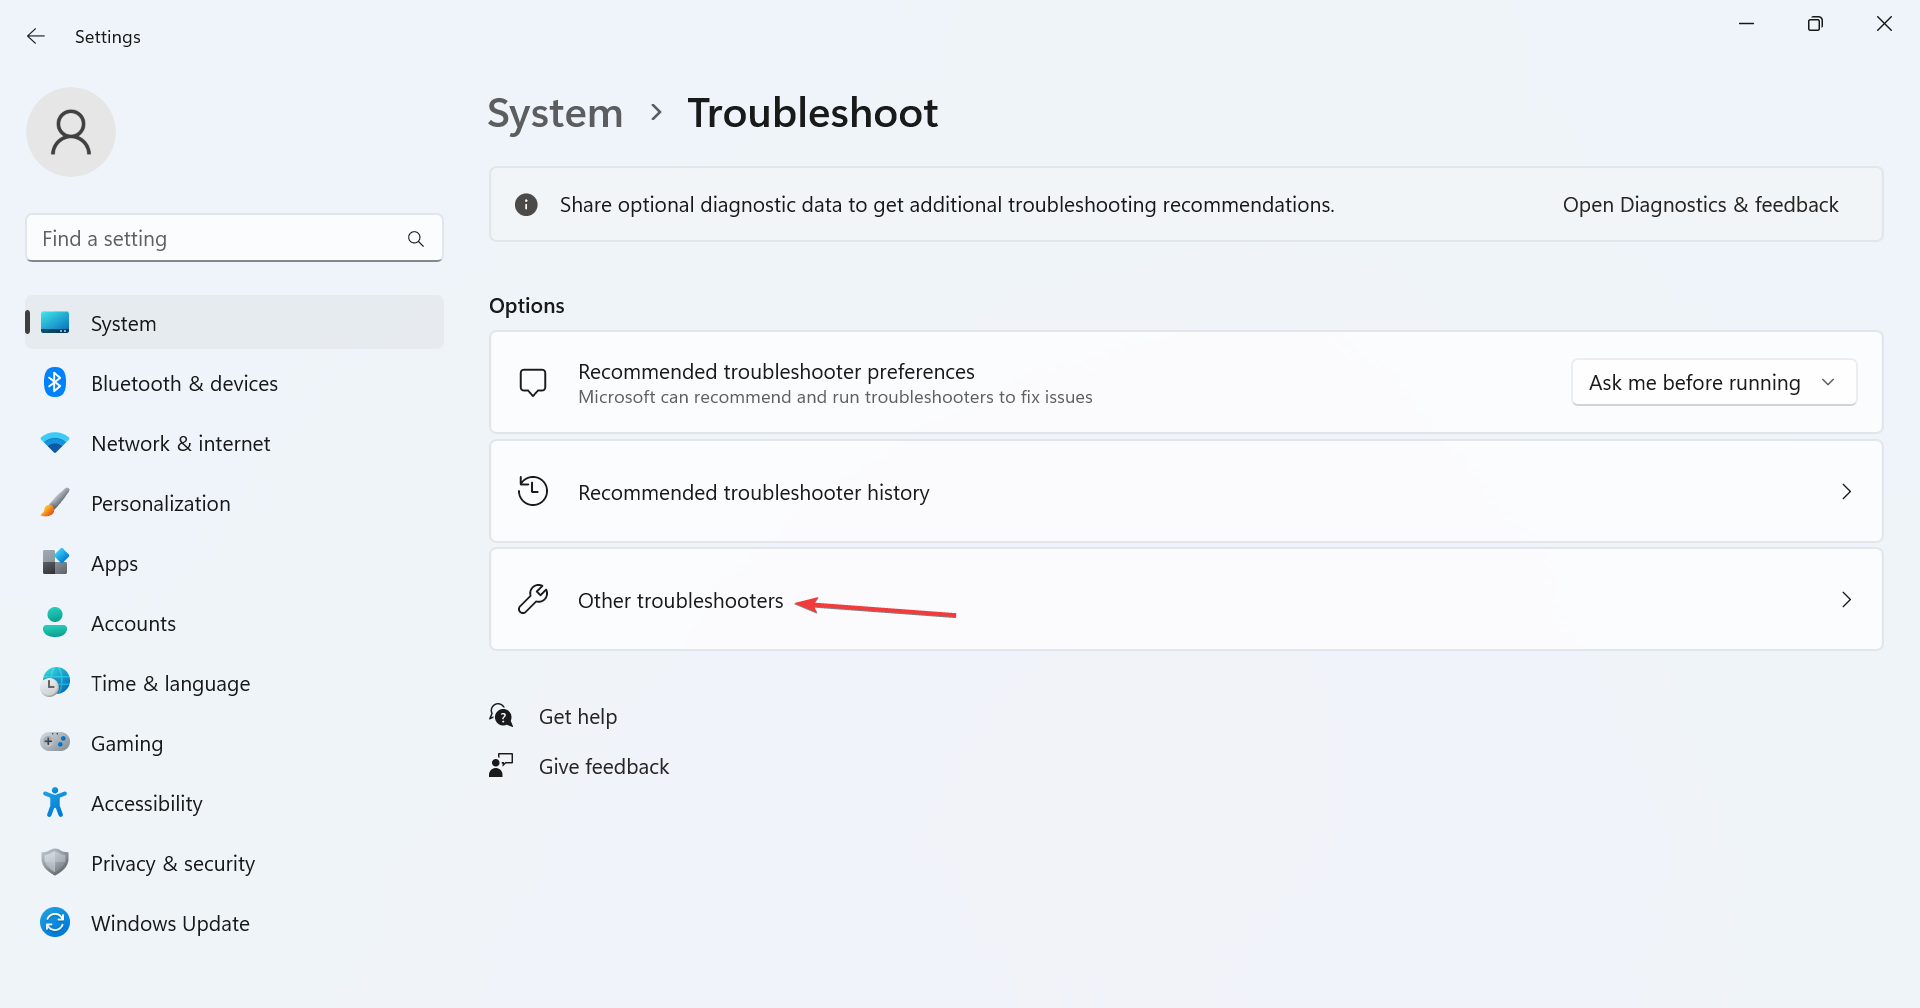
- Click on Other troubleshooters.
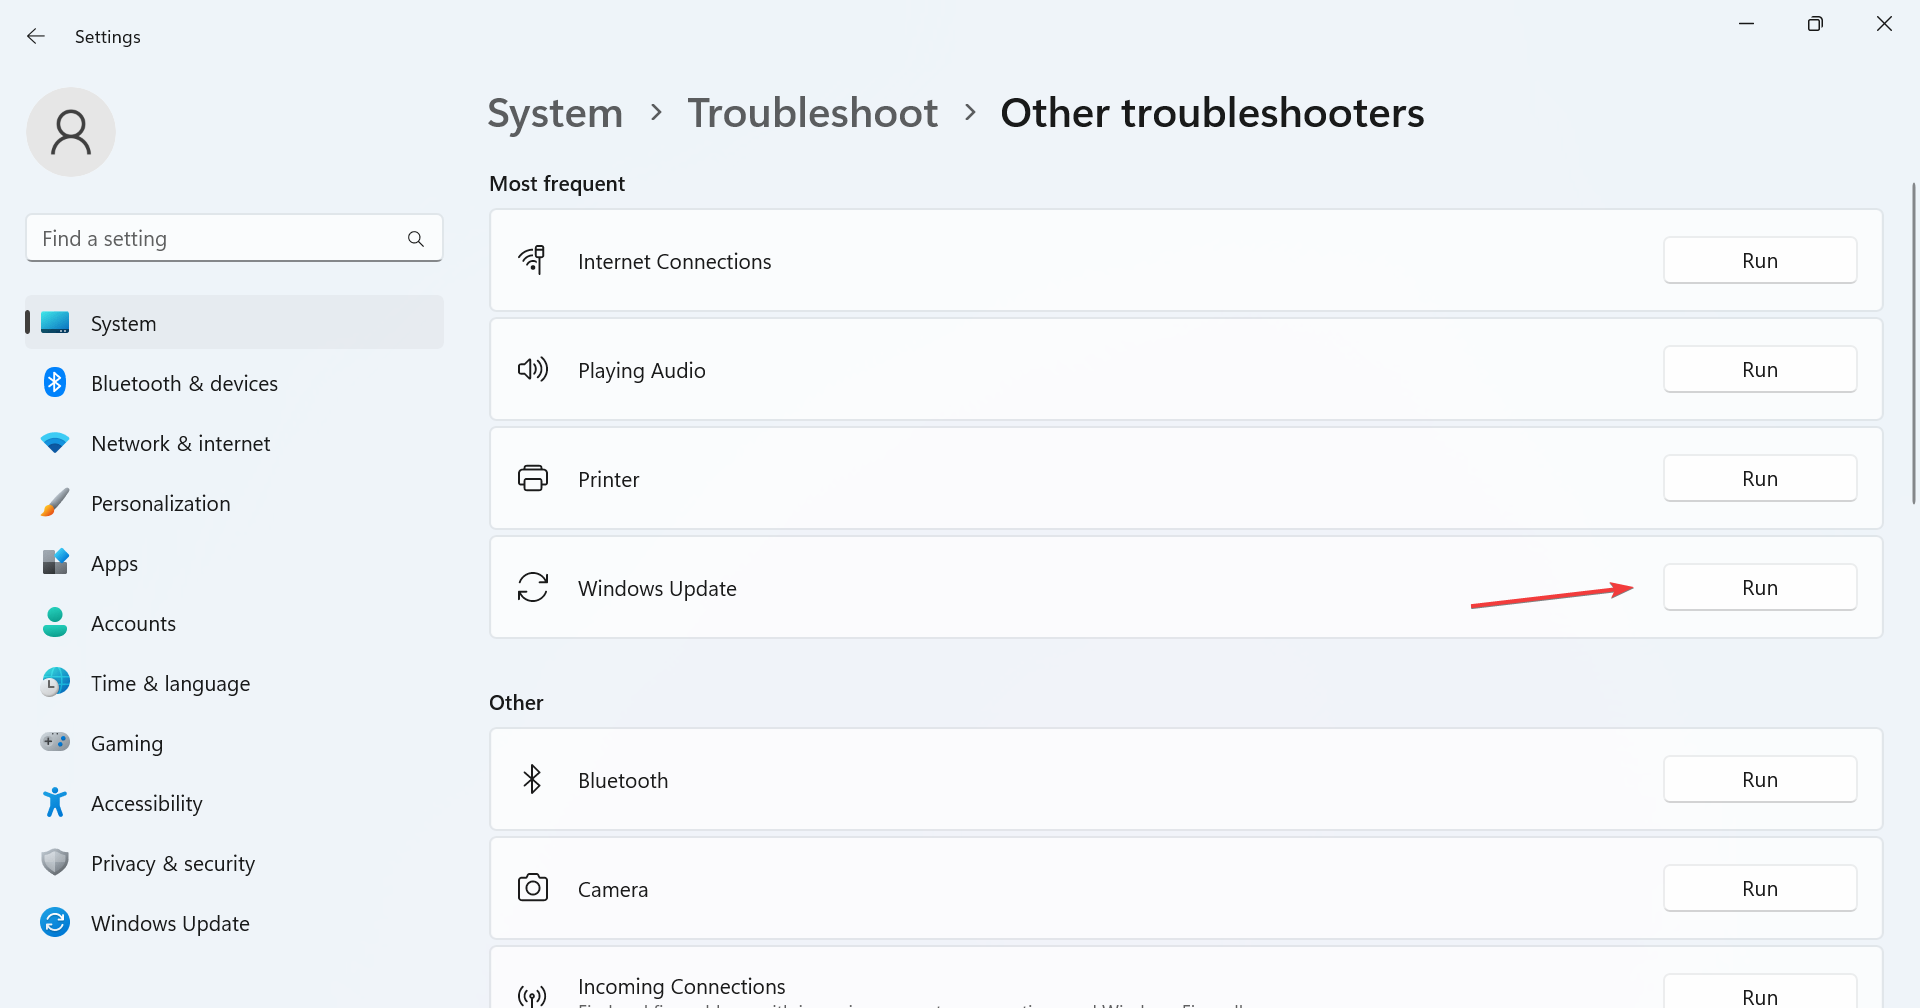
- Click on Run next to Windows Update.
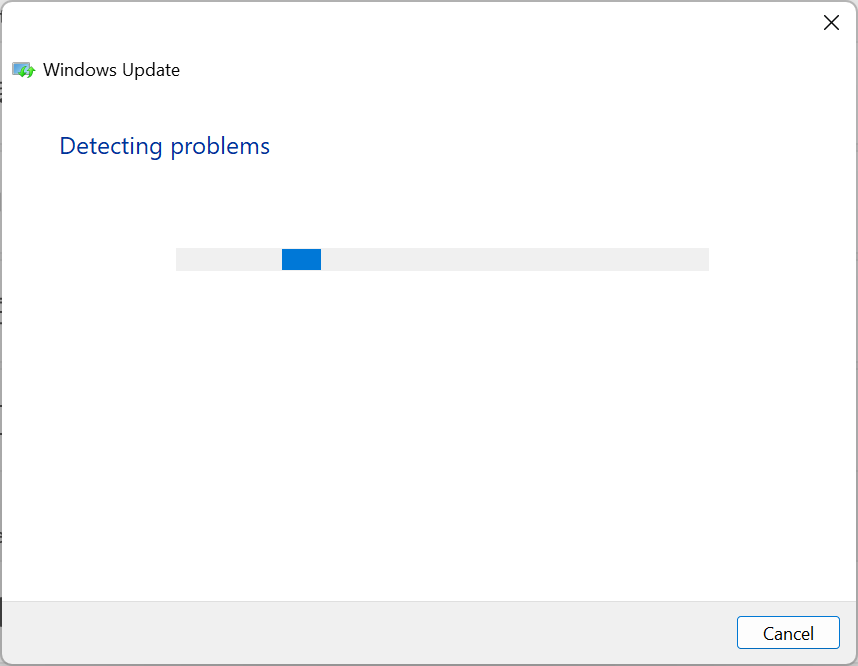
- Wait for the troubleshooter to run and follow the on-screen instructions to complete the process.
- Similarly, run the Network Adapter and Internet Connections troubleshooter.
The quickest way to fix the 80092004 update error in Windows is to run the built-in troubleshooters. These built-in utilities automatically identify and resolve the underlying cause, requiring minimal effort from the user.
However, you have more effective methods to troubleshoot your PC, and that is with dedicated system repair software that can fix faulty files in minutes.
2. Run the DISM and SFC scan
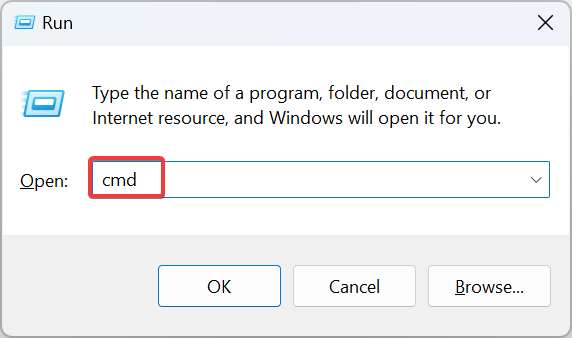
- Press Windows + R to open Run, type cmd, and hit Ctrl + Shift + Enter.
- Click Yes in the UAC prompt.
- Paste the following three commands individually and hit Enter after each:
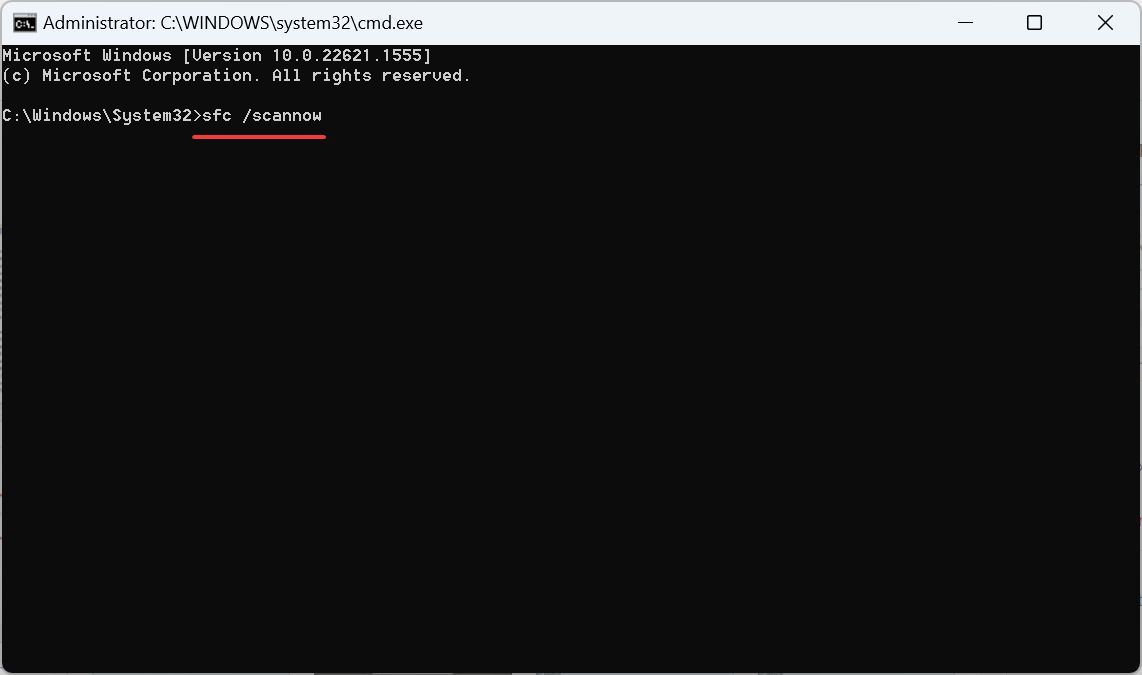
DISM /Online /Cleanup-Image /CheckHealthDISM /Online /Cleanup-Image /ScanHealthDISM /Online /Cleanup-Image /RestoreHealth - Next, execute the following command to run the SFC scan:
sfc /scannow - Once done, restart the computer for the changes to come into effect and retry updates.
Corrupt system files are another reason for the problem, and running the DISM tool and SFC scan should get things up and running.
3. Reset Windows Update components
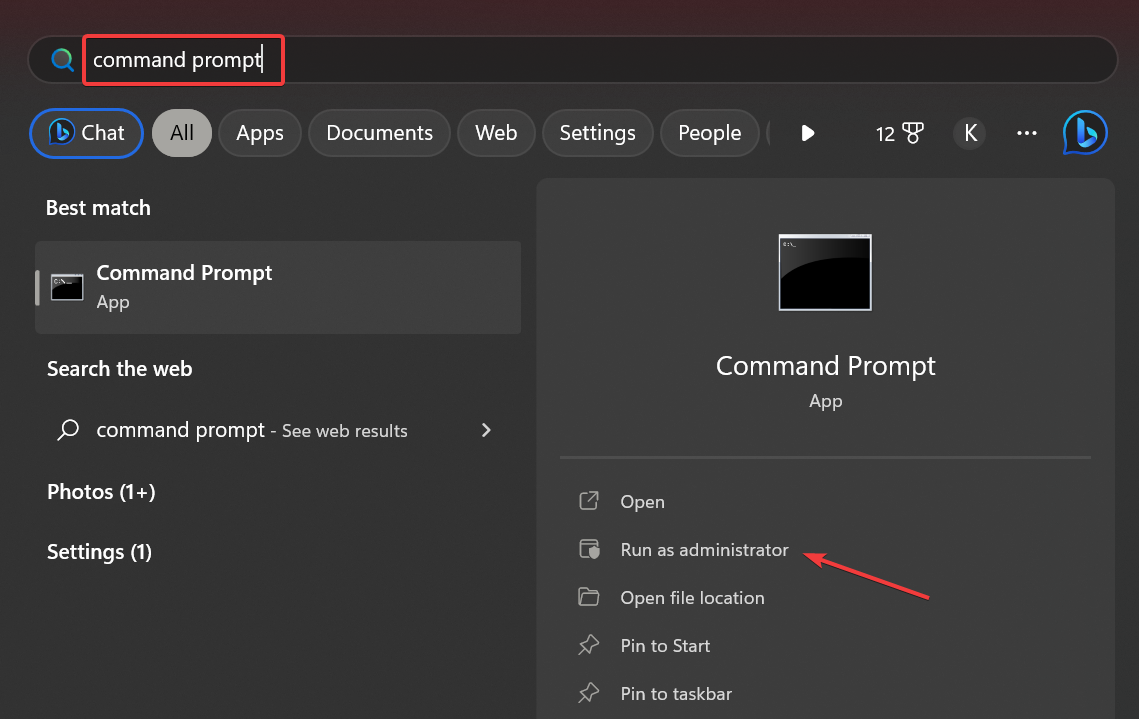
- Press Windows + S to open Search, type Command Prompt in the text field, and click on Run as administrator.
- Run the following commands to stop the related services:
net stop bitsnet stop wuauservnet stop appidsvcnet stop cryptsvc - Now, use this command to delete the qmgr*.dat files:
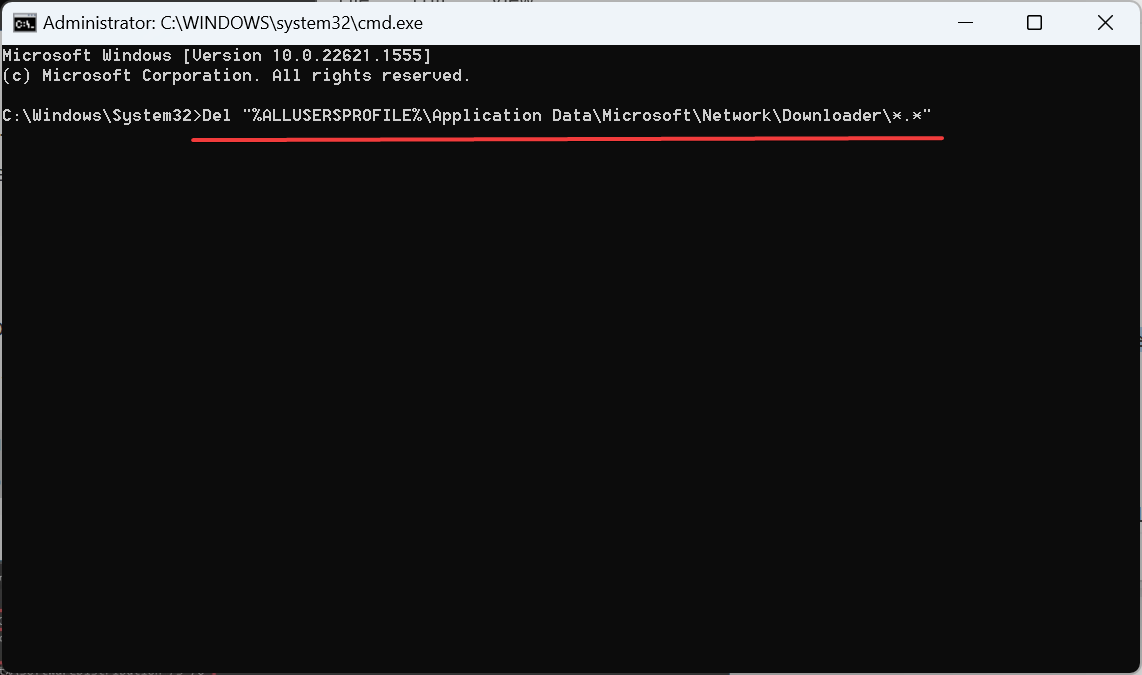
Del "%ALLUSERSPROFILE%\Application Data\Microsoft\Network\Downloader*.*" - Execute the following two commands:
rmdir %systemroot%\SoftwareDistribution /S /Qrmdir %systemroot%\system32\catroot2 /S /Q - Use these commands to reset the BITS and Windows Update services:
sc.exe sdset bits D:(A;;CCLCSWRPWPDTLOCRRC;;;SY)(A;;CCDCLCSWRPWPDTLOCRSDRCWDWO;;;BA)(A;;CCLCSWLOCRRC;;;AU)(A;;CCLCSWRPWPDTLOCRRC;;;PU)sc.exe sdset wuauserv D:(A;;CCLCSWRPWPDTLOCRRC;;;SY)(A;;CCDCLCSWRPWPDTLOCRSDRCWDWO;;;BA)(A;;CCLCSWLOCRRC;;;AU)(A;;CCLCSWRPWPDTLOCRRC;;;PU) - Now, run this command:
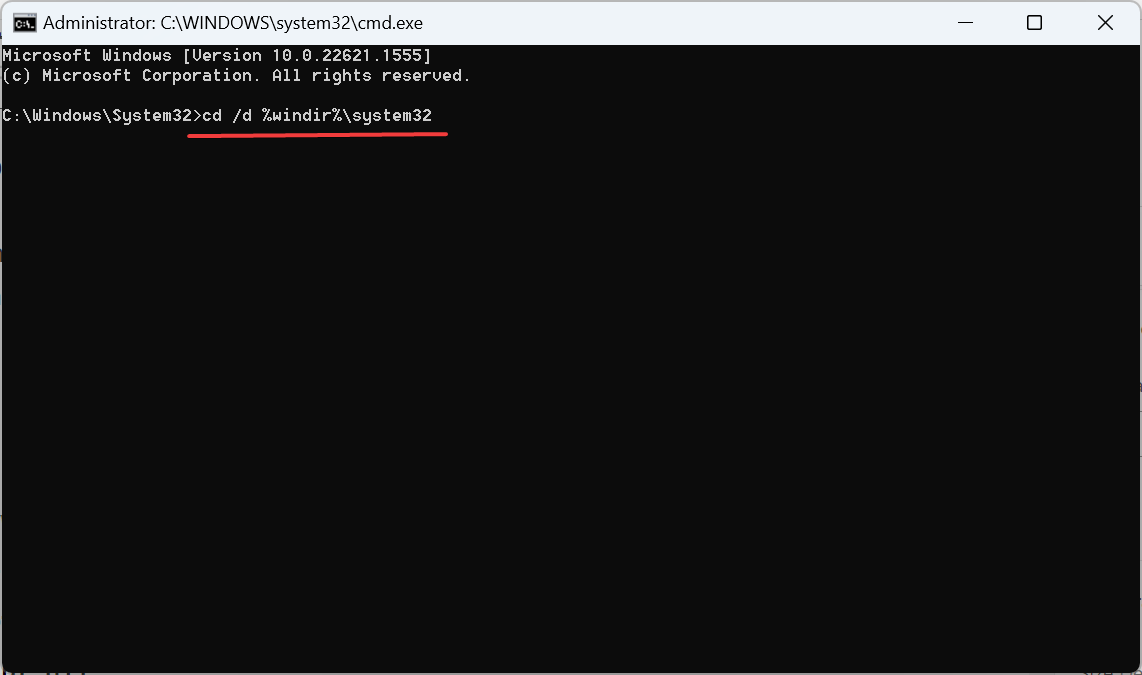
cd /d %windir%\system32 - Once done, execute these commands individually to register the critical DLL files:
regsvr32.exe /s atl.dll
regsvr32.exe /s urlmon.dll
regsvr32.exe /s mshtml.dll
regsvr32.exe /s shdocvw.dll
regsvr32.exe /s browseui.dll
regsvr32.exe /s jscript.dll
regsvr32.exe /s vbscript.dll
regsvr32.exe /s scrrun.dll
regsvr32.exe /s msxml.dll
regsvr32.exe /s msxml3.dll
regsvr32.exe /s msxml6.dll
regsvr32.exe /s actxprxy.dll
regsvr32.exe /s softpub.dll
regsvr32.exe /s wintrust.dll
regsvr32.exe /s dssenh.dll
regsvr32.exe /s rsaenh.dll
regsvr32.exe /s gpkcsp.dll
regsvr32.exe /s sccbase.dll
regsvr32.exe /s slbcsp.dll
regsvr32.exe /s cryptdlg.dll
regsvr32.exe /s oleaut32.dll
regsvr32.exe /s ole32.dll
regsvr32.exe /s shell32.dll
regsvr32.exe /s initpki.dll
regsvr32.exe /s wuapi.dll
regsvr32.exe /s wuaueng.dll
regsvr32.exe /s wuaueng1.dll
regsvr32.exe /s wucltui.dll
regsvr32.exe /s wups.dll
regsvr32.exe /s wups2.dll
regsvr32.exe /s wuweb.dll
regsvr32.exe /s qmgr.dll
regsvr32.exe /s qmgrprxy.dll
regsvr32.exe /s wucltux.dll
regsvr32.exe /s muweb.dll
regsvr32.exe /s wuwebv.dll
8. Run these two commands to reset the network settings: netsh winsock reset netsh winsock reset proxy
9. Finally, use these commands to restart the services you disabled earlier: net start bits net start wuauserv net start appidsvc net start cryptsvc
10. Once done, restart the computer for the changes to apply.
Fixing the corrupt update components should help with the 80092004 Windows Update error, and you should now be able to install the latest version. Also, if this seems too complex, you can always run a reset script.
4. Use the Microsoft Update Catalog
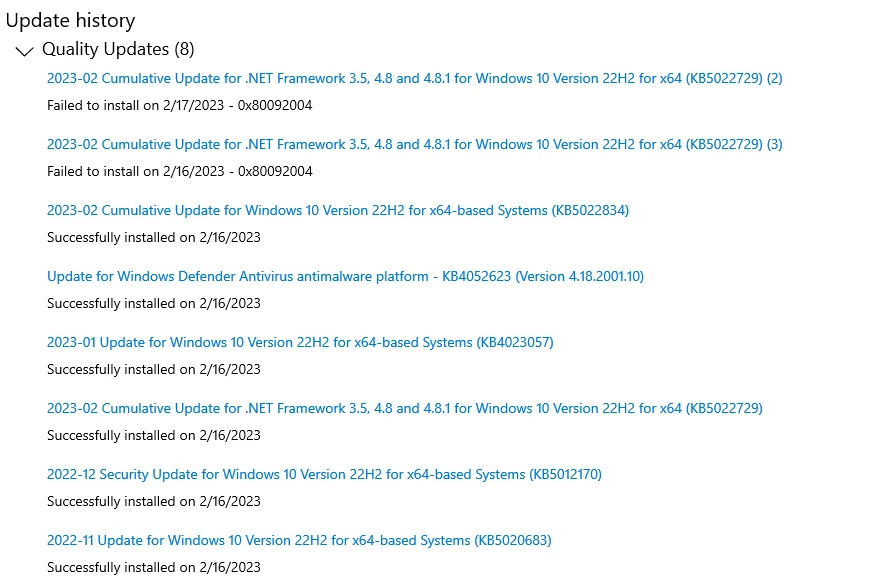
- Identify the KB (Knowledge Number) number for the update that failed to install in the Update History.
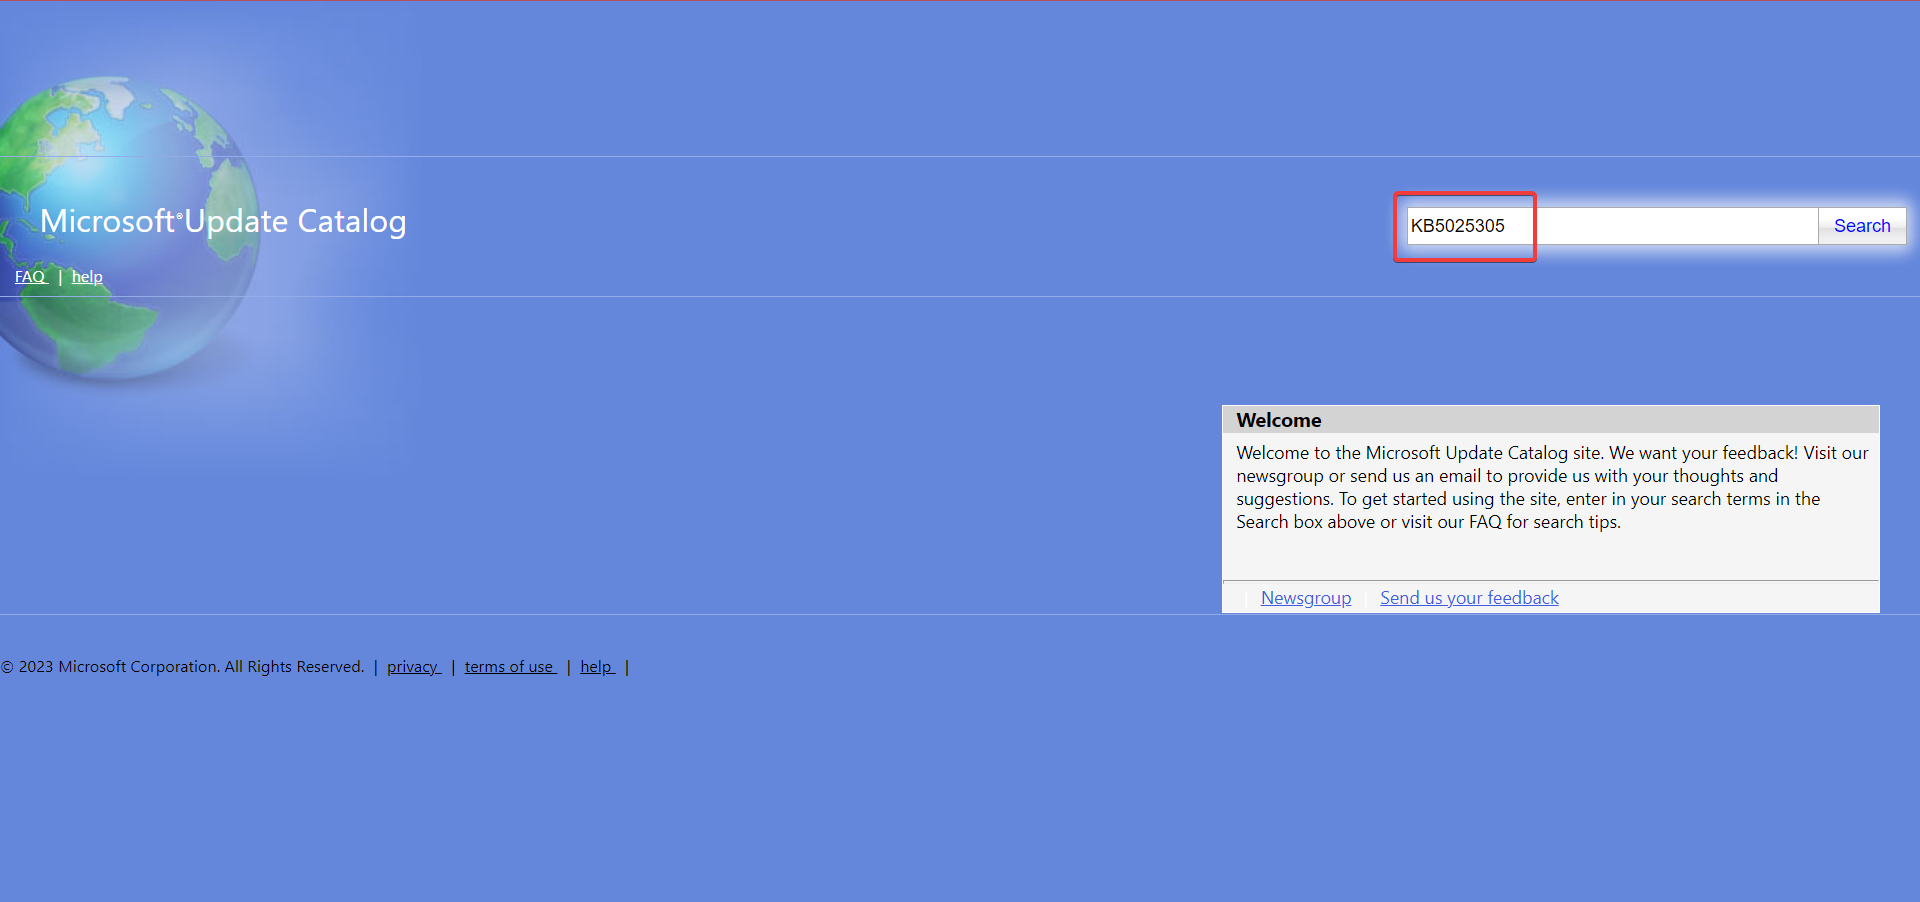
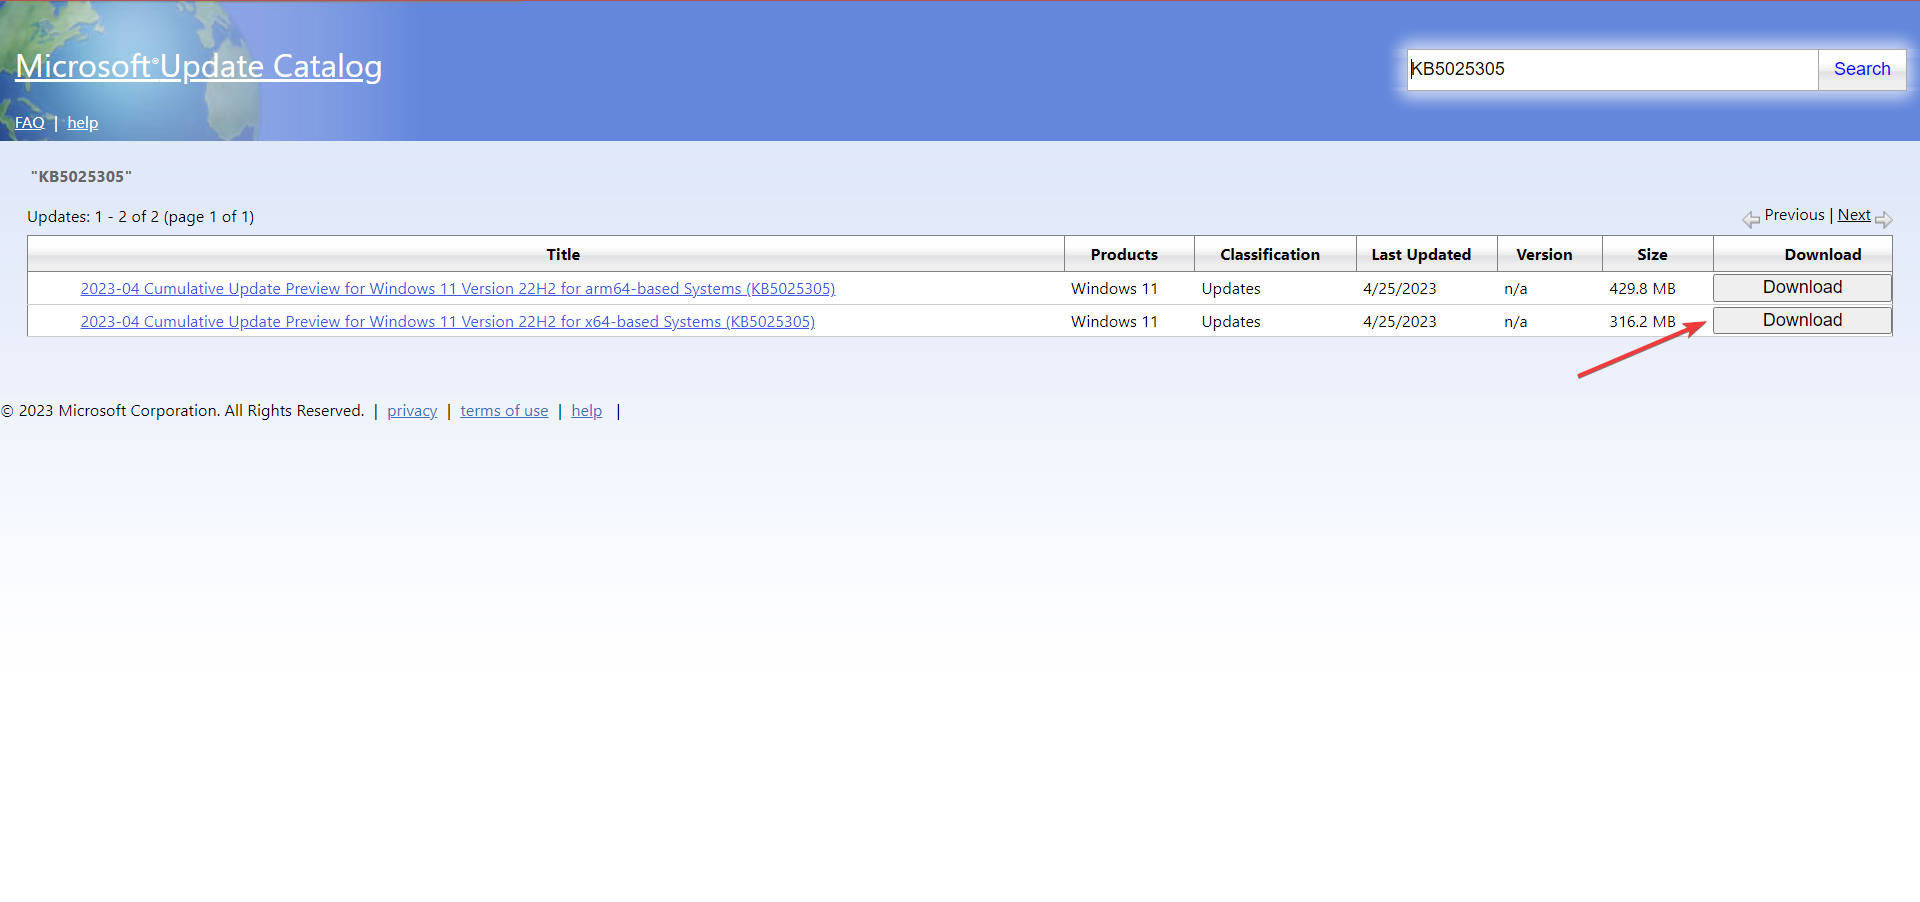
- Go to Microsoft Update Catalog, paste the KB number in the search bar, and hit Enter.
- Click on Download next to the version that matches the system architecture and OS iteration.
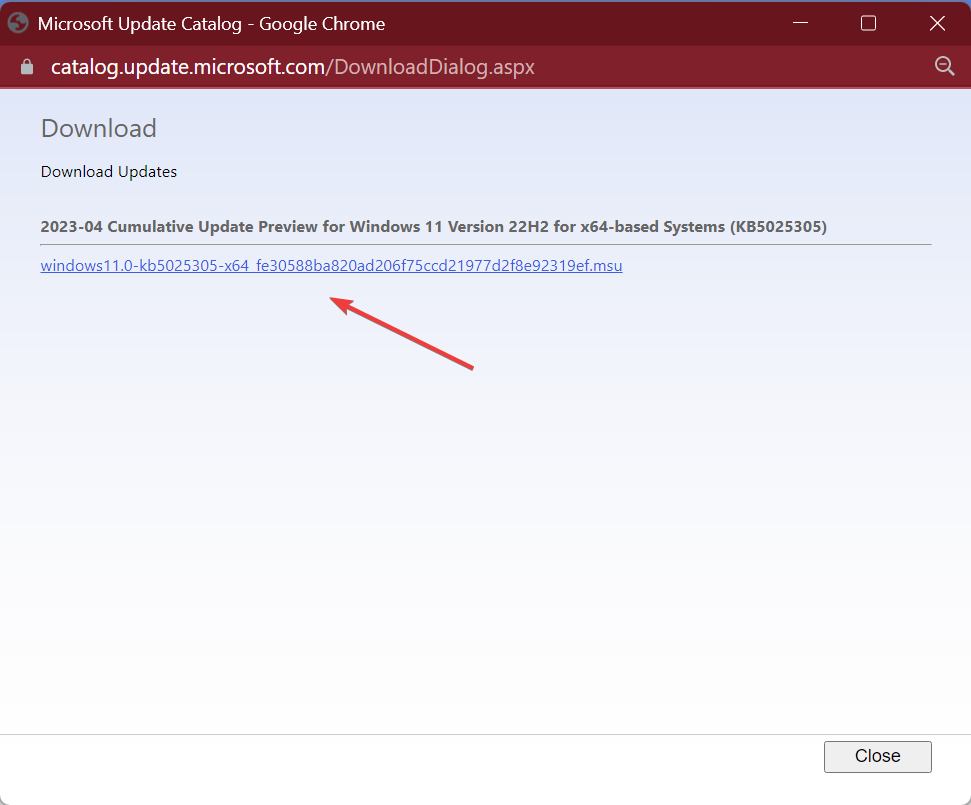
- Click on the link in the popup window to start the download.
- Run the setup and follow the instructions to install the update.
When the previous methods fail to fix 80092004 in Windows 11, you can always manually install the update from the Microsoft Update Catalog.
5. Perform an in-place upgrade
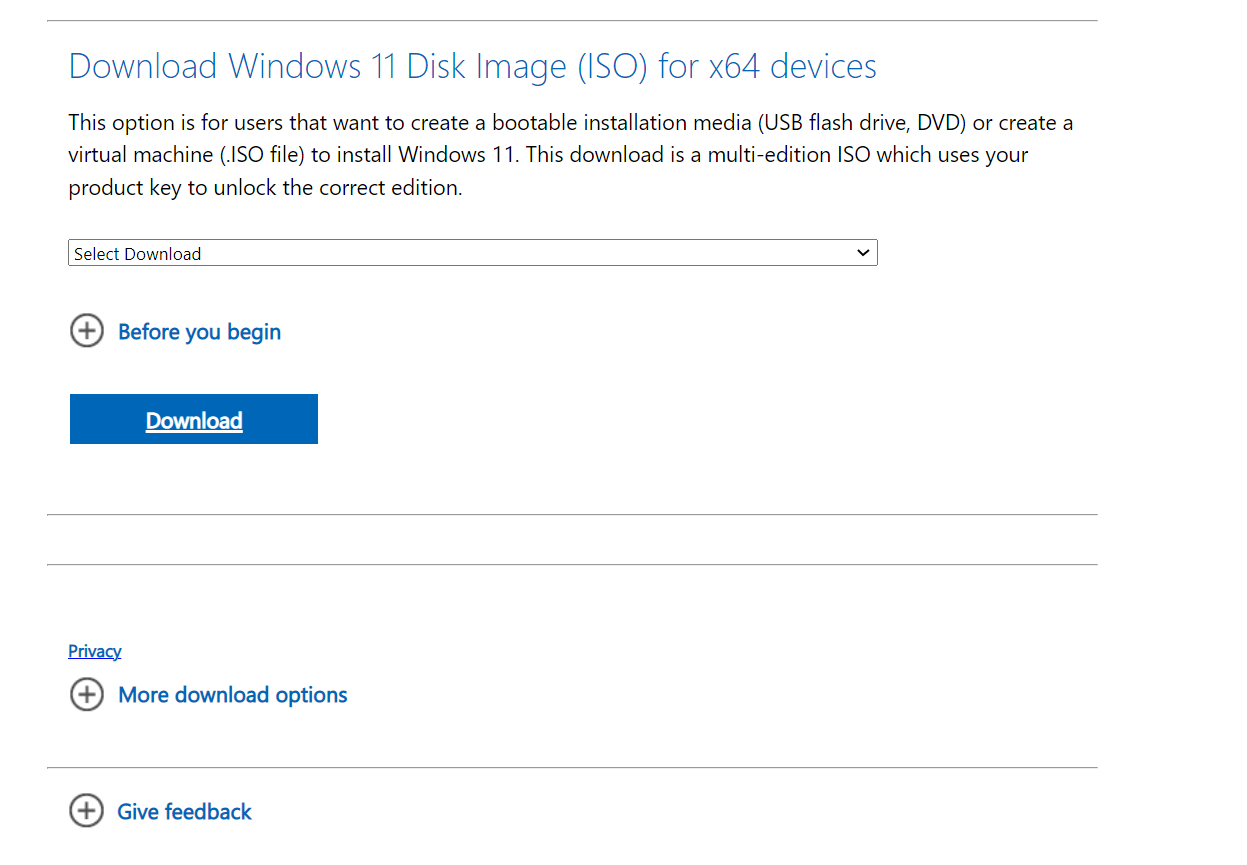
- Go to Microsoft’s official website, choose the required edition and product language, and download the Windows 11 ISO.
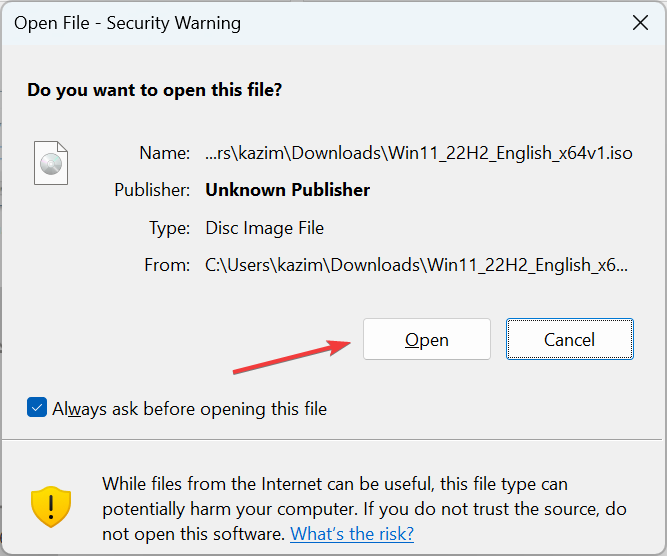
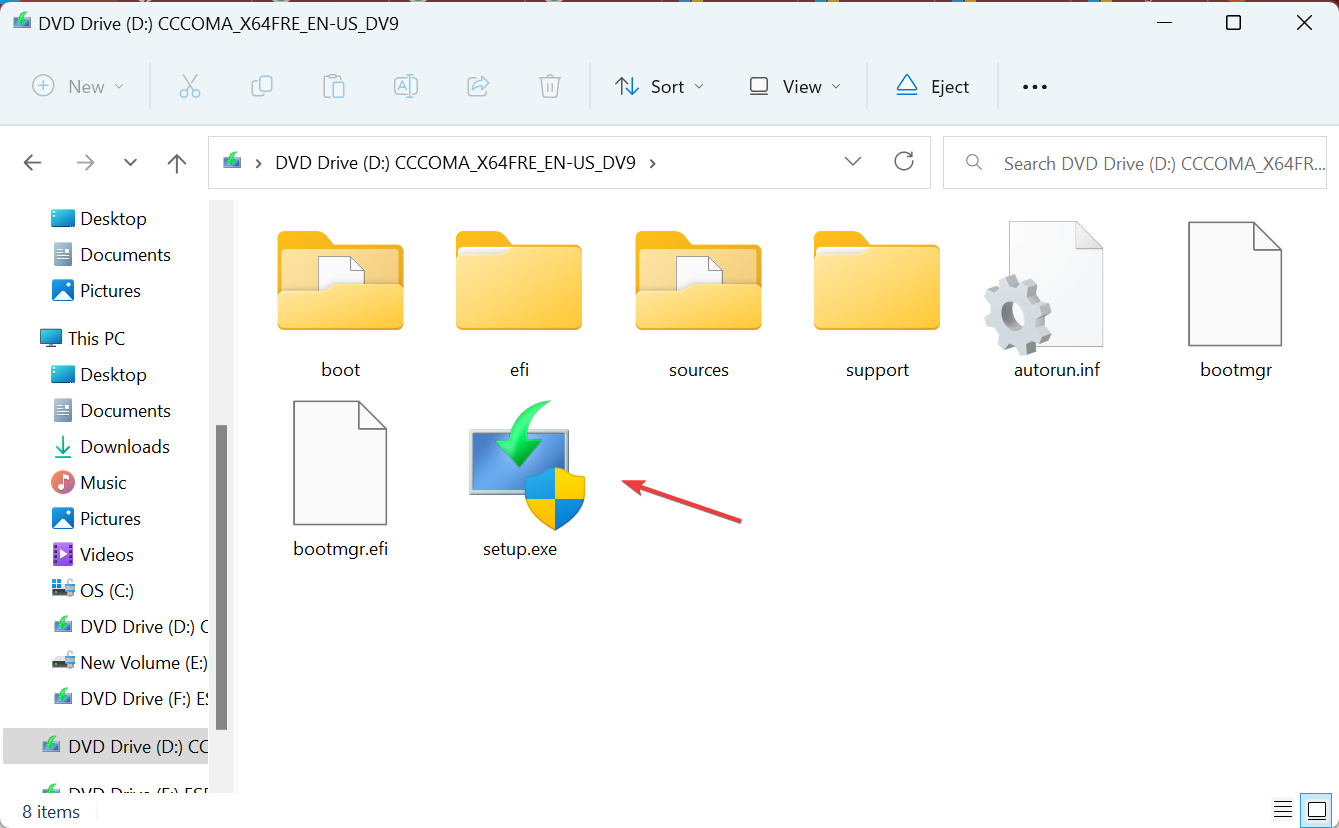
- Now, run the ISO file, and click Open in the confirmation prompt.
- Launch the setup.exe file.
- Click on Next in the setup window to proceed.
- Now, click Accept to agree to Microsoft’s license terms.
- Verify that the setup reads Keep personal files and apps, and click on Install.
As a last resort, you can always perform an in-place upgrade to get rid of 80092004 and a bunch of other issues without losing the saved files and apps. Besides, the process boosts the system’s performance by eliminating many minor problems.
After you have fixed the error, check the best Windows security settings for a safer OS experience.
For any queries or to share another solution with us, drop a comment below.





User forum
0 messages