Printer Not Activated: Error Code 41 [Fix]
Update the printer driver to resolve the problem
![]() 4 min. read
4 min. read
![]() Updated on
Updated on
Share this article
Improve this guide
Read our disclosure page to find out how can you help Windows Report sustain the editorial team. Read more
Key notes
- You are getting this error because your printer driver might be outdated.
- You should check if the network driver is up to date or not.
- Also, you can try to restart the Print Spooler service to resolve the problem.
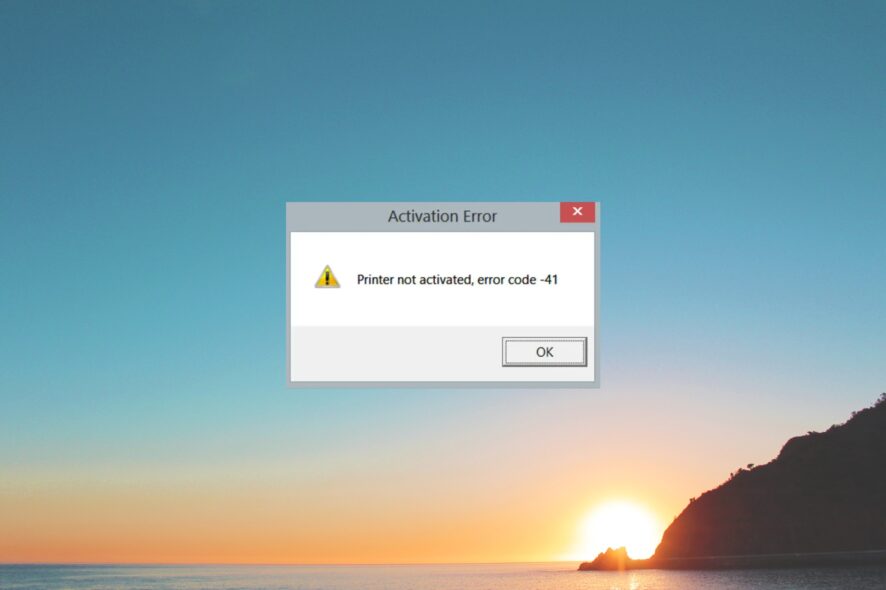
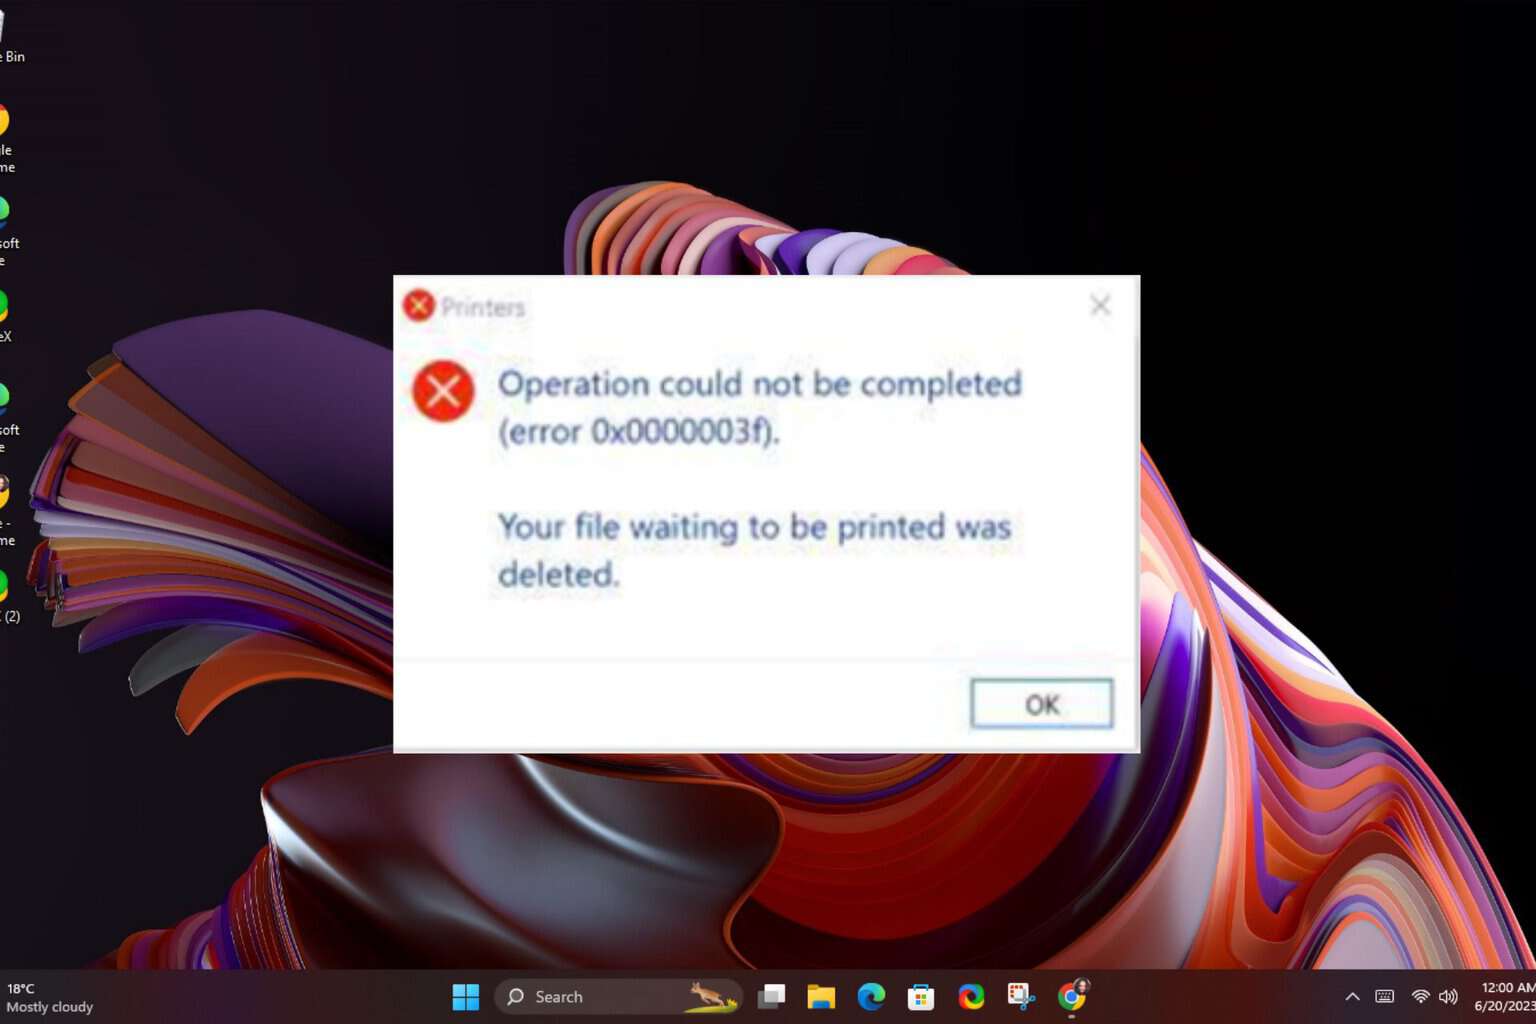
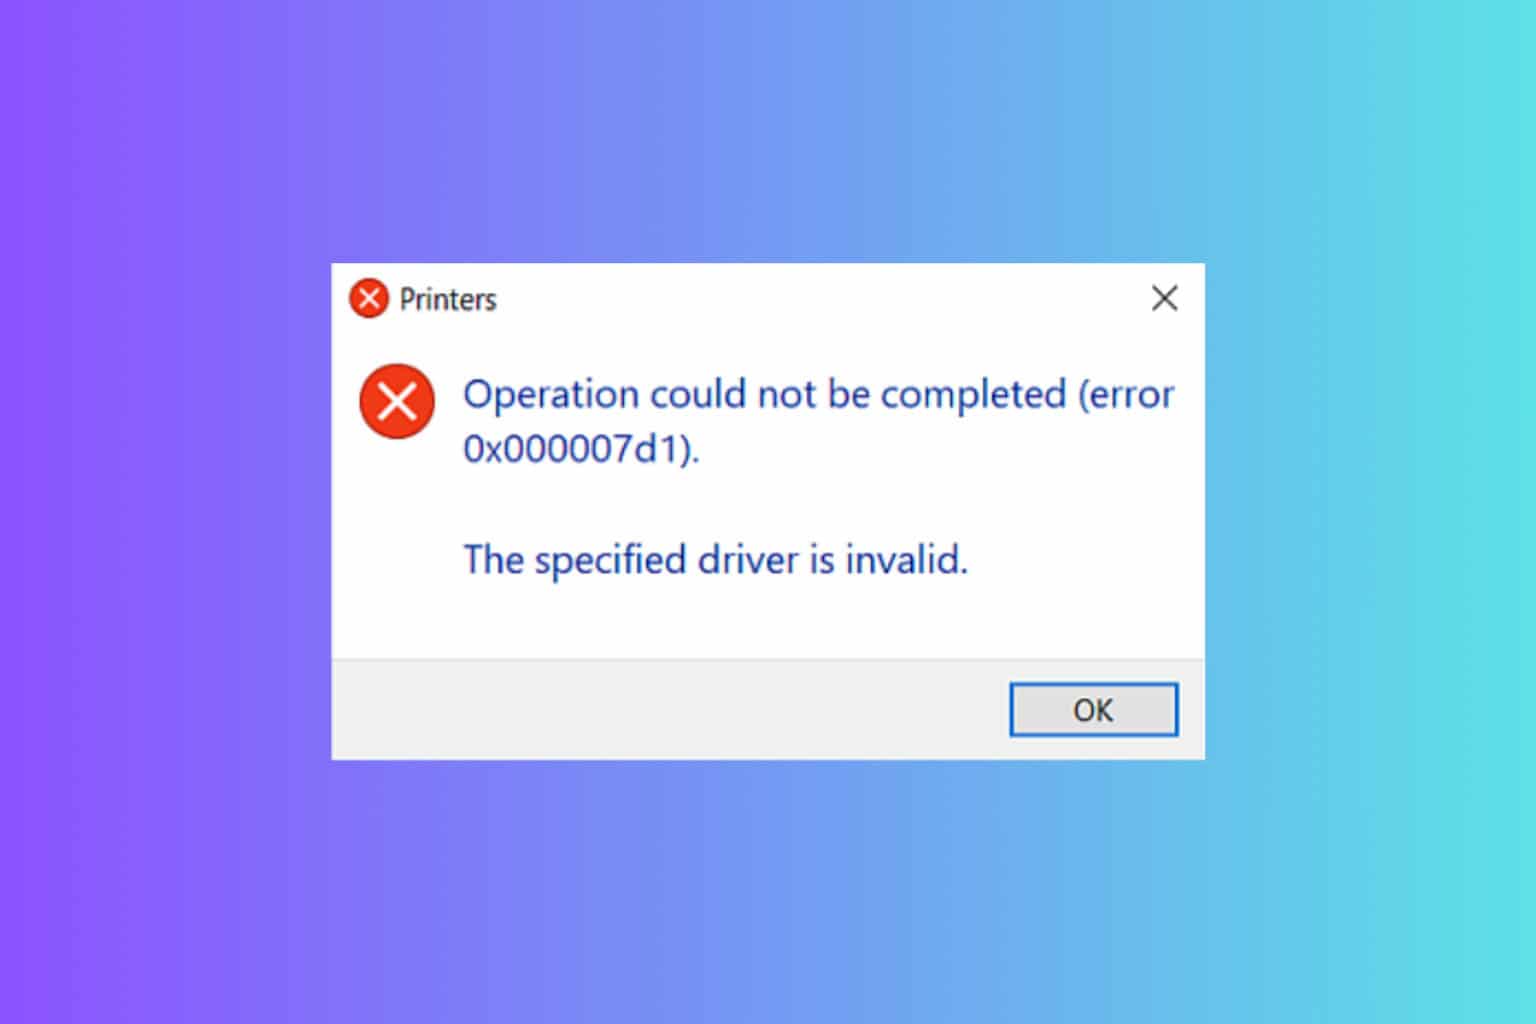
Many of our readers have reported that when they try to use their printers and send it a command, it shows a Printer not activated error code 41 message.
In this guide, we have listed some solutions that will help you resolve the Printer not activated error code 41 message. Let us get right into it.
What causes the Printer not activated error code 41?
We did some research and found out the most common reasons that could trigger the Printer not activated error code 41 on your computer. Some of them are listed below:
- Outdated drivers – Chances are the printer driver that you have installed currently is out of date and causing the issue.
- The printer service isn’t running – You should make sure that the printer services necessary for the drivers are running on your PC to avoid such errors.
- The network driver isn’t working properly – Your PC might be trying to connect to the network driver which is not working properly anymore.
- The printer isn’t selected as default – The printer that you are trying to print isn’t selected as the default printer on your computer.
Let us now take a look at the solutions that will help you resolve the Printer not activated error code 41.
How can I fix the Printer not activated error code 41?
Before starting any complicated troubleshooting, let’s make some quick adjustments:
- Restart your PC and the printer. Sometimes, this can solve the issue.
- Make sure you update the printer driver. This extensive guide will help you.
- Ensure that the printer is correctly connected to the PC and replace the cable if you see wear and tear signs that might cause it to malfunction.
If these methods didn’t fix the problem, proceed with the solutions below.
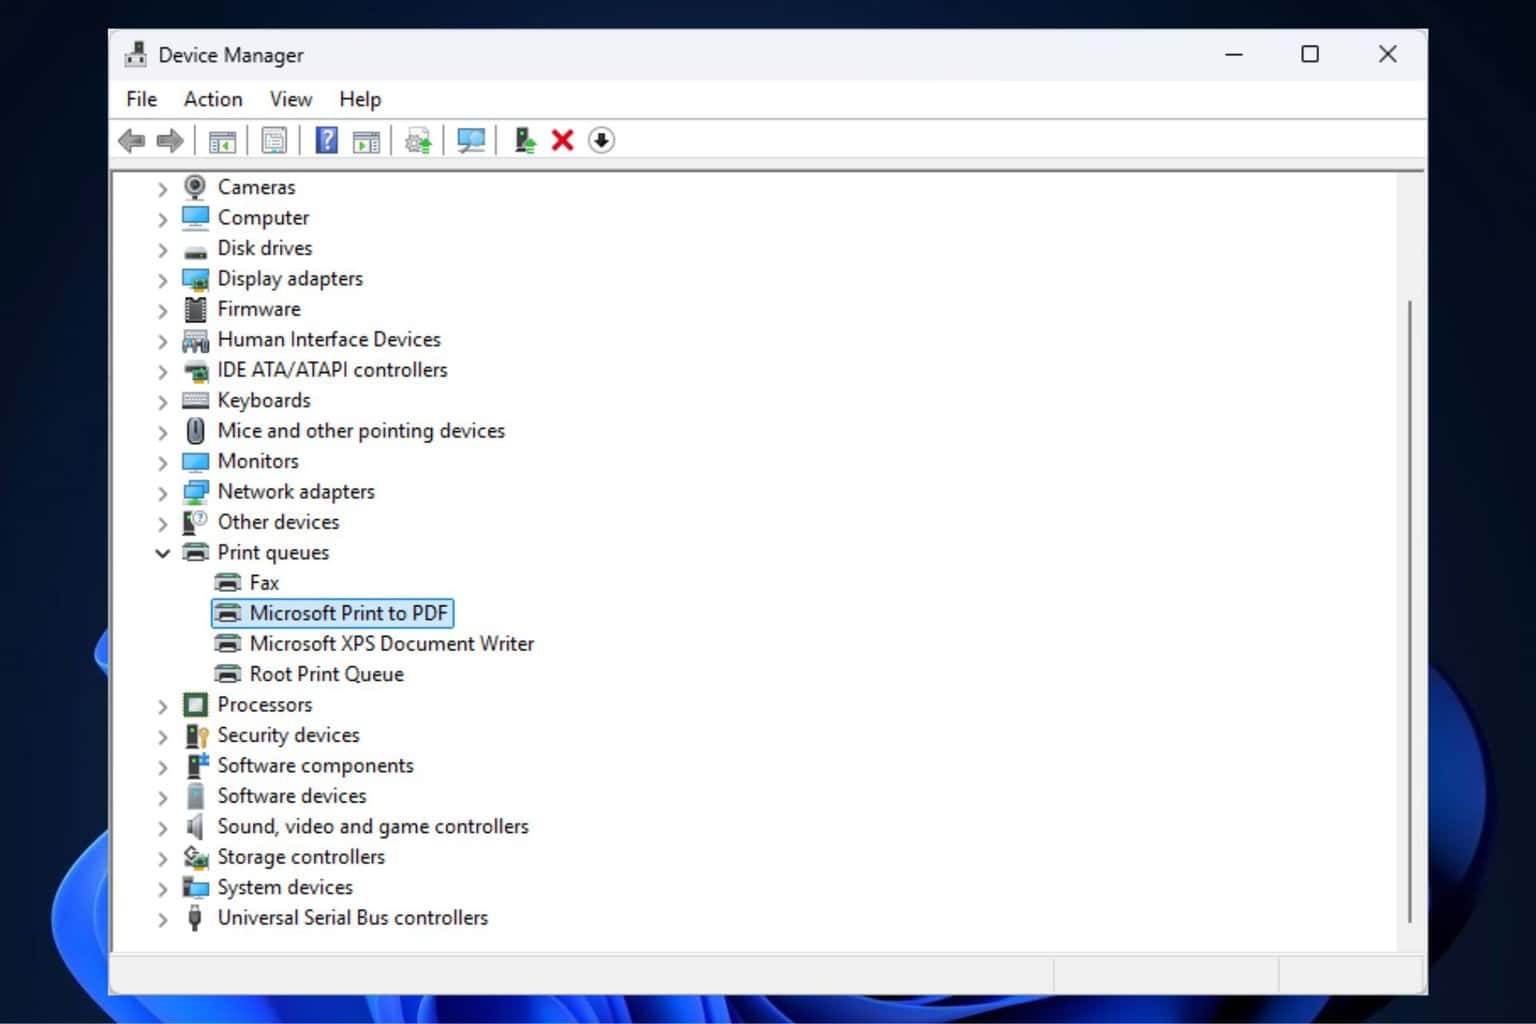
1. Reinstall the printer driver
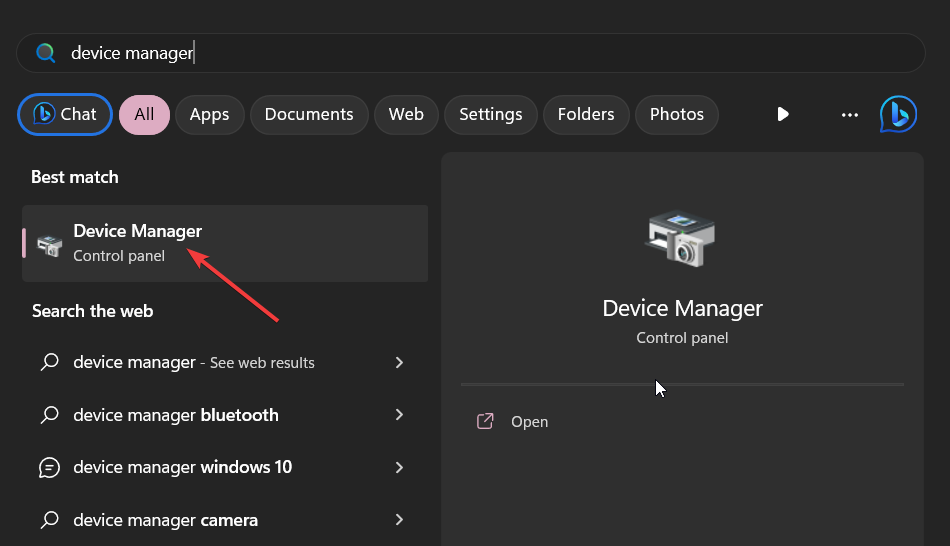
- Press the Win key to open the Start menu.
- Type Device Manager and open the top result.

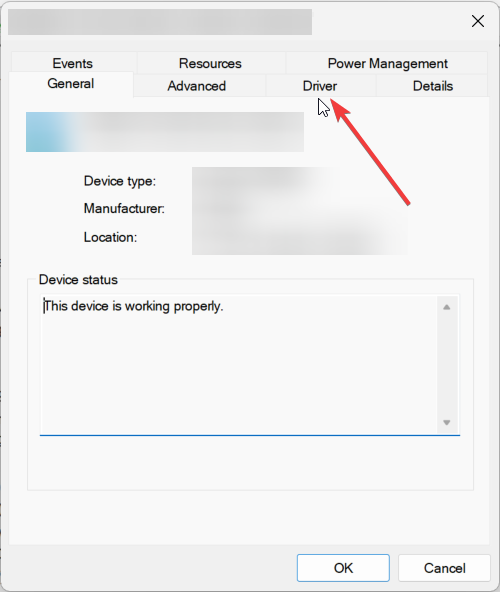
- Expand the Printer section.
- Double-click on your printer to open it.
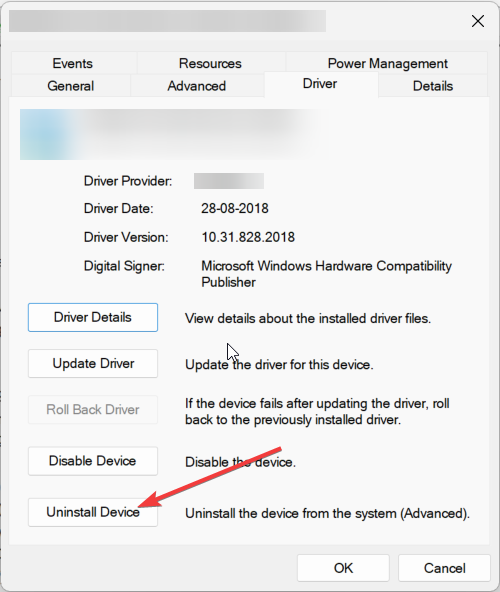
- Switch to the Driver tab.

- Click on the Uninstall driver button.
- Visit the official website for your printer and download the appropriate driver.
- Install it and perform a restart.
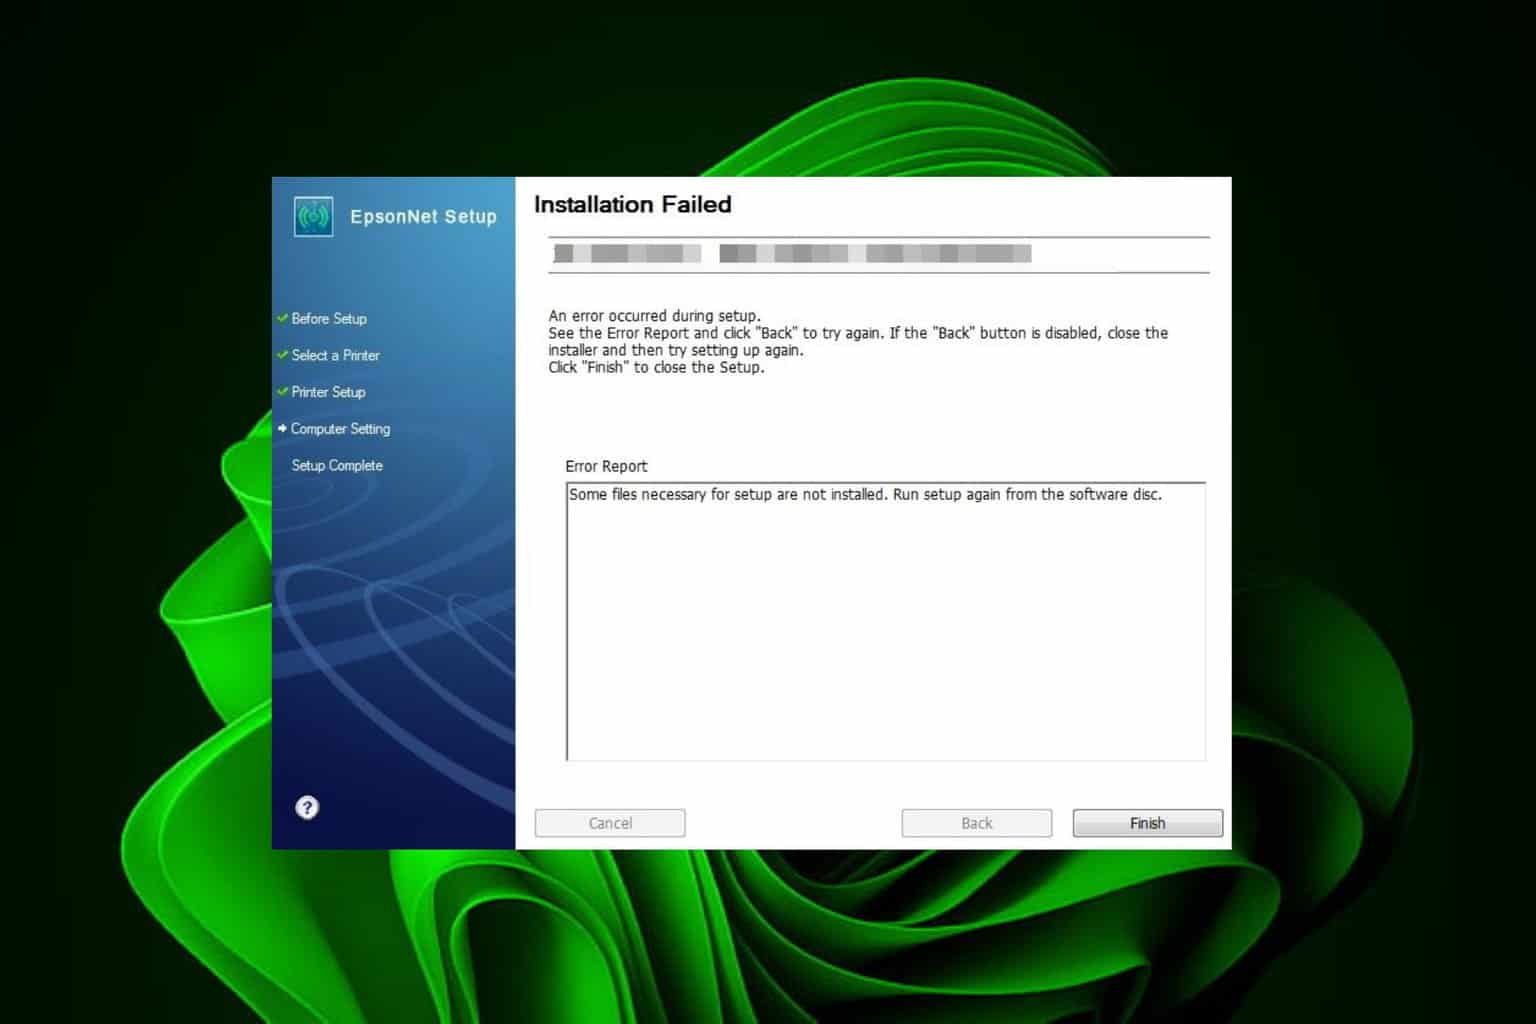
If updating doesn’t work, then we would suggest you reinstall the printer driver, as the chances are there might be some important files that are missing from your PC related to the printer.
To perform this task securely, we advise you to utilize a specialized solution for driver cases. For instance, the application below will install all your drivers automatically and 100% securely.
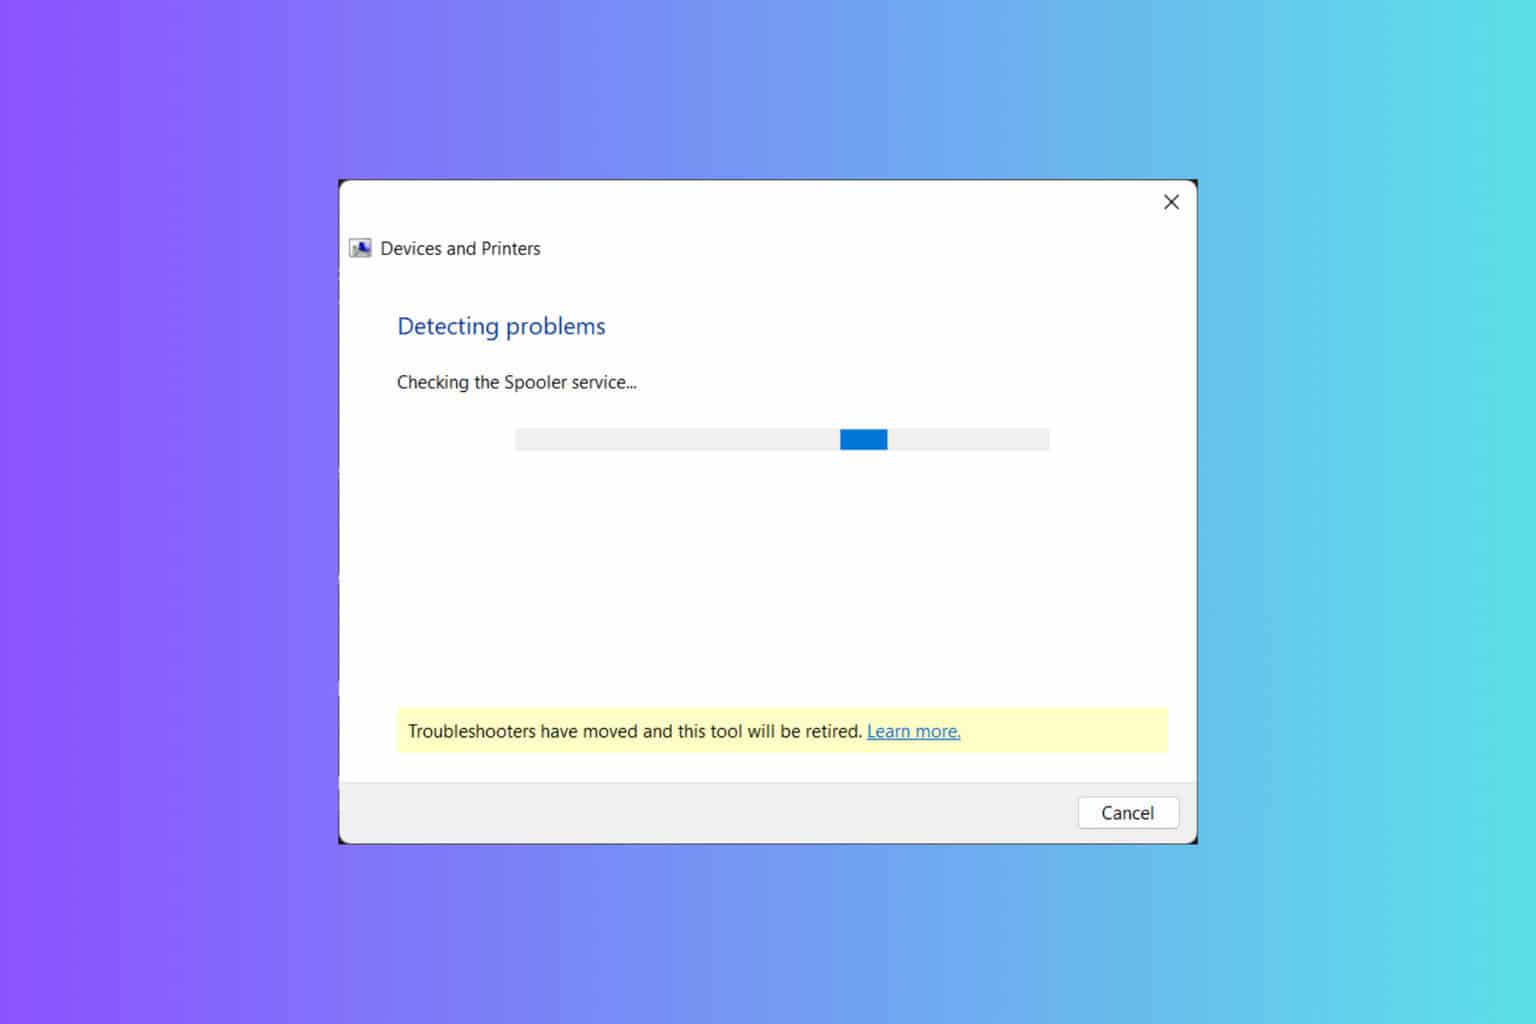
2. Run the printer troubleshooter
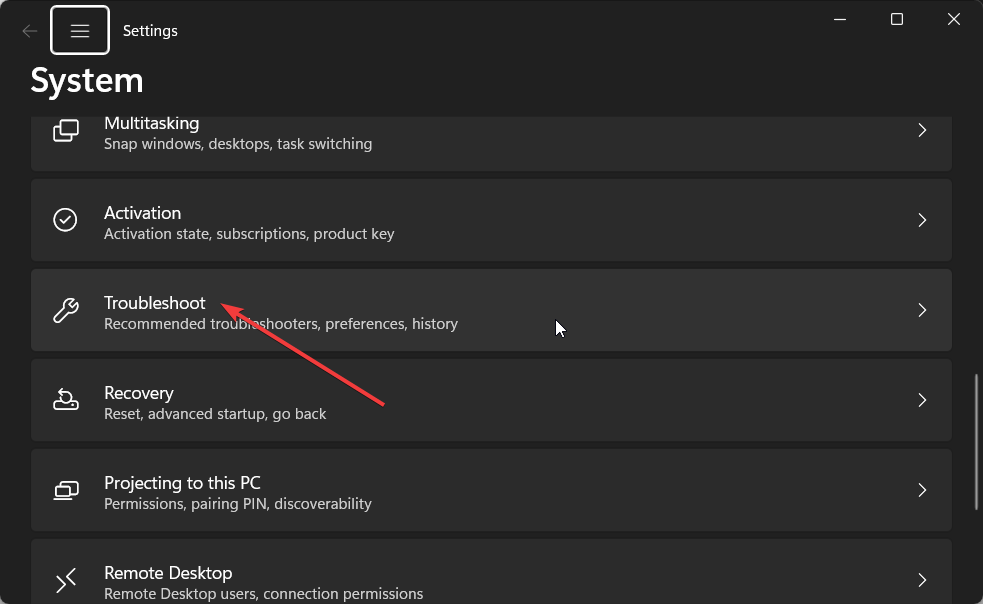
- Press the Win + I keys to open the Settings menu.
- Click on Troubleshoot on the right.

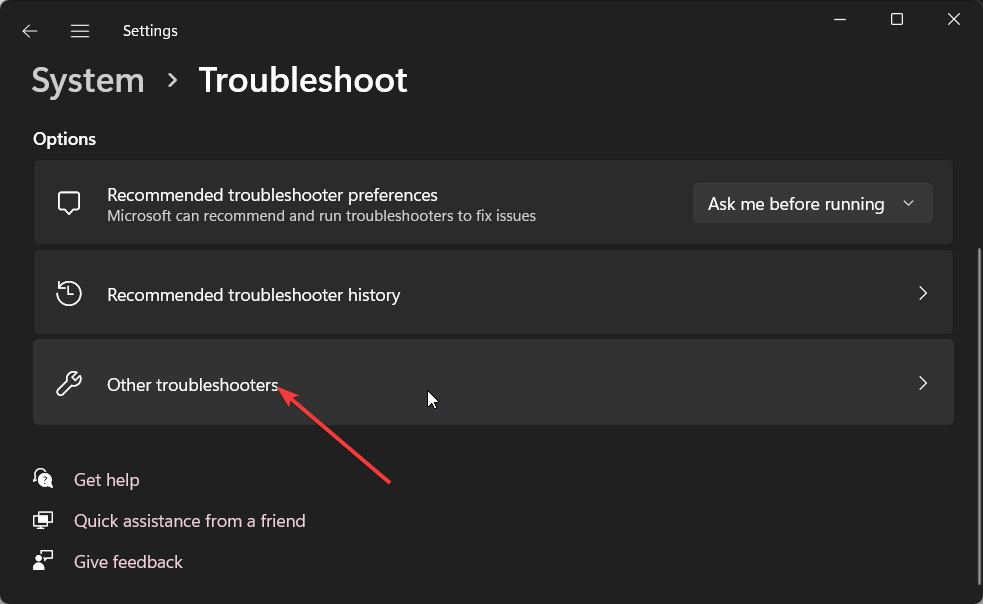
- Select Other troubleshooters.
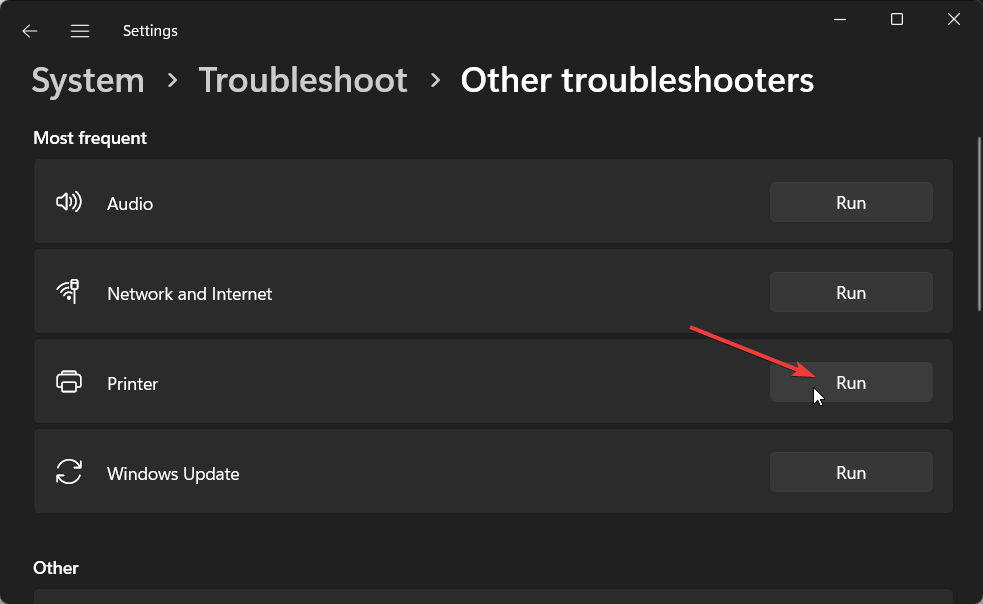
- Click on the Run button for the Printer.
- Follow the on-screen steps to troubleshoot the printer.
- Apply the prompted fixes.
- Reboot your PC for everything to take effect.
You should make use of the troubleshooter that comes built-in with the Windows PC. This lets you troubleshoot various glitches and bugs causing problems with your drivers.
3. Restart the Printer Spooler service
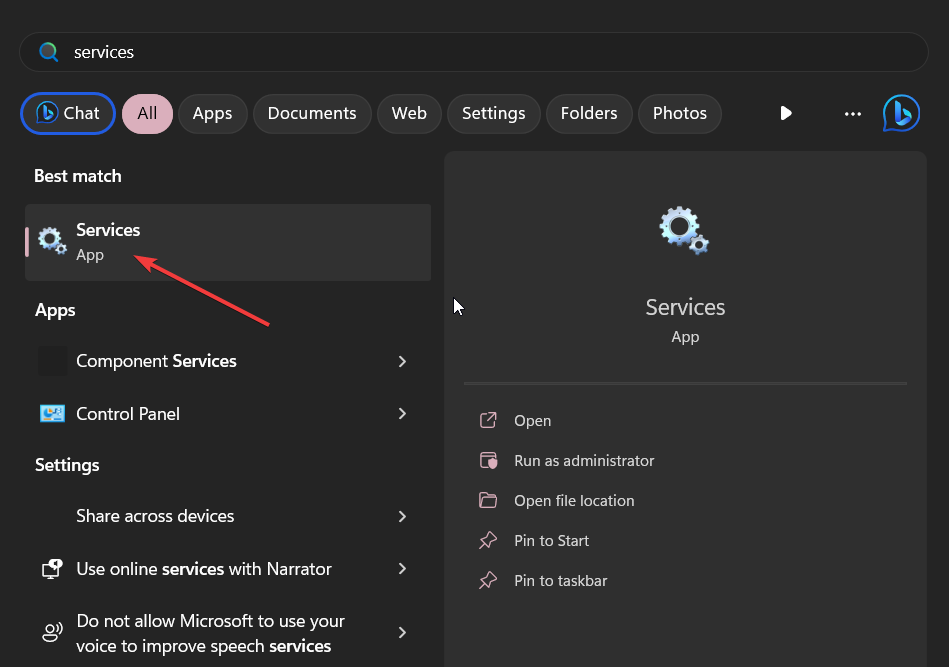
- Press the Win key to open the Start menu.
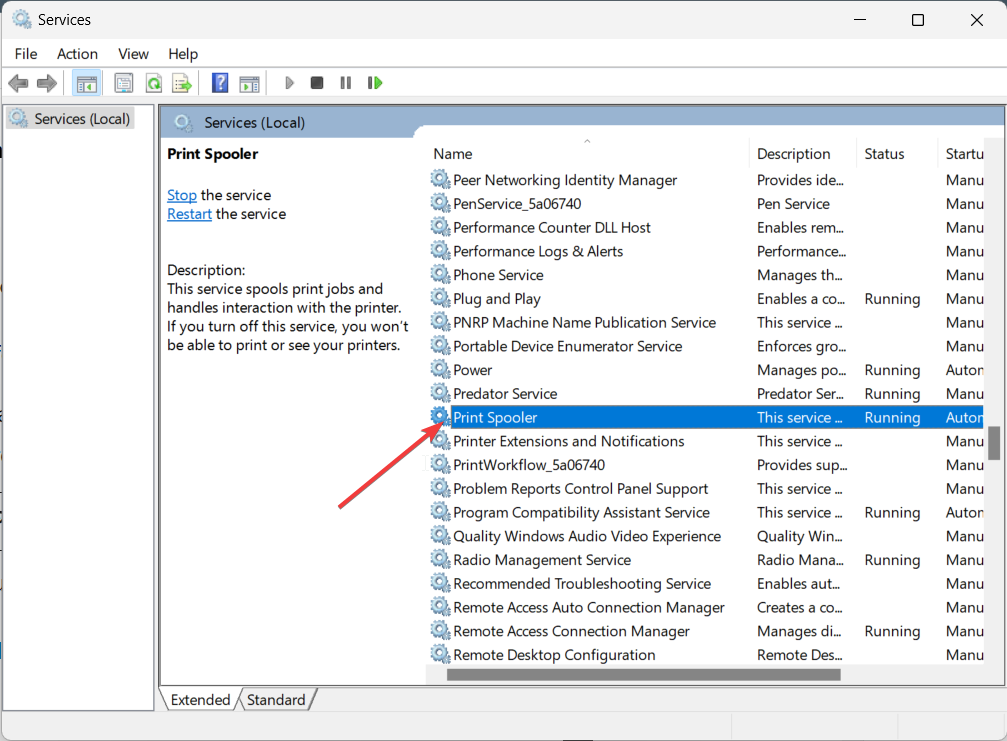
- Type Services and open the top result.

- Scroll down, locate Printer Spooler, and double-click on it.

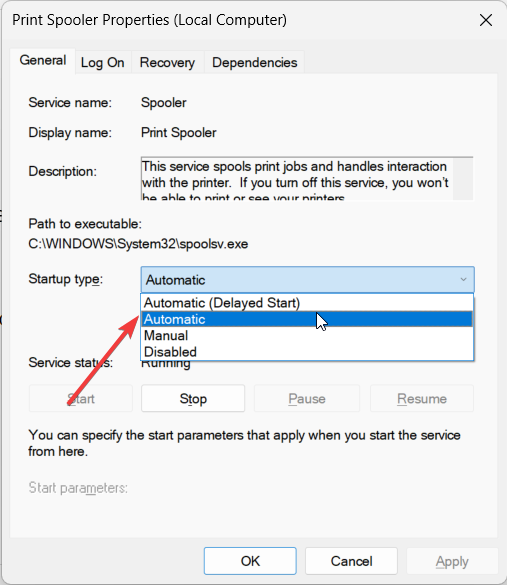
- Select Automatic in the Startup type drop-down.

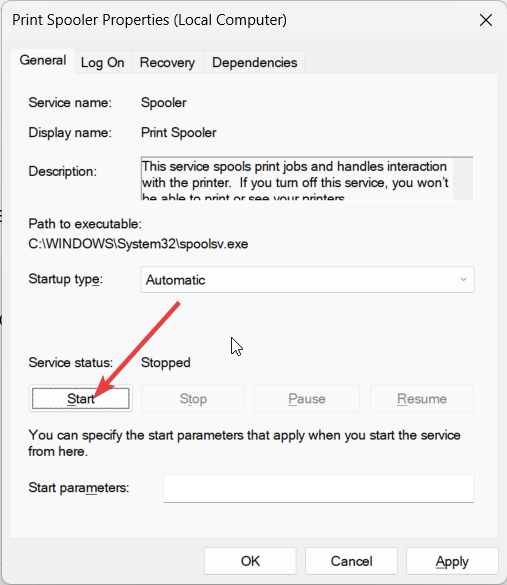
- Hit the Start button under the Service status section.
- Click Apply and OK to make the changes.
- Restart your computer.
The print spooler service for some reason can misbehave and stop its services. You should make sure that the print spooler service is running on your PC.
This makes sure that your PC is running smoothly and hopefully will resolve the Printer not activated error code 41.
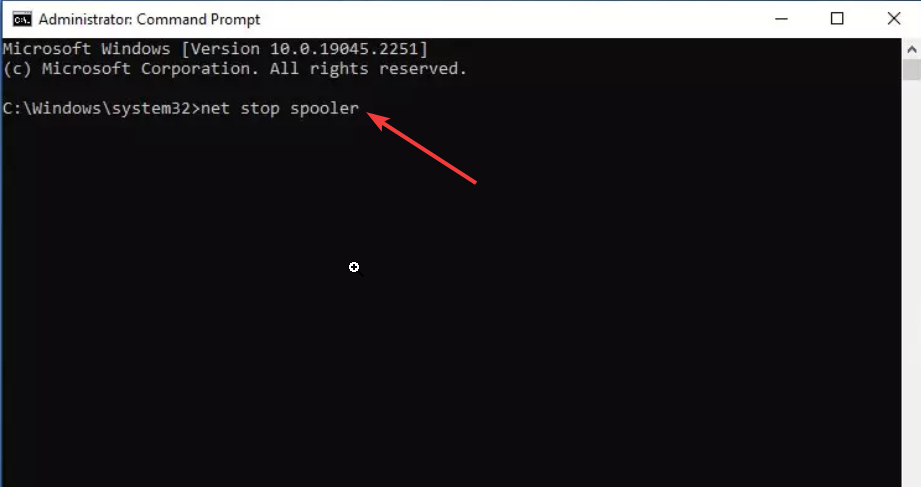
4. Reset Print Spooler via CMD
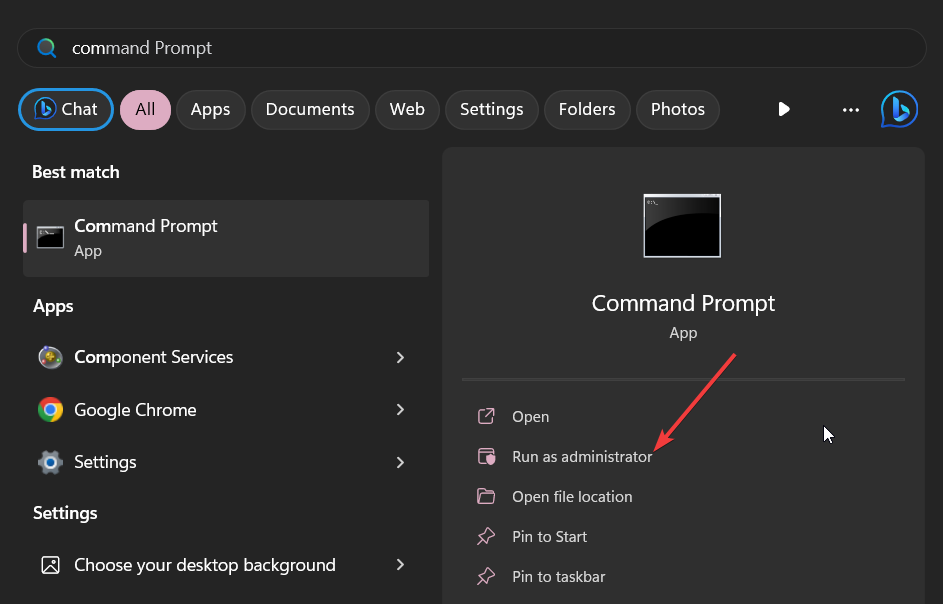
- Open the Start menu by pressing the Win key.
- Type Command Prompt and run it as an administrator.

- Type the below commands and press Enter after each one.
net stop spoolerdel %systemroot%\System32\spool\printers* /Q”net start spooler
- Restart your system to make the changes.
The above commands will help you reset or clear the Print Spooler. This has helped several users fix the Printer not activated error code 41 problem. You can also try the above solution and hopefully fix the issue.
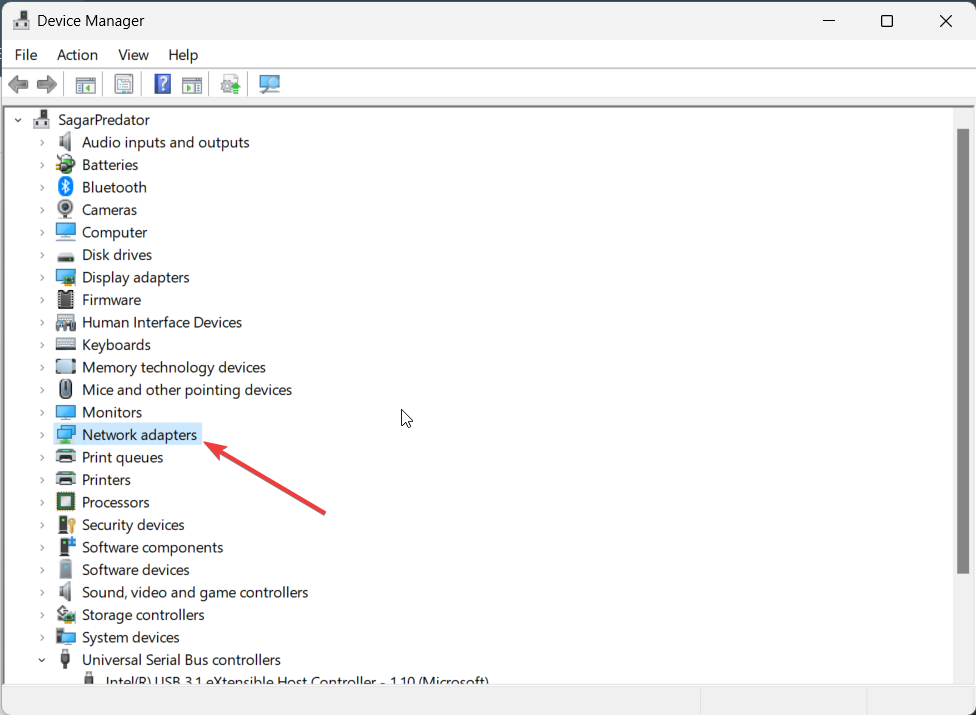
5. Reinstall the network driver
- Press the Win key to open the Start menu.
- Type Device Manager and open the top result.
- Expand the Network adapters section.

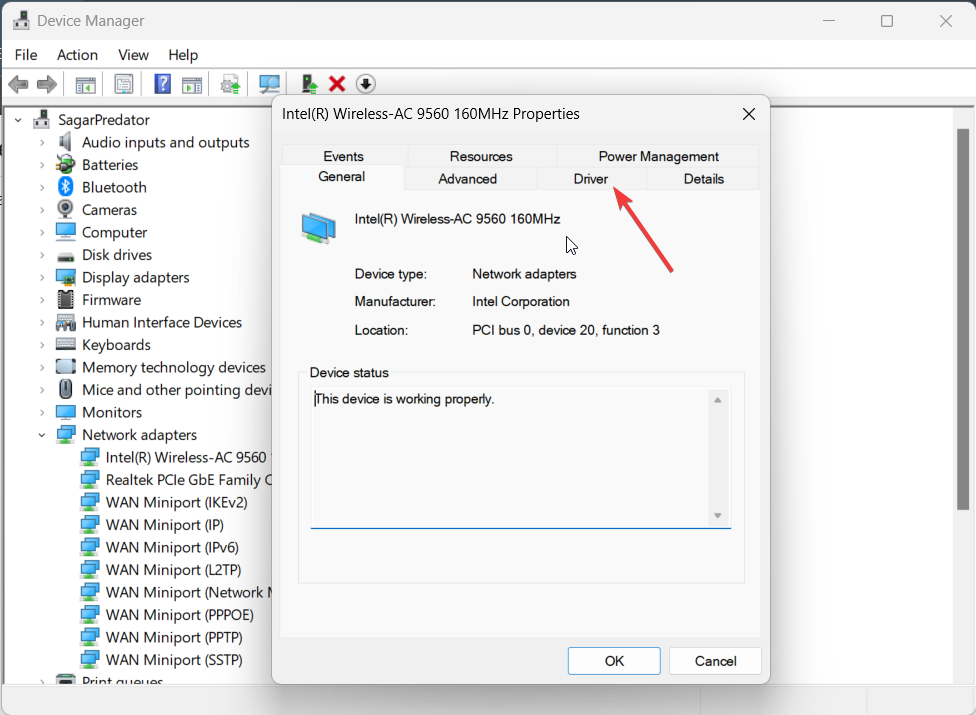
- Double-click on your network driver to open it.
- Switch to the Driver tab.
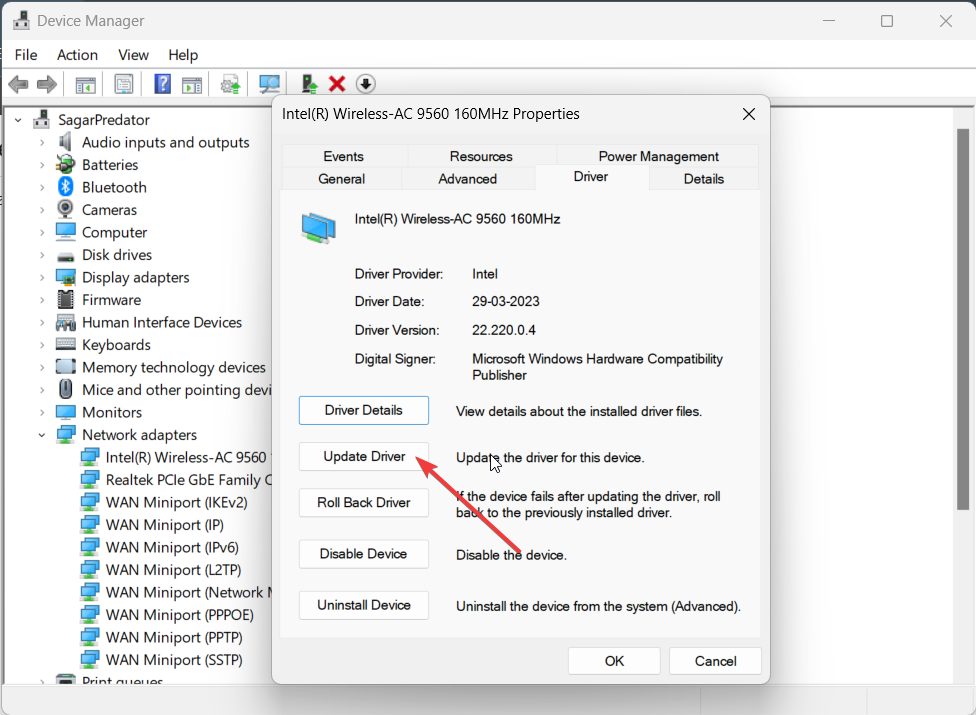
- Select Update driver.
- Choose Search automatically for drivers option.
- Install the latest update and restart your PC.
Reinstalling the network driver has helped multiple users resolve the Printer not activated error code 41 problem. You can also try that and hopefully resolve the problem.
That is it from us in this guide. Feel free to let us know in the comments below, which one of the above solutions resolved the Printer not activated error code 41.
User forum
0 messages