ZBrain Desktop, is it a Virus? 3 Ways to Remove it
Scan the PC for malware to remove this file
![]() 2 min. read
2 min. read
![]() Updated on
Updated on
Share this article
This article is translated in

Improve this guide
Read our disclosure page to find out how can you help Windows Report sustain the editorial team. Read more
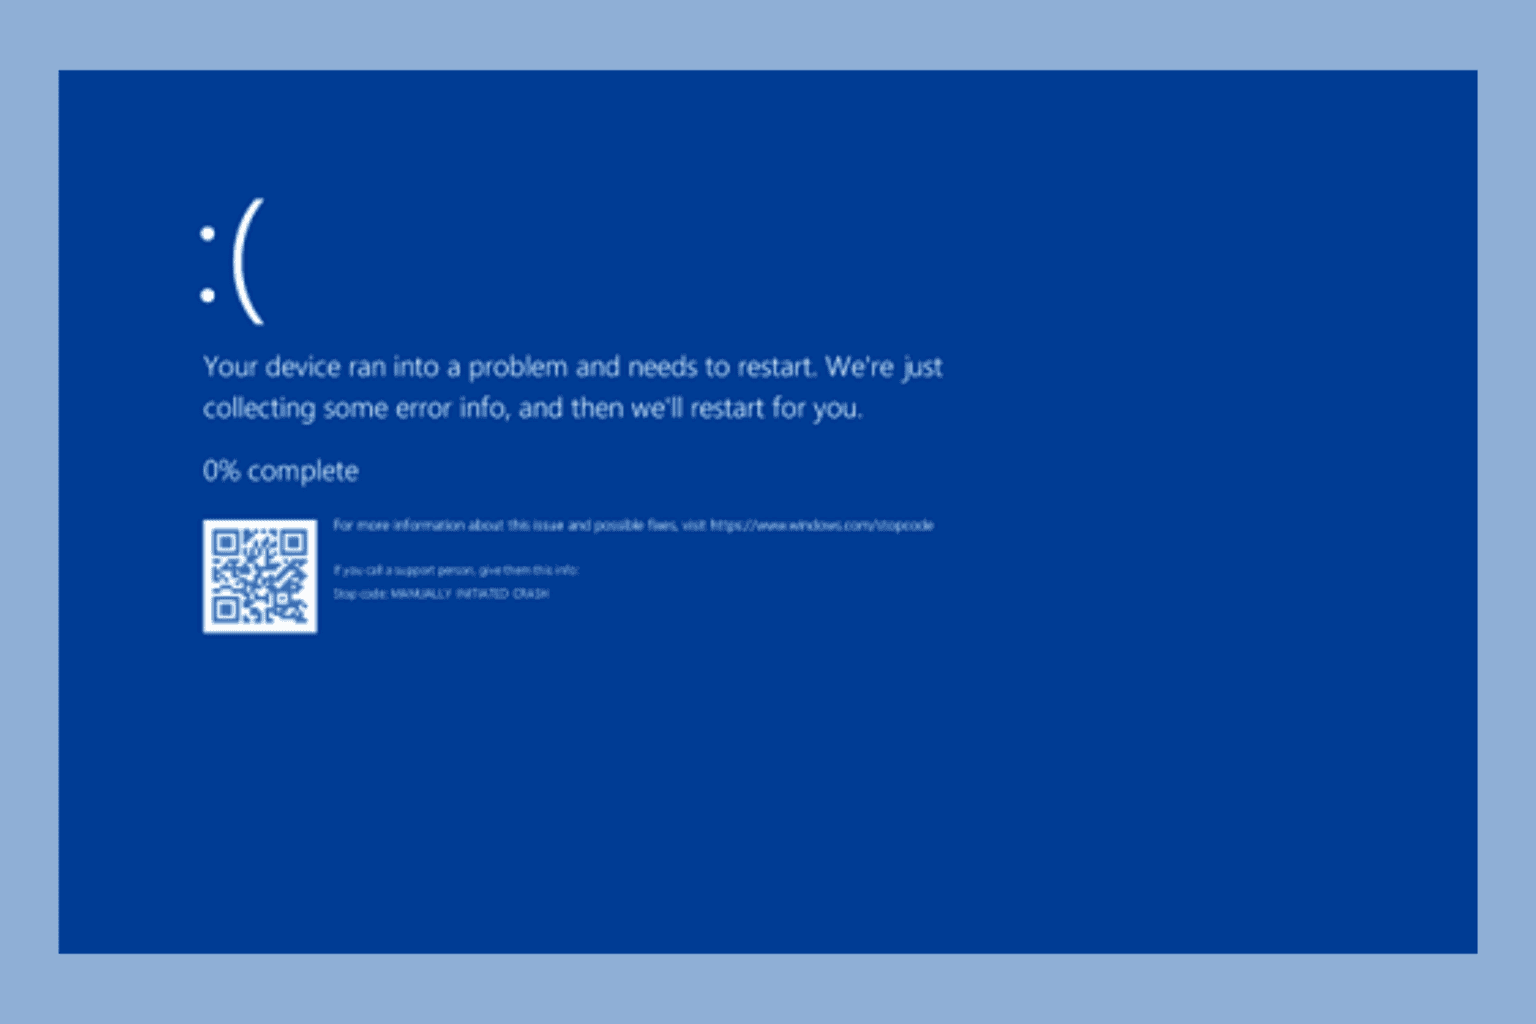
Many reported that Zbrain.desktop is opening Command Prompt and web browser on its own, and causing issues to users, so today, we’re going to take a look at this file and see what it does.
What is ZBrain?
ZBrain is a generative AI platform that is designed to optimize workflows. However, a handful of users reported that some files related to this service are causing problems.
How to get rid of ZBrain desktop?
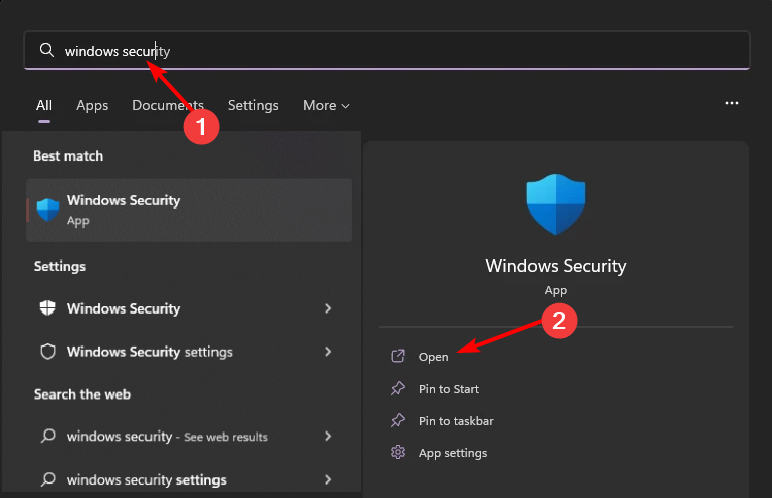
1. Scan for viruses
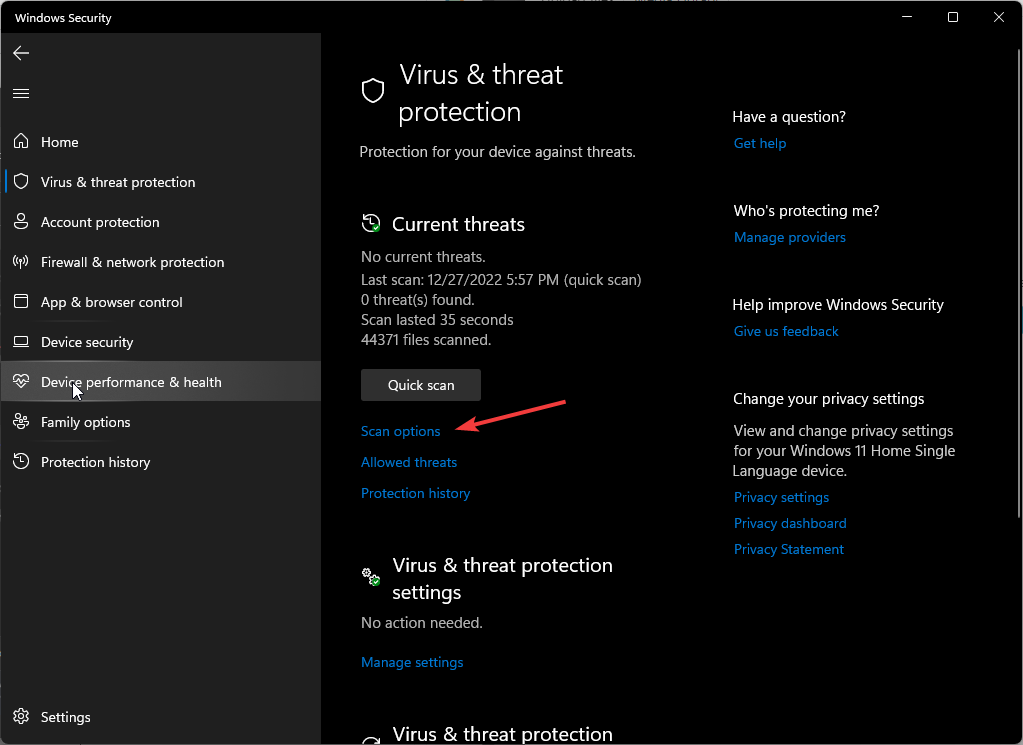
- Press the Windows key, search Windows Security, and click Open.

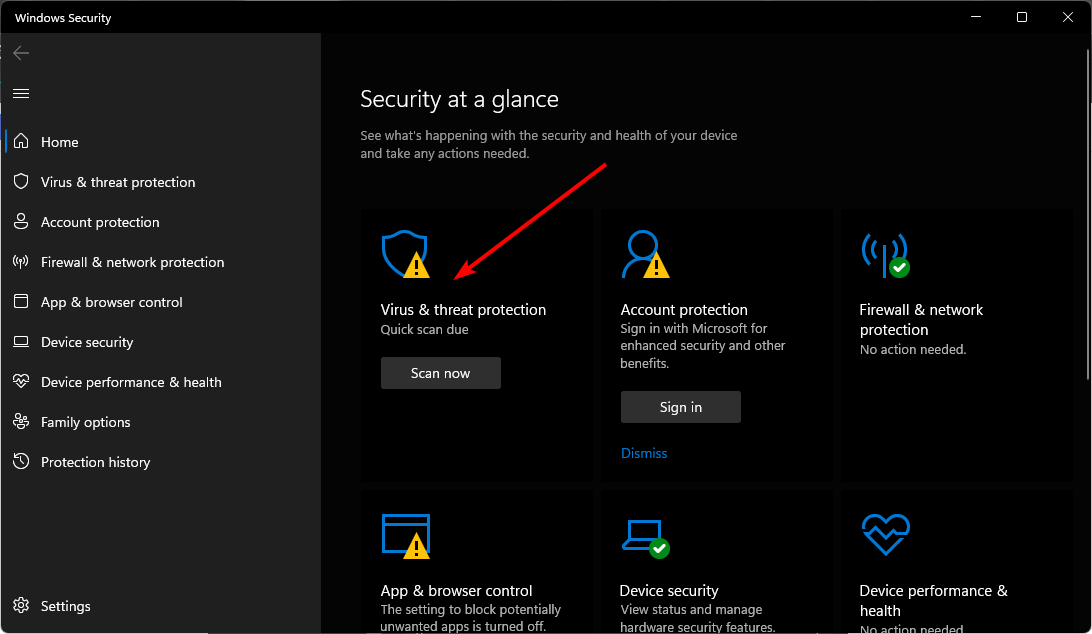
- Select Virus & threat protection.

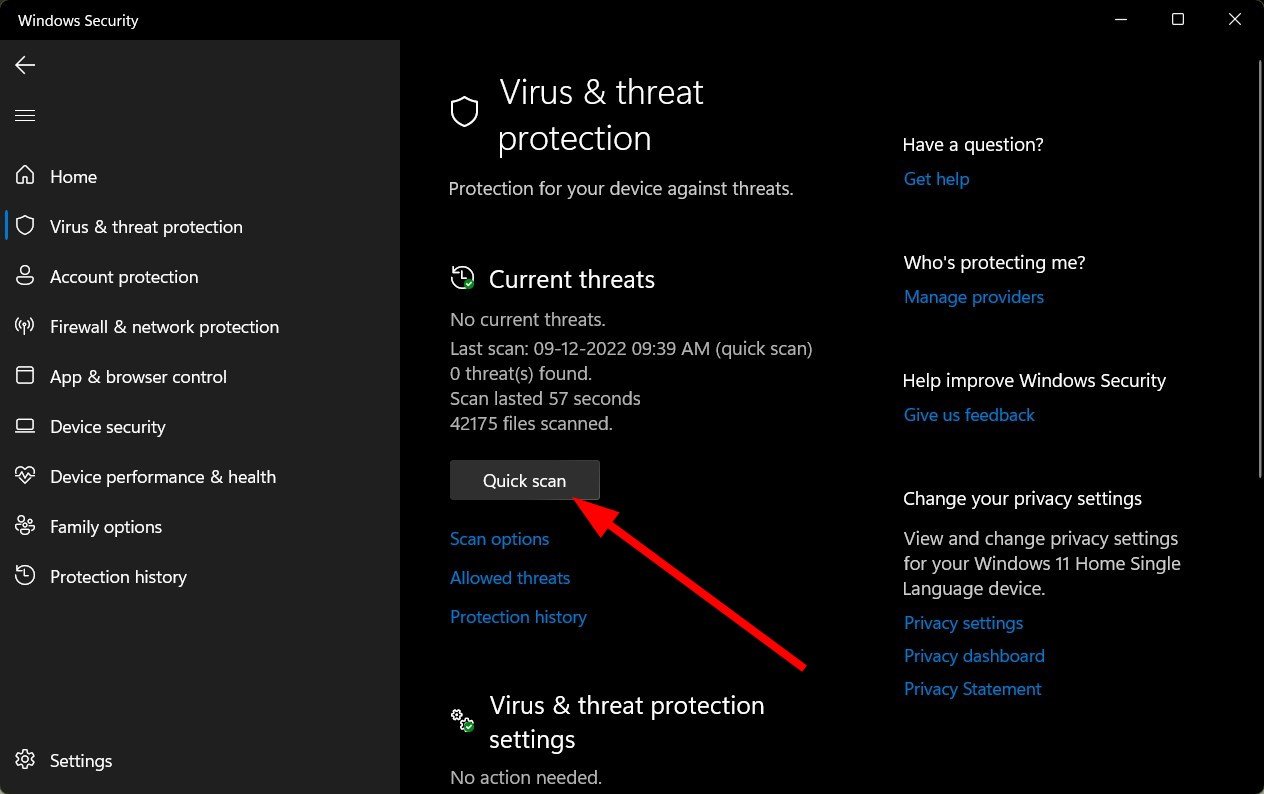
- Next, press Quick scan under Current threats.

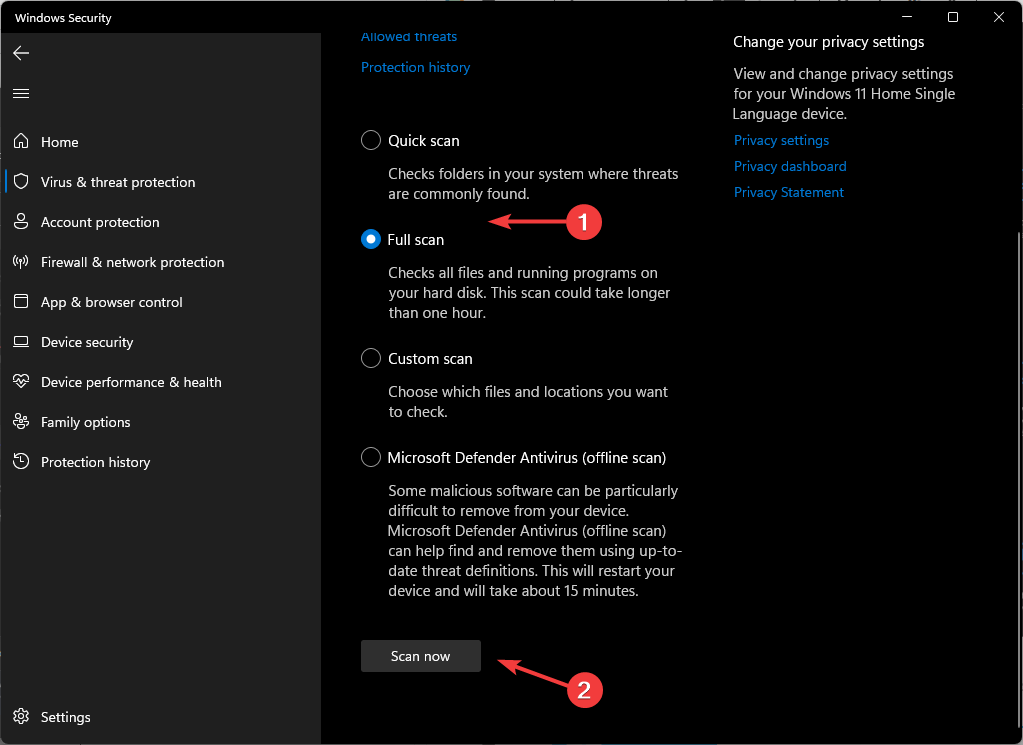
- If you don’t find any threats, proceed to perform a full scan by clicking on Scan options just below Quick scan.

- Click on Full scan, then Scan now to perform a deep scan of your PC.
- Wait for the process to finish and restart your system.
However, some files and programs can go undetected so give it another spin but this time, try running one with a comprehensive antivirus program.
For example, ESET HOME Security Essential will allow you to run a more in-depth scan than the default Windows tool, erasing any virus trace from your device, and keeping it safe in the future from other possible threats.
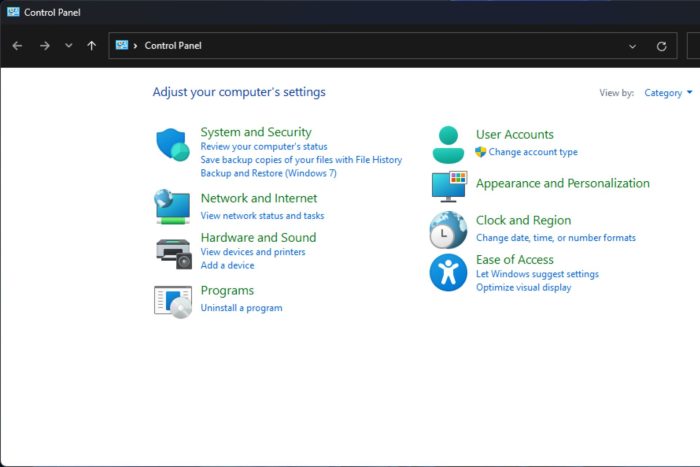
2. Uninstall problematic file
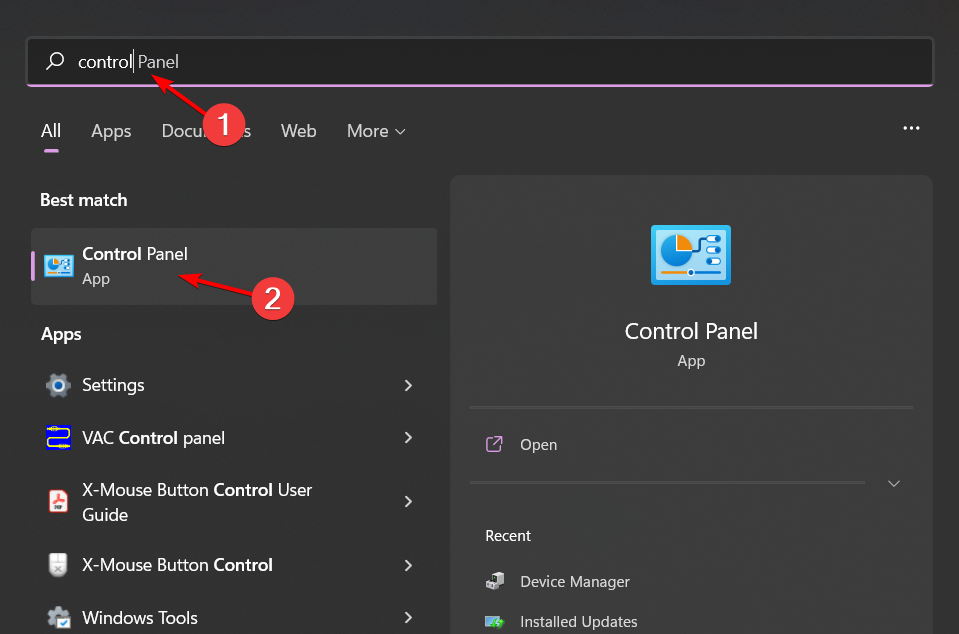
- Click on the Start Menu icon, type Control Panel on the search bar, and click Open.

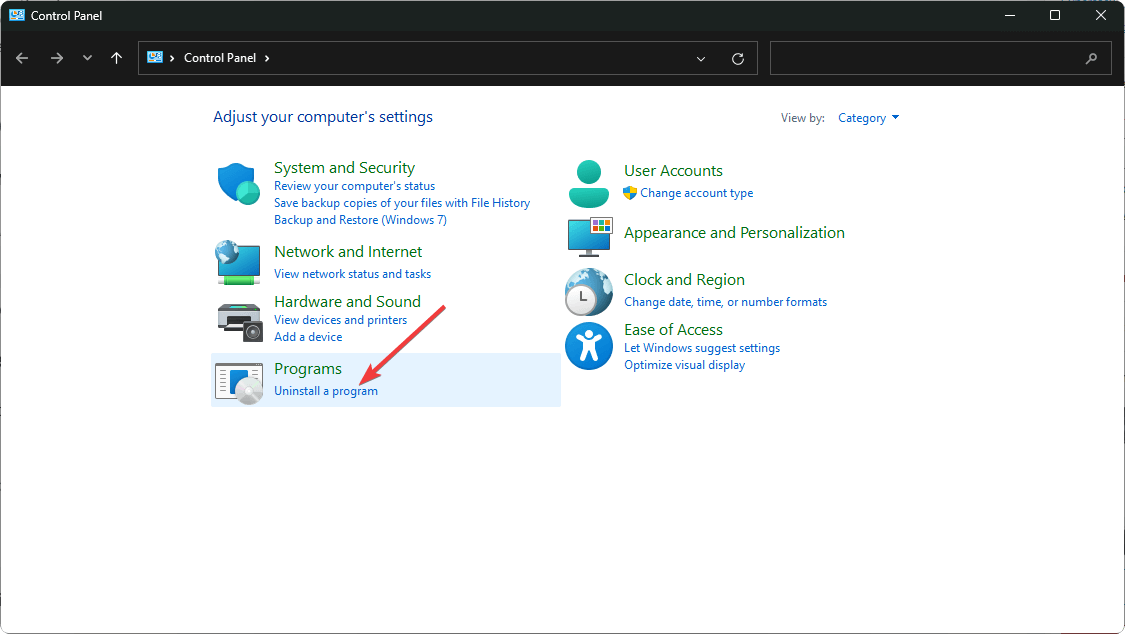
- Select Uninstall a Program under Programs.

- Find the problematic app or any other suspicious one in the list that you did not install, click on it, and select Uninstall.
- Confirm uninstallation in the next pop-up.
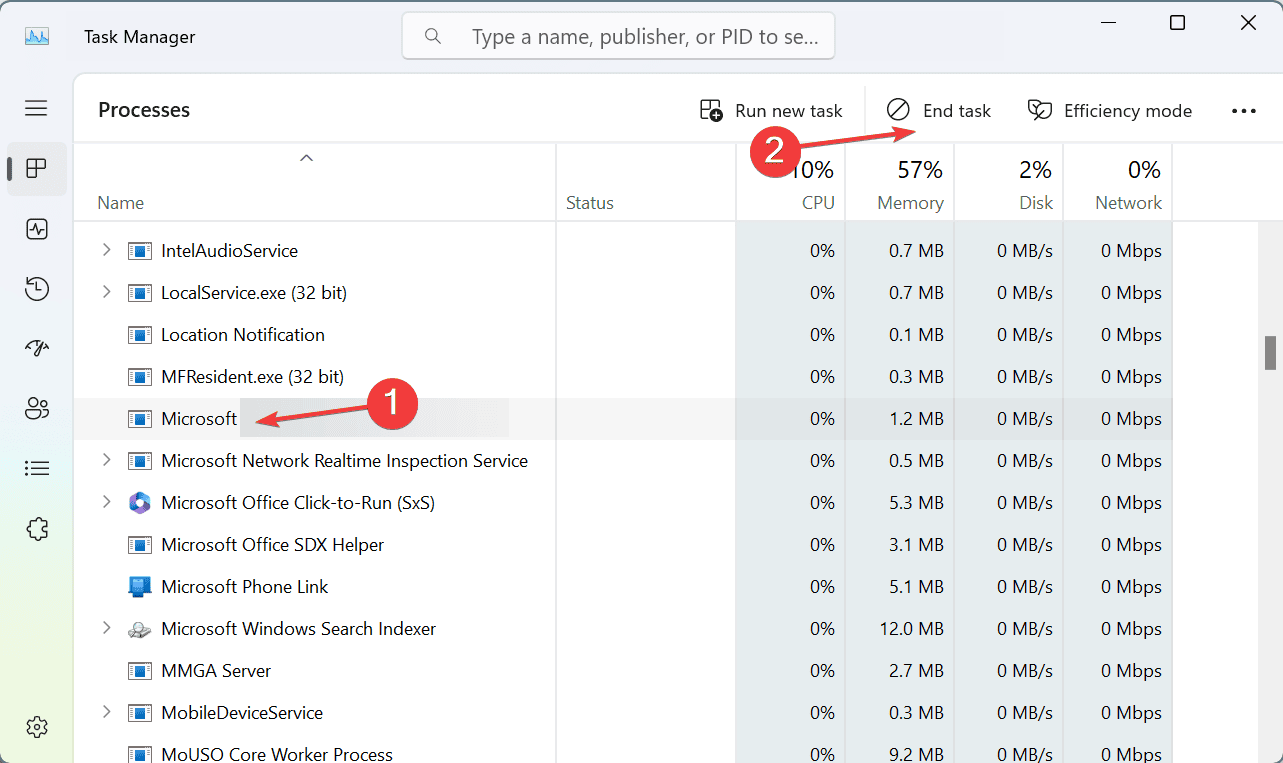
3. Manually delete the file
- Press Ctrl + Shift + Esc to open Task Manager.
- Locate zbrain.exe, right-click it and choose Open file location.
- A new window will now open.
- Go back to Task Manager and choose End Task to stop zbrain.exe.

- Next, go back to the window from Step 3 and delete everything from that folder.
That brings us to a close but we’d love to get your thoughts on this. Have you come across the Zbrain.desktop file?
This isn’t the only file that can cause issues, and we covered un.exe and view.exe files in separate guides.
Many also noticed 1.exe file on their PC, and we have a guide on it as well.
User forum
0 messages