How to Adjust Screen Brightness on Windows 7
You can find the brightness settings in Control Panel
![]() 3 min. read
3 min. read
![]() Published on
Published on
Share this article
Improve this guide
Read our disclosure page to find out how can you help Windows Report sustain the editorial team. Read more
Struggling with screen brightness on your Windows 7 PC? Whether you’re trying to reduce eye strain or just need a brighter screen, here are some simple steps to adjust your screen brightness.
How do I increase or decrease brightness on Windows 7?
1. Using the Power Options
- Click on the Start button type control panel and select the app from the results.
- In the Control Panel window, click on Hardware and Sound.
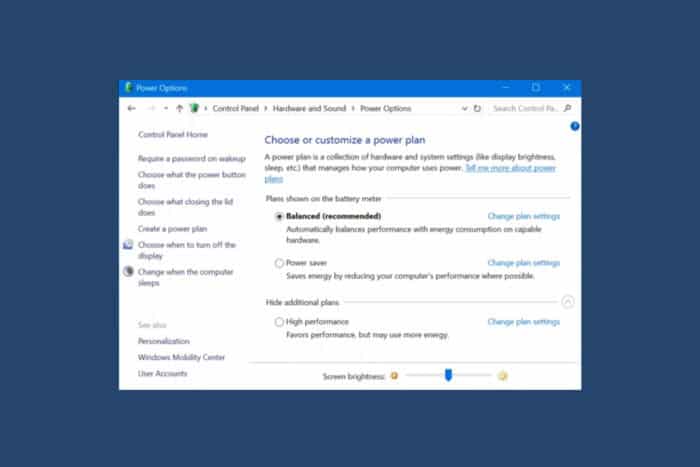
- Now, click on Power Options.
- At the bottom of the Power Options window, you will see a slider labeled Screen Brightness.
- Drag the slider to the left to decrease brightness or to the right to increase brightness.
Adjusting the brightness through Power Options is straightforward and helps optimize your screen for different lighting conditions, reducing eye strain.
2. Using the Brightness keys on your keyboard
- Find the brightness adjustment keys on your keyboard. These are usually function keys (marked with a sun icon) and are located at the top, typically between F1 and F12.
- Hold down the Fn key, usually found near the bottom-left corner of your keyboard.
- While holding the Fn key, press the key with the sun icon and up arrow to increase brightness, or the sun icon and down arrow to decrease brightness.
Using keyboard shortcuts allows for quick adjustments without navigating through menus, ideal for on-the-go brightness changes.
How do I restoring a missing brightness slider on Windows 7?
- Click on the Start button and type Device Manager into the search bar, then select the app from the search results.
- In the Device Manager window, click the arrow next to Monitors to expand the category.
- Click on the monitor listed under the Monitors category.
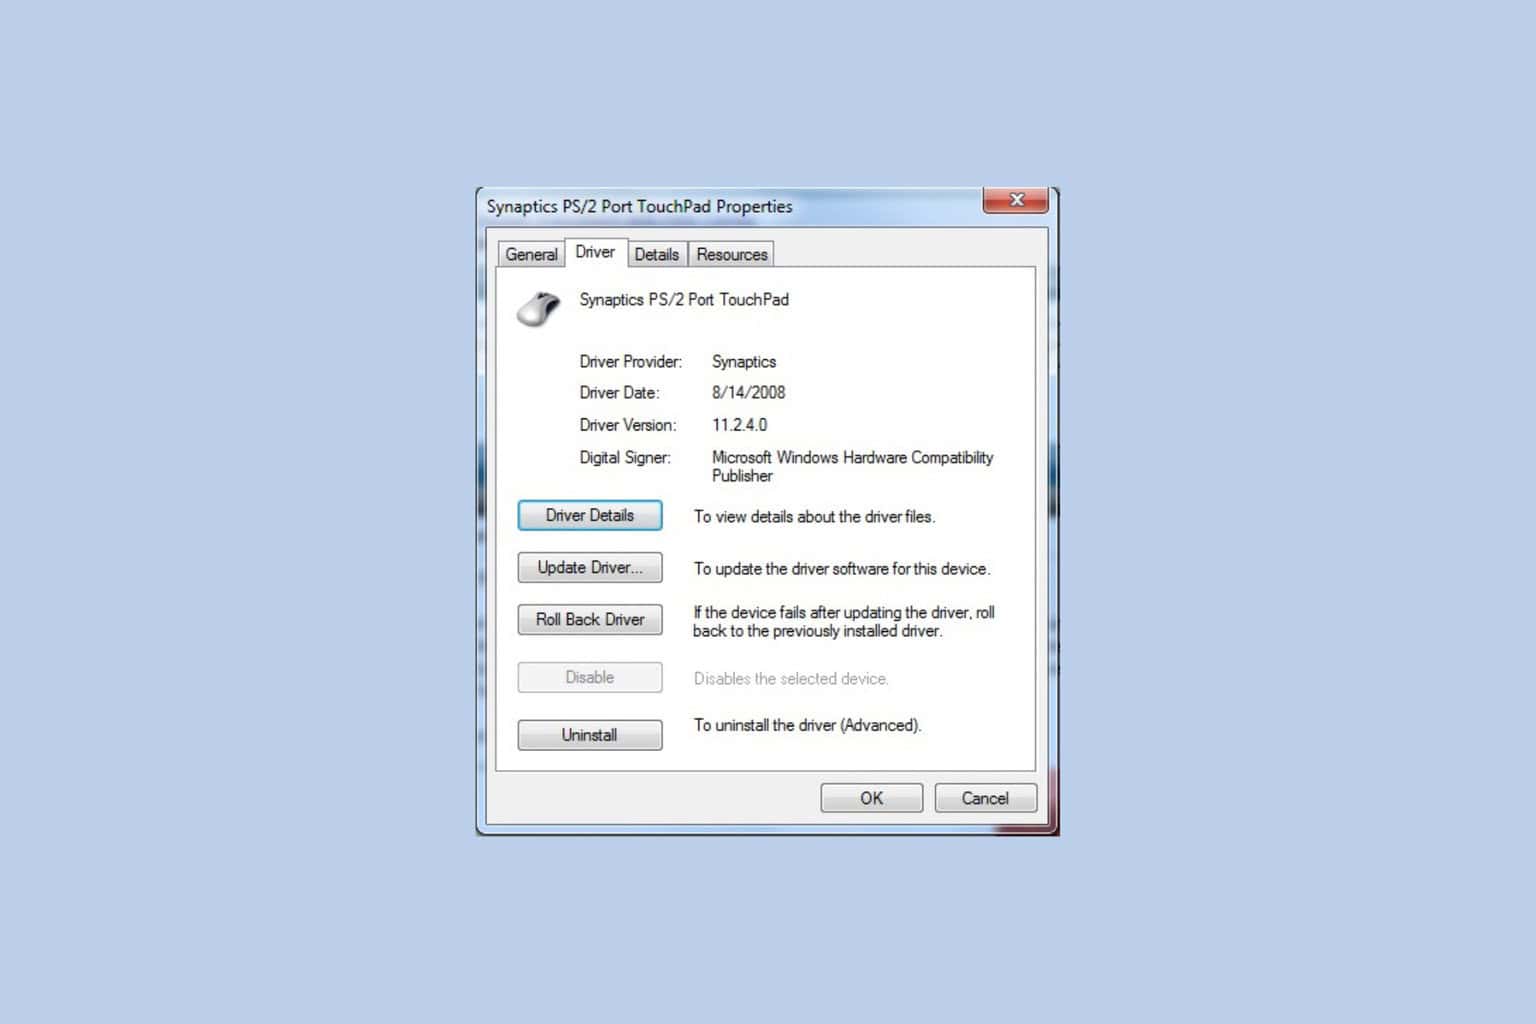
- Click on the Action tab at the top of the window and select Properties.
- Go to the Driver tab and click Uninstall. Confirm any prompts to uninstall the driver.
- Click on the Scan for hardware changes button in the Device Manager toolbar. This will reinstall the driver.
- Reboot your computer to ensure the changes take effect.
- Once your computer restarts, go back to the Power Options to see if the brightness slider has been restored.
Restoring the brightness slider by reinstalling the monitor driver can fix issues where the brightness control is missing, ensuring you can adjust the screen lighting as needed.
Each of these methods provides a way to adjust screen brightness on Windows 7, ensuring you can find the right brightness level for your environment and usage needs.
If the brightness level is stuck on high, click the highlighted link to fix it. You might also be interested in reading our guide on what to do if the monitor brightness keeps changing.
We hope that our guide helped you adjust the brightness on Windows 7, but if you have more questions, feel free to use the comments below.


User forum
0 messages