Turn Off Word AutoSave: 6 Efficient Methods

Learn how to turn off Word AutoSave on the desktop app in various ways, starting with the simplest ones.
As you know, Microsoft Word saves your work on any document either online or as a backup copy. If the backup is saved on OneDrive or SharePoint Online, it’s usually known as AutoSave. Contrarily, if you’re working on an offline document, it’s known as AutoRecover.
I’ll show you how to disable it below, so let’s jump right in!
How To Turn Off Word AutoSave in 6 Ways
Let’s look at the specific methods and their steps below:
Using Its Switch
You’ll find the AutoSave switch in the top left corner of the Word for Microsoft 365 desktop app.

When the setting is in the On position, Word saves a copy of the most recent edit in OneDrive or SharePoint Online.
To disable the feature, simply click on the switch and toggle it off.
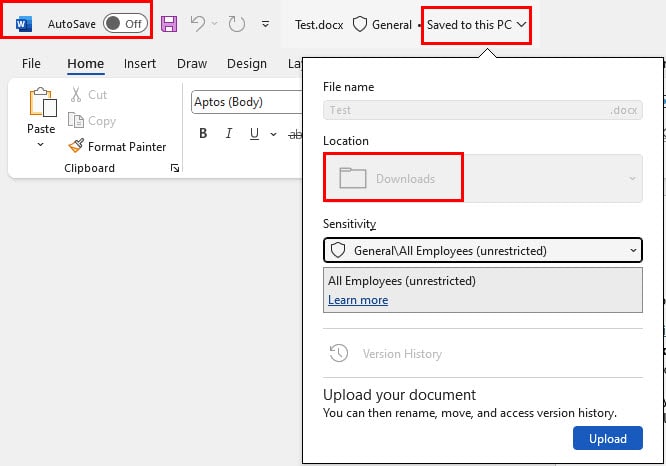
Word will now save future copies in the local storage. Remember that you’ll have to manually save the file or you’ll lose your work.
Moreover, OneDrive and SharePoint Online will retain the last saved copy. However, it won’t be updated anymore.
Using Word Options
This method will disable AutoSave system-wide:
- Click on the File tab in the ribbon menu.
- A left-side navigation panel will open in the Word backstage view.
- Click on the Options button at the bottom.
- The Word Options dialog box will open.
- There, navigate to the Save category on the left-side list.
- You should see the AutoSave files stored in… option below the Save documents section.
- Uncheck the box for this setting.

- Click OK on Word Options to save this modification.
Via Version History
Here are the steps to use the Version History setting to turn off Word AutoSave:
- Go to the File tab and select Info from the left-side navigation panel.
- You should see the Version History button on the right. Click on that.
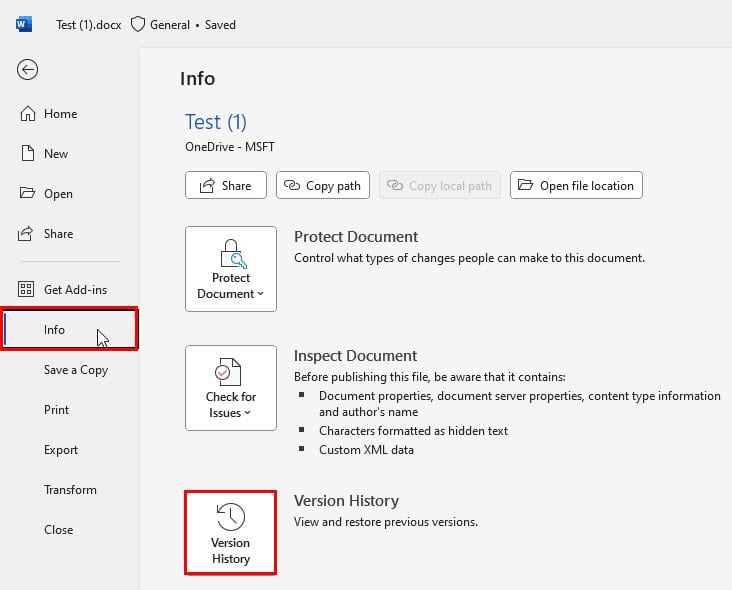
- The Version History will open as a sidebar on the right side of the Word app.
- You should see that the Show edits switch is in the On position.
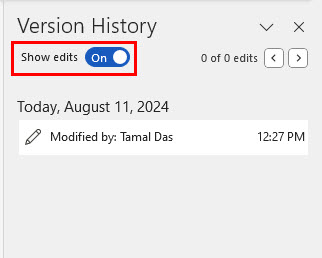
- Click on the toggle button to disable Show edits.
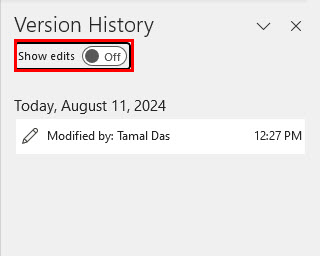
- Microsoft Word will open a read-only version of the same document.
- Go to the File tab of this document and click on the Save As option.
- Select Browse below the Other locations section to get the Save As dialog box.

- Save the read-only document to a location on the PC.
- Now, Word will allow edit mode for this saved file.
- You’ll also see that the AutoSave switch in the top left corner has been disabled.
Stop Word AutoRecover for All Offline Documents
Find below the quick steps to disable Word AutoRecover:
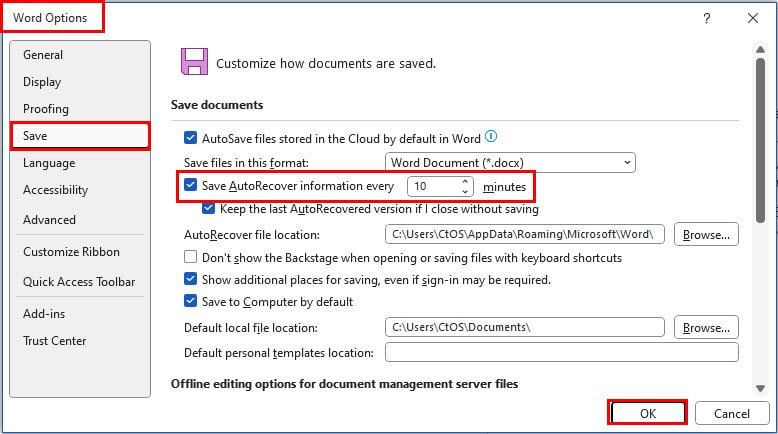
- Go to the Save category of Word Options from the File menu or by pressing Alt + F + T keys.
- Uncheck the box for Save AutoRecover information every 10 minutes.
- Click OK to save this modification.
Remove Word AutoSave and AutoRecover Using Word VBA
Find below two simple VBA scripts that will help you deactivate different types of backup systems:
Disable AutoSave
- When the source Word document is open, press Alt + F11 to launch the Word VBA Editor tool.
- There, select the Project (Test) on the left side panel in the Project section.
- Project (Test) will vary with the file name. If your Word document name is HRIS Guidelines by Adite, you’ll see Project (HRIS Guidelines by Adite).

- Now, click the Insert button in the VBA toolbar and select Module from the context menu.
- A blank module will open.

- There, copy and paste the following VBA script:
Sub DisableAutoSave()
    Dim doc As Document
    Set doc = ActiveDocument

    ' Display warning message
    Dim response As VbMsgBoxResult
    response = MsgBox("Warning: AutoSave will be disabled. Your document will only be saved locally on this PC. Do you want to proceed?", vbYesNo + vbExclamation, "Disable AutoSave")

    If response = vbYes Then
        ' Disable AutoSave
        doc.AutoSaveOn = False

        ' Notify the user
        MsgBox "AutoSave has been disabled. Your document will be saved locally."
    Else
        ' Notify the user that the operation was cancelled
        MsgBox "Operation cancelled. AutoSave remains enabled."
    End If
End Sub- Click the Save button on the menu bar.

- A dialog box will show up. Click the No button.
- The Save As dialog box will open.
- Click on the Save as type drop-down menu and choose the Word Macro-Enabled Document option.
- Click the Save button.

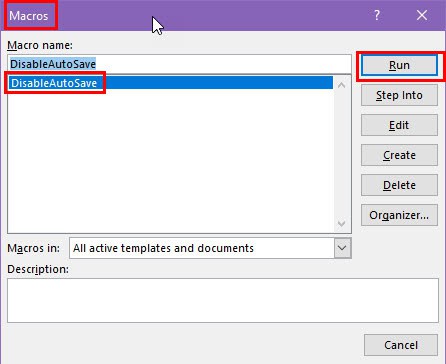
- Now, press Alt + F8 to get the Macros dialog.
- Select the DisableAutoSave macro and hit Run.
- A warning dialog box will show up.
- If you select Yes, Word VBA will disable the AutoSave feature with a confirmation.
Disable AutoRecover
Follow the steps mentioned earlier to create a new module in the Word VBA Editor tool and use the following script:
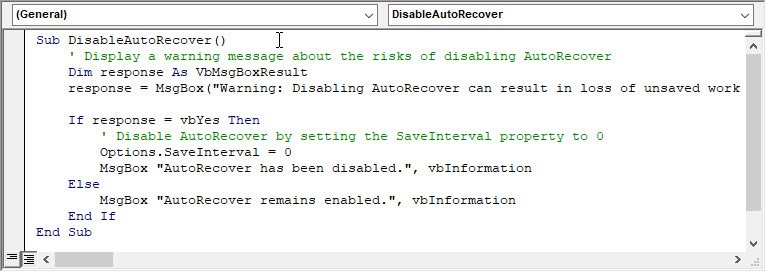
Sub DisableAutoRecover()
    ' Display a warning message about the risks of disabling AutoRecover
    Dim response As VbMsgBoxResult
    response = MsgBox("Warning: Disabling AutoRecover can result in loss of unsaved work if Word crashes unexpectedly. Are you sure you want to disable AutoRecover?", vbYesNo + vbExclamation, "Disable AutoRecover")

    If response = vbYes Then
        ' Disable AutoRecover by setting the SaveInterval property to 0
        Options.SaveInterval = 0
        MsgBox "AutoRecover has been disabled.", vbInformation
    Else
        MsgBox "AutoRecover remains enabled.", vbInformation
    End If
End Sub
Once you’ve created the VBA macro, press Allt + F8 to go to the Macros dialog and selectDisableAutoRecover. Now, hit Run to execute the script.

It’ll show the following warning dialog box:
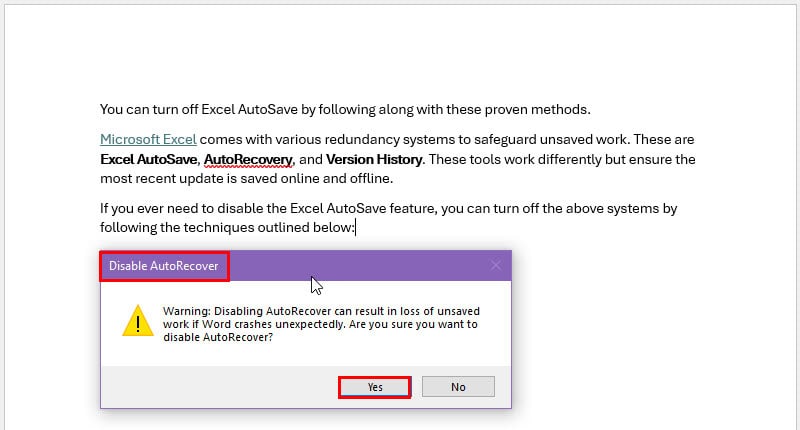
If you allow, the script will run and show a confirmation once done.
Turn Off AutoSave in Word on Mac
Follow along with these steps on a Mac to pause AutoSave and AutoRecover:
- Open a Word document.
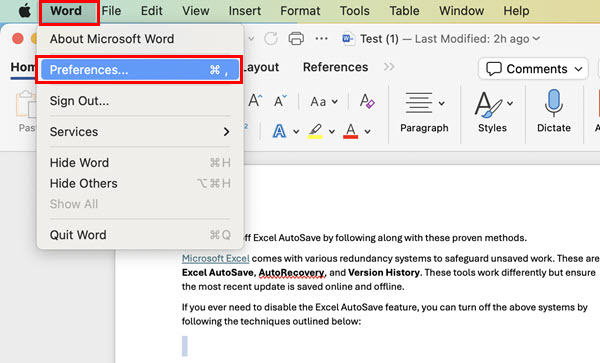
- Click on the Word menu near the Apple icon in the top-left corner.
- Select Preferences from the context menu.
- You’ll see the Word Preferences dialog box.
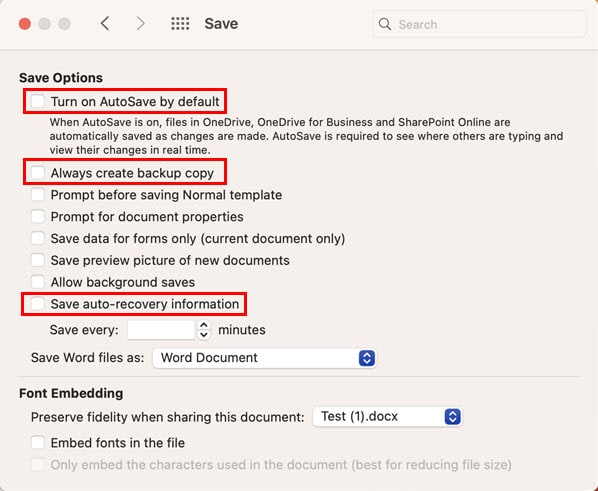
- Navigate to the Save menu below the Output and Sharing section.

- Uncheck the boxes for the following items in the Save menu:
- Turn on AutoSave by default
- Always create backup copy
- Save auto-recovery information
Summary
So, now you know how to turn off the Word AutoSave feature. Use the method you find the most intuitive and fitting depending on your situation.
If the article helped you or you want to suggest any alternatives, feel free to comment below.
You might also want to read why my Word document won’t save and how to turn off Protected View to manage your files efficiently. Additionally, learn how to turn off AutoSave on Excel.
Read our disclosure page to find out how can you help Windows Report sustain the editorial team. Read more


Improve this guide


User forum
0 messages