5 Ways to Fix the Minecraft Error During Mod Loading
Allocate more RAM to accommodate mods
5 min. read
Published on
Read our disclosure page to find out how can you help Windows Report sustain the editorial team. Read more

To get that extra adrenalin from playing Minecraft, mods are the key ingredient but what happens when there’s an error during mod loading?
A mod failing to load during launch could be caused by a myriad of issues. It’s possible that it’s not compatible with the game, is outdated or missing some key dependencies. Also, downloading mods from unofficial sources could prevent them from loading.
How do I fix the Minecraft error during mod loading?
1. Launch the game without mods
- Press the Windows key, type Minecraft and click Open to open the Minecraft launcher.
- Go to the Installations tab from the top menu.
- Click the New Installation option.
- Type in a name for the installation and, go to Version, select the latest release from the drop-down. If you are confused about which one to choose, like the one that starts with the word release.
- Click Create.
- Next, go to the Play tab and choose the installation you created to play.
Launching Minecraft without mods will help you isolate the problem whether it’s a game issue or a mods issue. If the game loads successfully, try deleting the mods one by one until you find the culprit.
2. Delete Minecraft mods
- Hit the Windows + E keys to open File Explorer.
- Input the keyword %appdata% in the search box.
- Next, click %appdata% to open the folder in the screenshot directly below.
- Click the .minecraft folder to open it.
- Then open the mods subfolder.
- Press the Ctrl + A hotkey to select all the Minecraft mods in the folder.
- Click the Home tab shown directly below.
- Then click the Delete button to erase the selected mod files.
You can later reinstall the mods and try launching Minecraft then see if they’re loading or the error persists.
3. Run Minecraft in compatibility mode (and as an administrator)
- Hit the Windows + E keys to open File Explorer.
- Open your Minecraft folder in File Explorer and click the Game subfolder in your Minecraft folder.
- Right-click Minecraft.exe fileand select Properties.
- Select the Compatibility tab shown in the snapshot directly below.
- Select the Run this program in compatibility mode option.
- Select Windows 7 on the Compatibility mode drop-down menu.
- Then click the Run this program as an administrator checkbox to select that option.
- Click the Apply option to save the new settings.
- Click OK to leave the window.
If the issue of Minecraft error during mod loading occurs because of compatibility issues, running the program in compatibility mode can mimic a previous version that was compatible with that particular mod and allow it to load next time.
4. Allocate more RAM
- Launch the Minecraft Client.
- Head to the Installations tab from the top.
- Select Minecraft Dungeons from the left side.
- Click on the 3-dot icon next to Minecraft Dungeons game on the right side.
- Select Edit from the drop-down.
- Click on MORE OPTIONS.
- Under the JVM ARGUMENTS, you will find a line of text.
- Change the amount of RAM that Minecraft Dungeon can use after Xmx. For example, Xmx4G means Minecraft Dungeons will use 4GB of RAM.
- Click Save and check if this fixes the low FPS issue or not.
Mods are known to add more features therefore bulking up the game. Minecraft would require more RAM to accommodate all these mods to run optimally. If you’re low on RAM, adding more can help the game manage the mods better and fix the loading issues.
You can also clear up your system’s storage space to prevent lagging and freezing issues in Minecraft.
5. Reinstall Minecraft
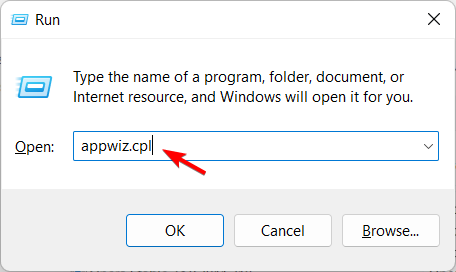
- Press the Windows and R keys simultaneously to launch the Run program.
- Type appwiz.cpl in the text box and press Enter.
- Next, in the Programs and Features window that opens, scroll down and locate Minecraft.
- Click Uninstall (and Yes on any confirmation prompts) to remove Minecraft.
- After uninstalling Minecraft, open the search box in Windows 10.
- Enter %appdata% in the search box, and click %appdata% to open that folder.
- Right-click the .minecraft folder and select Delete.
- Ensure you clear out all software remnants before you reinstall the game.
- Then open the Minecraft website in a browser.
- Download the latest Minecraft version from there.
- Open Minecraft’s installer to reinstall the game.
Additional tips to ensure mods load
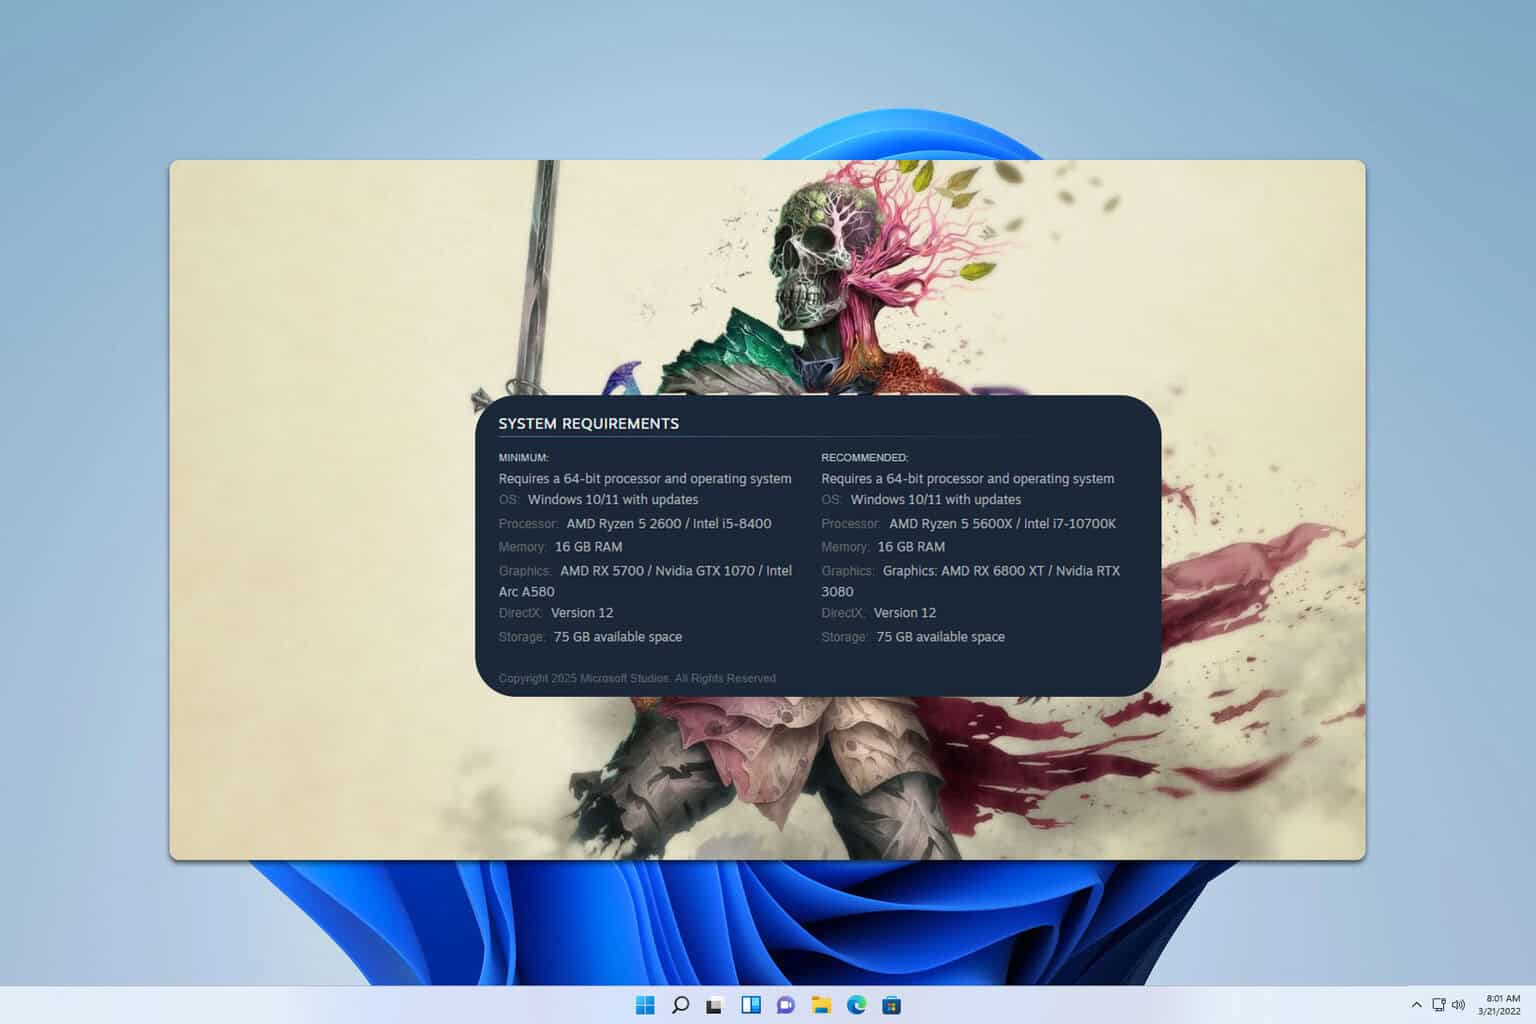
- Check compatibility – Always check whether your device meets the system requirements before installing a mod. Your current Minecraft edition plays a part so ensure both are compatible.
- Download reliable mods – With many mods available, not all of them are legitimate. Ensure you’re downloading from trusted and official sources to avoid such issues.
- Check for updates – As you update your Minecraft game, also check for mod updates to ensure they are compatible.
- Keep mods at a minimum – As much as mods enhance your gameplay, too many may cause issues or some game inconsistencies. You can use a mod manager but sometimes they too, can disappoint you when they’re not working. If you’re looking for some top mods for Minecraft, we think these are a must-have.
Hopefully, one of these solutions has helped you load your mods in Minecraft while playing. To address other common Minecraft errors, check out our comprehensive article.
That’s it from us but if you have any additional thoughts or solutions, let us know in the comment section below.


User forum
0 messages