How to Update Minecraft on Windows 11 [All Editions]
Key notes
- Minecraft is a widely beloved game, now available on Windows 11.
- The updating process can be a little confusing as both versions may require different methods.
- This guide will show you how to update both versions of Minecraft.

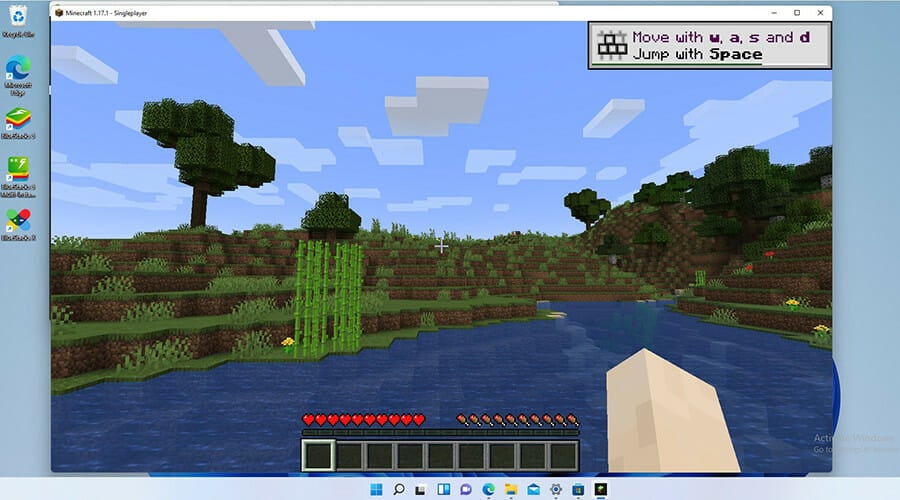
Minecraft is a popular video game many people consider the ultimate sandbox game. Players enter a virtual realm, using building blocks and other resources to create a world of their imagination.
The game has a ton of flexibility, as it comes with zero instructions or goals. Players build and explore however they wish. It’s trendy among adults and children and can be played on many devices, from smartphones to consoles and PCs.
The game comes in two separate versions: Minecraft Bedrock and Java edition.
What are the differences between Bedrock and Java editions?
Content-wise, Bedrock and Java are mostly the same but there are some distinct differences between the two.
Minecraft Java is the original version that came out back in 2009 and only works on the PC. Players on this version can only play with other Java players. Cross-play with other platforms is not enabled. Players on this version can customize their skins, add mods, and have access to Hardcore and Spectator modes.
Minecraft Bedrock, also known as Minecraft for Windows 10, is the version you see on console and mobile platforms alongside a PC. It came out in 2017 and brought nine of the major platforms at the time under the Bedrock Engine to create a singular community.
This version also includes a marketplace and parental control it, but it does lack Hardcore and Spectator modes and doesn’t allow modding.
Bedrock has been ported over to Windows 11, but it’s unknown at this time if Microsoft or Mojang, the game’s developer, will create a special Windows 11 version of the game or keep it all the same.
Over time, Mojang had added new content, features, and bug fixes to the game. The fixes improve the stability and performance of the game, so it’s necessary to keep the game updated.
Typically, the game updates itself automatically, but sometimes the auto-update doesn’t work for whatever reason. This guide will show you how to update multiple versions of Minecraft manually. It will also show you how to reinstall Minecraft as a last-ditch effort to fix any problems.
How do I update Minecraft on Windows 11?
1. Open the Microsoft Store by double clicking on the store icon on taskbar.

2. In the Microsoft Store app, click the Library button from the lower-left corner of the window.

3. On the Library page, click the Get updates button in the upper-right corner.

4. If any new updates are found, Microsoft Store will download and install them automatically.
5. If errors are found, you will need to reset the Microsoft Store app.
6. To reset the Microsoft Store app, click on the magnifying glass icon on the taskbar.

7. Click on the Settings icon.

8. Click on the Apps tab.

9. Scroll down until you locate the Microsoft Store app listed.

10. Click on the three dots next to Microsoft Store.

11. In the small window that appears, click on Advanced options.

12. In the next window, scroll down to the Reset option.

13. Click on the Reset button to fix any errors.

Update Minecraft Bedrock
If you want to enjoy some of the newer features in Minecraft, we’ll show you how to update Minecraft Bedrock to 1.19.10 with these quick steps:
Enable Auto-Update
- In the Microsoft Store app, click on your profile page in the top right corner.
- Select App settings.

- Turn on App updates by clicking on the toggle swtich next to the tab.

Reinstall Minecraft Bedrock Edition
- Click on the magnifying glass icon on the taskbar.

- Click on the Settings icon to open it.
- Click on the Apps tab.
- While in this new tab, click on Apps & features on the right.

- Scroll down until you locate the Minecraft app listed.

- Click on the three dots next to Minecraft.

- In the small window that appears, click on Uninstall to remove the game.

- Once the game is uninstalled, restart the computer by clicking on the Home icon.

- Click on the Power button and click Restart.

- After your computer finishes restarting, go to the Microsoft Store and install Minecraft again.

- If you already paid for the game, the license will automatically log you in the game with your account.
Update Minecraft Java Edition
- Open the Minecraft Launcher by clicking on the taskbar icon.

- Once the launcher open, select Latest Release from the drop-down menu next to the Play button.
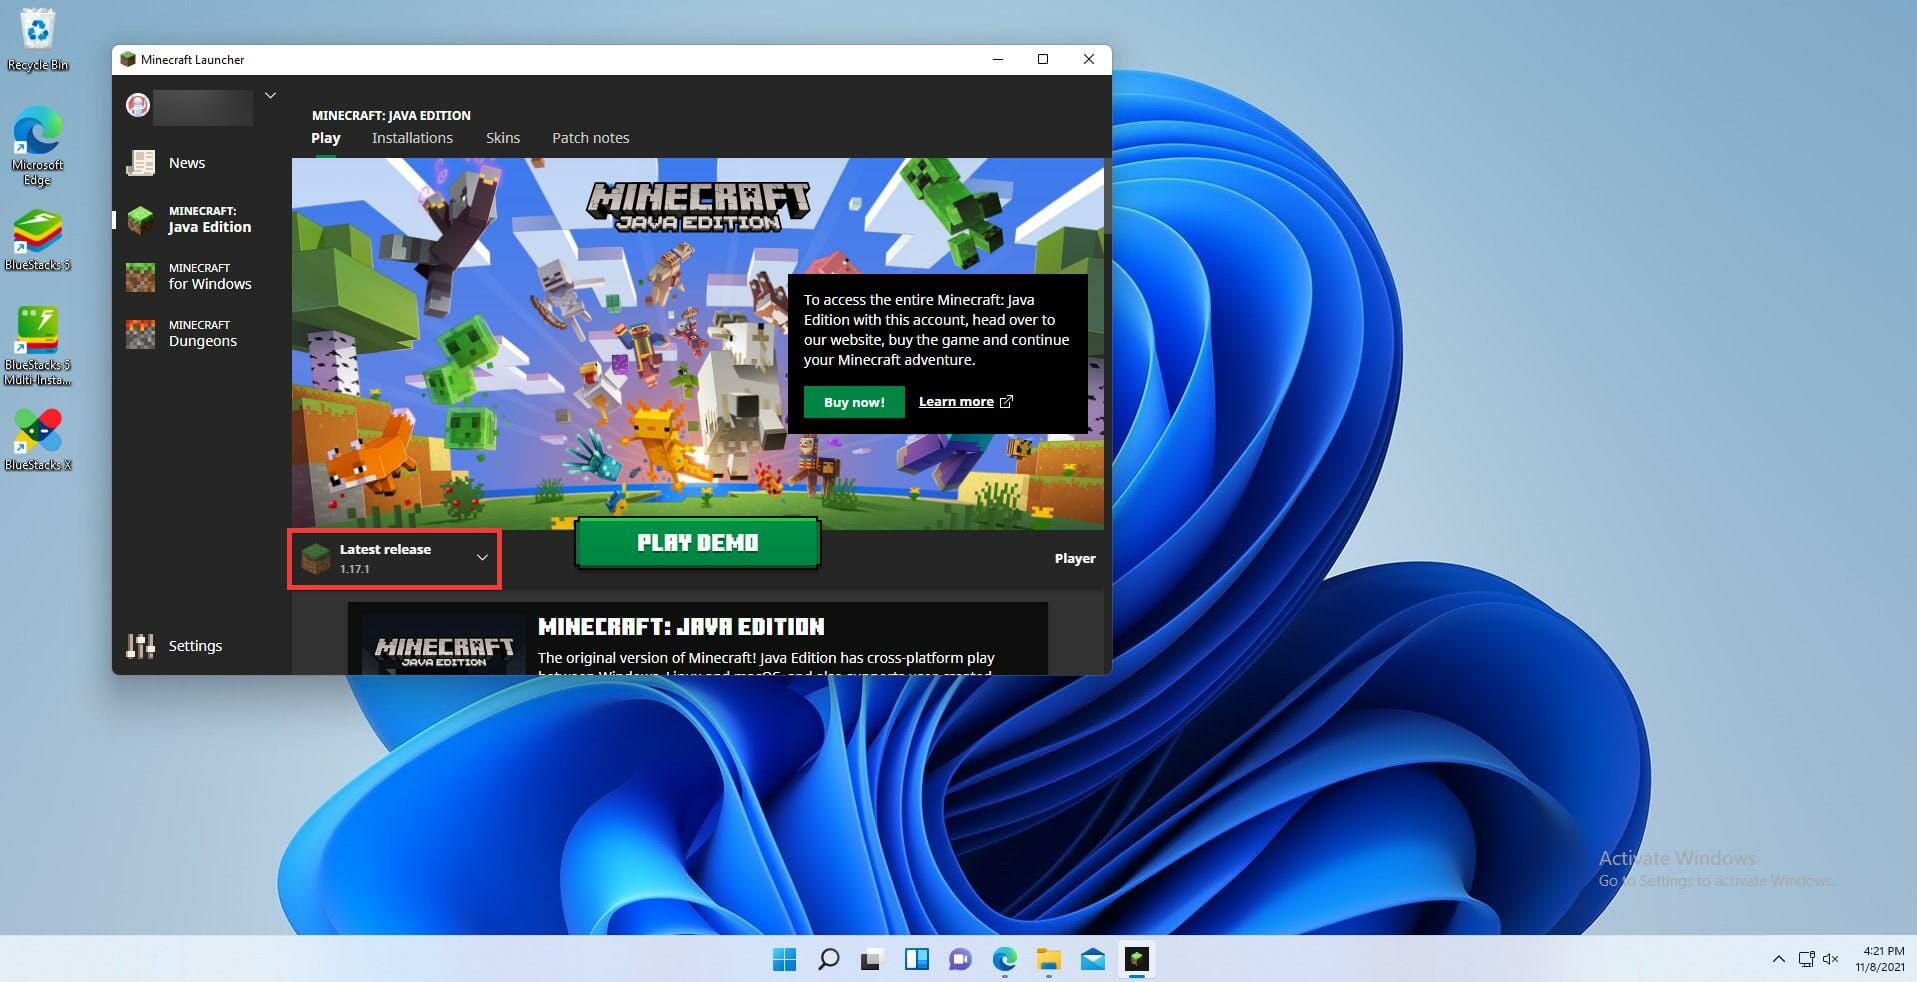
- Select the most recent release version.
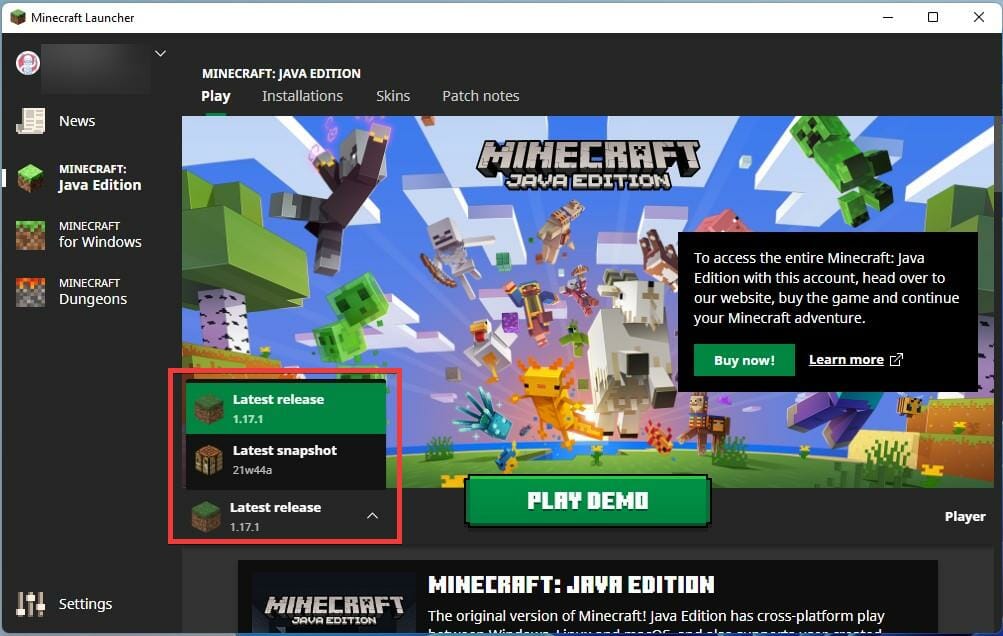
- Once you select this, the game will automatically update and install any changes if there are any.
Reinstall Minecraft Java Edition
- To uninstall Minecraft: Java Edition, go to the Settings menu.
- Select the Apps tab.
- and then open Apps & features tab.
- In the Apps & features setting, locate Minecraft Launcher in the list of apps.

- Then, click the three-dots button, and select ‘Uninstall’ to remove the game.

- Once uninstalled, restart your computer by first clicking on the Start icon at the bottom.
- Click on the Power button and select the Restart option.
- After restarting, download the Minecraft Launcher again.

- Open the Minecraft Launcher and log in to your Minecraft Account.
- Click the Play button to install the latest version of the game. The launcher will automatically download and install the latest version of Minecraft.

What if I get an error message while updating Minecraft?
You may sometimes get an error message saying, Try that again. Something went wrong when trying to update. Minecraft. It is probably related to a Windows update issue. To stop that error, you need to install the latest Windows 11 updates
You can do this by going to the Settings menu and scrolling down to Windows Update at the bottom of the left panel. Click Check for updates and see if there’s anything available now. If there is, click the Download Now button. Restart your PC and update Minecraft again; it should work now.
Microsoft seems to be giving much support for video games on Windows 11. The operating system brings a smoother gaming experience by offering a more efficient usage of its resources and memory, translating to more frames per second.
Xbox Game Pass also gets tons of support on Windows 11, and some exclusive deals are on there that will make any gamer happy. And you can’t talk about gaming on Windows 11 without mentioning Android apps.
If you ever wanted to try out Android games on PC, now’s your chance with the Android app beta. You will, however, need to be a member of the Windows Insider Program.
To enhance your Minecraft experience and download shaderpacks, take a closer look at our article.
Let us know if you have any questions on Minecraft updates. Feel free to leave comments about guides you’d like to see or information on other Windows 11 features.
Read our disclosure page to find out how can you help Windows Report sustain the editorial team. Read more


Improve this guide


User forum
0 messages