Instax Mini 9 Not Working? 5 Fixes You Can Try Today

The Instax Mini 9 is a reliable instant camera, but sometimes it stops working unexpectedly. If your camera will not turn on, print photos, or flash properly, try these troubleshooting steps before seeking professional repair.
Table of contents
What can I do if Instax Mini 9 is not working?
1. Check and replace the batteries
The most common reason the Instax Mini 9 stops working is weak or dead batteries.
- Slide open the battery compartment on the grip side of the camera.
- Remove both AA batteries.
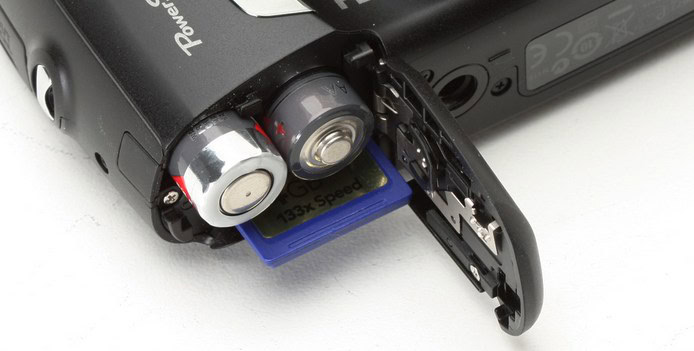
- Insert two new AA alkaline batteries, making sure the polarity is correct.
- Close the compartment securely.
- Turn the camera on and check if it powers up.
2. Make sure the film is loaded correctly
If the camera powers on but does not eject or capture images, the film cartridge may not be seated properly.
- Open the film door by sliding the latch on the side.
- Remove the film cartridge carefully.
- Reinsert the cartridge, aligning the yellow mark on the film with the yellow mark inside the camera.
- Close the film door until it clicks.
- Press the shutter button once to eject the dark slide.
3. Inspect the lens and settings
The camera may not work if the lens is not fully extended or the brightness dial is between modes.
- Press the button next to the lens to extend it.
- Turn the lens until it clicks into place.
- Rotate the brightness dial to a specific setting, not between two options.
- Point the camera at your subject and half press the shutter to verify the meter reacts.
4. Reset the camera after jams
If the camera jams and will not eject film or power correctly, a simple reset can clear glitches.
- Switch off the camera.
- Remove both AA batteries.
- Wait at least 2 minutes for the circuits to discharge.
- Reinsert the batteries.
- Turn the camera back on and test the shutter and film ejection.
If you need a reference for restoring default behavior on other models, see how to reset Nikon cameras to factory settings.
5. Check the flash charging light
The charging indicator confirms the flash capacitor is active.
- Turn the camera on.
- Look for the small orange charging light near the viewfinder.
- If the light does not turn on, replace the batteries with new alkaline cells.
- Wait 30 to 60 seconds for the flash to charge.
- Test by taking a photo in low light.
Conclusion
If your Instax Mini 9 is still not working after these steps, the issue may be hardware related and require professional repair. For related computer connection issues on other brands, check how to fix a Canon camera not recognized in Windows 10 and what to do if a Nikon camera is not connecting to a computer.
FAQ
Weak or drained batteries are the most common cause. Replace them with two fresh AA alkaline batteries and test again.
The film may be misaligned. Reinsert the cartridge and match the yellow marks before closing the door and pressing the shutter once to eject the dark slide.
It usually signals low battery. Install new alkaline batteries so the flash can charge correctly.
The film might have been exposed to light or the exposure setting is incorrect. Load film in a dim environment and set the brightness dial to the suggested mode.
Yes. Remove both batteries, wait two minutes, then reinsert them to reset the internal circuits.
Read our disclosure page to find out how can you help Windows Report sustain the editorial team. Read more


Improve this guide


User forum
0 messages