Search Protocol Host Process Failed: How to Restart it
You can fix searchprotocolhost.exe error by fixing system files
3 min. read
Updated on
Read our disclosure page to find out how can you help Windows Report sustain the editorial team. Read more
Key notes
- If the Search Protocol Host process has failed, you need to enable the necessary services.
- In some instances, you need to stop third-party apps that might be interfering with the startup process.
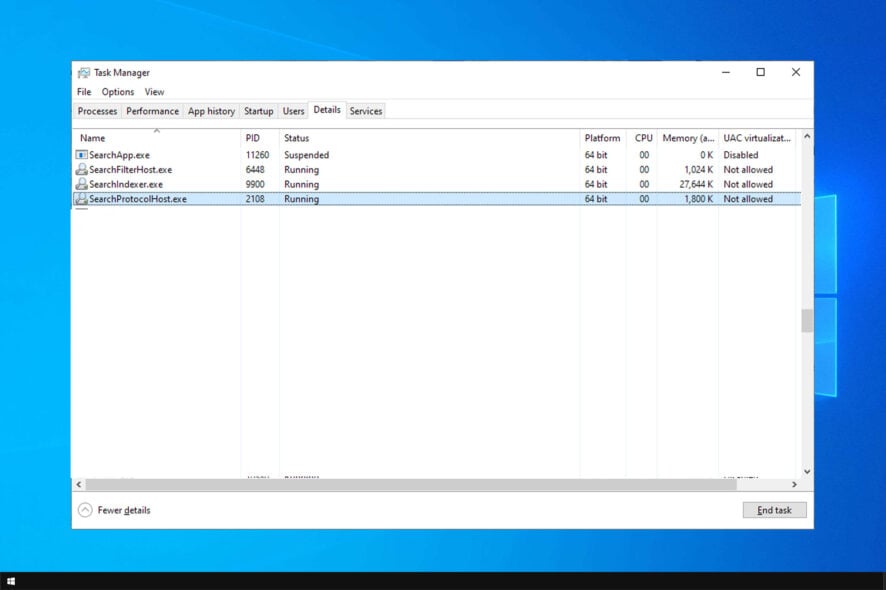
Some users have reported to the Microsoft forums that they’re getting Search protocol host process failed very often.
This can be a problem, and it can even cause File Explorer search to stop working, so it’s important to fix it as soon as you can, and this guide will show you how to do that.
What is the search protocol host process?
- This process is a core Windows process used by Windows Search Indexer.
- Windows uses it to perform searches and render search results.
What can I do if Search Protocol Host process has failed?
1. Check if Windows Search service is enabled
- Go to Search and type administrative tools.
- Open Administrative Tools, and go to Services.
- Find Windows Search service and check if it’s enabled.
- If the service is not enabled, right click on it and choose Start.
Restarting this service can also help resolve issues with the searchapp.exe process if it’s consuming excessive system resources.
2. Check indexing settings
- Go to Search, type control panel, and open Control Panel.
- Go to Indexing options.
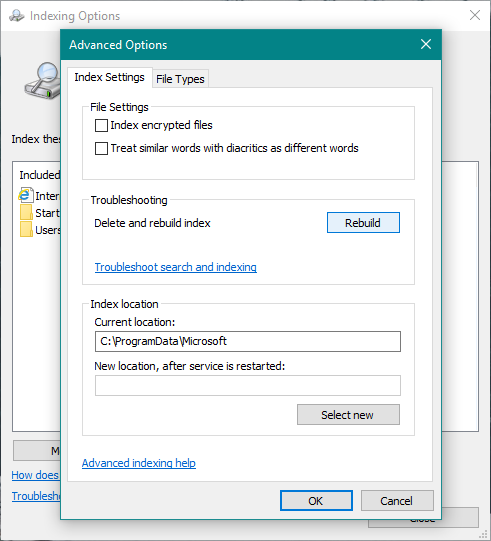
- Click on Advanced tab.
- Click on Rebuild tab, under Troubleshooting section.
Now check if your search works again after rebuilding the index. If you still can’t search your files normally, try some of the following system solutions.
3. Perform a clean boot
- Press Windows key + R and type msconfig.
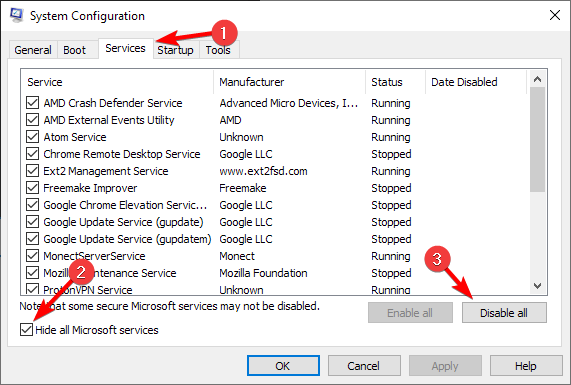
- On the Services tab of the System Configuration dialog box, tap or click to select the Hide all Microsoft services check box, and then tap or click Disable all.
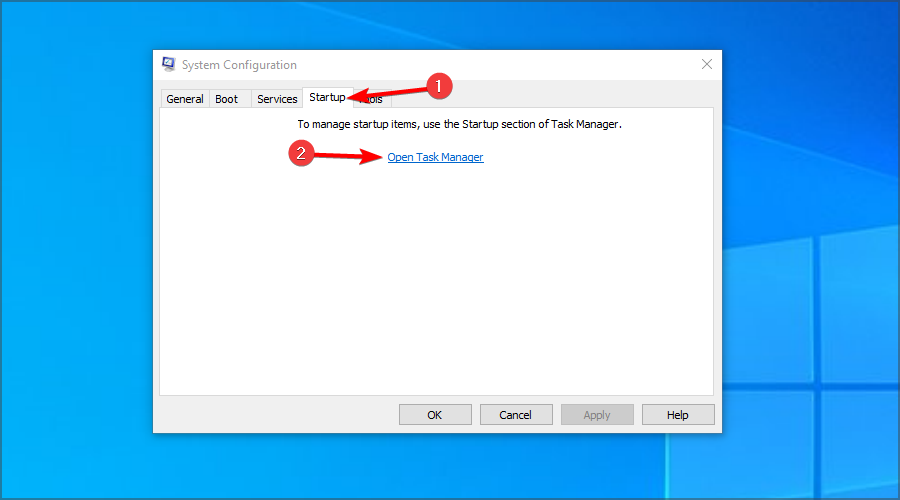
- On the Startup tab of the System Configuration dialog box, tap or click Open Task Manager.
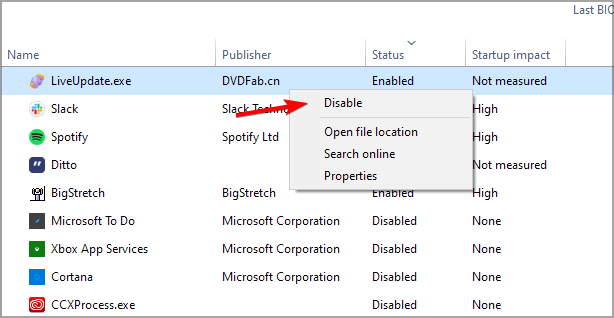
- On the Startup tab in Task Manager, for each startup item, select the item and then click Disable.
- Close Task Manager.
- On the Startup tab of the System Configuration dialog box, tap or click OK, and then restart the computer.
4. Use System File Checker Tool to repair damaged files
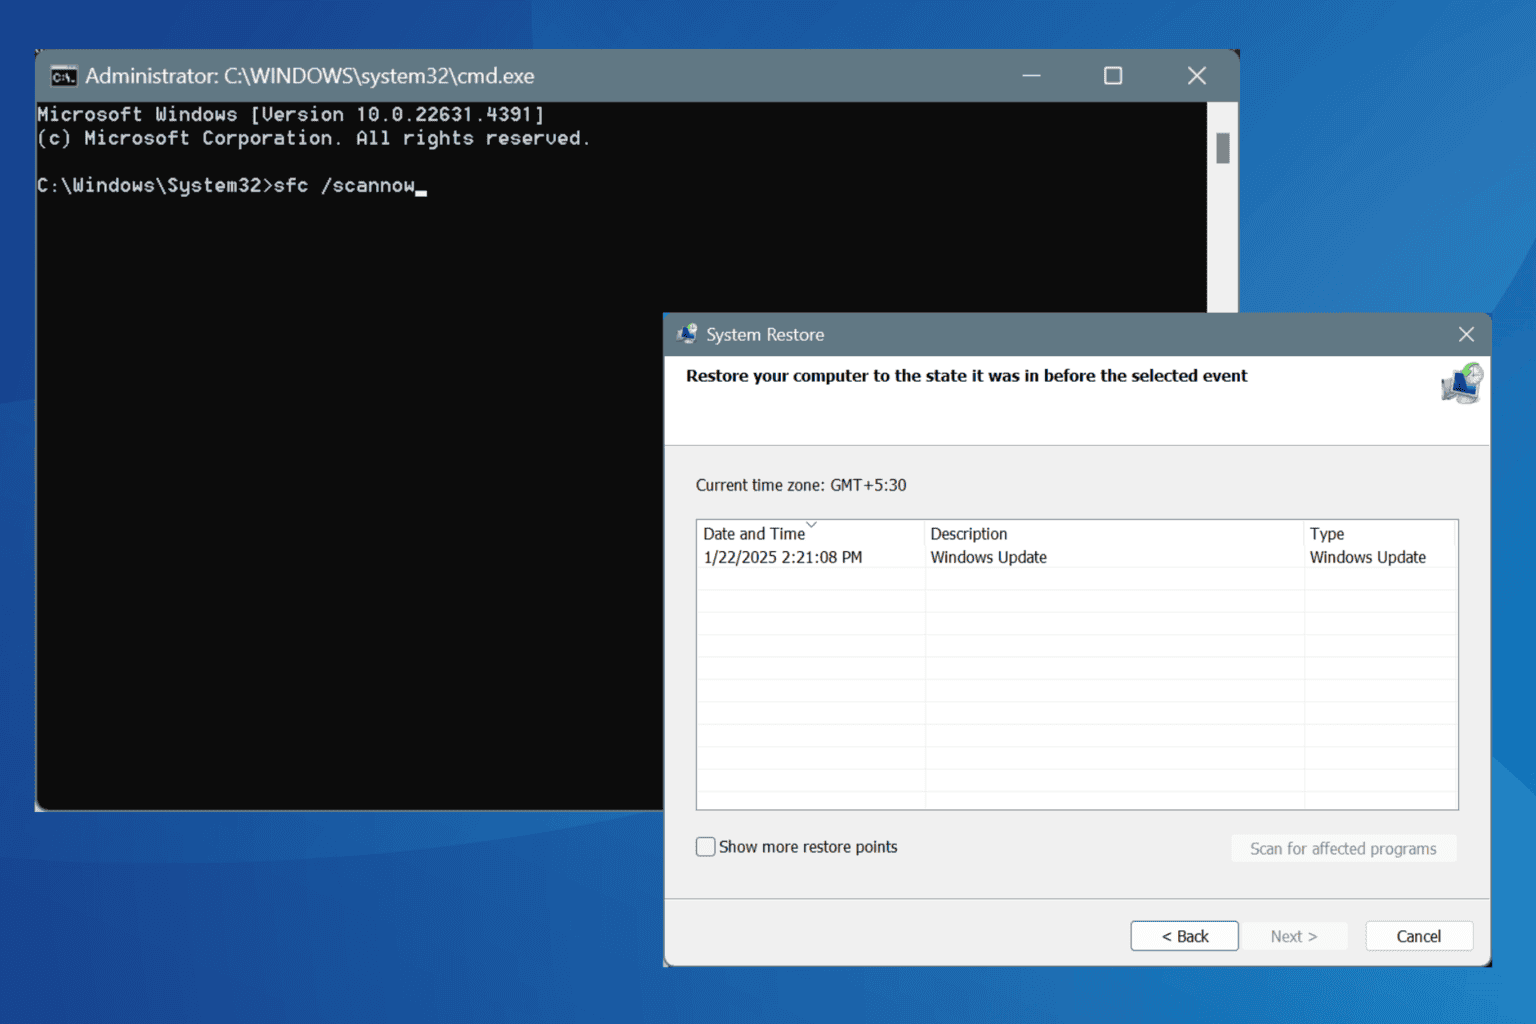
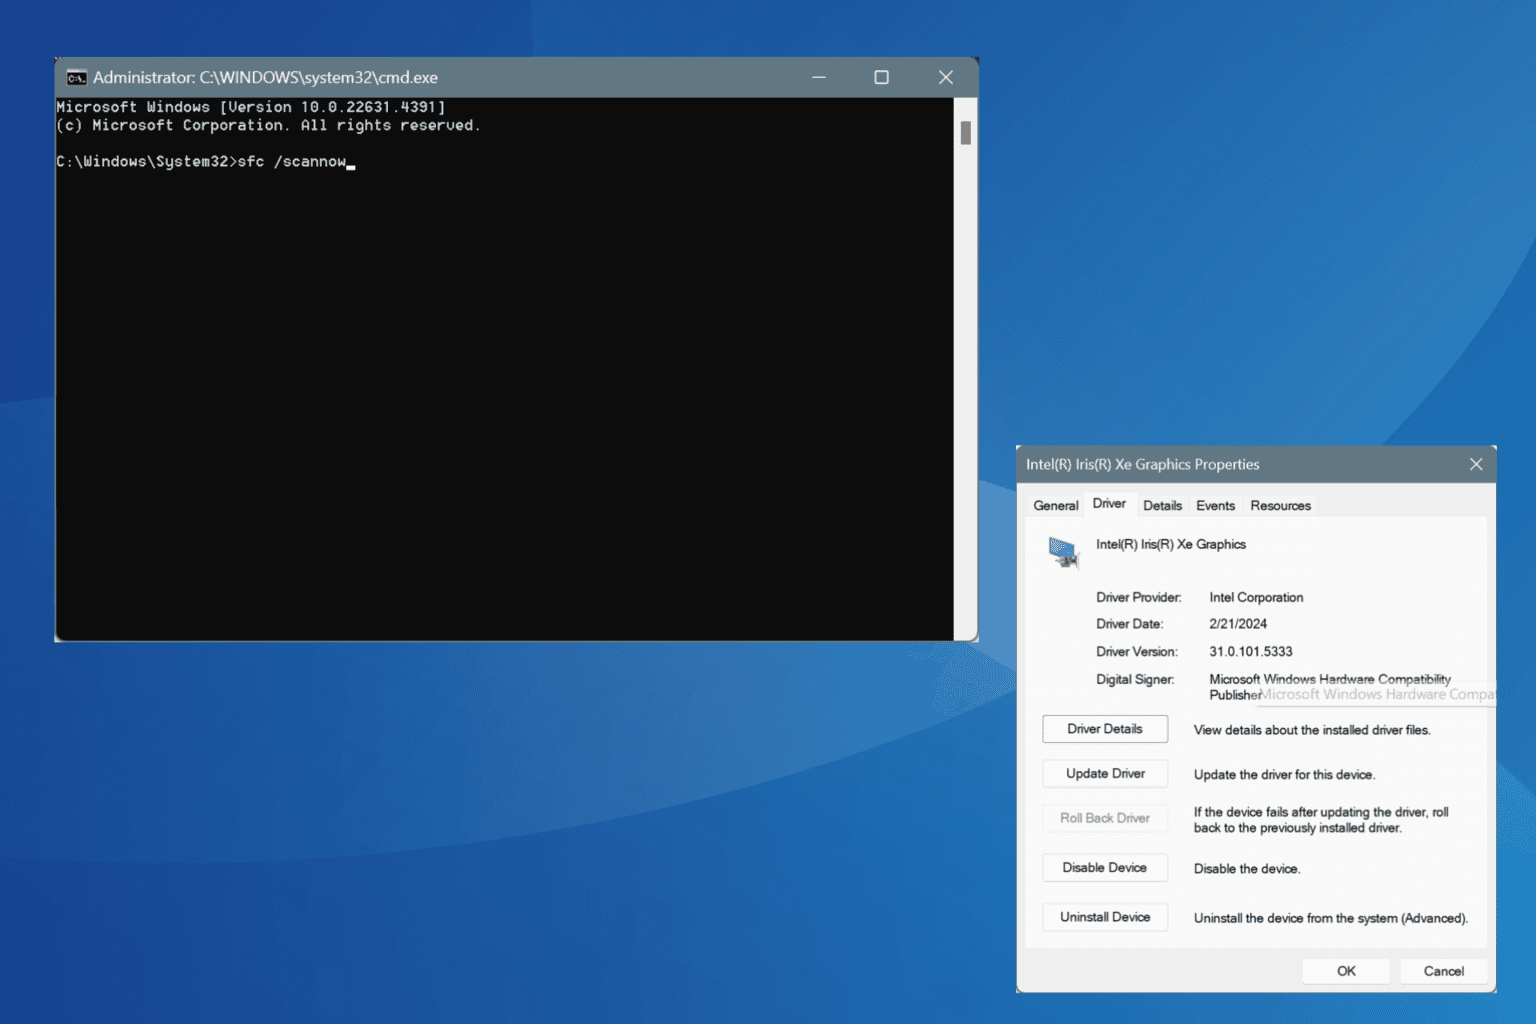
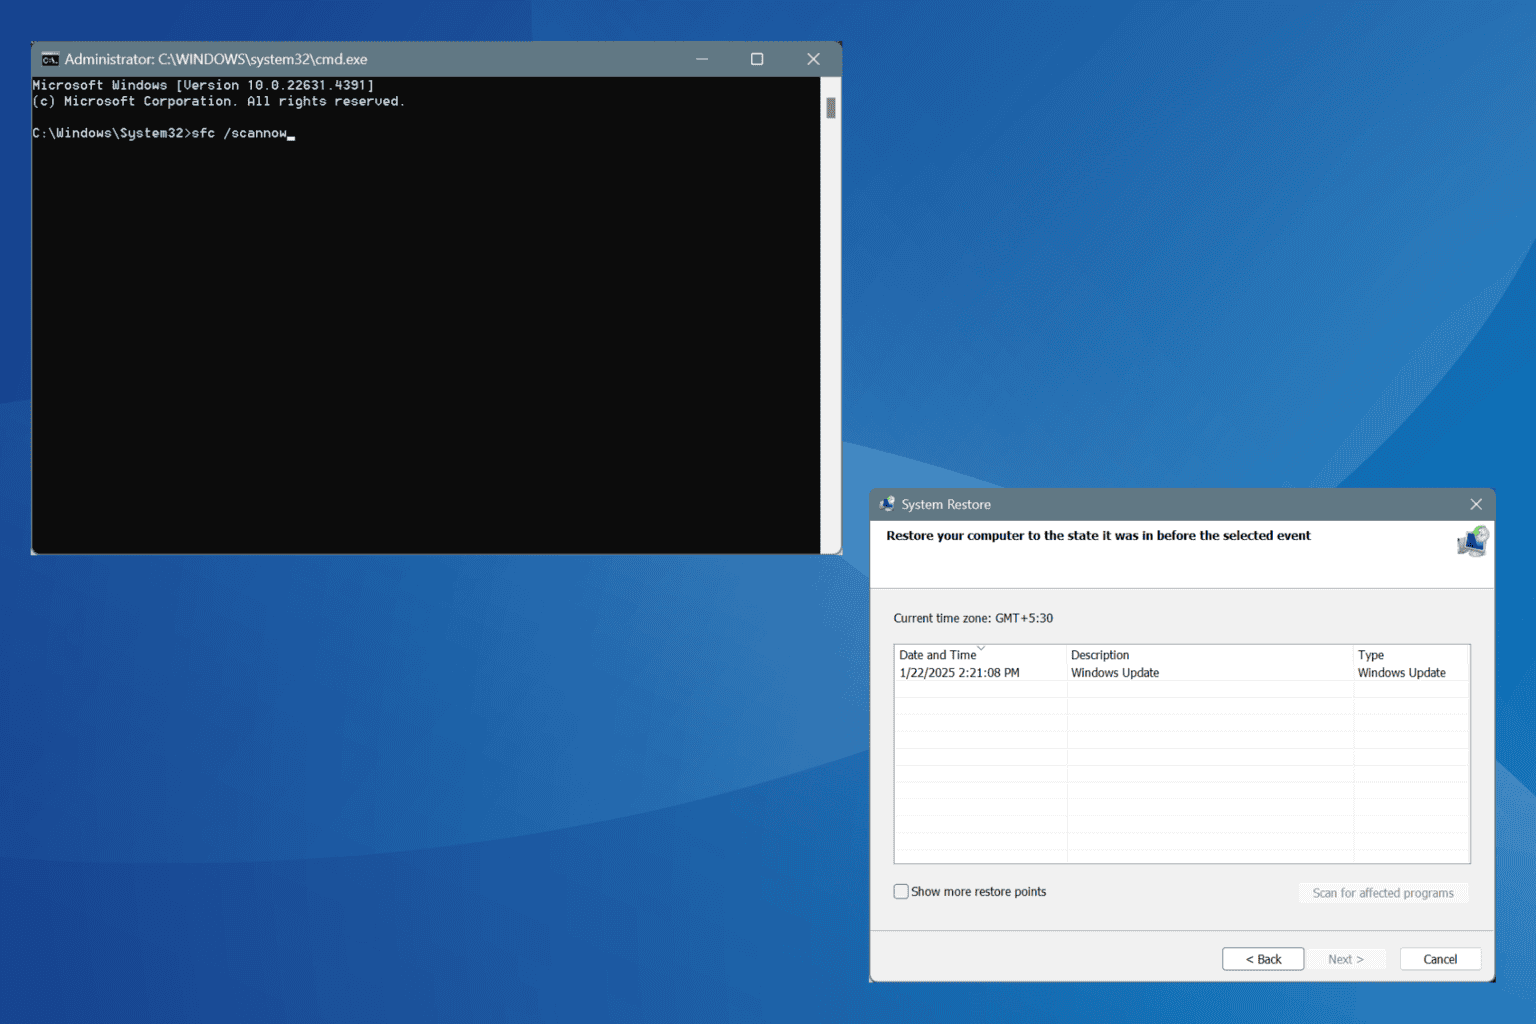
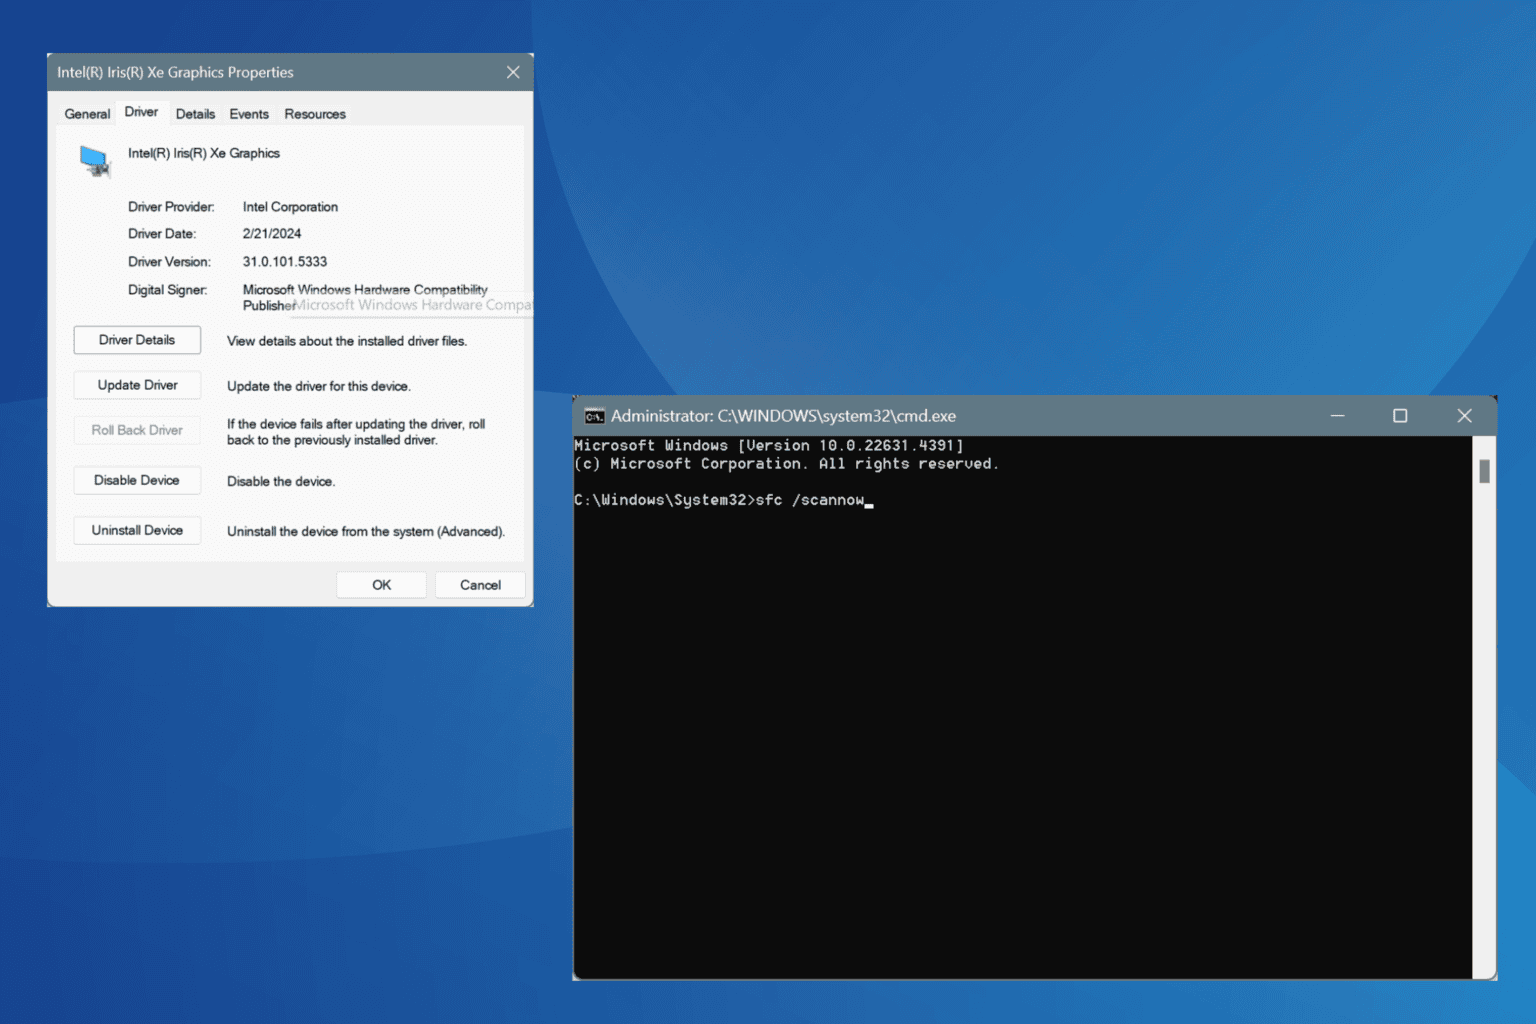
- Go to Search, type cmd in the Search box, and then right-click on Command Prompt.
- Click on Run as administrator. (If you are prompted for an administrator password or for a confirmation, type the password, or click Allow).
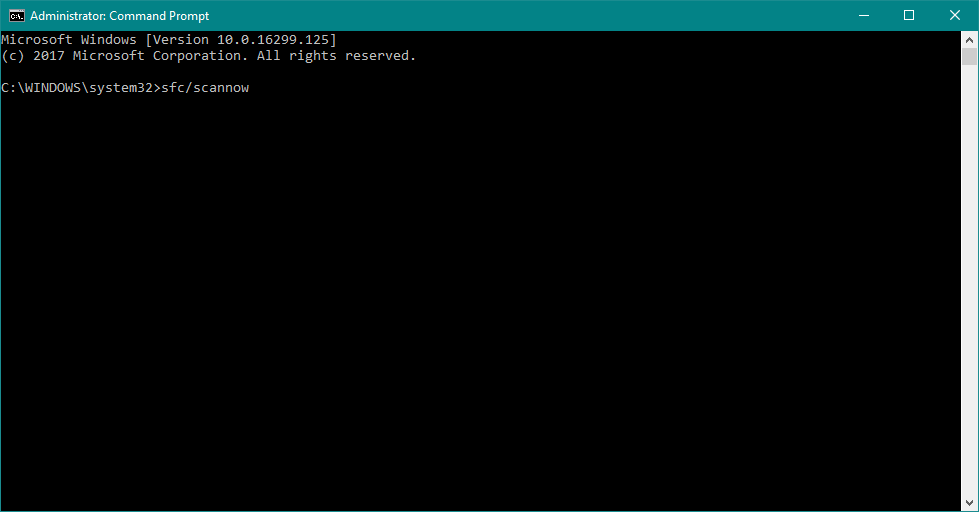
- At the Command Prompt, type the following command, and then press Enter:
sfc /scannow - Wait for the scan to complete.
After doing that, check if the problem is gone.
5. Perform Disk Cleanup
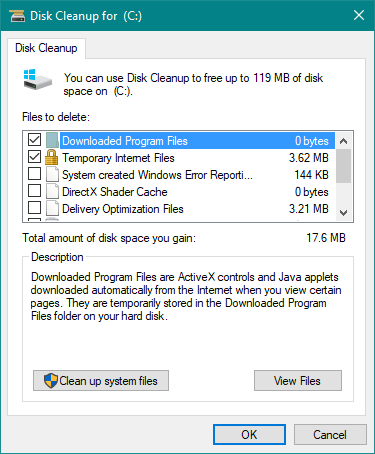
- Go to Search, type disk cleanup, and choose Disk Cleanup from the list of results.
- Select your Windows 10 hard drive, by default it should be C. Click OK.
- Disk Cleanup will scan your computer. When the scan is completed, make sure that the Temporary files option is checked on the Files to delete list.
- Click OK to clean your disk.
To learn more, we have a great guide on how to use Disk Cleanup, so be sure to check it out.
6. Run DISM
- Go to Search, type cmd, and open Command Prompt as Administrator.
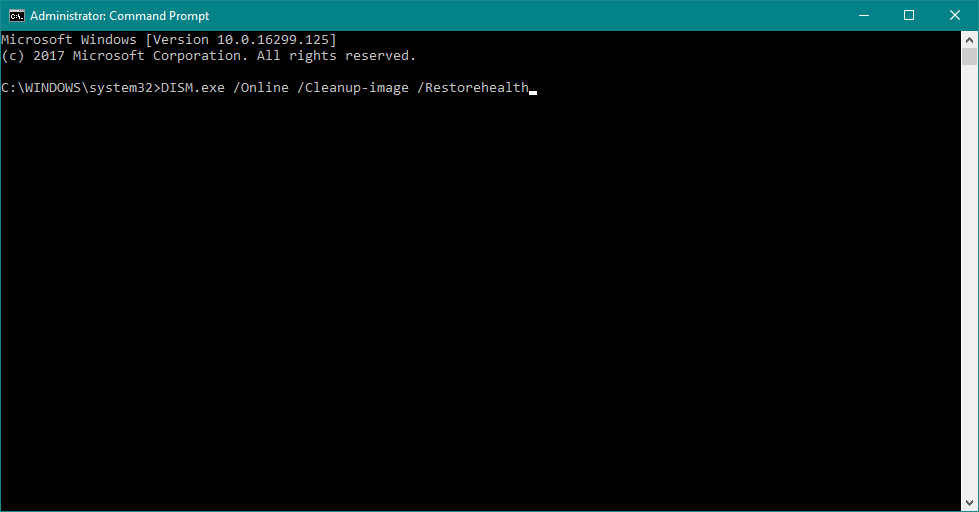
- Enter the following command on the command line:
DISM.exe /Online /Cleanup-image /Restorehealth - In case the DISM can’t obtain files online, try using your installation USB or DVD. Insert media and type following command:
DISM.exe /Online /Cleanup-Image /RestoreHealth /Source:C:Repair/Source/Windows /LimitAccess
Make sure to replace the following with the path to your installation mediaC:Repair/Source/Windows
Performing one of these four solutions should solve your problem with the Windows Search service.
But, if you’re still getting the Search Protocol Host processes failed message, try reading out Quick Search not working guide for more solutions.
What method did you use to fix this error? Use the comments section below, and let us know.




User forum
0 messages