How to fix corrupt BCD in Windows 10/11
5 min. read
Updated on
Read our disclosure page to find out how can you help Windows Report sustain the editorial team. Read more
Key notes
- The BCD error on Windows 10 will prevent the system from booting, making it get stuck in a loop.
- Using the Command Prompt to rebuild the problematic files will easily fix the issue.
- As a last resort, try the System Restore or reset the operating system to its factory settings.
Computers and laptops are a staple in today’s digitalized world. They are necessary for work, school, and even during our own free time.
We store sensitive data on our PCs, and we can’t afford for it to get lost or their system to get compromised.
Unfortunately, Windows errors are quite frequent, and many can lead to serious problems with the operating system or the PC’s components.
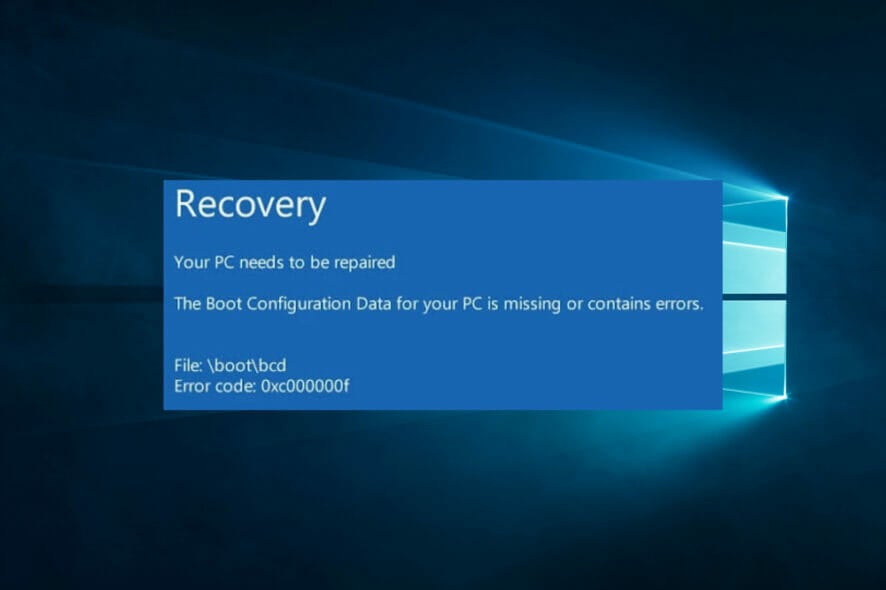
One of them is called the BCD (also known as Boot Configuration Data). As its name suggests, the problem will prevent the system from booting.
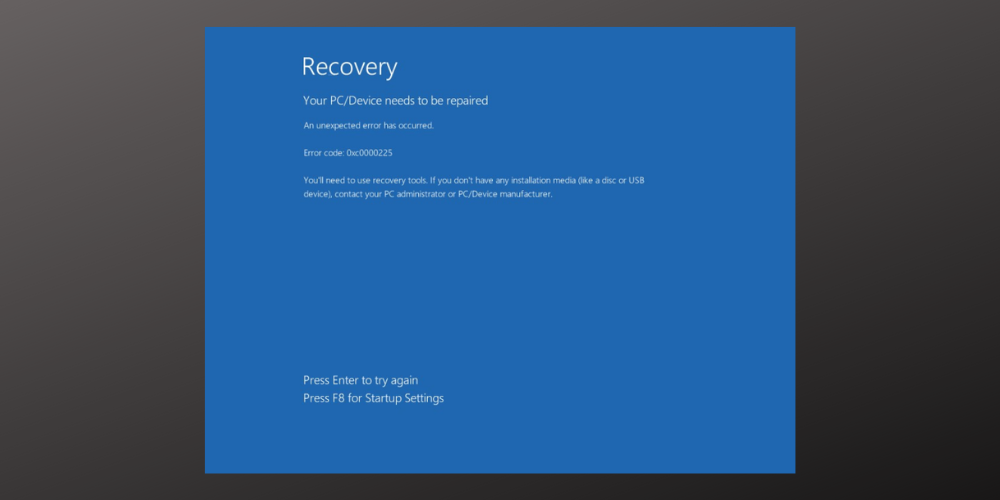
Seeing messages like BOOTMGR is missing or similar during the booting process indicates that there is a problem with the BCD that needs to be solved immediately.
Rebuilding the corrupted Boot Configuration Data isn’t the hardest of tasks if you know where to look. If the BCD is missing or got corrupted, your PC won’t boot into the system.
Why does the corrupted BCD error occur?
This error can happen for various reasons, but it mostly points towards an installation problem (where you’ve probably deleted the BCD) or the possible failure of an HDD drive.
If the latter is the problem, rebuilding BCD won’t do you too much. However, if it occurred due to a software error, or because the data bugged out while it was being read by the PC, rebuilding BCD is the sure fix.
Another cause could be hardware. The data can get corrupt when you change one of your PCs components. These are not all of them. There are many other BSOD causes out there.
How do I fix corrupt BCD on Windows 10?
1. Rebuild the BCD
1.1. Create a bootable drive
- Download the Media Creation Tool.
- Plug in the compatible USB flash drive with at least 16GB of free storage space.
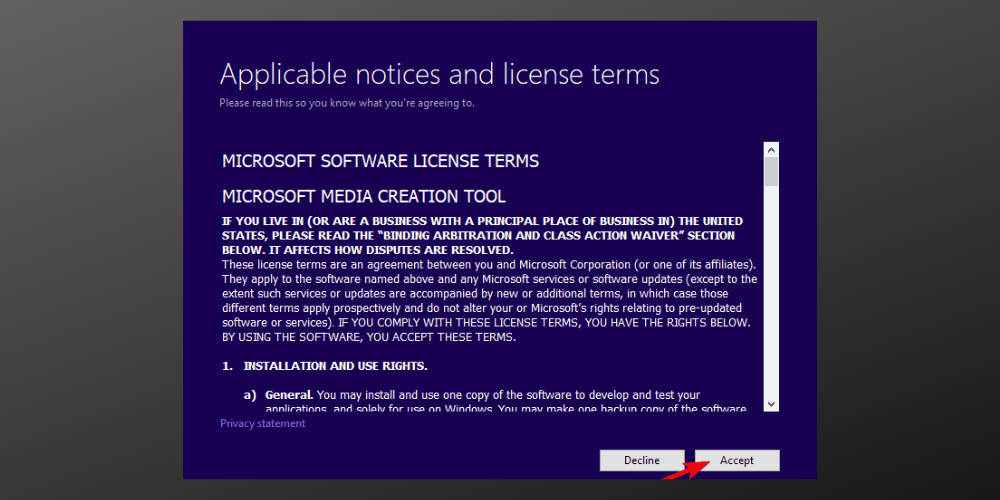
- Run Media Creation Tool and accept the License Terms.
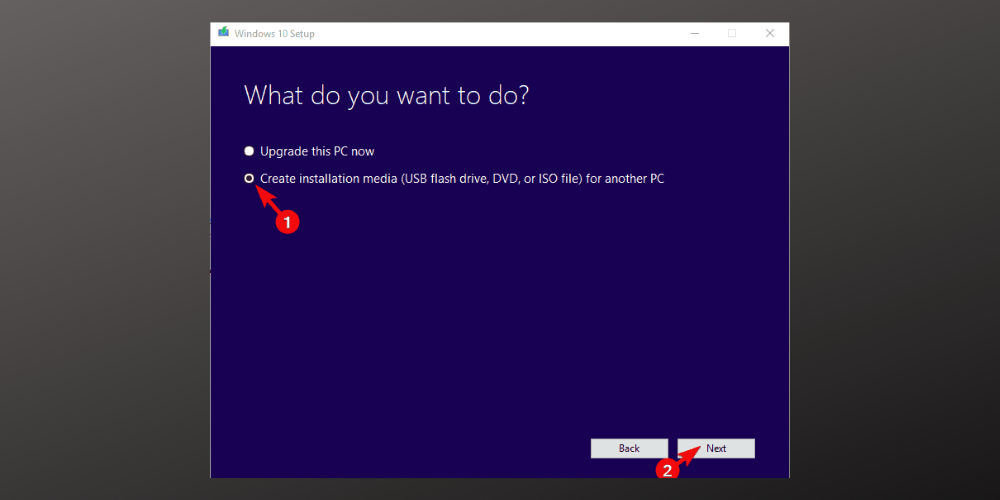
- Select Create installation media (USB flash drive, DVD, or ISO file) for another PC.
- Choose the preferred language, architecture, and edition and click Next.
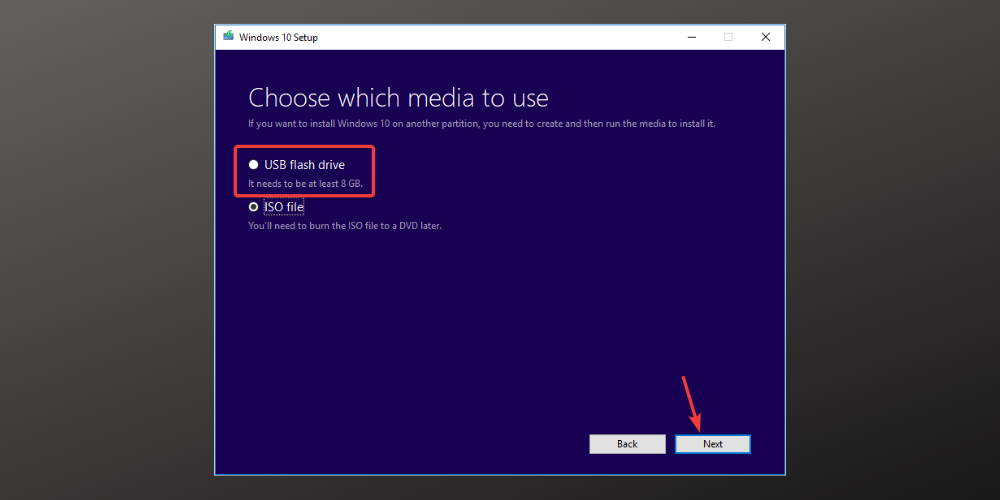
- Choose a USB flash drive and click Next.
- Wait until everything is done.
Now, before we move to the rebuilding procedure, let’s prepare all the things you’ll need to fix the BCD in Windows 10. The first thing is a bootable installation drive, which you can create with ease by using Media Creation Tool.
If you’re having trouble with the process, you can fix all issues regarding the bootable USB flash drive.
1.2. Boot with USB
- Insert the USB boot media in one of the available ports.
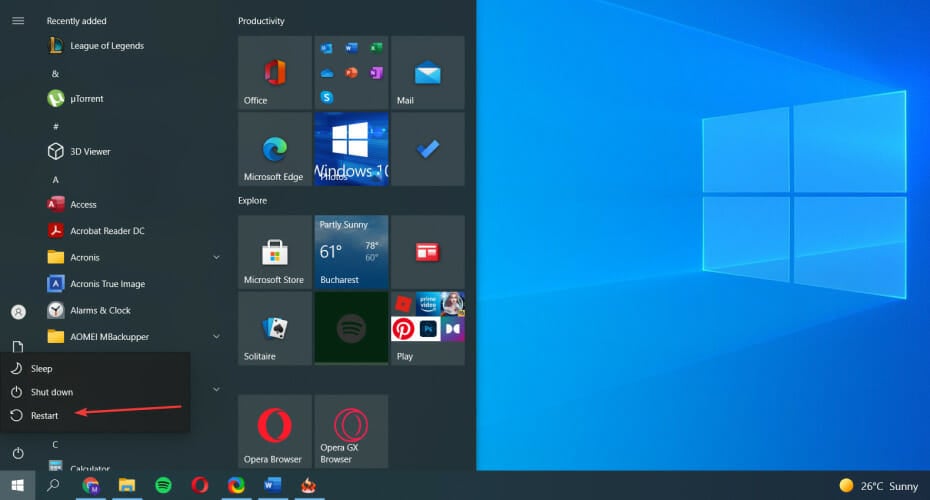
- Press the Windows key, right-click on the Power button, and click Restart.
- Depending on your motherboard’s manufacturer, you will see a message about pressing a certain key during the initial boot of the system. Press it until you enter the BIOS.
- Select the Boot tab.
- Then, select Hard Disk Drives.
- Next, choose 1st Driver and hit Enter.
- Select your USB from the list that appeared on the screen.
- Save the configuration changes and press OK.
1.3. Rebuild BCD
- With your USB flash drive connected to the PC, press the Windows key, and select the Power button.
- While holding Shift, click Restart.
- You can also restart it by pressing the physical button if you have one.
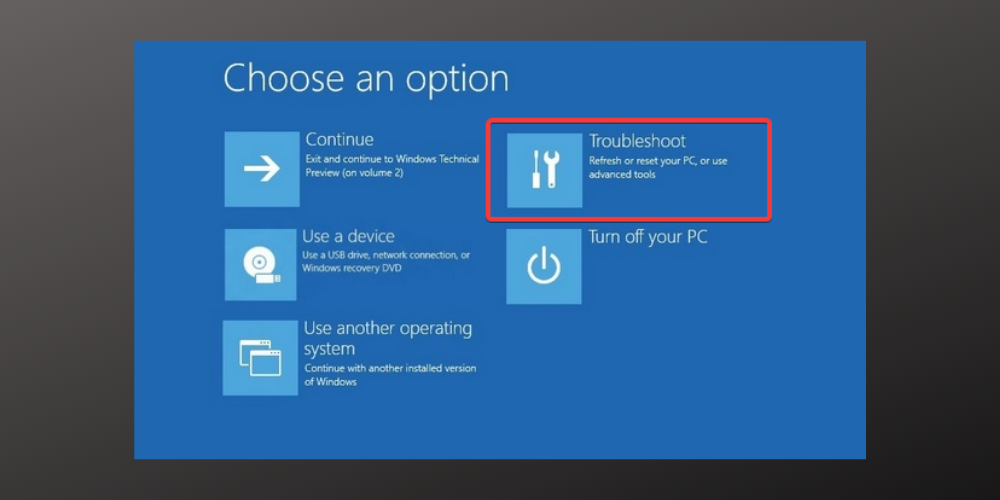
- After the PC reboots, you’ll see the Choose an option.
- Select Troubleshoot.
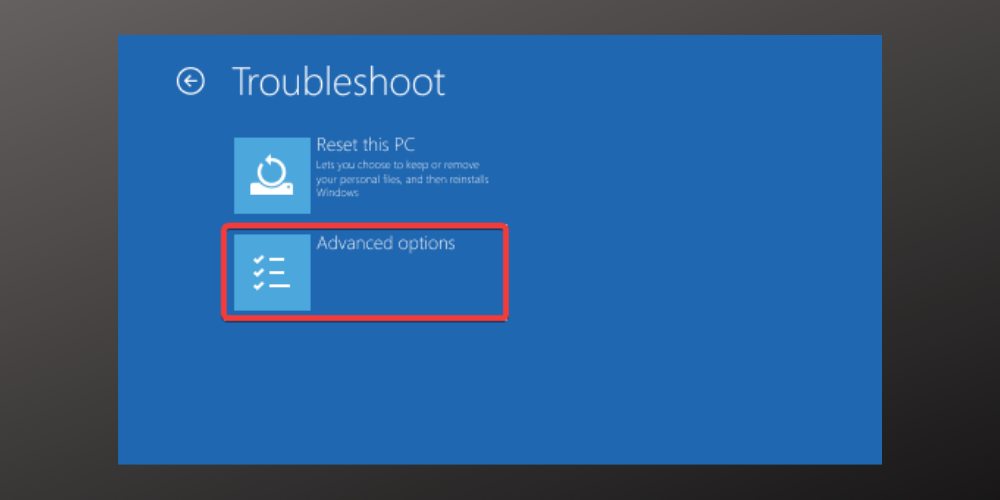
- Then, choose Advanced options.
- Next, select Command Prompt.
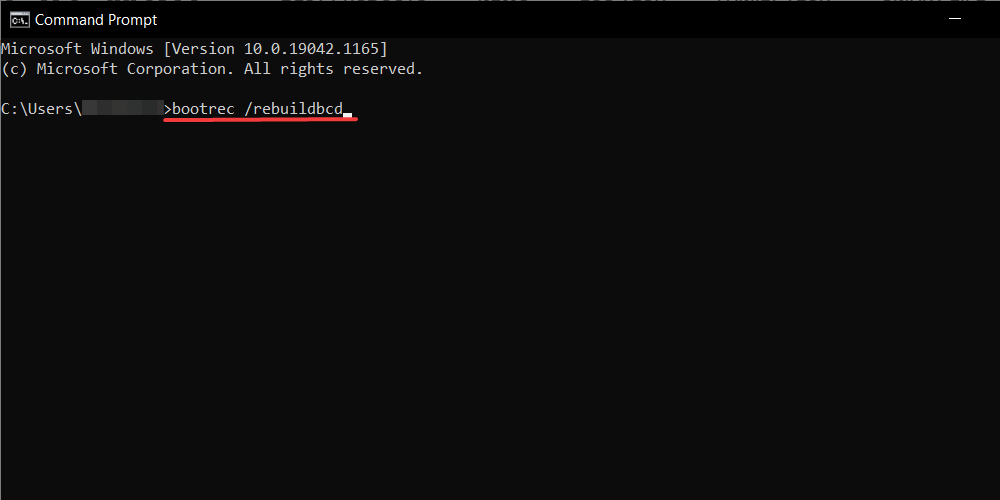
- Now, type in the following command in the CMD window and press Enter:
bootrec /rebuildbcd - Now, there are two things that can happen:
- If you see this message:
execute the following commands, pressing Enter after each one:
attrib c:\boot\bcd -h -r -sren c:\boot\bcd bcd.oldbootrec /rebuildbcd - If you see this message instead, restart your computer:
2. Reset Windows
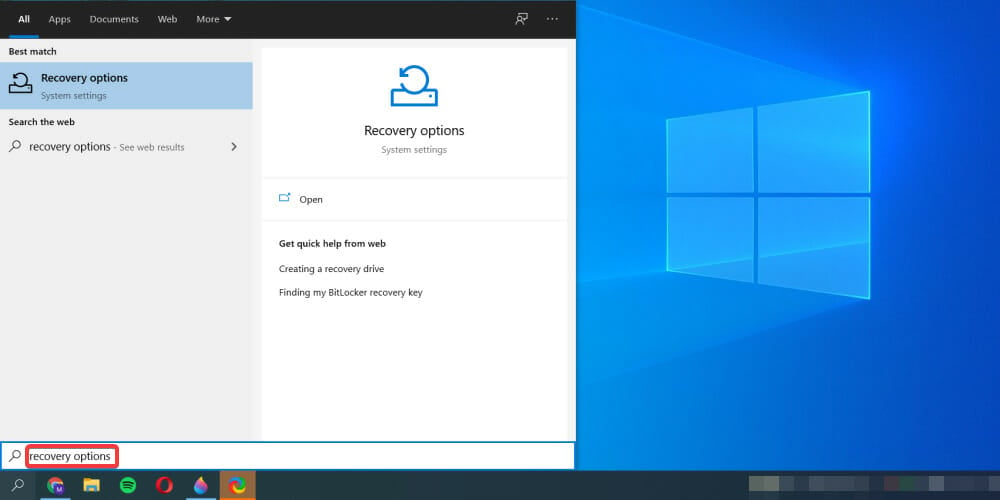
- Press the Windows Key + S and type in Recovery options.
- In the following Window, select Get Started.
- Choose Keep my files.
- Next, wait for the process to complete.
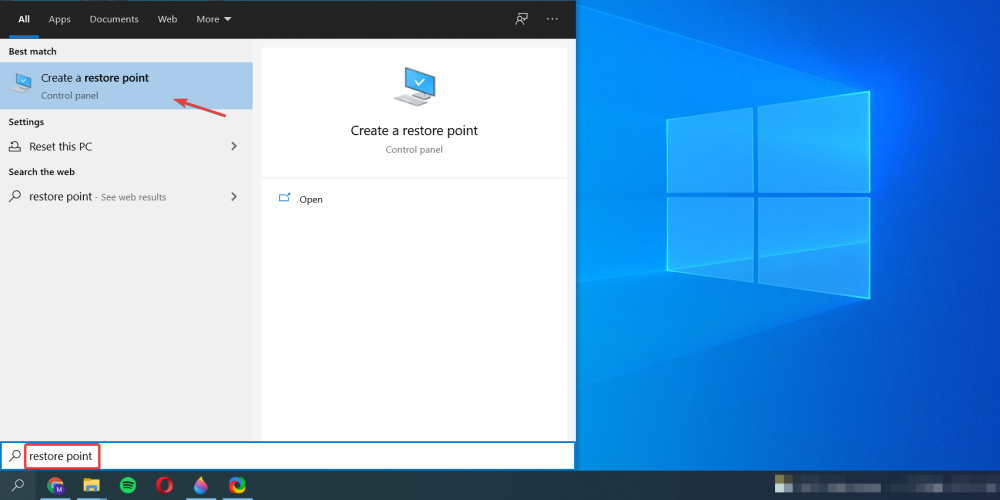
3. Perform a System Restore
Is the BCD a type of BSOD error?
Yes, it is. Since it technically causes the device to crash before it starts, it is a type of blue screen error. As such, it should be considered problematic and fixed as soon as possible.
Additionally, a BSOD that is tied to the system startup will create a never-ending loop of crashing where your system crashes, tries to restart, and crashes again.
The BCD error could also make the booting process take too long. You will have to wait minutes instead of seconds, just to enter the Windows Startup.
How can I prevent such errors from occuring?
In order to prevent BSOD errors from occurring, one has to keep his system clean and sheltered from malicious software that can corrupt the data.
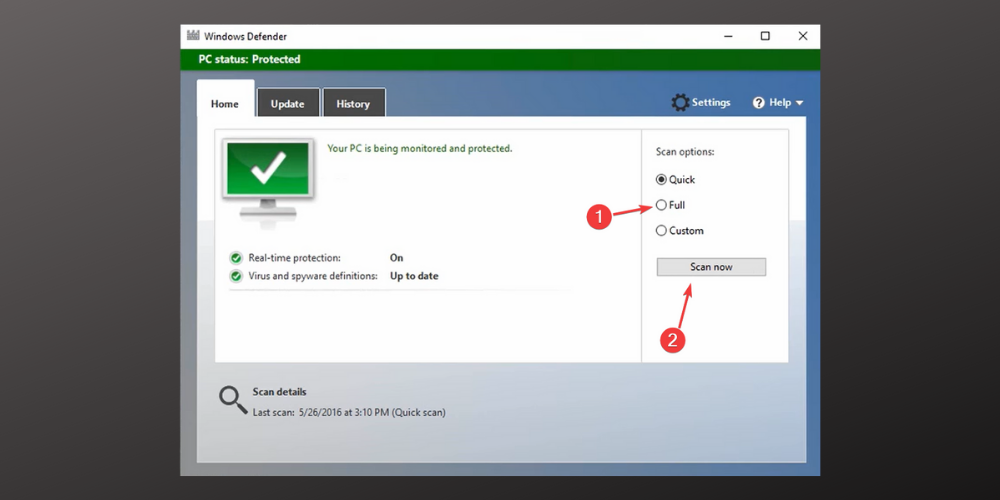
Run regular full scans of your OS to make sure it hasn’t been infected by viruses. Here’s how you can do that:
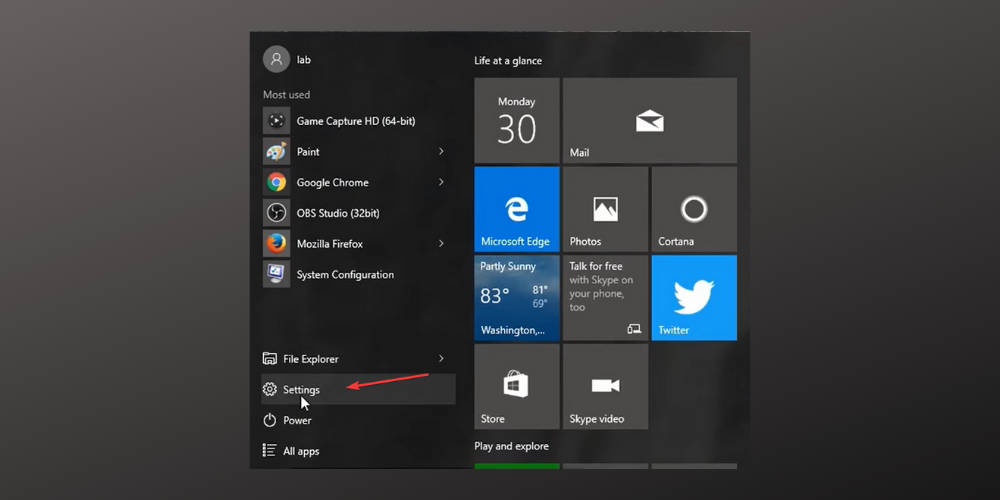
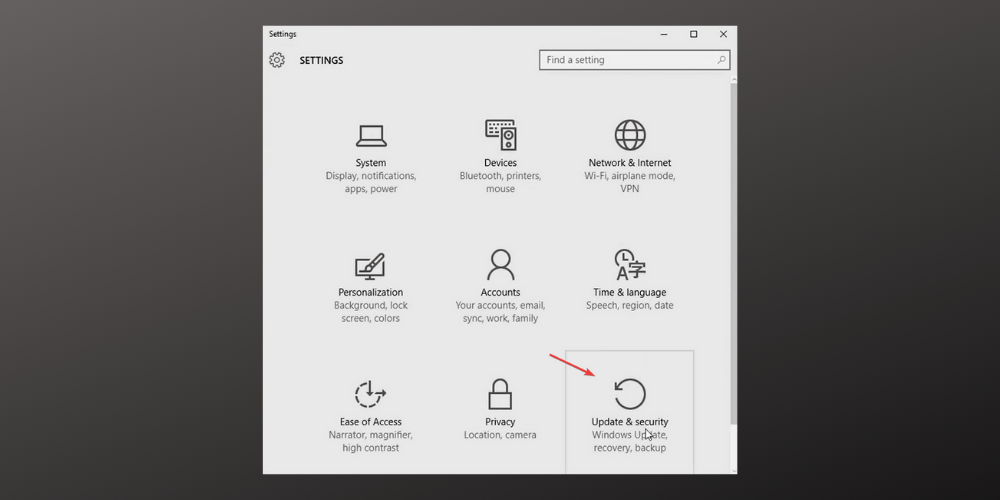
- Press the Windows Key and select Settings.
- Select Update & Settings.
- Then, click on Windows Defender and select Open Windows Defender.
- Next, from the Scan Options, choose Full, then Scan now.
- Now, let the scranning process complete.
Thankfully, there are plenty of ways to remedy this problem. Simply follow them thoroughly and make sure to enter the correct lines in the CMD window and everything will end up fine.
Obviously, things change all the time, and Microsoft keeps coming up with new updates that introduce new systems, so if you think there is another way to fix this issue, don’t hesitate to tell us.
Use the comment section below to share your experience with these methods and point out which one solved the problem.
















User forum
0 messages