Windows 11 Can Only be Installed to GPT Disks [Fix]
Use Diskpart, a command-line tool
3 min. read
Updated on
Read our disclosure page to find out how can you help Windows Report sustain the editorial team. Read more
Key notes
- When Windows can only be installed to GPT disks on your PC, the current partition style is probably MBR.
- Converting the disk to GPT should get things up and running in no time.
- You can use either Diskpart, the command-line tool, or the built-in Disk Management.

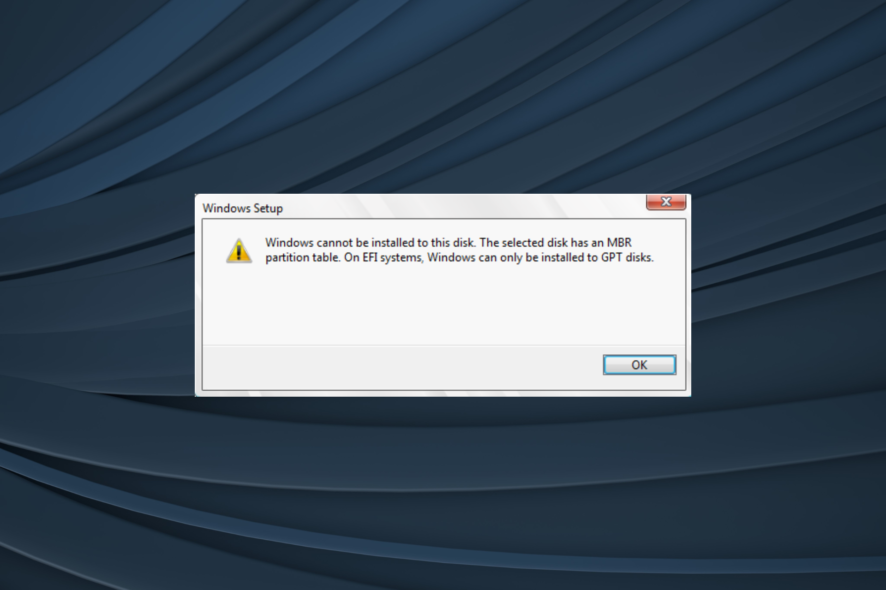
Anyone attempting to install Windows 11 is likely to have come across the message claiming, Windows can only be installed to GPT disks. The issue is quite simple to tackle, and a few quick tweaks are all it would need to set things right here.
For the uninitiated, GPT or GUID Partition Table is, in reality, a partition structure and is the more advanced one. No wonder newer operating systems, such as Windows 11, will only get installed on disks with the GPT partition structure.
What to do if Windows can only be installed to GPT disks?
1. Use Diskpart
- Insert the Windows installation disk or the USB stick if the installation media is in a USB drive.
- Reboot your PC.
- When the Windows 10 installation window appears, press Shift + F10 to launch the Command Prompt window.
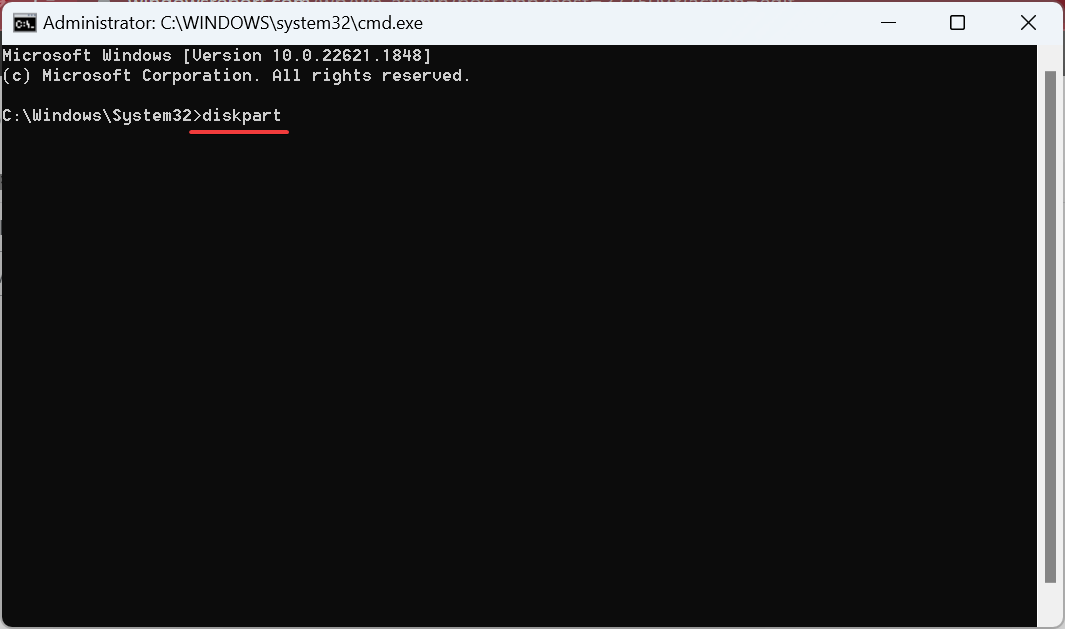
- Type the following command and hit Enter:
diskpart - Execute the following command to view the available disks, their size, and partition style:
list disk - Identify the non-GPT disk that you will now have to reformat. Reformatting will remove all files from it, so you might want to back them up beforehand.
- Run the following command where X represents the number allotted to the affected disk:
select disk X - Paste the following command and hit Enter:
clean - Run this command:
convert gpt - Close Command Prompt and continue with Windows installation. When asked to identify the disk where you wish to install Windows 10, select the one you have just formatted to GPT.
When Windows 11 can only be installed to GPT disks, a quick fix is to rely on DISKPART, a built-in tool, to change the disk partition style to GPT.
2. Use Disk Management
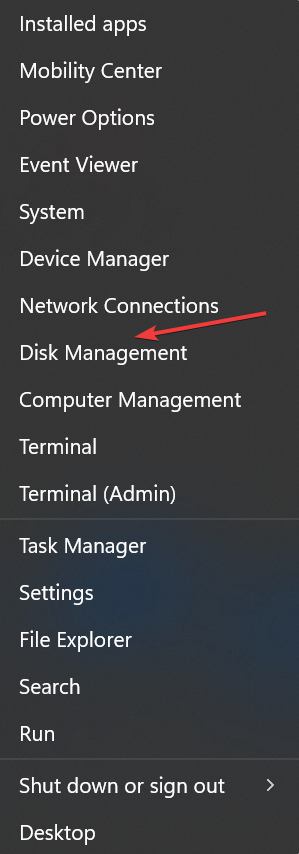
- Press Windows + X to open the Power User menu, and select Disk Management.
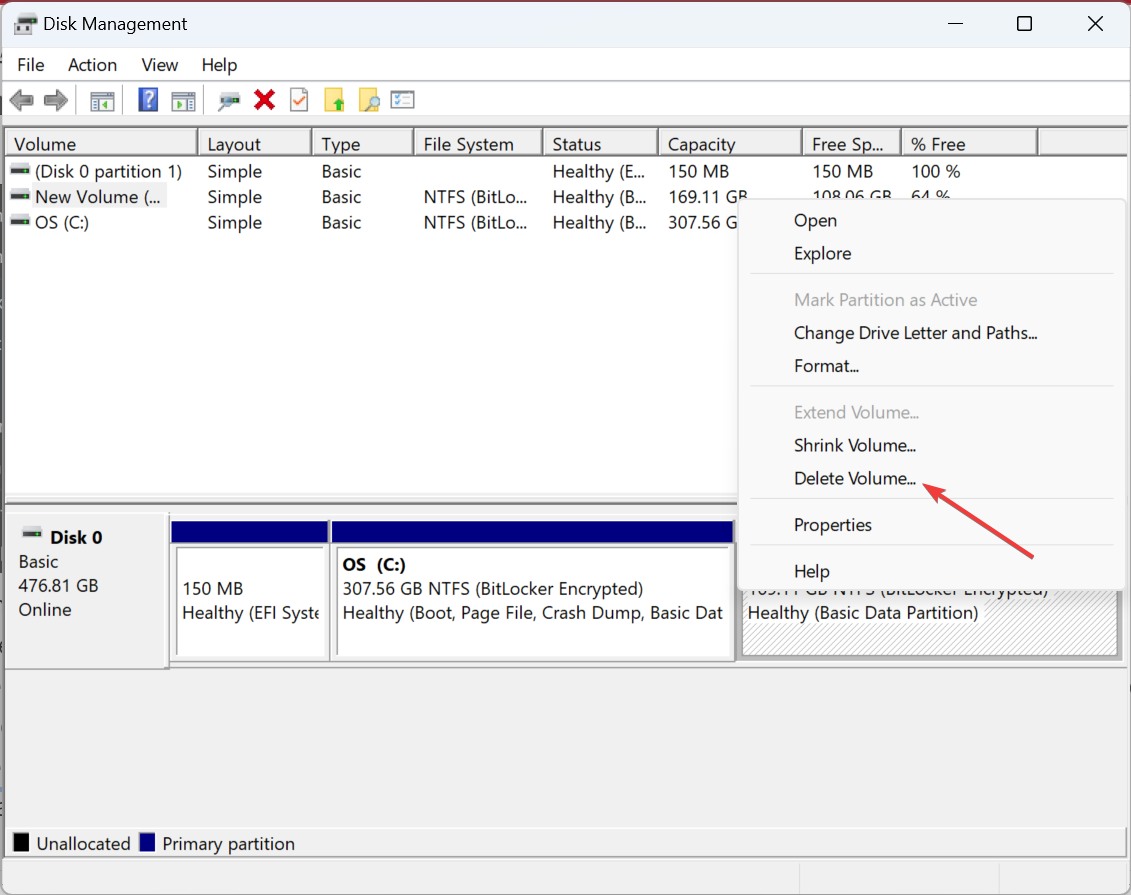
- Right-click on the partition and select Delete partition or Delete Volume.
- Repeat this step until you have deleted all partitions on the disk.
- After all, partitions have been deleted, right-click on the disk and choose Convert to GPT Disk. The option to convert to GPT disks becomes available only after all partitions have been deleted.
- After the disk has been converted to GPT, right-click on it and select Create partition. Create a few or as many as you desire.
- Install Windows in the partition of your choice.
That’s it! If Windows can only be installed to GPT disks in Windows 11 or the previous iteration, you may also go with Disk Management to convert the disk to GPT.
And once you have installed the latest iteration, check the best security settings in Windows 11 for a safer experience.
For any queries or to share what worked for you, drop a comment below.


User forum
0 messages