Can't Map Synology Drive on Windows 10? 4 Ways to Fix it
Using File Explorer for the mapping should do
3 min. read
Updated on
Read our disclosure page to find out how can you help Windows Report sustain the editorial team. Read more
Key notes
- If you can't map a Synology drive on Windows 10, it might be because of the wrong settings.
- You can fix this issue quickly by disabling the related optional feature.
A number of Synology users have reported that they can’t map the drive on Windows 10. This issue can be highly annoying, as it varies in how it is expressed.
In some cases, the Synology assistant maps the drive for a limited amount of time, and then the entire setup goes back to default settings, and in other cases, the changes aren’t applied at all. Or you may even find that the NAS drive is not showing under Network.
For these reasons, in today’s article, we will explore some of the best troubleshooting steps you can take to deal with this annoying issue. Please follow the steps in this guide carefully to avoid causing other issues.
What can I do if I can’t map Synology drive on Windows 10?
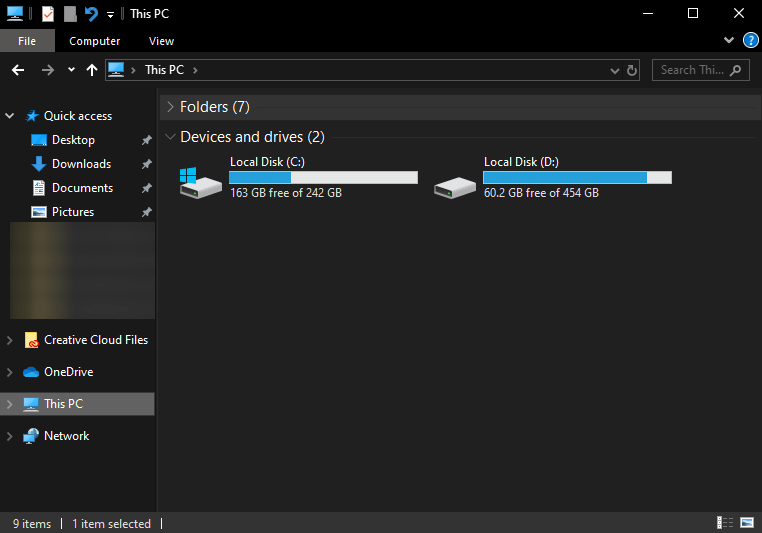
1. Use File Explorer
Even though this might sound too easy to be true, some users have used this workaround to map their drives. The issue mentioned above seems to be caused by a conflict between the architecture of Synology and the Windows 10 drives.
Depending on how evolved the problem is, Synology might not be able to map your drives entirely, or if it does, it will be only temporary. To avoid this, you can use Windows 10 File Explorer to map your drive/drives.
You can log into your account with the current account name and password.
2. Turn off password-protected sharing
- Press Windows + X keys on your keyboard -> choose Settings from the menu.
- Inside the Settings window -> select Network & Internet -> click on Status.
- Scroll to the bottom of the page and click Network and Sharing Center.
- Click the button Change advanced sharing settings.
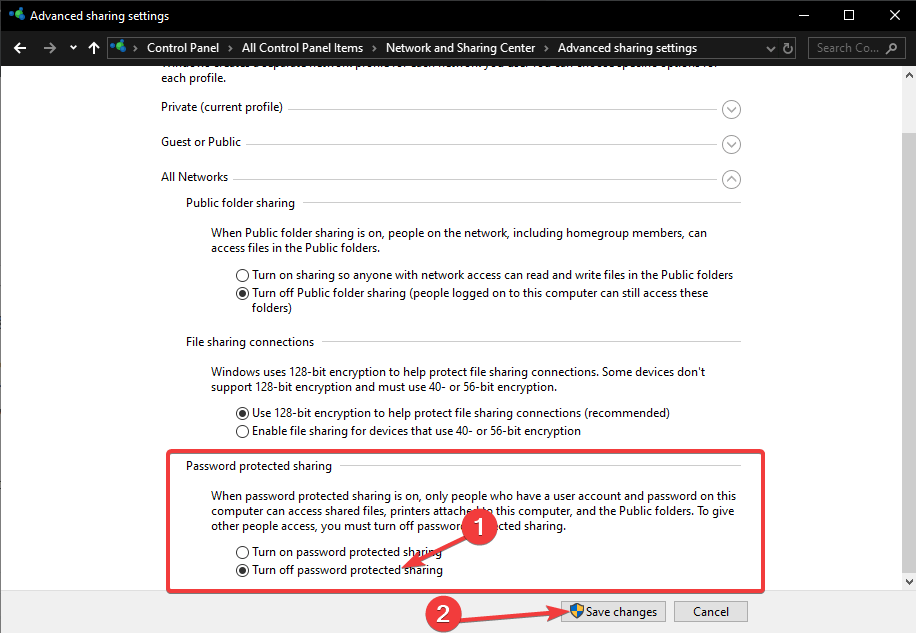
- Expand All Networks.
- Under the Password protected sharing section -> choose Turn off password protected sharing.
- Select Save changes.
3. Deactivate optional features inside
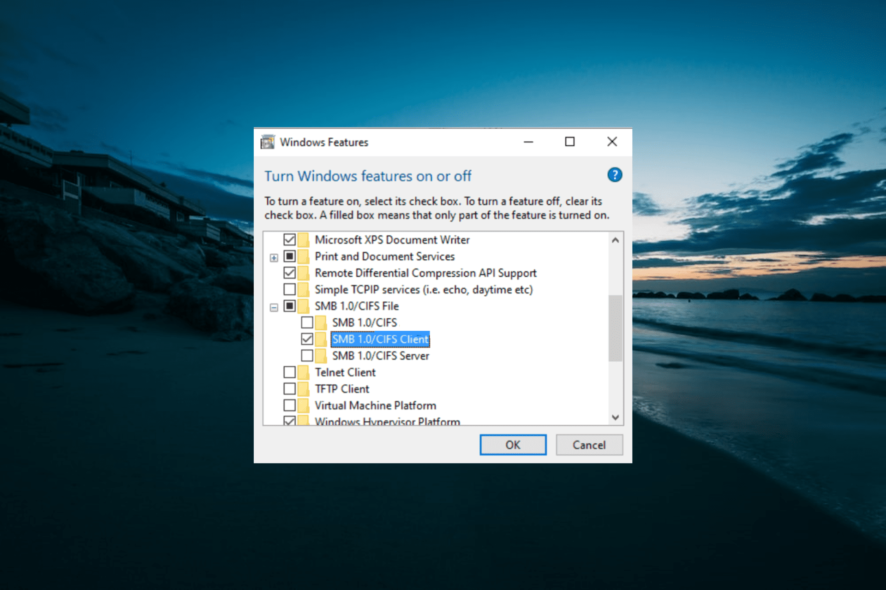
- Press Windows + R keys on your keyboard -> type optionalfeatures.exe -> press Enter.
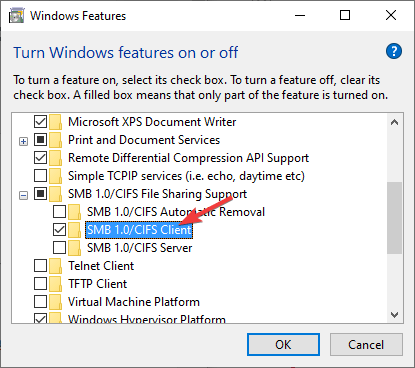
- Scroll down to SMB 1.0/CIFS File Sharing Support -> click the + sign to activate the drop-down menu.
- Tick the box next to SMB 1.0/CIFS Client.
- Untick the boxes for both SMB 1.0/CIFS Automatic Removal and also SMB 1.0/CIFS Server.
- Click the Ok button and restart if prompted to do so.
This should fix the Synology map network drive on Windows 10 not working issue.
4. Modify settings inside Synology
- Navigate to Settings -> enable SMB Service.
- Inside the Advanced settings tab -> choose Protocol SMB3.
- Disable the option Transport Encryption to prevent slow data transfer.
- Enable the option Opp Locking.
- Disable Press the Win+X keys on your keyboard -> select PowerShell (Admin) -> type the command below:
REG ADD HKLM\SOFTWARE\Policies\Microsoft\PassportForWork /v Enabled /t REG_DWORD /d 0 /f - Press Enter to run the command.
- After the process is completed, restart your PC.
If you can’t map your Synology drive on Windows 10, the solutions in this guide should help you fix it for good. Similarly, if you want to know how to map network drives over VPN, check our detailed guide for the steps to follow.
We would love to know if this guide helped you solve your issue. Please let us know if this article helped you by using the comment section below.


User forum
3 messages