Hyper V Failed to Realize: 3 Ways to Fix it
Make sure you're copying files properly if you get this error
![]() 2 min. read
2 min. read
![]() Updated on
Updated on
Share this article
Improve this guide
Read our disclosure page to find out how can you help Windows Report sustain the editorial team. Read more
Key notes
- If you get Hyper V failed to realize failed to access configuration store error, recreate the VM.
- Make sure that the drive actually exists or try copying the files directly from the host machine.
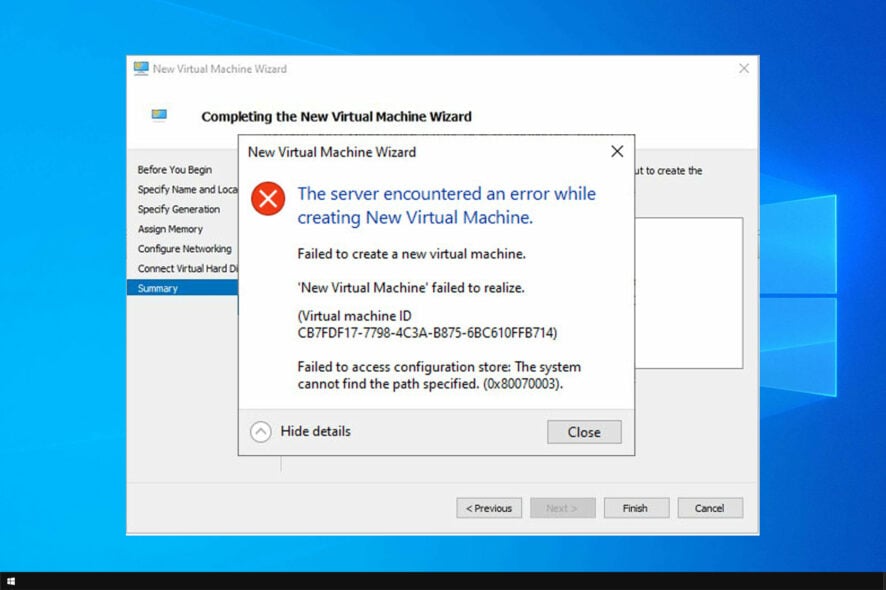
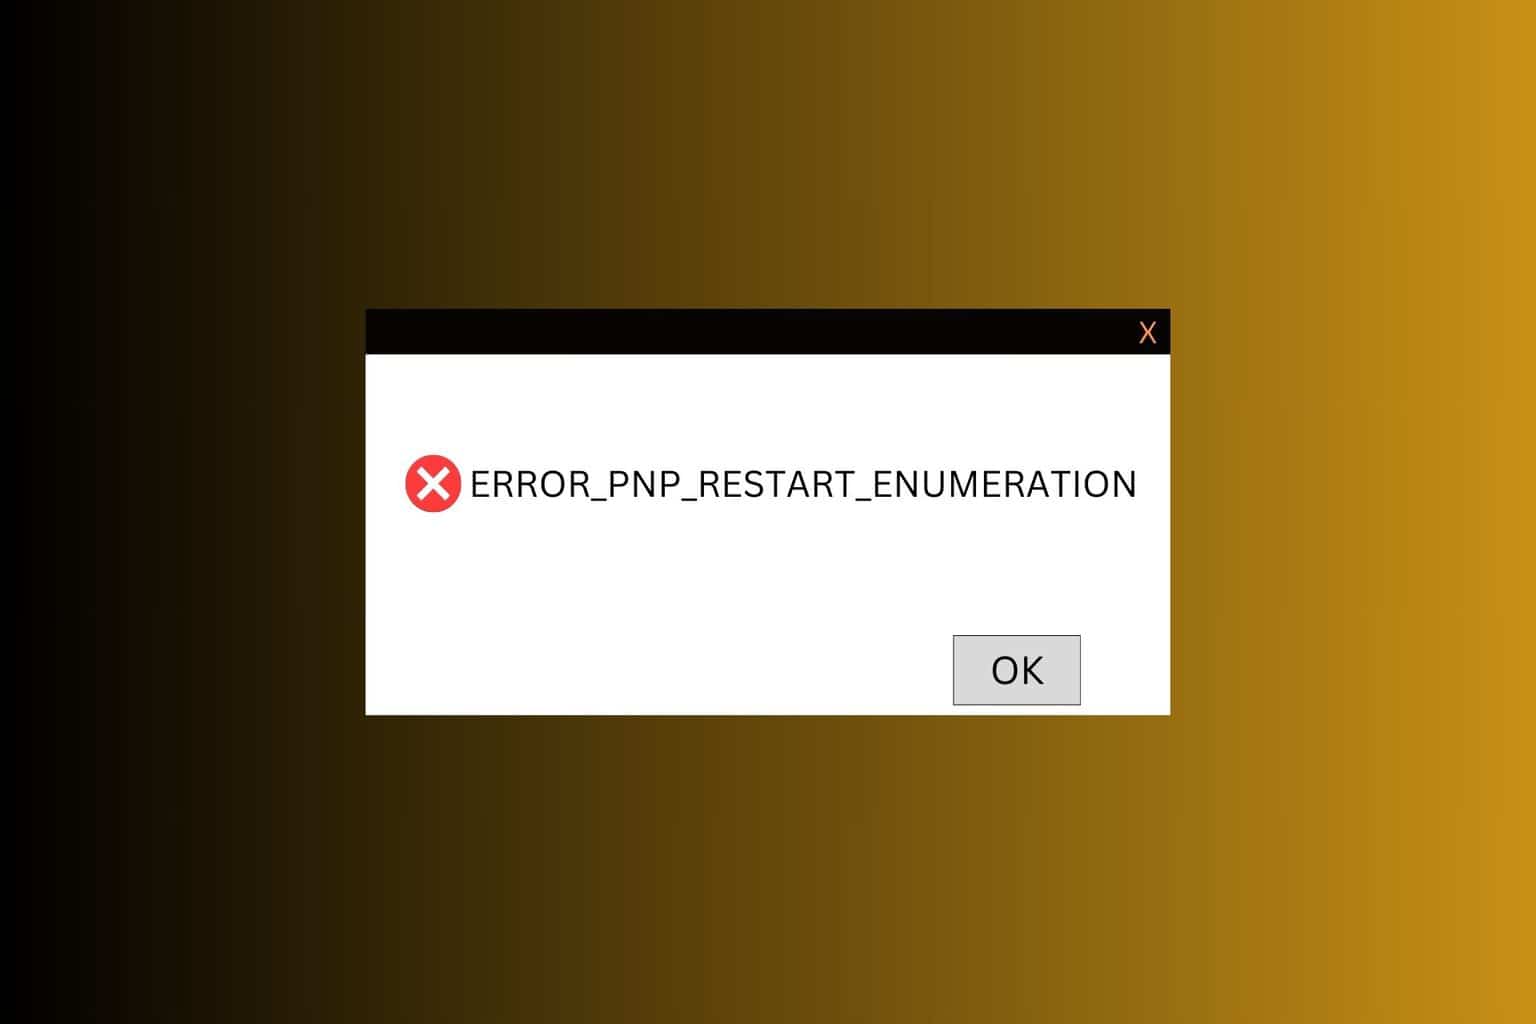
Hyper V failed to realize error will prevent your virtual machine from running, and this can be a serious problem that needs to be addressed as soon as possible.
The issue is similar to the Hypervisor is not running problem that we covered in the past, and in today’s guide, we’re going to show you the best ways to fix the problem.
Why does the Hyper V failed to realize error appear?
- You’re experiencing issues while copying files from a USB drive.
- The directory that you’re copying to isn’t available.
- Issues with your current virtual machine.
How can I fix Hyper V failed to realize error?
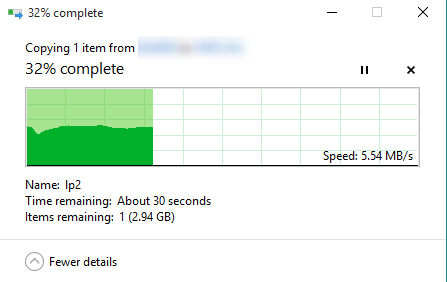
1. Copy the files you’re trying to import to your hard-drive
- Copy the files you’re trying to transfer from the USB to the host machine.
- After that, move the files from the host to the VM.

- Wait for the transfer to finish.
2. Make sure that the drives and directories being used exist
- Ensure that the drive to which you’re trying to import your files exists.
- If the drive exists, try the process again.
- Wait for it to finish.
After doing that, check if the error is gone.
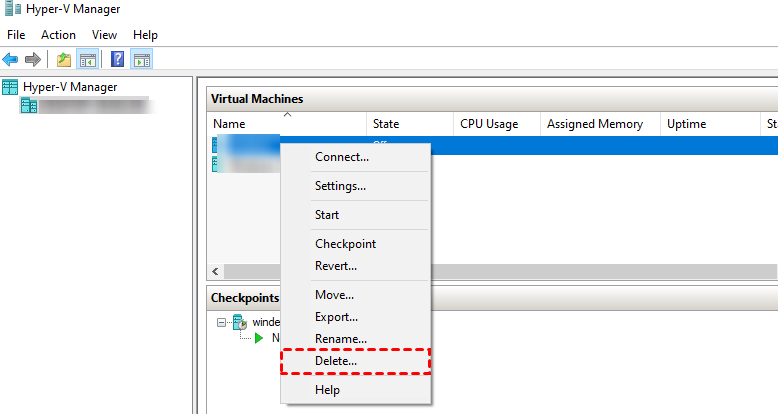
3. Delete and re-create the Virtual Machine while keeping the VHDX file
To delete VM:
- Open the Hyper-V Manager.
- Select the VM you want to delete -> right-click it -> select Delete.

- Press again on Delete to confirm.
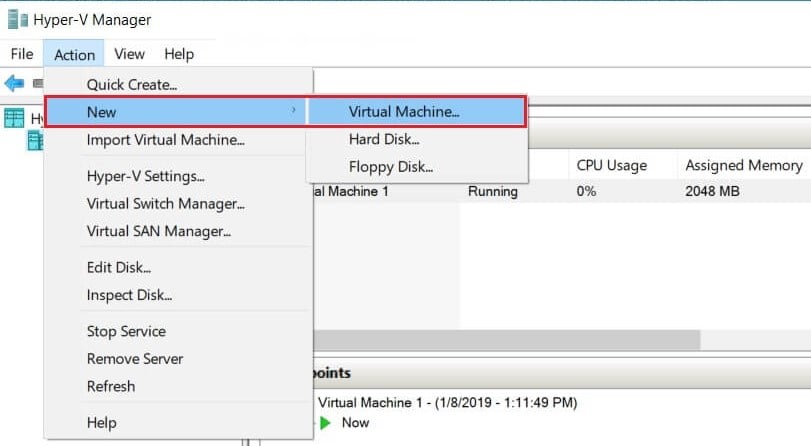
To create a new VM:
- Inside the Hyper-V Manager -> click on your desired host from the left pane.
- Click the New option found in the right-hand Actions pane ->select Virtual Machine.

- Follow the rest of the wizard and set the characteristics you had in your previous VM.
- Follow the next method when reaching the virtual hard-disk configuration window.
- Click the Browse button, navigate to the location of your VHDX file, and select it.
- Click Next inside the Wizard and follow the on-screen instructions to complete the setup.
- This should allow you to import your VM successfully.
The methods presented to you in this guide will cover all the required steps if you get Hyper V failed to realize message on your PC.
For more information, you might want to check our Not enough disk space error in Hyper-V guide.
Please let us know if this guide helped you by commenting below.

User forum
0 messages