Fix: Acer Swift 3 laptop cannot boot from a USB flash drive
Key notes
- Acer, Dell, and computers from other manufacturers sometimes fail to boot.
- There is a workaround that can help you boot your computer.
- If you can't boot from a USB drive, you can create an installation media and boot your computer.

If your computer stops working due to a compromised operating system or if it is a new computer that you are just setting up, you can use the bootable flash drive to install the operating system.
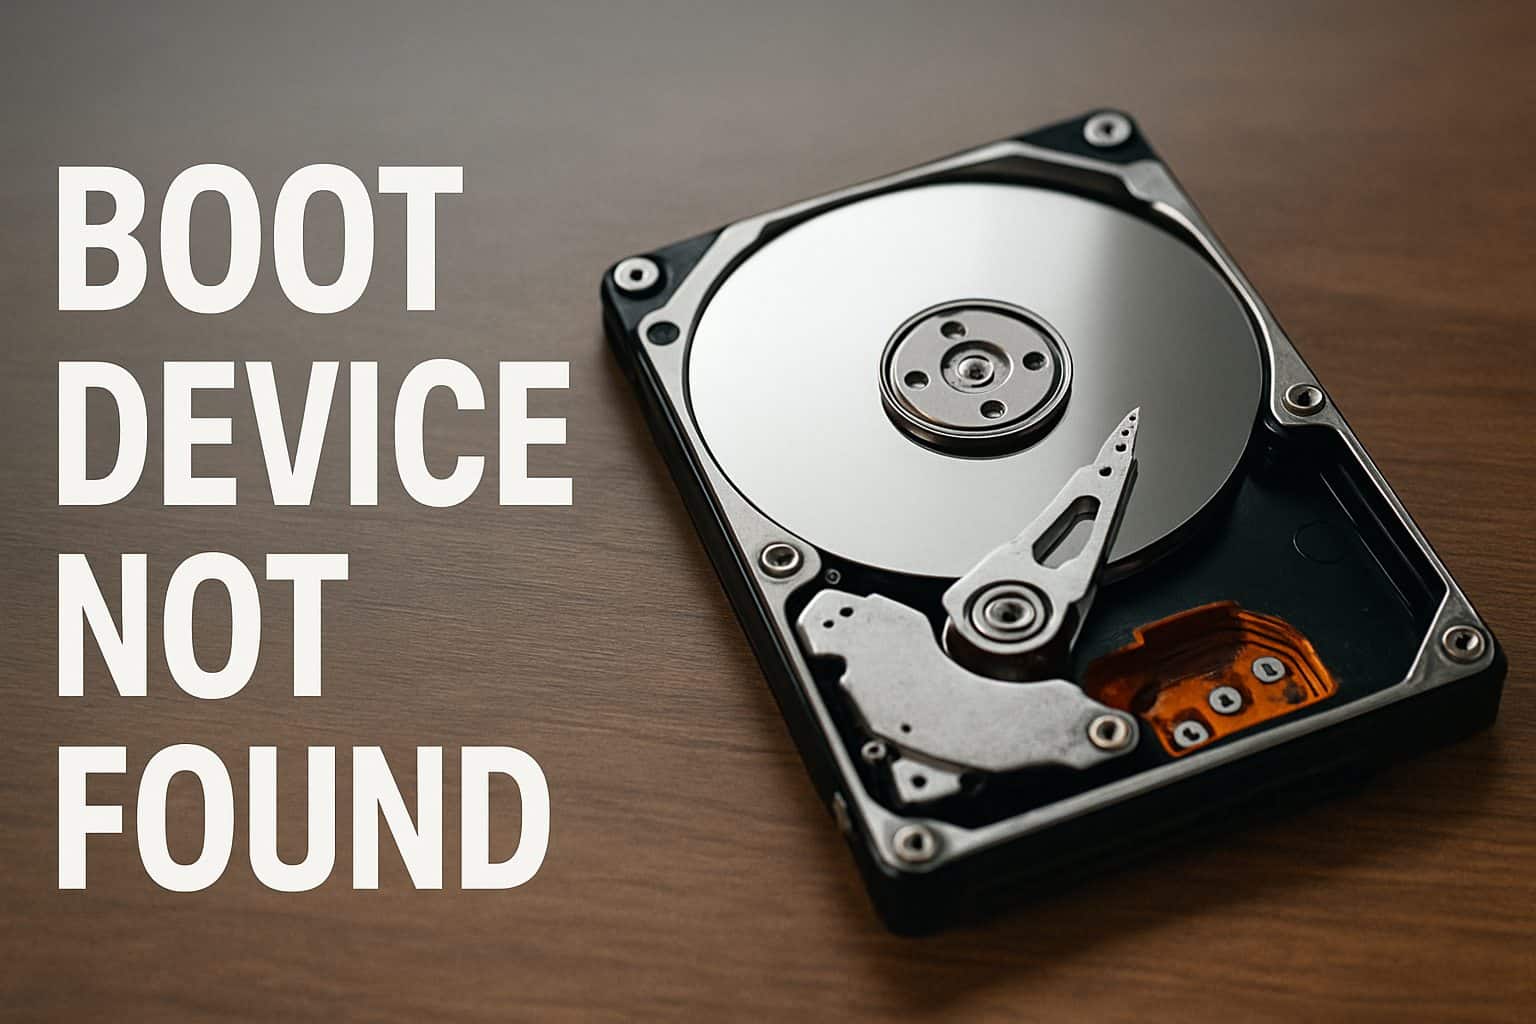
And if your Acer Swift 3 for some reason fails to boot, you can boot it using a bootable flash drive. What if your Acer Swift 3 fails to boot using USB? What do you do in this case?
You’ve reached the right place to know how to boot your Acer Swift 3 using USB.
What can I do if my Acer Swift 3 cannot boot from a USB flash drive?
1. Unplug all USB devices
Your Acer Swift 3 cannot boot from USB due to some interference, so unplug all USB devices, including the USB keyboard and mouse.
Now plug them in one by one and make sure all the USB devices don’t cause interference. Also, make sure your Acer Swift 3 works normally.
2. Change the boot order
- Restart your computer and press F2 to open the BIOS screen.
- Using the arrow keys, go to the Boot tab.
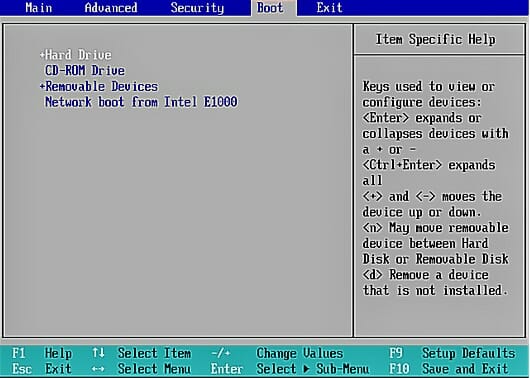
- Change the boot order and make the USB the first boot device, then exit from that tab.
- Close the BIOS settings page by selecting Exit saving changes or Save Changes and exit.

- Restart your computer.
3. Turn on Legacy Boot
- Power on your PC.
- Press F2 to open the BIOS settings or press the Del key, as some Acer computers use the Del key to enter the BIOS settings page.
- Go to the Main tab.

- If the F12 Boot Menu setting is disabled, enable it.

- Now, navigate to the Boot tab.
- Select Legacy from the Boot Mode drop-down menu.

- Press Enter.
- Save the changes and exit the BIOS settings page.
4. Make the primary partition active
- Insert the Windows 11 installation disk into your computer.
- Select your language and region, then click Repair your computer to enter Advanced Startup Options.
- Now, click on Troubleshoot followed by Command Prompt.
- In the Command Prompt window, enter these commands:
diskpart
select disk 0 The number 0 represents the system disk number.
list partition 1 The number 1 represents the system partition number.
active
If the primary partition was not set as active initially, then the Acer computers may show no bootable device. After following the above steps, the system partition will be set to active. Now restart your computer and check if the error persists.
5. Repair the faulty MBR
- Insert the Windows 11 installation disk into your computer.
- Select your language and region.
- Click on Repair your computer to access the Advanced Startup Options.
- Select Troubleshoot.

- Now, select the command prompt.

- Type the following commands separately in the order they are listed:
Bootrec /fixmbrBootrec /fixbootBootrec /scanosBootrec /rebuildbcd - Restart your computer.
- Press Enter.
6. Use the SFC command
- As with resolutions two and three, open the Command Prompt from the Advanced Startup Options menu.
- Type the following command in the command prompt:
sfc /scannow /offbootdir=c: /offwindir=c:windows
- If this didn’t help, use DISM scan instead and type the following command in the command prompt window:
DISM.exe /Online /Cleanup-Image /RestoreHealth
- If you are still facing the issue, try the following commands:
Dism /Image:C:offline /Cleanup-Image /RestoreHealth /Source:c:testmountwindows
Dism /Online /Cleanup-Image /RestoreHealth /Source:c:testmountwindows /LimitAccess
The above commands will scan your hard drive for file corruption and repair any corrupted files that are preventing Windows from booting up properly.
Acer, Dell, and other computers from other manufacturers sometimes fail to boot. By updating the BIOS you can generally fix the issue.
But, if you are trying to update the BIOS using the USB flash drive and even if it fails then you can try other alternatives such as using the Windows installation media or you can create the installation media for yourself by downloading it from Microsoft Windows download page.
Read our disclosure page to find out how can you help Windows Report sustain the editorial team. Read more


Improve this guide

User forum
0 messages