Windows 11 Remove Keyboard Layout: 3 Quick Ways to do it
Learn how to solve this problem once and for all
Key notes
- If you can't remove a keyboard layout in Windows 11, it's likely a minor, bug but there are ways you can fix the issue in no time.
- You can add and manually remove the problematic layout, or try the other methods here.
- Also, find out how to change the keyboard layout in Windows 11 in no time.

Keyboard layouts are a great way to input multiple languages into the computer without requiring specialized hardware. However, several users have reported that they can’t remove a keyboard layout in Windows 11.
Though this does not pose a significant problem, there is always a chance of mistakenly choosing the wrong keyboard layout.
Also, many users prefer an uncluttered PC with no unnecessary settings or applications that can hamper progress and, thus, the need to remove additional keyboard layouts.
So, if you have been trying but can’t remove the keyboard layout in Windows 11, here are the most effective solutions to the problem.
How can I remove a keyboard layout in Windows 11?
1. Use the Settings app
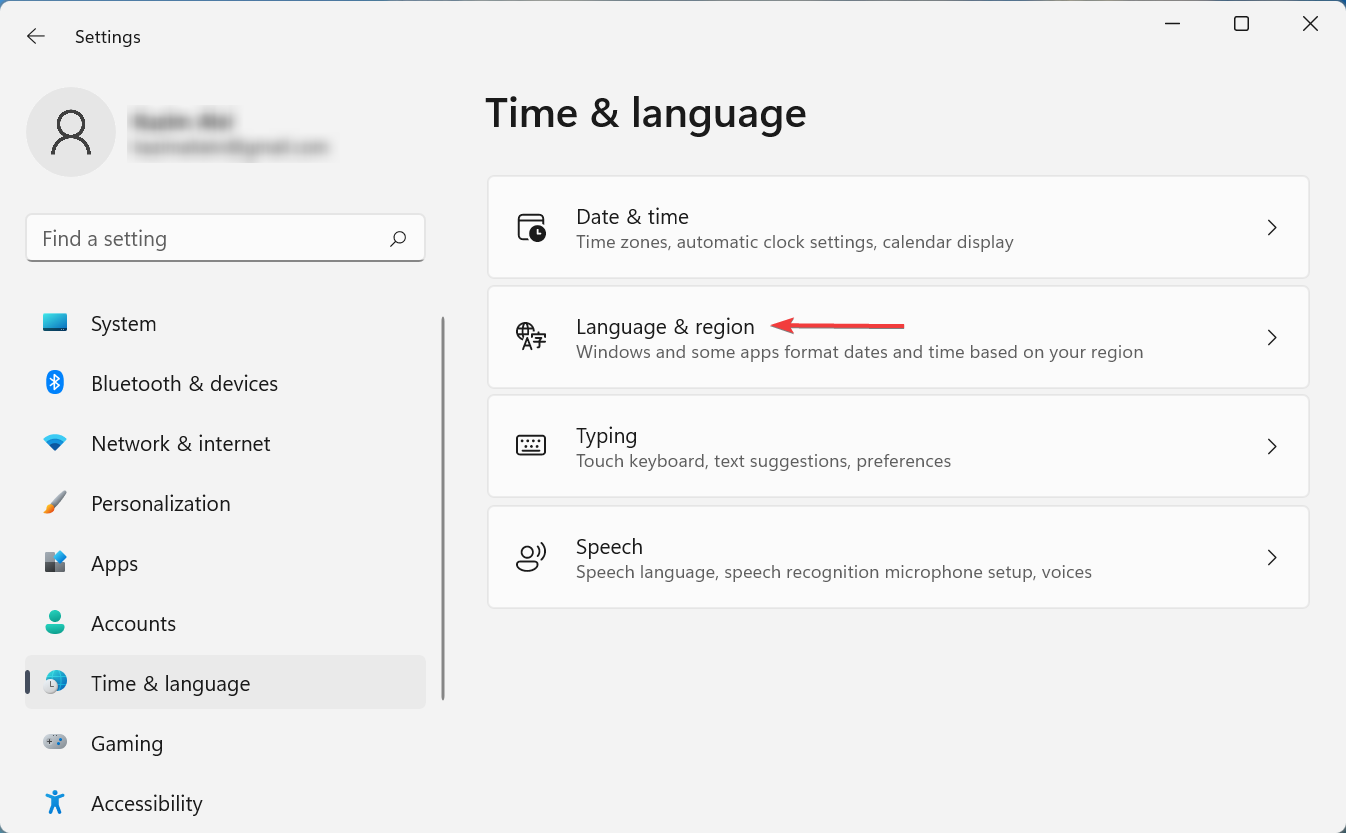
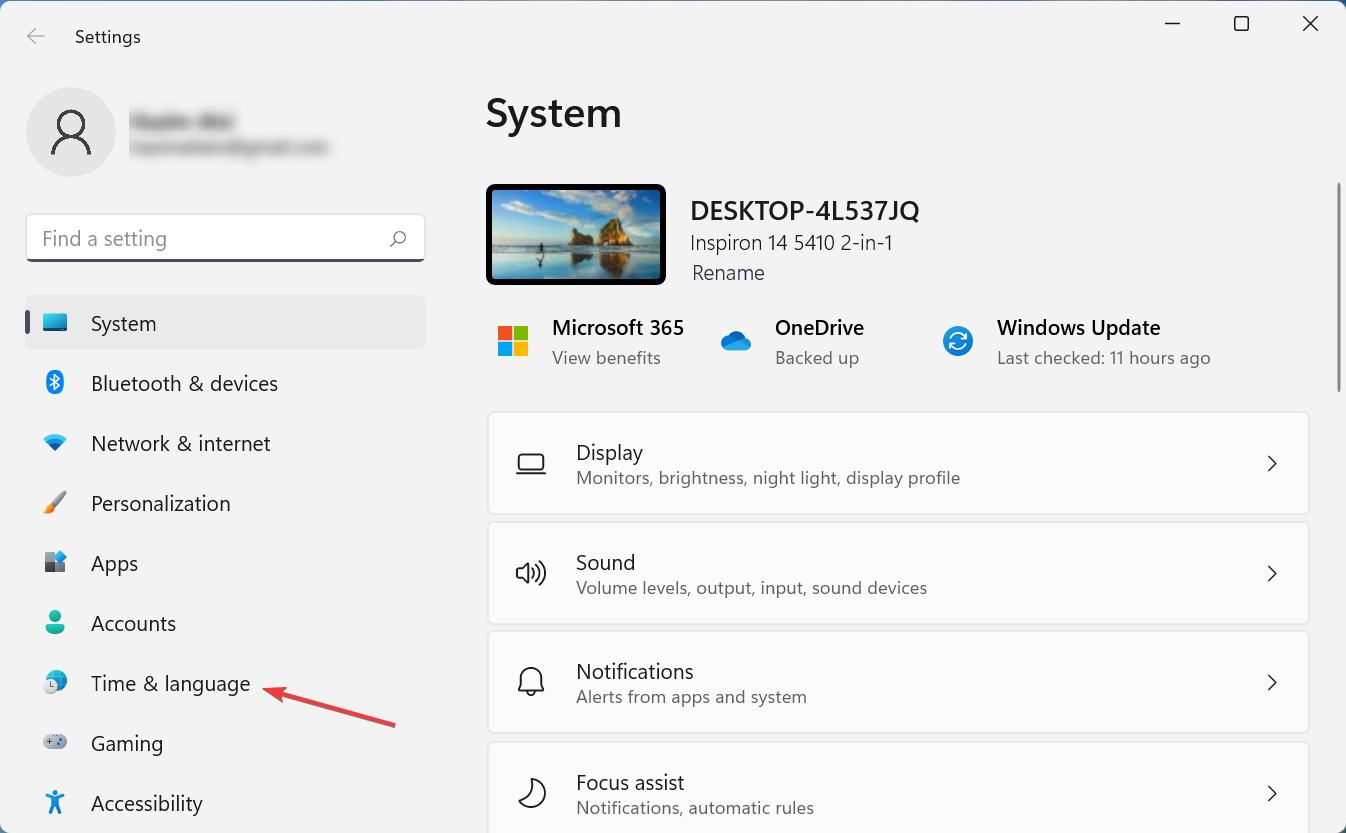
- Press Windows + I to launch the Settings app, and select Time & language from the tabs in the navigation pane on the left.

- Click Language & region on the right.
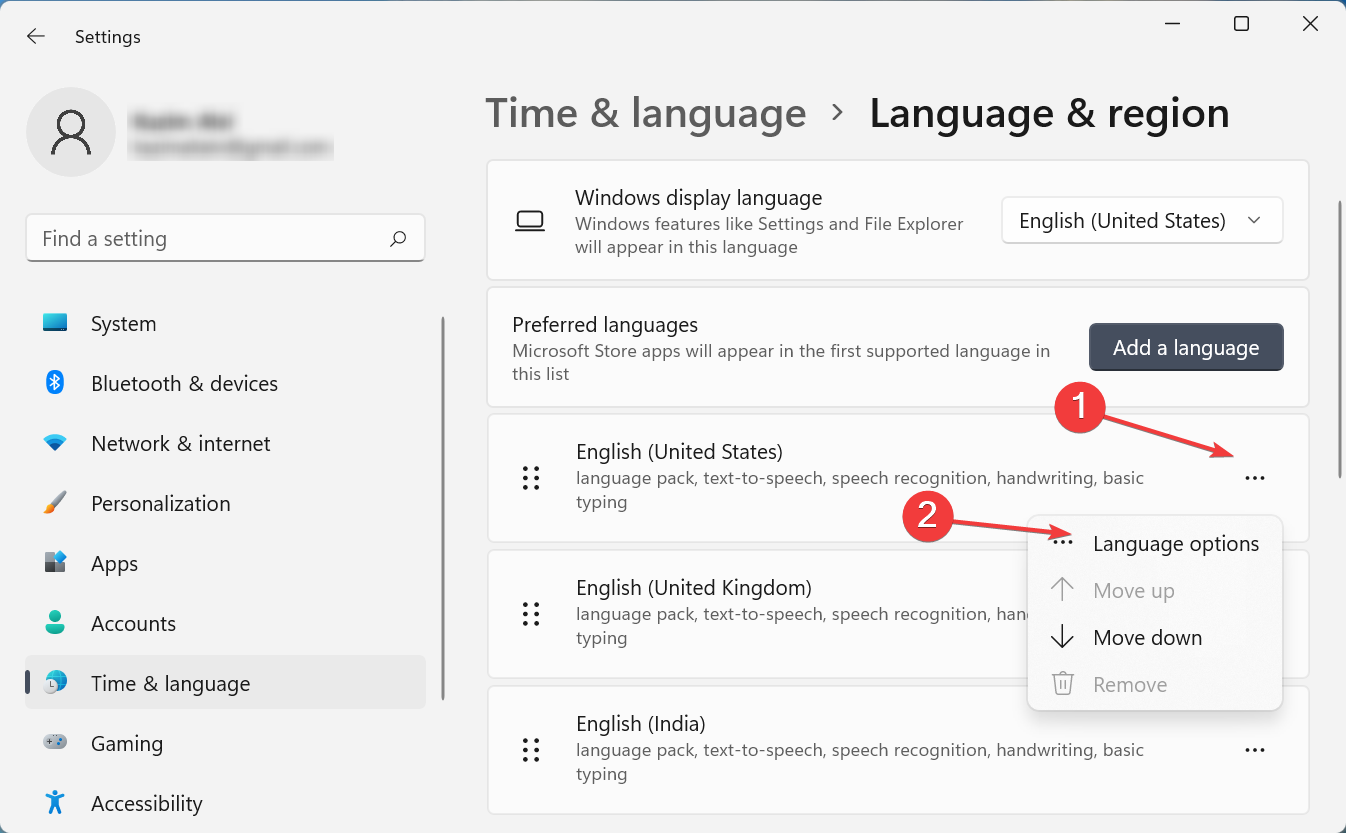
- Now, click the ellipsis next to the language under which the layout you want to remove appears, and select Language options.

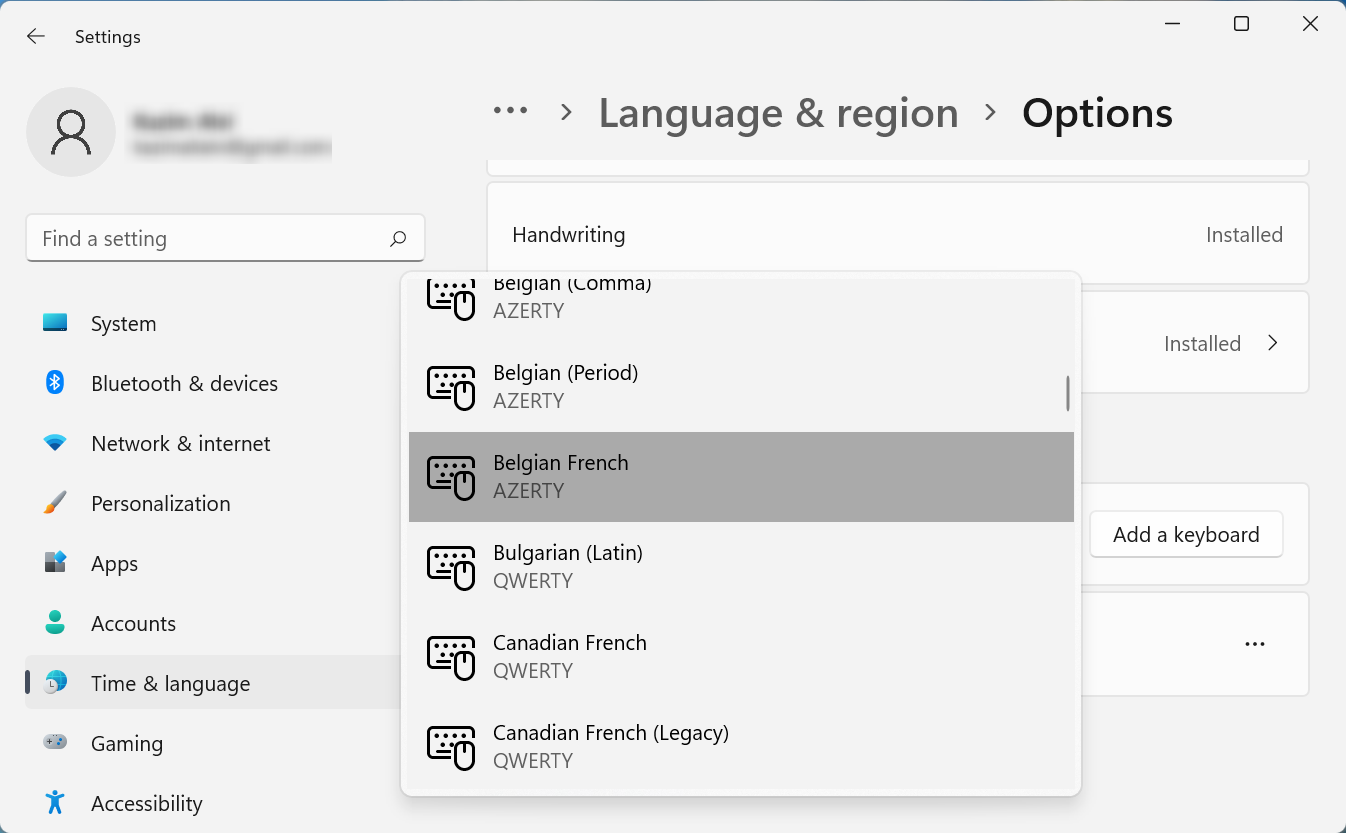
- Click the Add a keyboard button next to Installed keyboards.

- Select the very same layout from the list that you have trouble removing.

- Once done, close the Settings app and restart the computer.
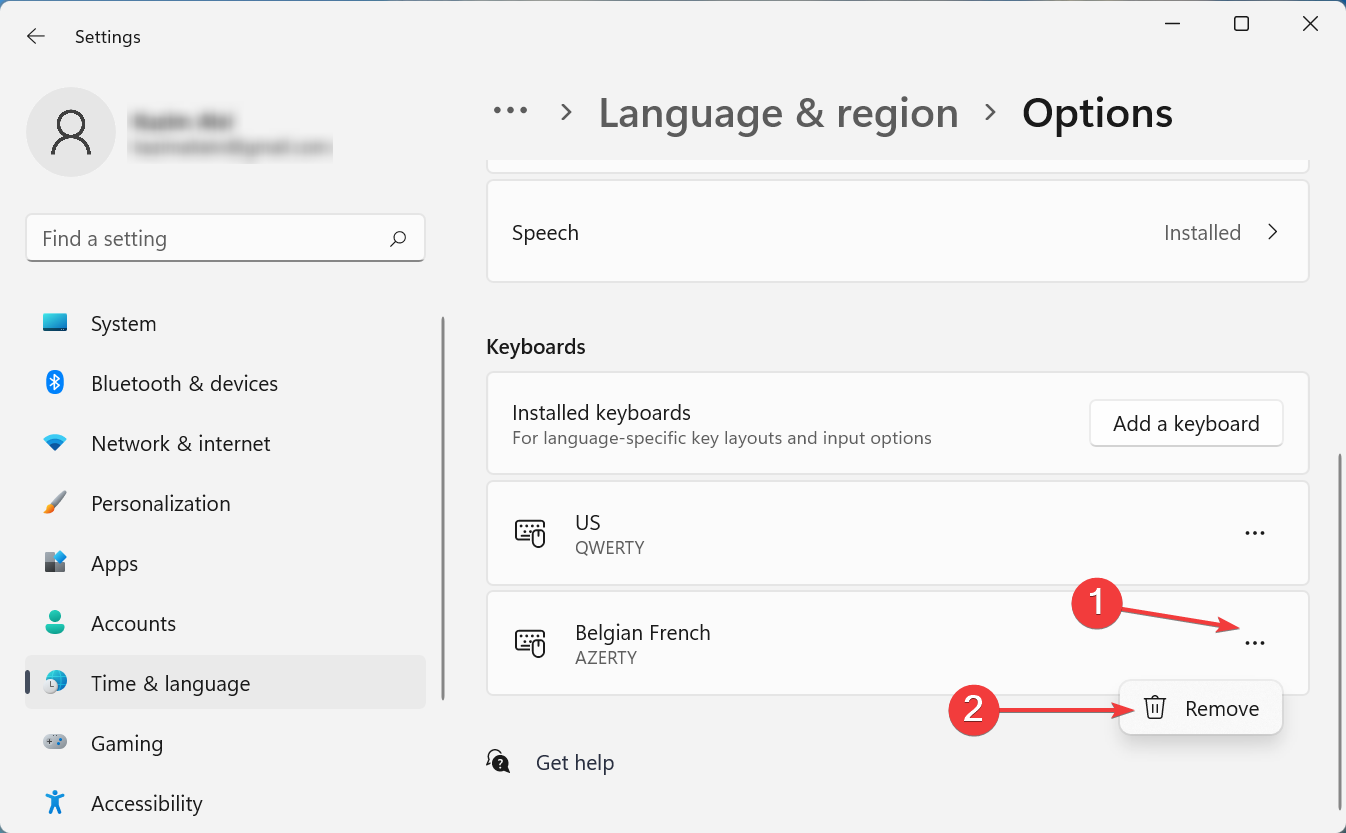
- Now, again, head to Language options.
- Click the ellipsis next to the layout you had been trying to delete, and select Remove from the flyout menu.

- Again, restart the computer for the changes to come into effect.


Once the computer turns on, the layout will be removed. This method is very effective if you can’t remove the keyboard layout in Windows 11 on Dell, Lenovo, or HP.
The idea is to add the layout that keeps appearing and then manually remove it. Similar issues were encountered in the previous iteration, i.e., Windows 10. In case this method doesn’t work, head to the next one.
2. Use the Windows PowerShell
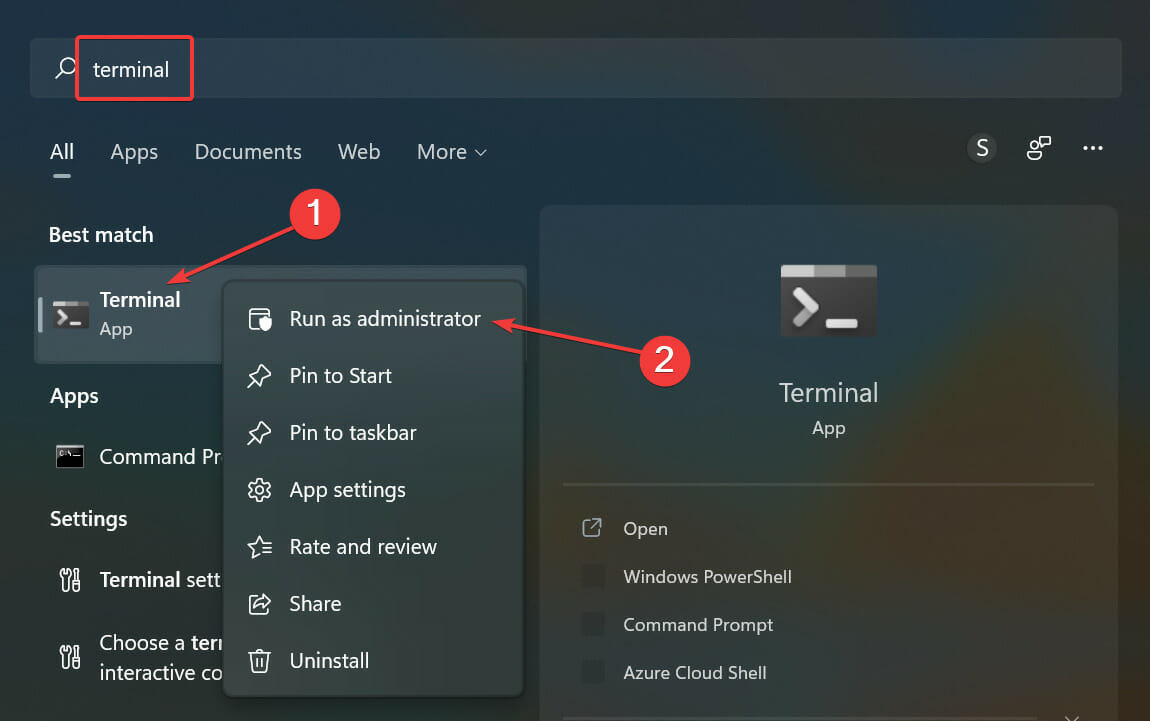
- Press Windows + S to launch the Search menu, enter Terminal in the text field at the top, right-click on the relevant search result, and select Run as administrator from the context menu.
- Click Yes in the UAC (User Account Control) prompt that pops up.

- Now, paste the following command and hit Enter to list all the keyboard layouts added to the system:
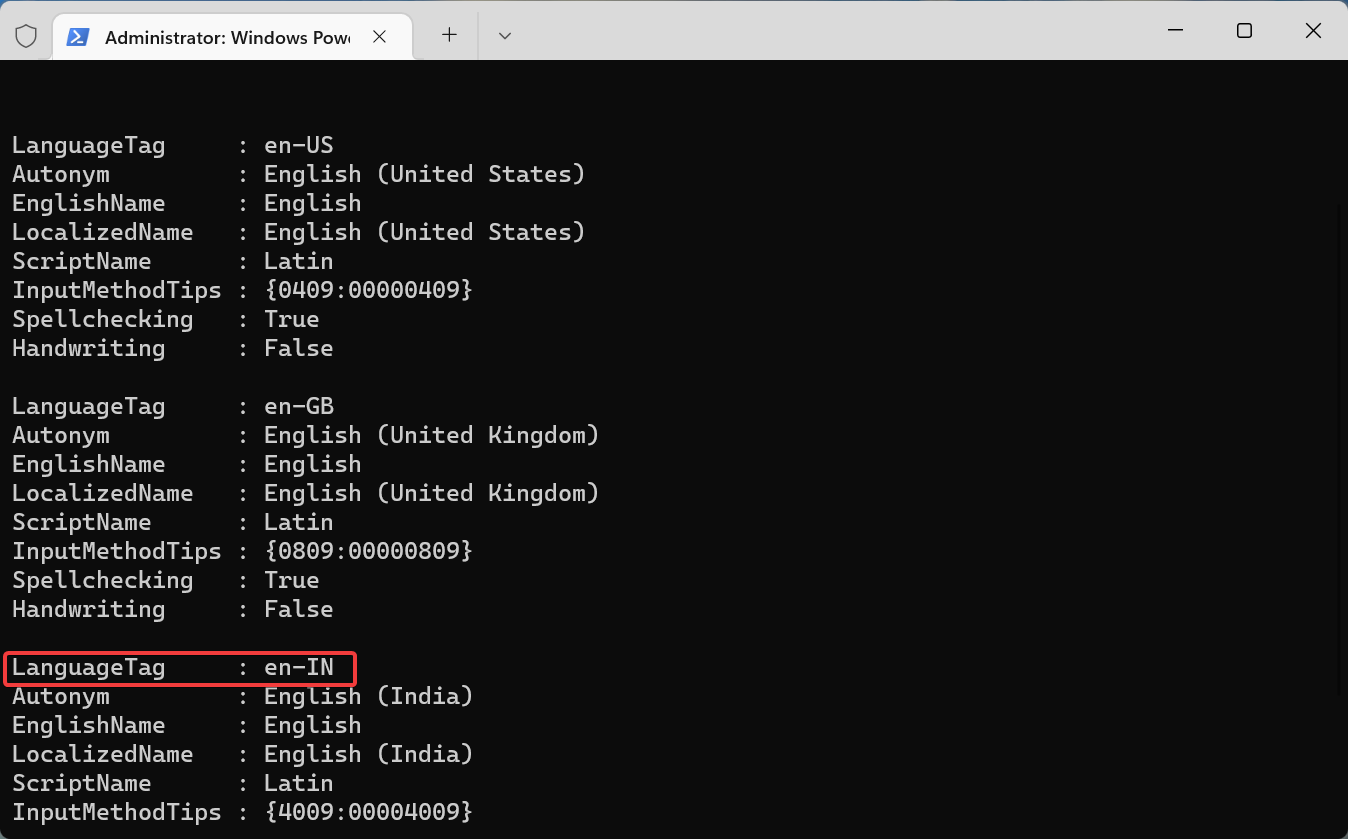
Get-WinUserLanguageList
- Note the value listed next to LanguageTag for the layout you want to remove.
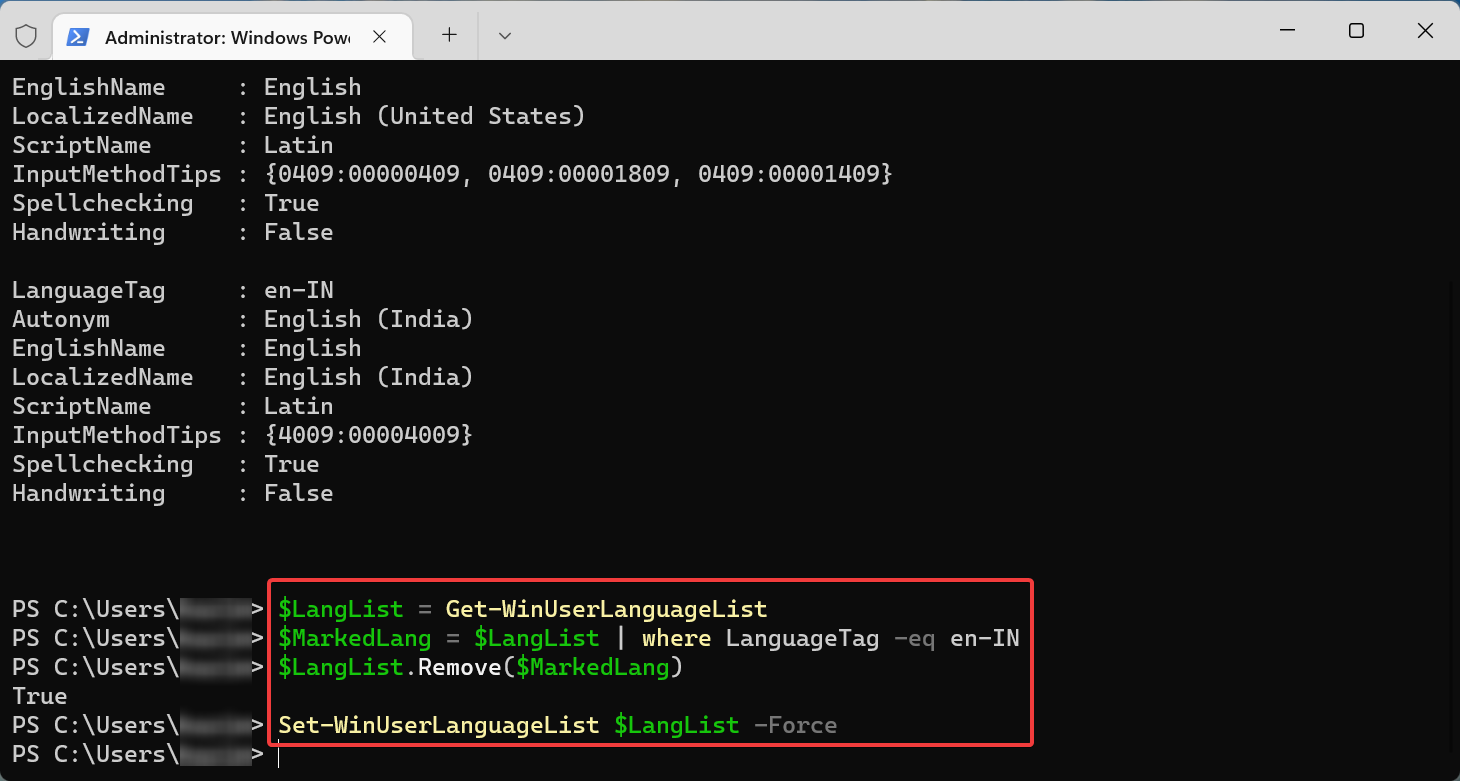
- Next, execute the following four commands one at a time while replacing <LanguageTag> in the second command with the one you noted earlier:
$LangList = Get-WinUserLanguageList$MarkedLang = $LangList | where LanguageTag -eq <LanguageTag>$LangList.Remove($MarkedLang)Set-WinUserLanguageList $LangList -Force - For instance, if you want to remove the layout with LanguageTag as en-IN, the four commands become as follows:
$LangList = Get-WinUserLanguageList$MarkedLang = $LangList | where LanguageTag -eq en-IN$LangList.Remove($MarkedLang)Set-WinUserLanguageList $LangList -Force
- Once done, restart the computer for the changes to come into effect.


For those who prefer command-line applications to execute, this method should do the trick if you can’t remove the keyboard layout in Windows 11.
3. Modify the Registry
- Press Windows + R to launch the Run command dialog box, enter regedit in the text field, and either click OK or hit Enter to launch the Registry Editor.
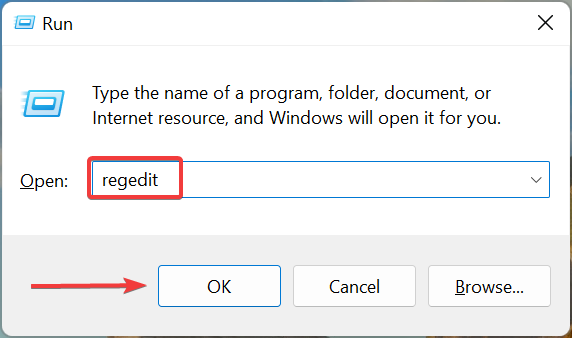
- Click Yes in the UAC prompt that pops up.

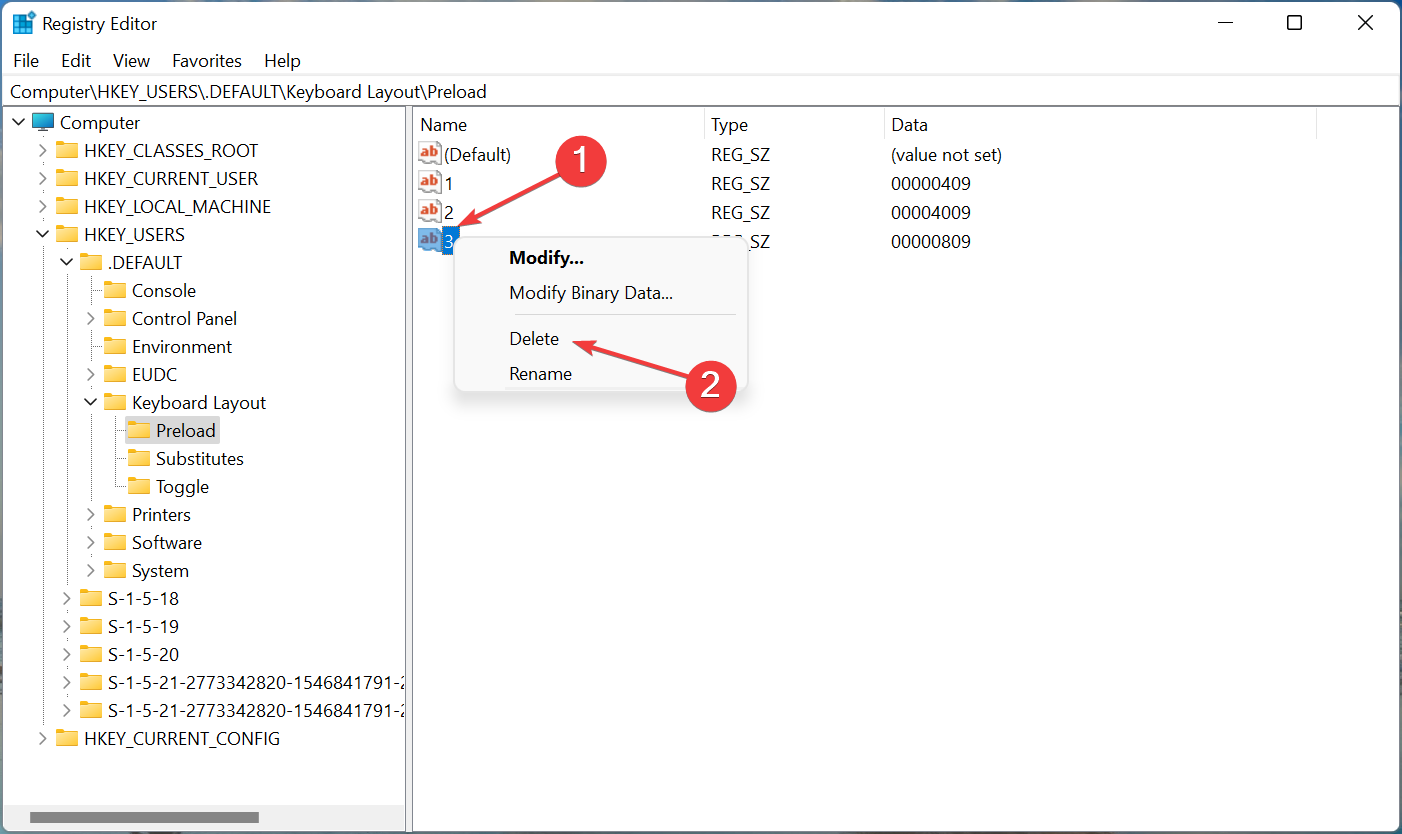
- Paste the following path into the address bar at the top, and hit Enter. Alternatively, you can navigate it using the left pane:
Computer\HKEY_USERS\.DEFAULT\Keyboard Layout\Preload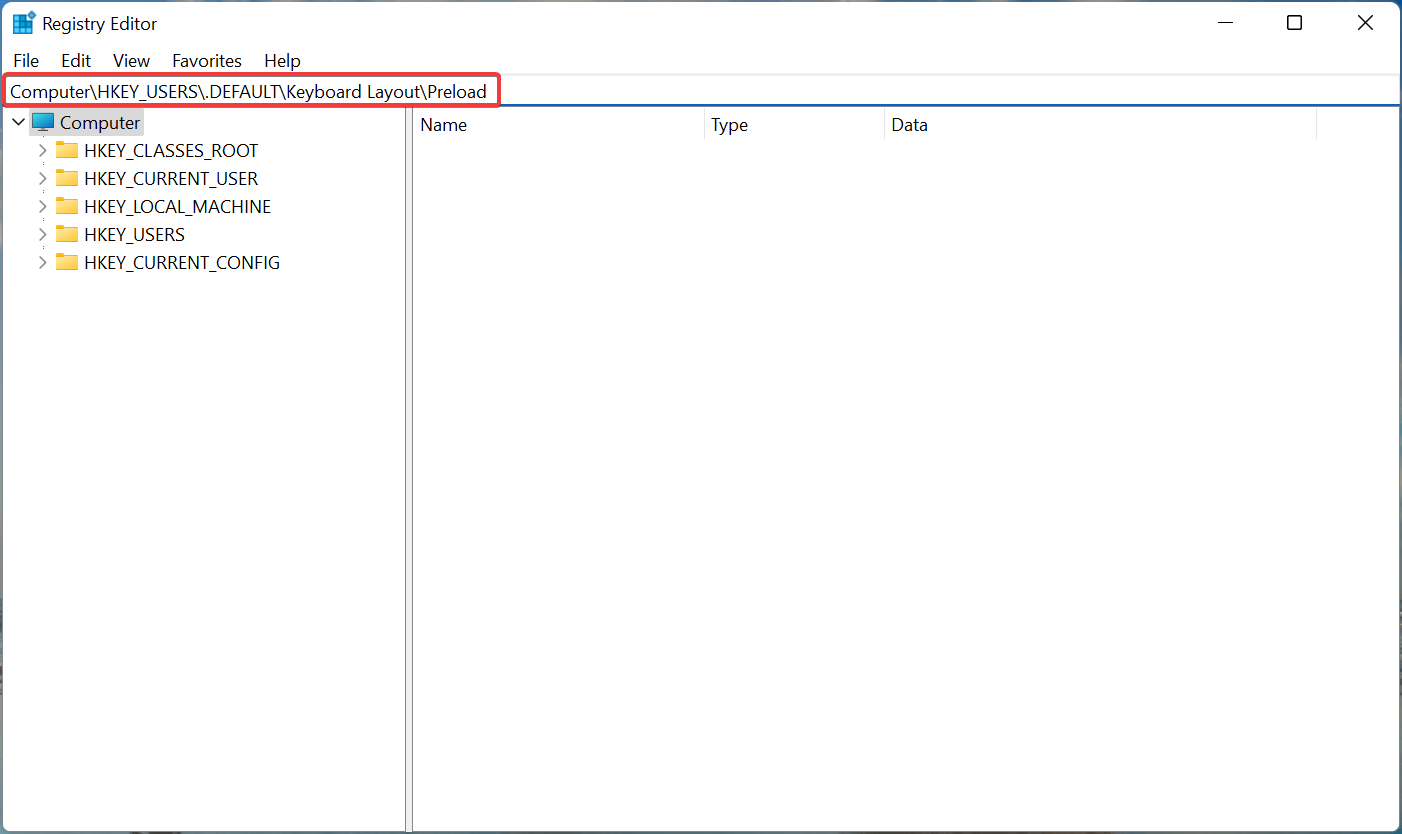
- You will now find a list of entries on the right, each denoting a particular keyboard layout added to the PC. Check Microsoft’s official website for the Keyboard Identifier to find the one you want to remove.
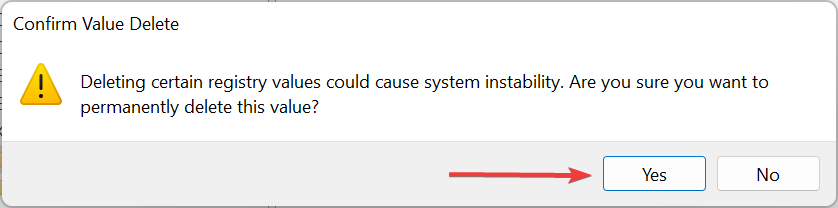
- Once you can identify the layout to be removed, right-click on it and select Delete from the context menu.

- Click Yes in the confirmation prompt that appears.
- Restart the computer for the changes to come into effect.


That’s it! You have now successfully removed the keyboard layout using Registry in Windows 11. The process is pretty simple, but make sure to identify the keyboard layout correctly and do not make any other changes to the Registry except the ones listed here.
How do I change the keyboard layout in Windows 11?
Changing the keyboard layout is pretty simple in Windows 11 and even the previous iterations of the OS. To change the keyboard layout for the same language, press the Ctrl + Shift and then hit the Shift key to select another.

If you want to select another language, press Windows + Space Bar and then hit Space Bar to navigate the listed entries and choose one.
That’s all there is to the concept and the most effective solutions if you can’t remove a keyboard layout in Windows 11. Also, these methods would help remove a keyboard layout in Windows 10.
Besides, find out what to do if the keyboard language changes automatically in Windows 11. The problem is due to a problematic update, conflicting applications, misconfigured settings, or a corrupted Registry.
In case you are still facing issues with keyboard settings, you can reset them to normal; read this guide for detailed steps.
If you have any other queries or know of a method not listed here, drop a comment in the section below.
Read our disclosure page to find out how can you help Windows Report sustain the editorial team. Read more


Improve this guide


User forum
0 messages