Can't set Microsoft Office picture manager as default

The newer version of Windows comes with Photos, a built-in photo editor and viewer app for Windows 10. With that, Microsoft Photos app has replaced the popular Picture Manager app that came bundled with the older version of Microsoft Office.
Microsoft does not include the Picture Manager app with Office 2013 and later versions. However, the users can still download and install the Picture Manager app manually from the official sources.
That said, some users who had downloaded and installed the app are unable to set Microsoft Office picture manager as default in Windows 10.
In this article, we show you how to set Microsoft Office Picture Manager as default in Windows 10 to view and edit your photos and reason why you are unable to set it as default.
Why I can’t set Picture Manager as default in Windows 10?
1. Set Picture Manager as default in Windows 10
Set from the Windows 10 Settings
- Click on Start and select Settings.
- Click on Apps.
- From the left pane, click on Default Apps.
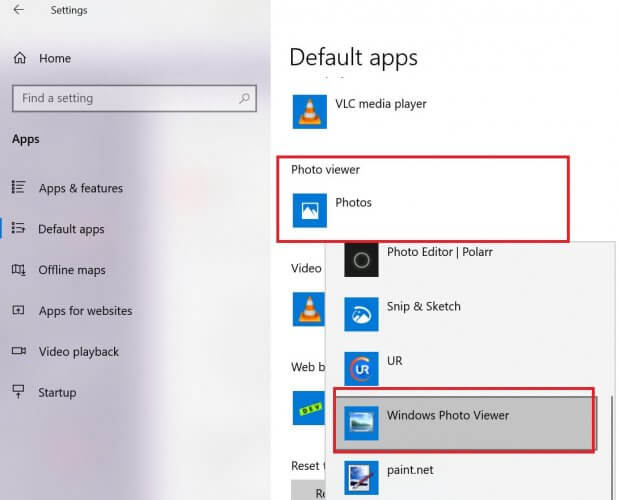
- Scroll down to the Photo viewer section.
- Click on Choose a default.
- Select Picture Manager from the list of apps.
- Close the Setting window and open File Explorer.
- Try to open any picture and check if the Picture Manager opens it by default.
If you’re having trouble opening the Setting app, take a look at this article to solve the issue.
Set from the Control Panel
- Press Windows Key + R to open Run.
- Type control and click OK to open Control Panel.
- In the search bar (top right corner), type Default.
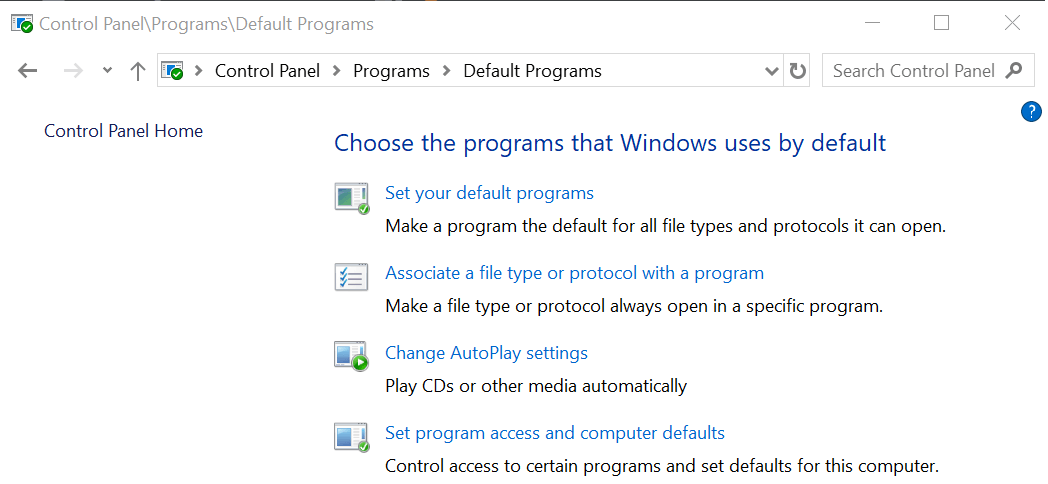
- Click on Default Programs.
- Click on Set your default programs.
- Select the Microsoft Office Picture Manager from the list of apps.
- Click on Set this program as a default and choose the file types that should use the app.
You can’t open Control Panel? Take a look at this step-by-step guide to find a solution.
Set it from Image Properties
- Open File Explorer.
- Navigate to the location where the image is saved.
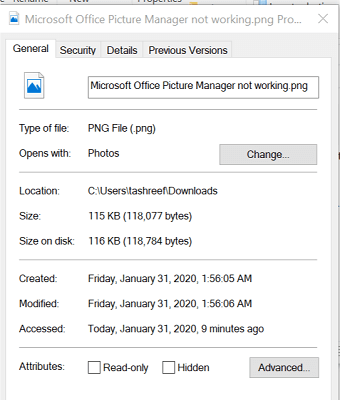
- Right-click on the image and select Properties.
- In the Properties window, open the General tab.
- Click the Change button for Opens with:
- Select the Microsoft Office Picture Manager from the list of apps.
- Now try to open the image again and check if the issue is resolved.
File Explorer crashes in Windows 10? Follow the simple steps from this handy guide to fix it in no time.
2. Update your Windows 10
- Click on Start and select Settings.
- Go to Update and Security.
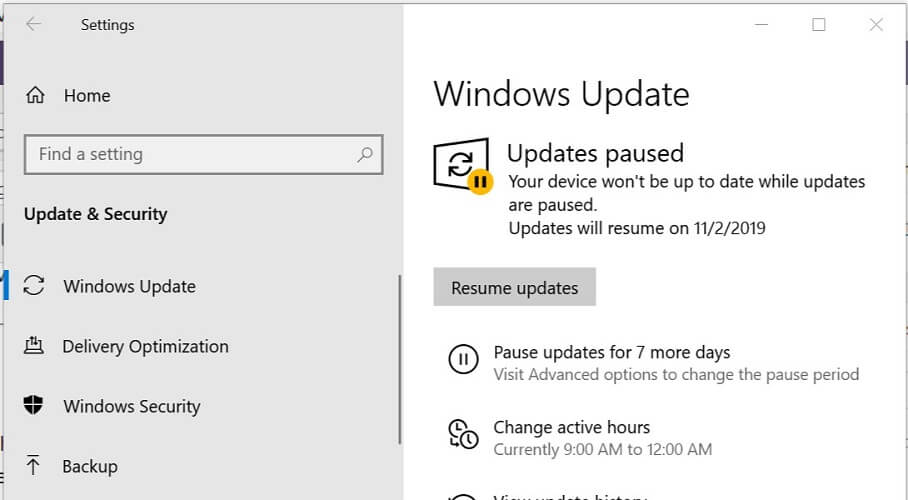
- Click on Windows Updates.
- Check if any Windows update is pending download. Download and install the update.
Having trouble updating your Windows? Check out this guide that will help you solve them in no time.
File association issues were reported with an older version of the Windows 10 release. Since then Microsoft has released an update to fix the problem. Try to update your Windows computer to the latest available version and check for any improvements.
By following these steps you can set Microsoft Office Picture Manager as default in Windows 10. Make sure you install all the pending Windows updates to fix any issues that may occur due to bugs in the Windows release.
We also have a guide on how to download Microsoft Office Picture Manager, so don’t miss it.
If you have any other questions or suggestions, don’t hesitate to leave them in the comments section below.
READ ALSO:
Read our disclosure page to find out how can you help Windows Report sustain the editorial team. Read more


Improve this guide


User forum
0 messages