Full Guide: CDFS FILE SYSTEM error on Windows 10/11
9 min. read
Updated on
Read our disclosure page to find out how can you help Windows Report sustain the editorial team. Read more
Key notes
- Windows updates are very important for system stability, so make sure that you keep Windows 10 up to date.
- Many BSoD errors are caused by outdated or incompatible drivers, so it’s highly recommended to update your drivers regularly in order to avoid BSoD issues.
- Do you find hard to fix blue screen errors? Whatever the error is, go to our BSoD troubleshooting section for quick solutions.
- Some errors are lighter and some are harder to deal with. Don’t worry, you will find a solution for it in our Windows 10 errors Hub.

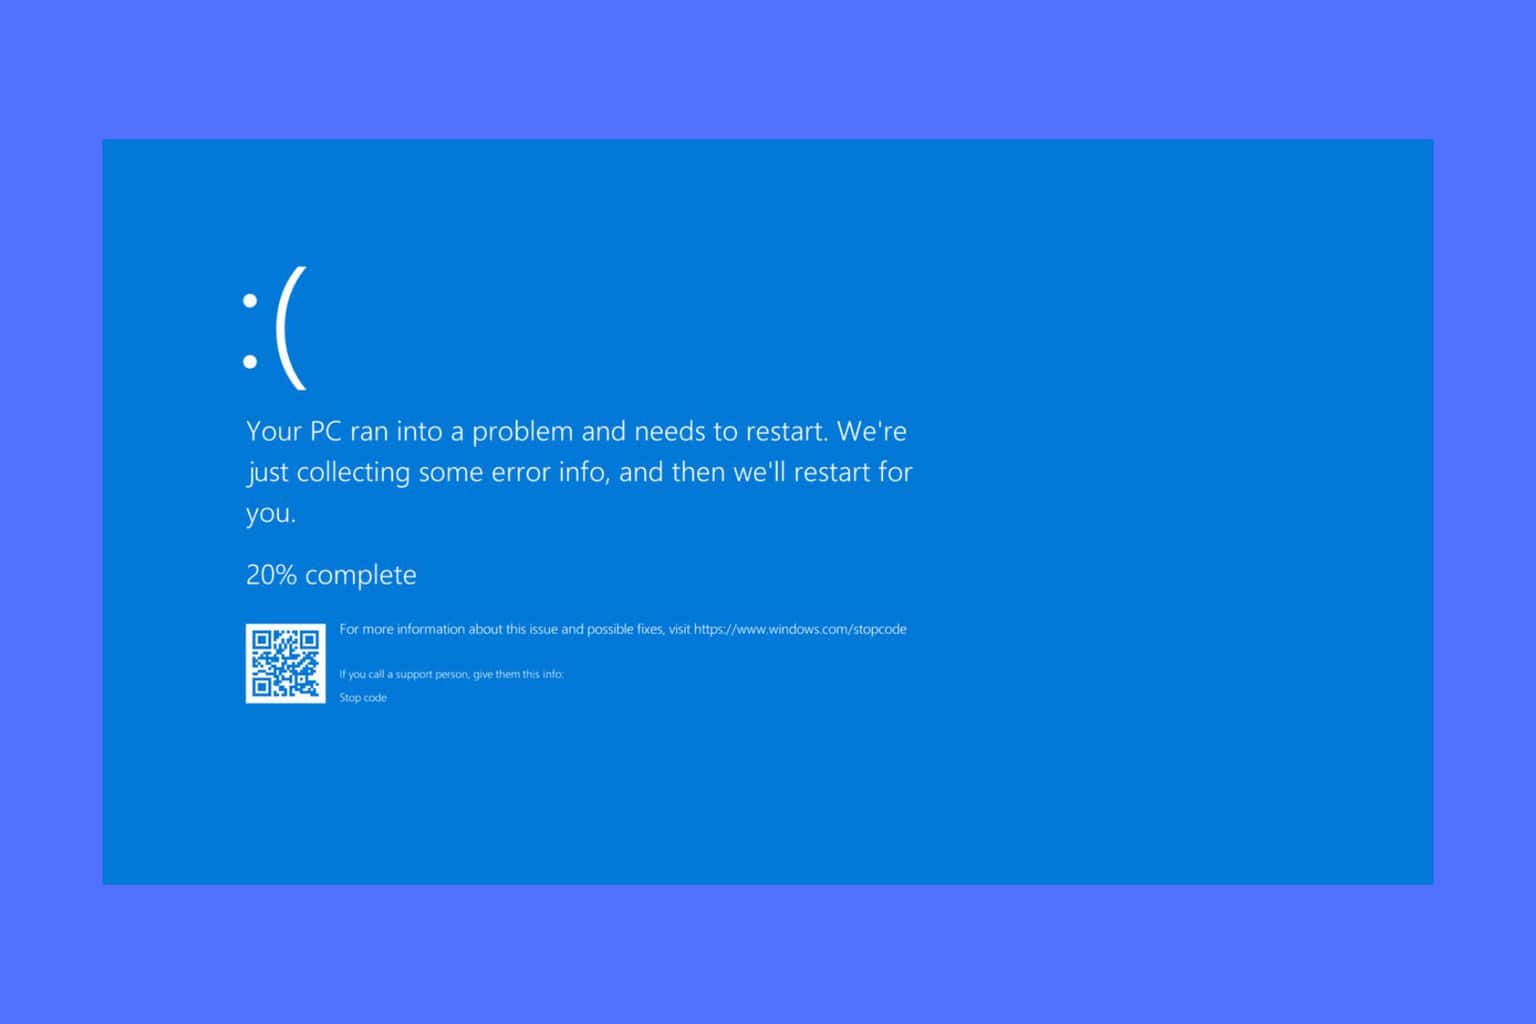
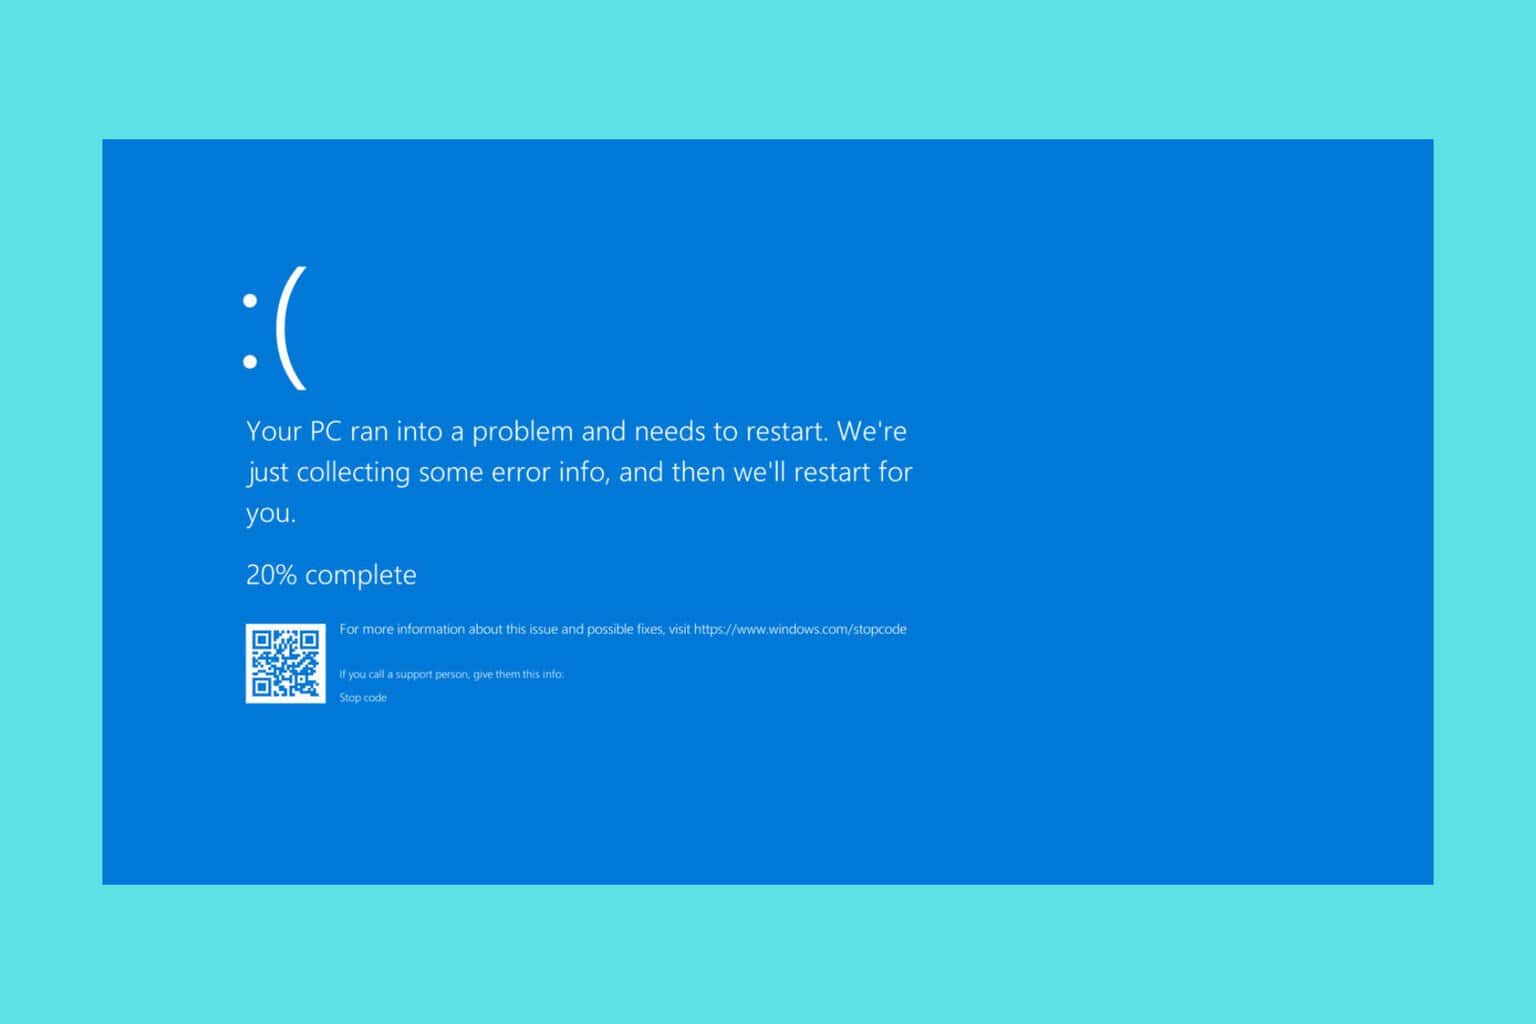
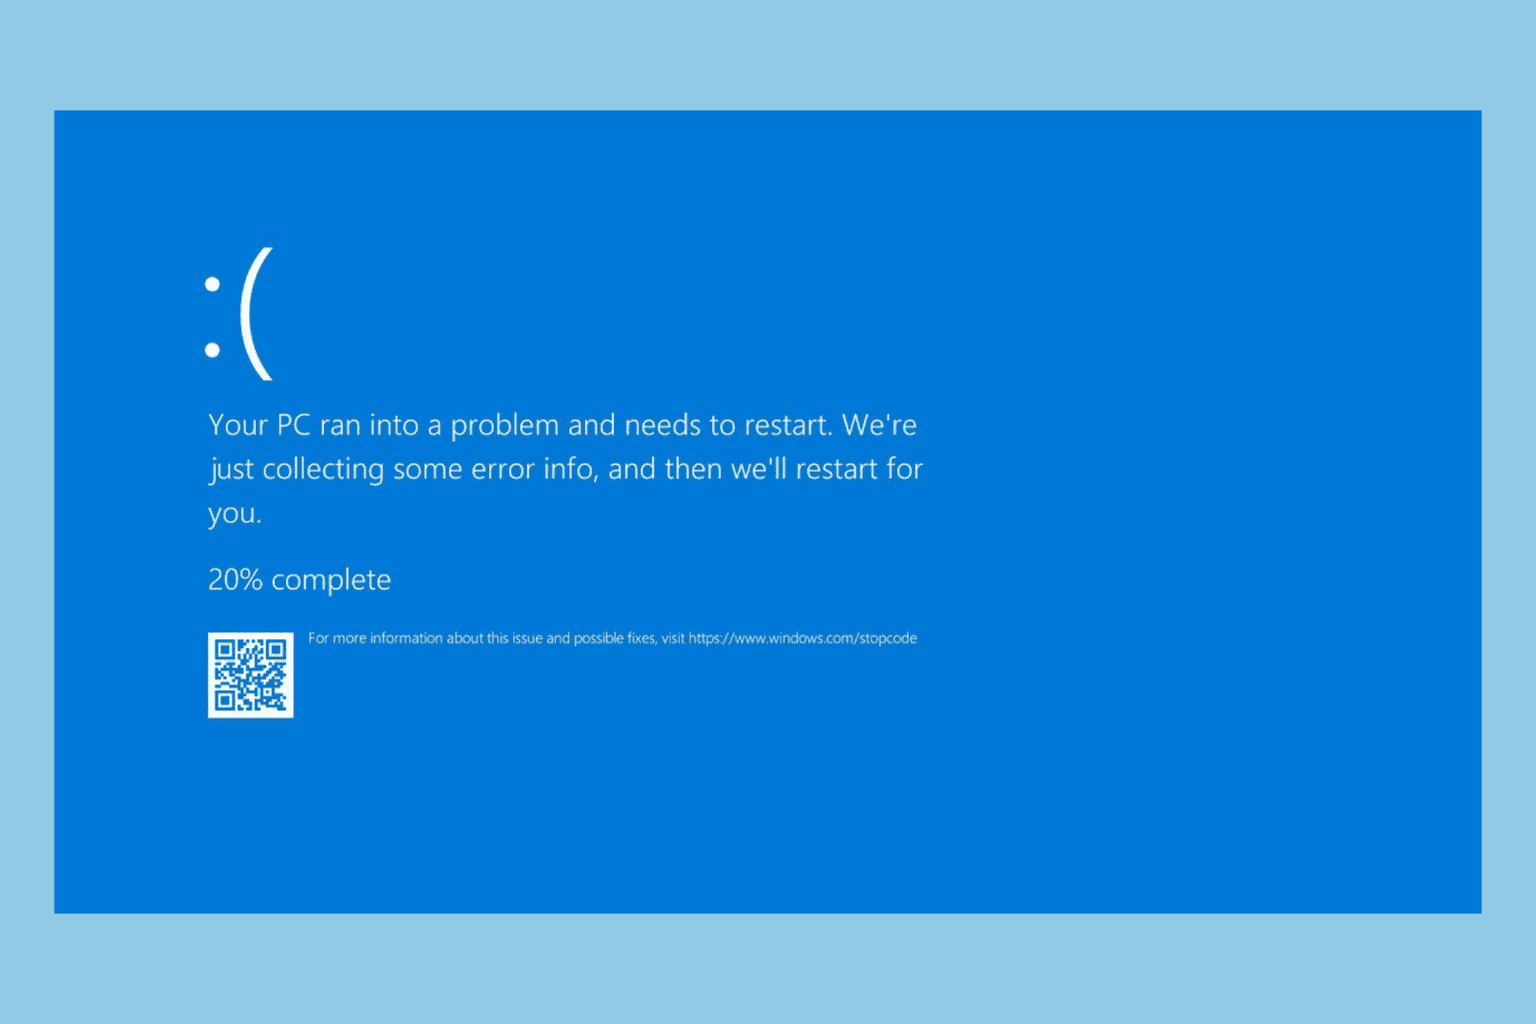
BSoD errors are usually the most problematic errors on any Windows system since they constantly restart your computer in order to prevent damage.
A number of Windows 10 users reported a CDFS FILE SYSTEM error, and today we’re going to show you how to fix it.
How can I fix CDFS FILE SYSTEM BSoD on Windows 10?
- Make sure Windows 10 is up to date
- Update your drivers
- Run the BSOD Troubleshooter
- Run the SFC scan
- Run DISM
- Uninstall your antivirus
- Perform a chkdsk scan
- Perform a System Restore / Reset your PC
- Check your hardware
How to fix the CDFS FILE SYSTEM error in Windows 10
Solution 1 – Make sure Windows 10 is up to date
Windows updates are crucial for your system stability, so be sure that you keep Windows 10 up to date.
Most updates bring security improvements and fix many hardware and software incompatibilities, therefore it’s recommended that you install them regularly.
If the CDFS FILE SYSTEM error is caused by a hardware incompatibility or a bad driver, downloading Windows updates CDFS FILE SYSTEM can fix it.
Solution 2 – Update your drivers
Many BSoD errors are caused by outdated or incompatible drivers, so it’s highly recommended to update your drivers regularly in order to avoid BSoD issues.
We have to mention that almost any driver can cause CDFS FILE SYSTEM to appear, so it’s highly recommended that you update all of your drivers.
Start with the motherboard, chipset, and audio drivers, and then update your network card and graphic card drivers.
In order to download drivers, you just need to visit your hardware manufacturer’s website, locate your device, and download the latest drivers for it.
If you cannot access Windows 10 due to CDFS FILE SYSTEM error, you might want to try updating your drivers by using Safe Mode. To enter Safe Mode, do the following:
- While your computer boots restart it. Repeat this step until Automatic Repair process starts.
- Choose Troubleshoot > Advanced options > Startup Settings. Click the Restart button.
- Once your computer restarts you should see list of options available. Select Safe Mode with Networking by pressing F5 or 5.
- After you’ve entered Safe Mode, try updating your drivers.
It’s worth mentioning that if your computer works normally in Safe Mode the CDFS FILE SYSTEM error is probably caused by a bad driver or incompatible software, so you should focus on removing it.
2.1 Update drivers automatically
Searching for drivers on your own can be time-consuming. So, we advise you to use a tool that will do this for you automatically.
Using an automatic driver updater will certainly save you from the hassle of searching for drivers manually, and it will always keep your system up to date with the latest drivers.
Plus, this software will deliver qualitative driver automated updating from its rich online database that hosts millions of official drivers.
You can therefore repair screen errors caused by missing or outdated drivers with effective support from this driver expert tool.
⇒ Get PC HelpSoft Driver Updater
Solution 3 – Run the BSOD Troubleshooter
If updating your system and drivers didn’t get the job done, we’re going to try Windows 10‘s built-in troubleshooter.
This troubleshooter can be used for dealing with all sorts of issues, including BSOD errors. So, it might be effective when resolving the CDFS FILE SYSTEM error, as well.
Here’s how to run Windows 10‘s built-in troubleshooter:
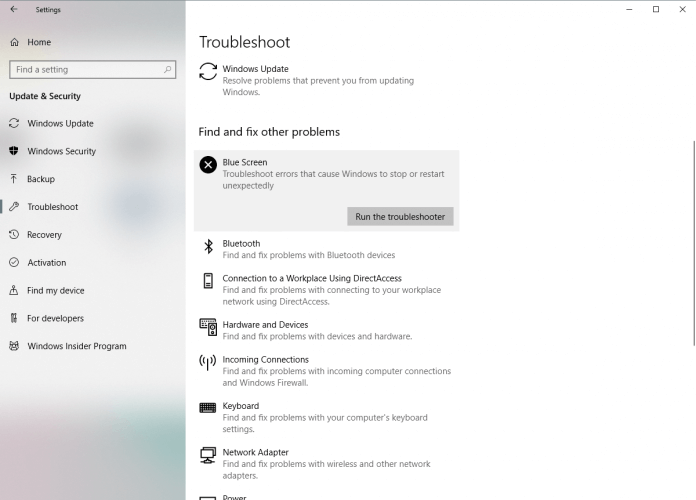
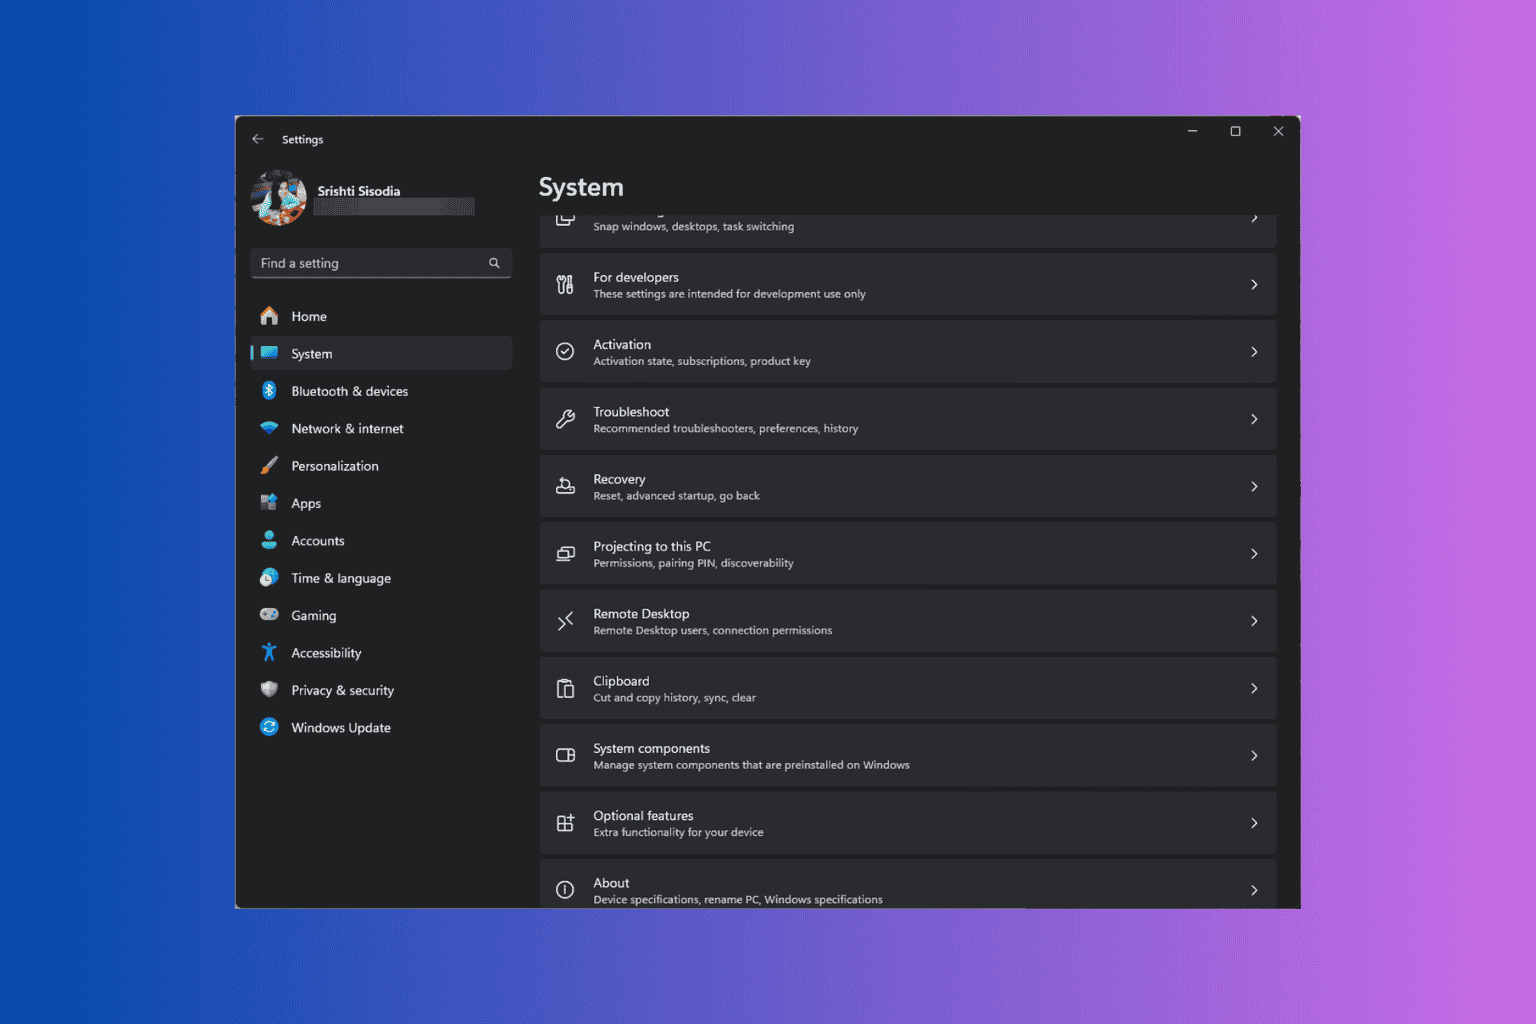
- Open the Settings app and go to Update & Security section.
- Select Troubleshoot from the menu on the left.
- Select BSOD from the right pane and click Run the troubleshooter.
- Follow the instructions on the screen to complete the troubleshooter.
Solution 4 – Run the SFC scan
The next tool we’re going to try here is the SFC scan. This is a command-line tool that basically scans your computer for damaged system files, and repairs them on the way.
So, it might be helpful with the CDFS FILE SYSTEM error, as well.
Here’s how to run the SFC scan in Windows 10:
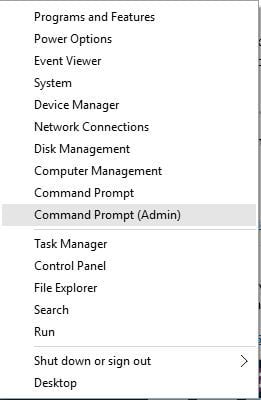
- Right-click on the Start Menu button, and open Command Prompt (Admin).
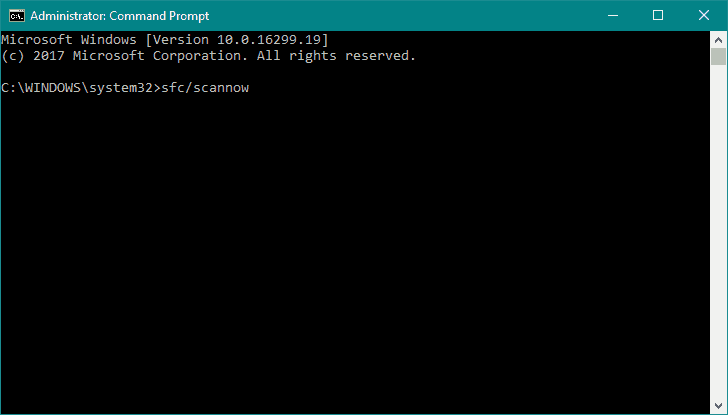
- Enter the following line and press Enter: sfc/scannow
- Wait until the process is done (it may take a while).
- If the solution is found, it will automatically be applied.
- Now, close the Command Prompt and restart your computer.
Solution 5 – Run DISM
Deployment Image Servicing and Management is another command-line tool. This tool re-deploys the system image, so it’s possible it will also resolve BSOD issues.
We’ll walk you through both standard and the procedure that utilizes the installation media below:
- Standard way
- Right-click Start and open Command Prompt (Admin).
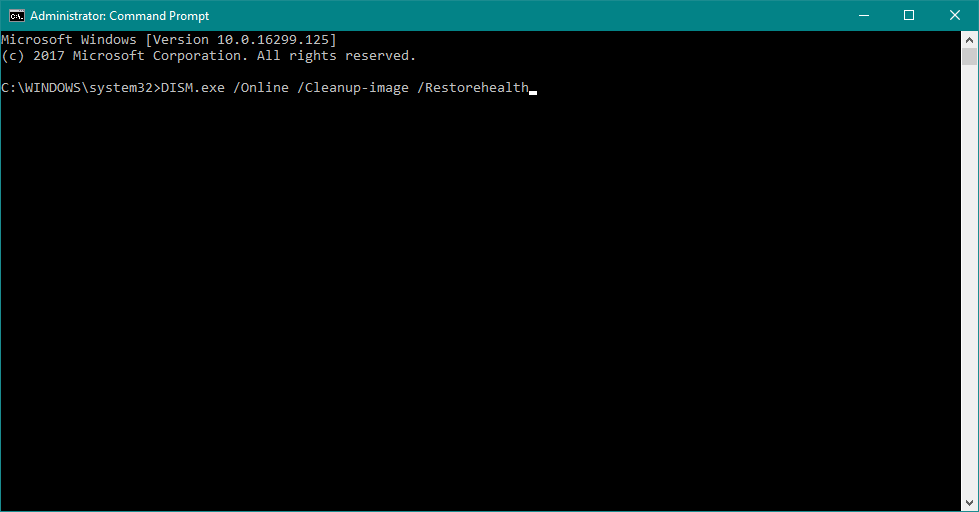
- Paste the following command and press Enter:
- Wait until the scan is finished.
- Restart your computer and try updating again.
- With the Windows installation media
- Insert your Windows installation media.
- Right-click the Start menu and, from the menu, choose the Command Prompt (Admin).
- In the command line, type the following commands and press Enter after each:
- dism /online /cleanup-image /scanhealth
- dism /online /cleanup-image /restorehealth
- Now, type the following command and press Enter:
- DISM /Online /Cleanup-Image /RestoreHealth /source:WIM:X:SourcesInstall.wim:1 /LimitAccess
- Make sure to change an X value with the letter of the mounted drive with Windows 10 installation.
- After the procedure is finished, restart your computer.
Solution 6 – Uninstall your antivirus
As we already mentioned, certain software can cause CDFS FILE SYSTEM errors to appear, and the most common cause of BSoD error is your antivirus software.
According to users, almost any antivirus software can cause these types of errors to appear, so it’s advised that you temporarily remove your antivirus software.
Bear in mind that uninstalling antivirus software isn’t always enough since certain files are left on your PC, even after you remove your antivirus.
Those remaining files can sometimes cause CDFS FILE SYSTEM error, so in order to completely remove any antivirus, it’s advised to use special uninstaller tools.
Most antivirus companies offer these tools for their software, and you can download the uninstaller tools free of charge from almost any security company.
Solution 7 – Perform a chkdsk scan
CDFS FILE SYSTEM file system error can be sometimes caused by a hard drive corruption, therefore it’s advised that you use chkdsk to check your hard drive for corrupt files.
To do that, follow these steps:
- Run Command Prompt as administrator. To do that, press Windows Key + X to open Power User Menu and select Command Prompt (Admin) from the list.
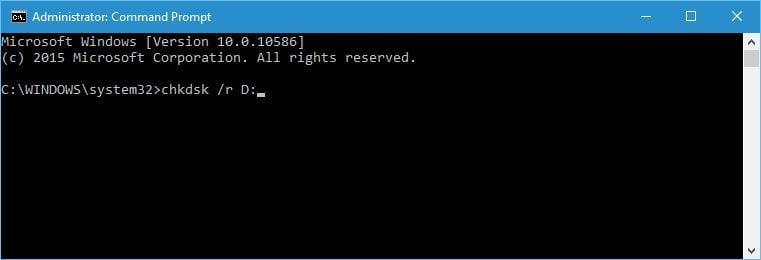
- Once the Command Prompt starts, enter chkdsk /f /r C:. We advise you to perform this scan for all hard drive partitions that you have installed, so feel free to replace C with the corresponding letter. It’s also worth mentioning that you might not be able to scan C drive right from Windows, so you might have to restart your computer.
In case you cannot access Windows or Safe Mode, you can perform this scan by doing the following:
- Restart your computer a few times while it boots. This should start Automatic Repair process.
- Select Troubleshoot > Advanced options > Command Prompt.
- When Command Prompt starts enter chkdsk /f /r C: to perform the scan. Again, you have to perform this scan for all hard drive partitions that you have installed, so make sure to replace C with the letter that matches your hard drive partition.
Solution 8 – Perform a System Restore / Reset your PC
If the problem is caused by a specific software or a corrupt driver, you can fix the problem by performing System Restore. To use System Restore, you need to do the following:
- While your computer boots, restart it. Repeat this step few times.
- Once the Automatic Repair starts, choose Troubleshoot > Advanced Options > System Restore.
- Choose the restore point and follow the instructions on the screen.
If using System Restore doesn’t help, you might have to reset Windows 10.
Bear in mind that this process will delete all files from your C drive, therefore, make sure you create a backup. To reset Windows 10, do the following:
- Start Automatic Repair process by restarting your PC couple of times during the boot.
- Choose Troubleshoot > Reset this PC.
- Now you can choose between Remove everything and Keep my files. In our experience it’s better to use Remove everything option because it removes all files from your C drive, thus eliminating any potential causes for CDFS FILE SYSTEM error.
- Choose Only the drive where Windows is installed.
- Wait for the process to finish.
If the problem still persists even after the reset, it’s most likely caused by faulty hardware.
Solution 9 – Check your hardware
CDFS FILE SYSTEM error is often caused by faulty hardware, most commonly RAM, so it’s advised that you check if your RAM is working properly.
To do that you can use the MemTest86+ tool. Simply create a bootable flash drive with MemTest86+ on it or burn the tool to a CD and boot your PC from it.
Start MemTest and let it work for a couple of hours. If no problems are detected, the issue might be caused by your motherboard or any other hardware component.
CDFS FILE SYSTEM is a troublesome error, and most users report that you can easily fix this error by finding the faulty RAM module and replacing it.
Before replacing your RAM, we advise you to try other solutions from this article.

User forum
0 messages