5 Quick Ways to Fix the PlayStation Ce-33743-0 Network Error
New DNS, better and faster conection
![]() 5 min. read
5 min. read
![]() Updated on
Updated on
Share this article
Improve this guide
Read our disclosure page to find out how can you help Windows Report sustain the editorial team. Read more
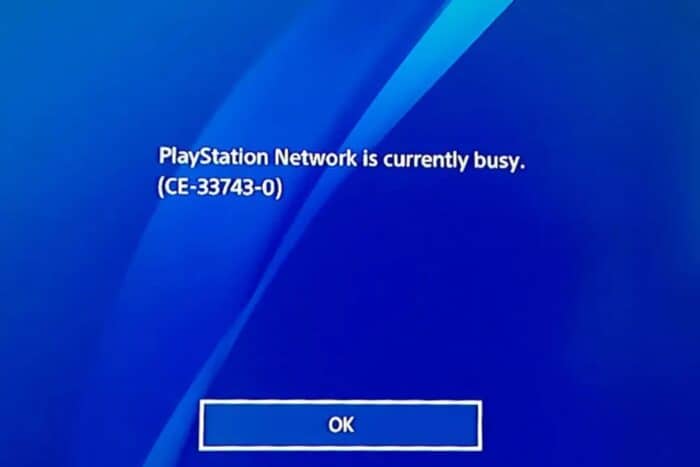
When trying to connect your PlayStation to play a game and you get hit with the ce-33743-0 error citing that the network is busy, you might have to try later or check your network settings.
Unfortunately, the ce-33743-0 network error may only affect your PlayStation while other services or devices have their Internet connection working just fine. This could only mean that there’s a problem with the PlayStation network service.
Other possible reasons could be outdated firmware of your router or console, incorrect network configuration settings or a problem with your network.
How do I fix the ce-33743-0 PlayStation network error?
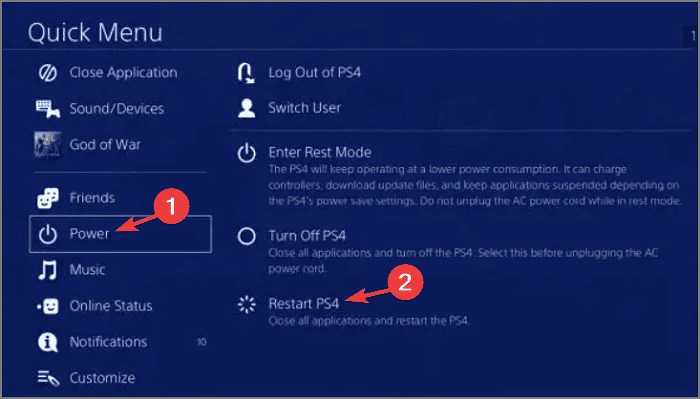
1. Restart your PS4 console
- Press the PS button on your controller and select the Power option.
- Choose Restart PS4.

- Once the console is rebooted, check if the error still shows up.
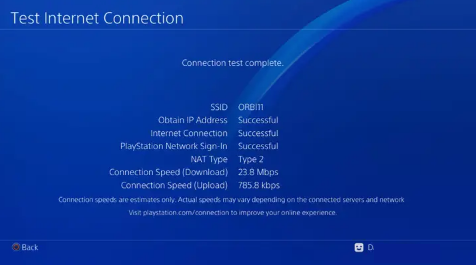
2. Test the console’s Internet connection
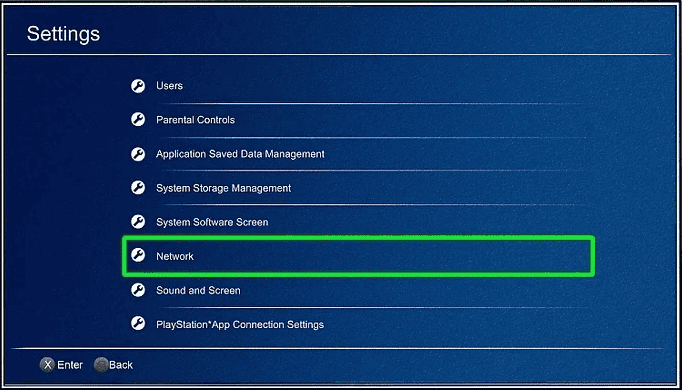
- Select Settings from the console’s Home Menu.
- Click on Network from the drop-down window.

- Select Test Internet Connection and wait till the test completes.

- Follow the on-screen instructions and check if the ce-33743-0 error persists.

3. Power cycle your router and re-enable the SSID broadcast
- Switch off your router and disconnect it from its power source. This includes removing batteries if it uses any.
- Wait a minute before hooking it up on power and switching it on again.
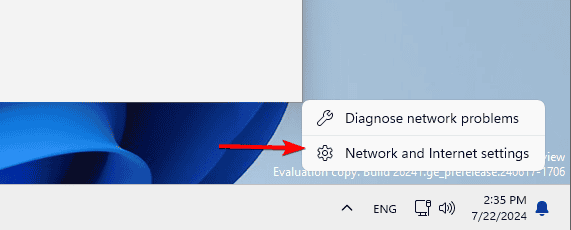
- Right-click the network icon in your Taskbar and choose Network & Internet settings.

- When the new window appears, click on Network and Sharing Center.

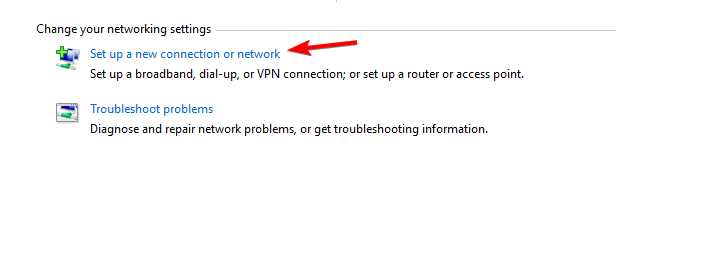
- Network and Sharing Center window will now appear. Click on Set up a new connection or network.

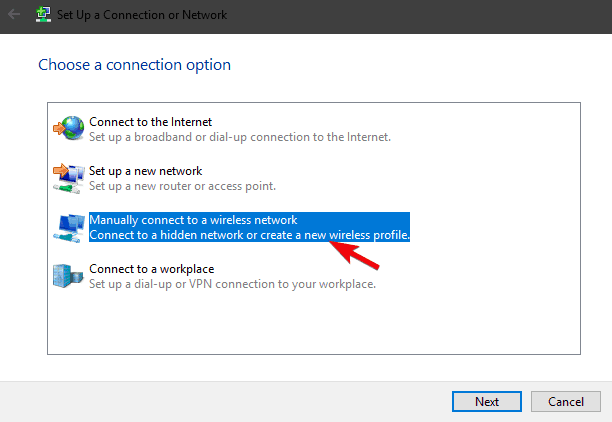
- Now select Manually connect to a wireless network and click Next.

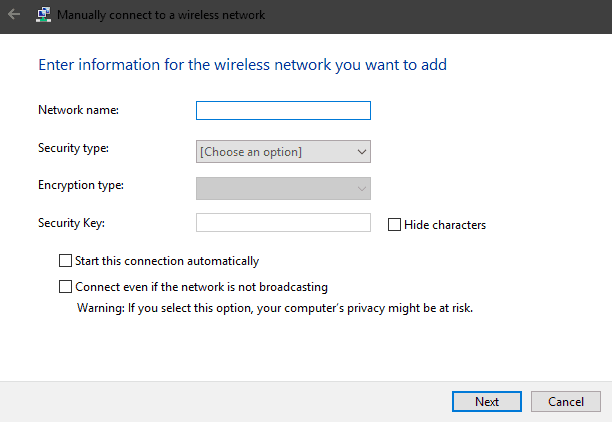
- Enter the required information such as Network name, Security type, and Security Key. Keep in mind that you need to enter the correct information or else you won’t be able to find and access your network.
- Also, be sure to enable Connect even if the network is not broadcasting and Start this connection automatically options. Once you’re done, click Next to proceed.
- Try connecting your PS4 with an ethernet cable this time around and see if it works.

4. Change DNS on the console
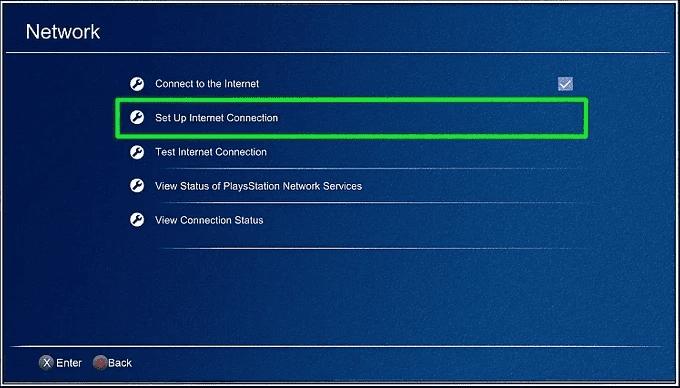
- Go to Settings on the home screen.
- Select Network.

- Click Set Up Internet Connection.

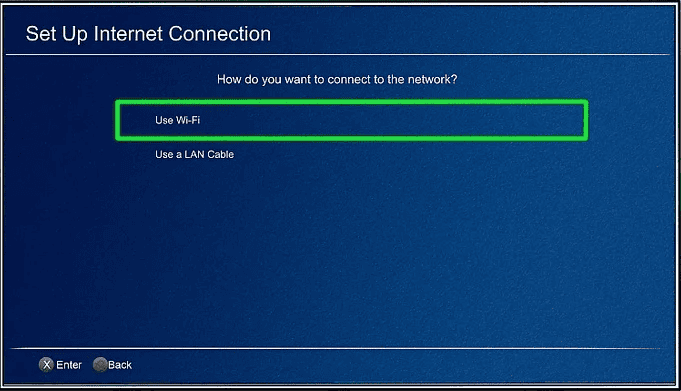
- Choose Wi-Fi or LAN Cable, depending on the option you are using.

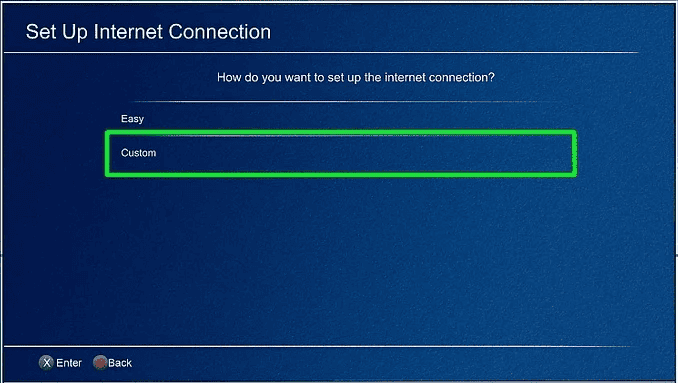
- Click Custom, choose Automatic for IP address settings, then choose Do Not Specify for DHCP host name.

- On the DNS Settings screen, select Manual.
- For Primary DNS, type 8.8.8.8, and for the Secondary DNS, type 8.8.4.4.

- Once done, test the network connection.
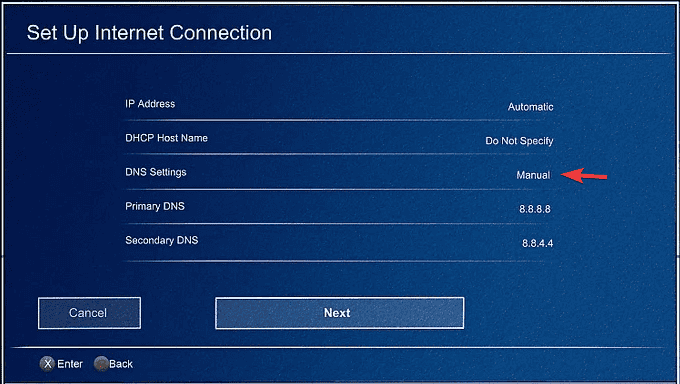
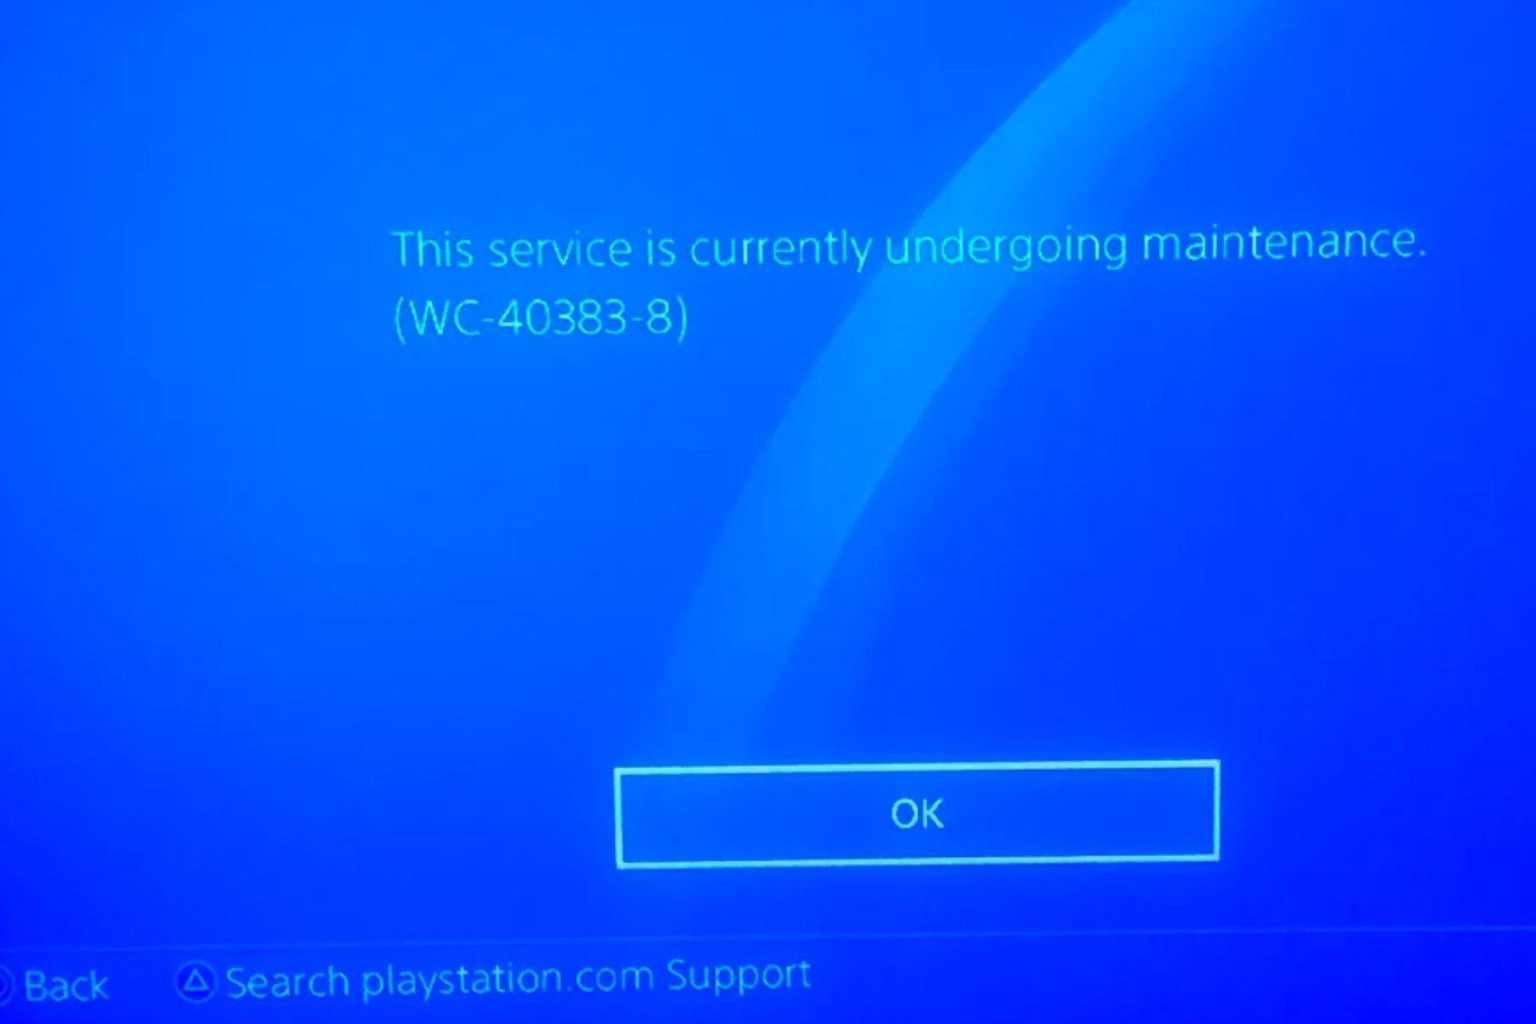
It is possible that your current DNS is slow and hence any connection request is timed out. Changing to a more reliable DNS can improve the speed and reduce the latency hence minimizing connection errors like the wc-40383-8-ps4 error code.
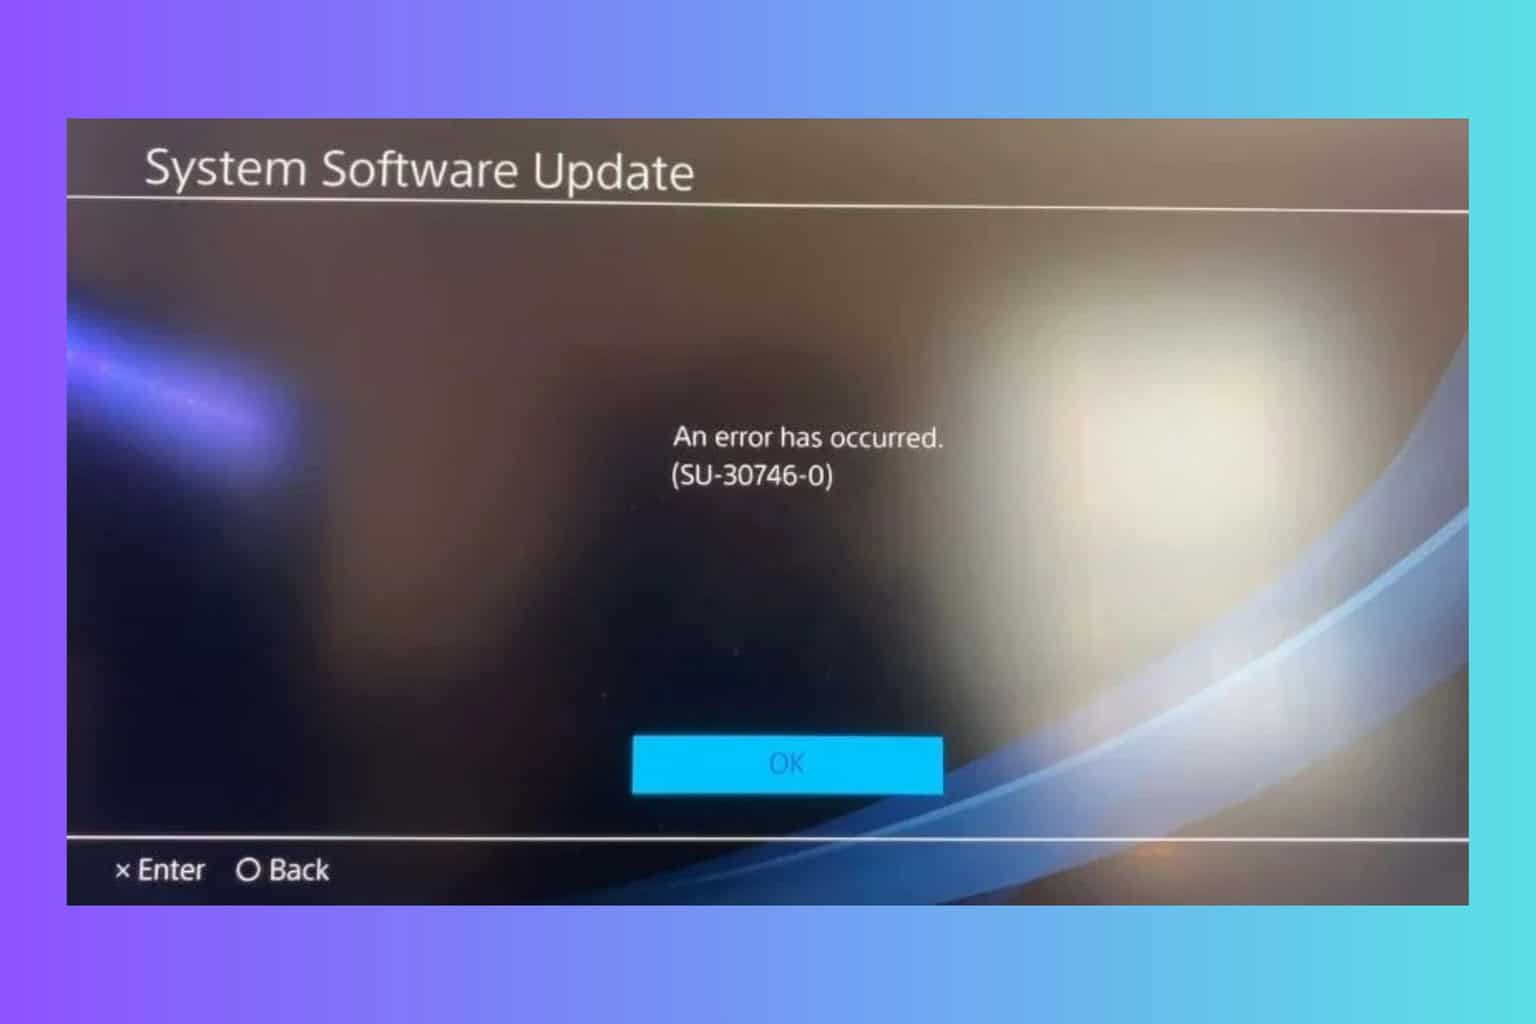
5. Update your console firmware
- Download the update file from the PS4 System Software Update page.
- Connect the USB flash drive on your computer and press Windows + E to open File Explorer.
- Navigate to the USB drive, click New, then Folder from the drop-down menu, and name it PS4.
- Double-click the PS4 folder to open it, then click New Folder, and name it UPDATE.
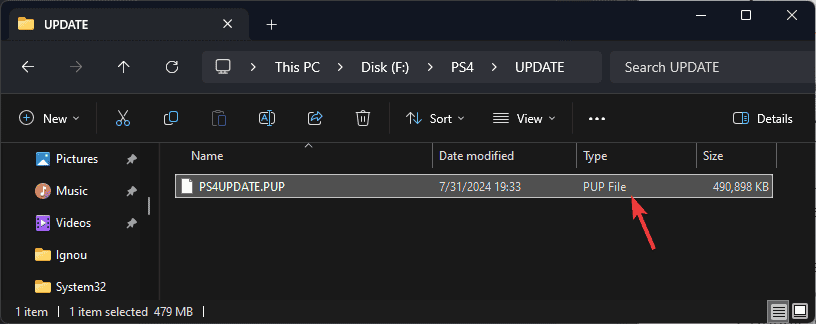
- Double-click the UPDATE folder and copy & paste the file you downloaded in the first step in the folder. Ensure the name of the file is PS4UPDATE.PUP

- Go to the system tray, right-click the pen, and choose to Eject it safely.
- Now plug the USB drive into your PS4 console.
- Press and hold the power button, and release it after you hear a second beep to start the PS4 in safe mode.
- Connect the DualShock 4 controller to the console with its USB cable, and press its PS pairing button.
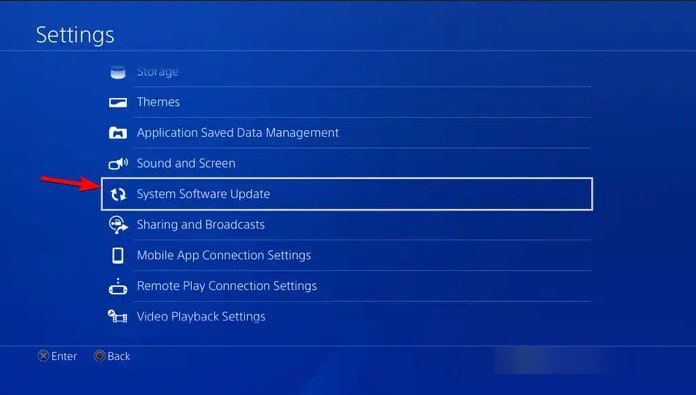
- Choose System Software Update.

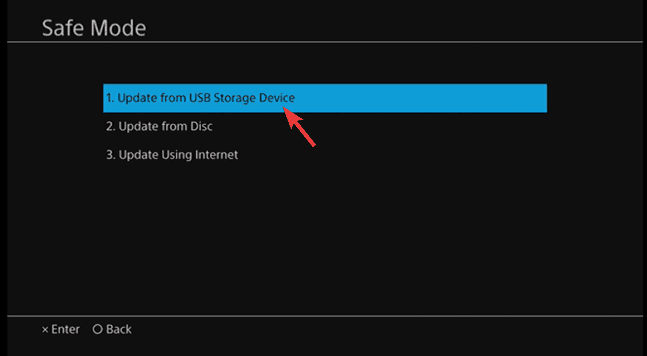
- Select Update from USB Storage Device, then click OK.

- Choose Next to continue and follow the on-screen instructions to complete the process.
You may perform all these steps but the ce-33743-0 network error may still be persistent. If this is the case, there’s a high likelihood of it being a server error. You can get in touch with PlayStation support for further assistance.
Sometimes, your PS4 may lose connection to the server and needs to be re-established.
In future, to avoid such errors, ensure you regularly check for firmware updates, stay on top of scheduled maintenance and perform routine checks on your network status to ensure it is fast and stable.
PlayStation errors are varied and you may be locked out due to a network sign-in error or the ce-33729-4 error code but it’s nothing we can’t handle. Your console may also fail to connect to the PlayStation servers so find out what to do in such a situation.
Let us know if you have any additional solutions up your sleeve that worked for you in the comment section below.


User forum
0 messages