Classpnp.sys Blue Screen Error: 4 Simple Solutions to Use
Disconnecting the faulty hardware should fix this issue
Key notes
- If you are getting the CLASSPNP.SYS blue screen error, it is likely caused by external hardware.
- You can fix this issue by repairing faulty system files running some commands.
- Another excellent solution is to restore your PC to an earlier point.

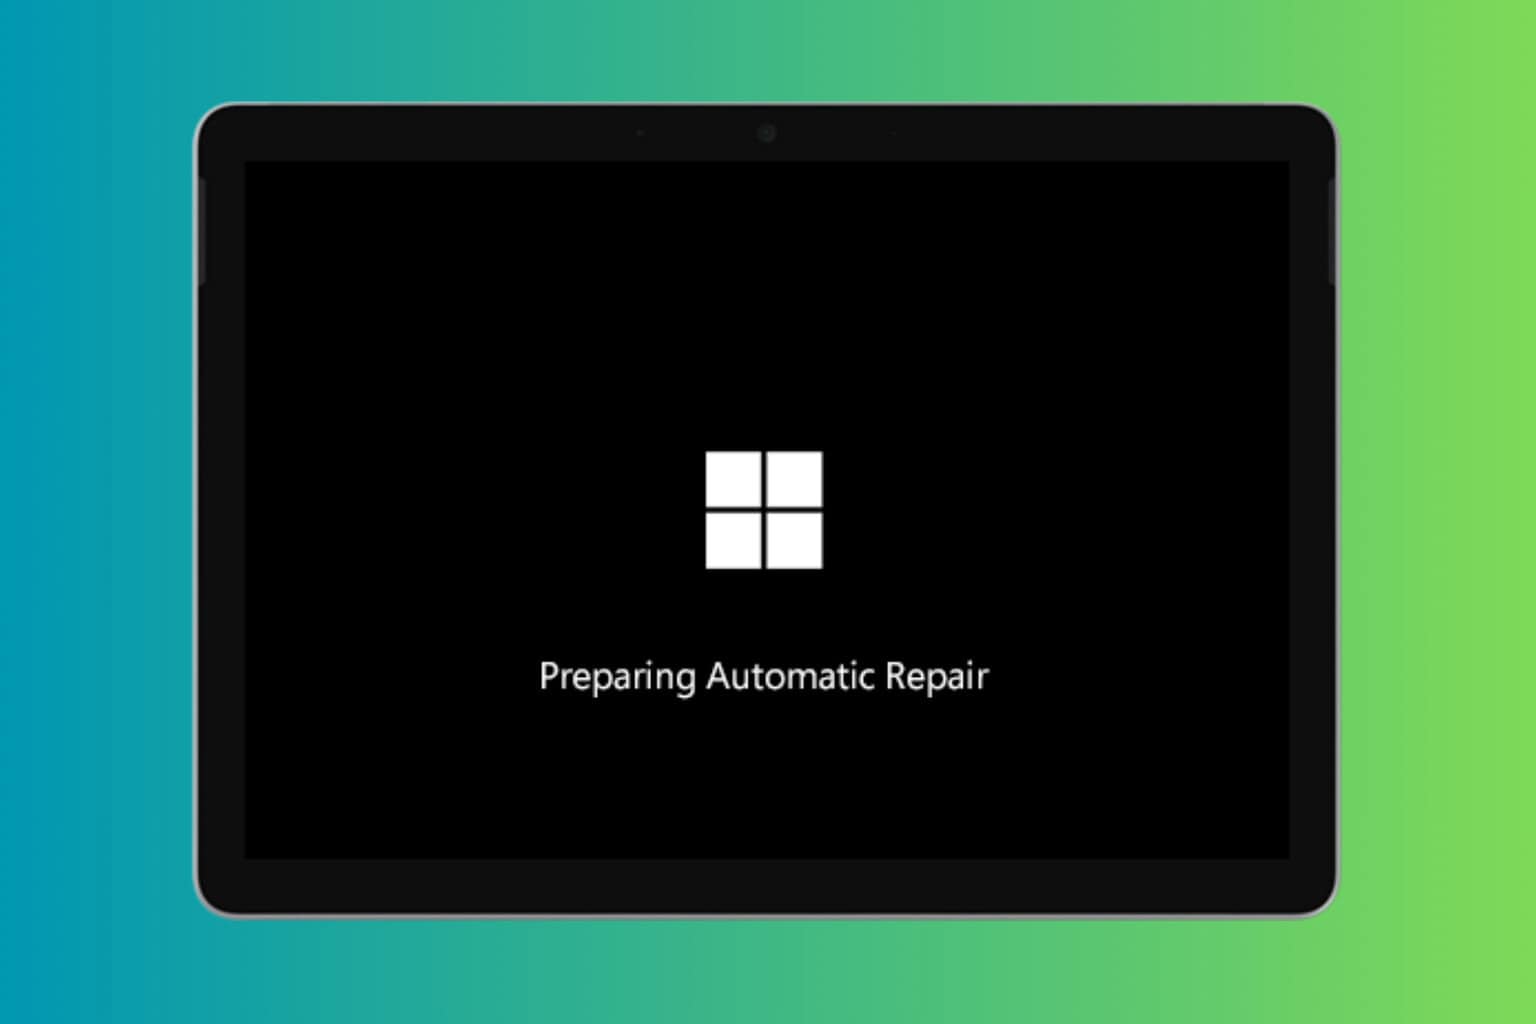
The Classpnp.sys error is a BSOD error, and it leaves the affected PC unusable. The error can occur for several reasons, including hardware failure and software corruption.
In this detailed guide, we will show you how to fix this issue, irrespective of the cause.
What causes Classpnp.sys Windows 10 blue screen error?
There are a series of factors that can cause Classpnp.sys BSOD error. Below are some of the notable ones:
- Faulty hardware: The most prominent reason Classpnp.sys error makes your device get stuck or fail is faulty hardware. You need to disconnect the hardware and restart your PC.
- Faulty software: Sometimes, this issue can be caused by a faulty or incompatible program. The solution to this is to uninstall the app.
What does Classpnp Sys do?
Classpnp.sys is a Microsoft Windows SCSI class system file that comes as part of the Windows OS. This critical file system ensures your PC runs smoothly.
This system file comes with your Windows PC by default and should never be downloaded from third-party websites.
How do I fix Classpnp.sys error?
Before delving into the solutions in this section, below are some preliminary troubleshooting steps to try:
- Remove faulty internal hardware (RAM, video card, or hard disk)
- Disconnect all external hardware
- Change SATA mode in BIOS (from AHCI to IDE and vice versa)
1. Uninstall recently installed programs
- Press the Windows key + R, type appwiz.cpl, and click OK.

- Right-click the problematic software and click Uninstall.

- Finally, follow the onscreen instructions to complete the process and restart your PC.
Some Windows users have reported the Classpnp.sys error to have appeared after installing a video game or software. In such a situation, the software is likely causing the error.
If you can boot into Windows and go past the login screen, try to uninstall the game or software.
2. Run System File Checker
- Press the Windows key, type cmd, and click Run as administrator under Command Prompt.

- Type the command below and hit Enter to run it:
sfc /scannow
- Finally, wait for the command to finish running and restart your PC.
Sometimes, the Classpnp.sys error can be due to corrupt system files. If you can boot into your PC normally, the steps above should help you solve the problem.
If you can’t boot into your PC normally, follow the steps below:
- Power on your PC and press the Power button to shut it down when the manufacturer logo shows forcibly. Repeat this until the Advanced startup menu shows up.
- Now, select Troubleshoot.

- Select Advanced options.

- Next, choose Command Prompt.

- Now, type the command below and hit Enter:
sfc /scannow - If this does not work, run the command below:
Sfc /scannow /OFFBOOTDIR=C: /OFFWINDIR=C:Windows - Finally, wait for the command to finish running and restart your PC.
With this, the Classpnp.sys error should be fixed if corrupt system files cause it.
Alternatively, you can repair your system files using a dedicated solution. This clever tool relieves the stress of running and waiting for multiple commands.
Specialized repair tools can replace the corrupt files with an original version from their extensive databases.
3. Restore Windows to an earlier point
- Press the Windows key + R, type rstrui.exe, and click OK.

- Click the Next button.

- Now, select a restore point and click the Next button.

- Finally, click the Finish button and follow the onscreen instructions to complete the process.

Sometimes, the Classpnp.sys Blue Screen of Death error can be caused by changes you have made to your PC. To fix this, you need to restore your PC to an earlier point when everything is working properly.
If you cannot boot into your PC normally, follow the steps below:
- Power on your PC and press the Power button to shut it down when the manufacturer logo shows forcibly. Repeat this until the Advanced startup menu shows up.
- Now, choose Troubleshoot > Advanced options.

- Finally, select System Restore and follow the onscreen instructions to complete the process.

After restoring your PC, check if the error is fixed.
4. Clean Install Windows
This is the least recommended solution to fix the Classpnp.sys error. However, if the problem started on a new computer or after you installed the updates, clean installing Windows with the latest available version can fix the issue.
Make sure you take a backup of any available data before performing a clean install.
The Classpnp.sys error can be pretty frustrating. However, following the solutions in this guide is pretty easy to fix.
If you are facing MULTIPLE_IRP_COMPLETE_REQUESTS error on your PC, check our detailed guide to fix it.
Feel free to let us know the solution that helped you fix this issue in the comments below.
Read our disclosure page to find out how can you help Windows Report sustain the editorial team. Read more


Improve this guide


User forum
0 messages