4 Easy Methods to Compress a PowerPoint File
Microsoft Powerpoint has a built-in compression feature
Key notes
- Trying to send a PowerPoint file over email can sometimes be troublesome, especially if its size is extremely big.
- One reason why they are so big is due to the videos or images.
- In this article, we will explore some ways that will help reduce your PowerPoint size.

PowerPoint is a great tool for business or even personal presentation and it’s been an option that many users have chosen.
Unfortunately, many PowerPoint presentations can become huge due to the images, videos, graphics, or 3D models inserted.
One reason why this is not such a great thing is that it can be really difficult to share or upload such files.
If you are looking for ways to compress your PowerPoint file, keep on reading. We have compiled a list of a few easy steps that will help you solve this in no time.
How can I compress a PowerPoint file?
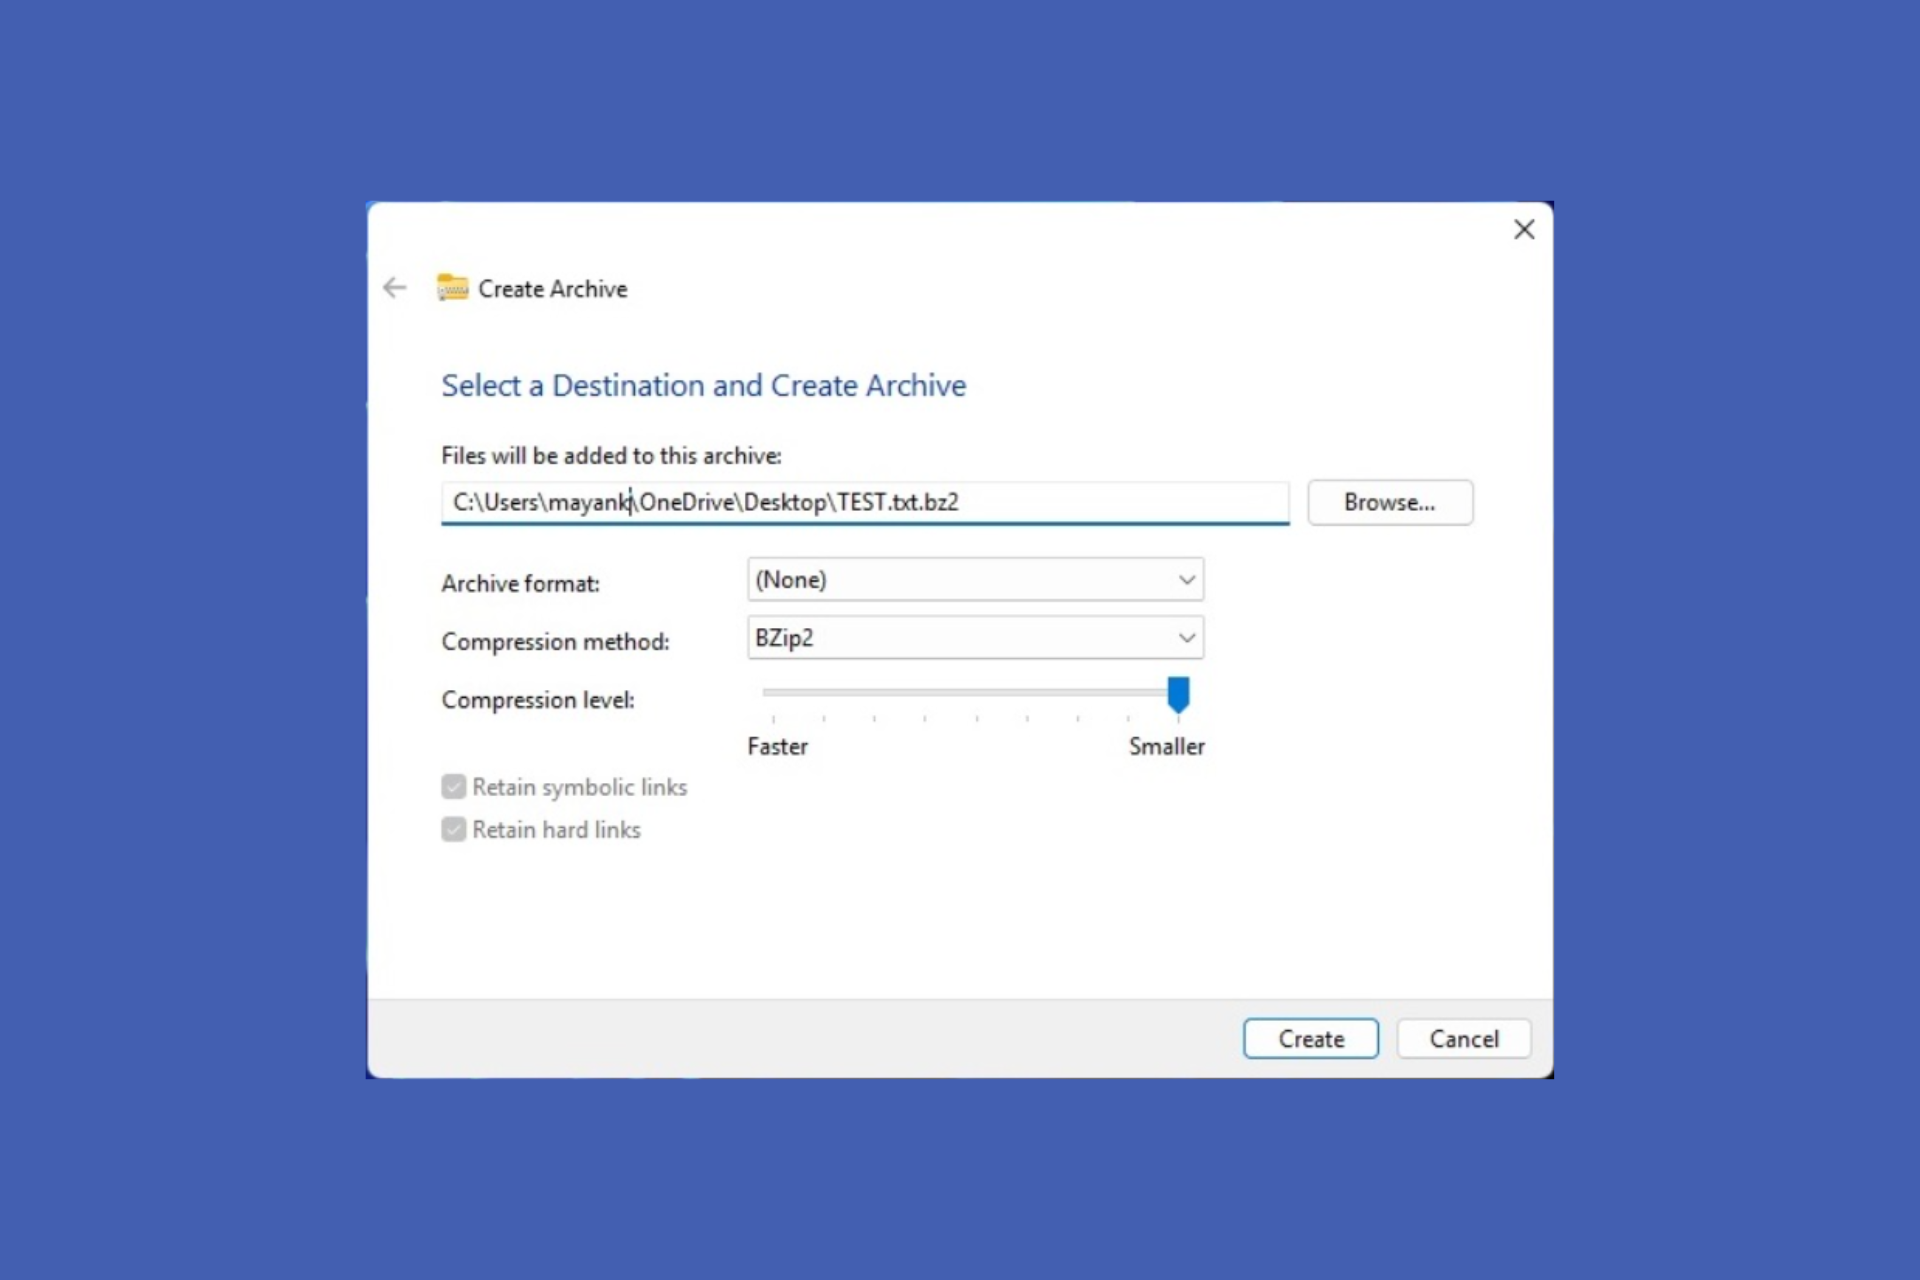
1. Use WinZip to compress Powerpoint files

Compressing a PowerPoint file shouldn’t feel like a difficult process, especially when you are using a dedicated tool. One such great tool that we recommend you use is WinZip.
Some of the very useful features this software has to offer are sharing, editing, watermarking, or moving the files stored on your PC or in the cloud service.
Additionally, WinZip can integrate itself into Dropbox, OneDrive, GoogleDrive, and more, which makes it easy to work on your documents directly from a ZIP file.
Due to its options that allow you to share, manage, protect, and even back up your files, this software is more than just a simple compression tool.
When it comes to adding new files to a zipped archive, the process is extremely simple. You can simply drag and drop any file you want from your device and the compression will take a few seconds.
It takes just a few clicks to use Winzip. After you downloaded it and installed it on your device, you will have to locate the PowerPoint file you need to compress, right-click on it and choose Zip from the menu.
Here are some of its key features:
- Manage your file and File splitter features.
- Repairs faulty ZIP file.
- Allows you to extract multiple files.
- Compression features.
- Password protection feature.
- Data back-up and sharing options.
- Supports multiple compression formats: Zip, Zipx, RAR, 7z, TAR, GZIP, VHD, XZ, and more.
”WinZip”
”Stop
2. Convert your file to PDF to reduce PPT file size

- Press F12 or go to the Save As dialog box.
- Change the File Type to PDF.
- Click Save.
Converting your file to PDF will significantly reduce its size. This happens because in the PDF compression process, all the images will be reduced in size, and the video or media files will be removed.
It can happen that not all the elements in your presentation will convert to the PDF file properly, so make sure to keep this in mind as well.
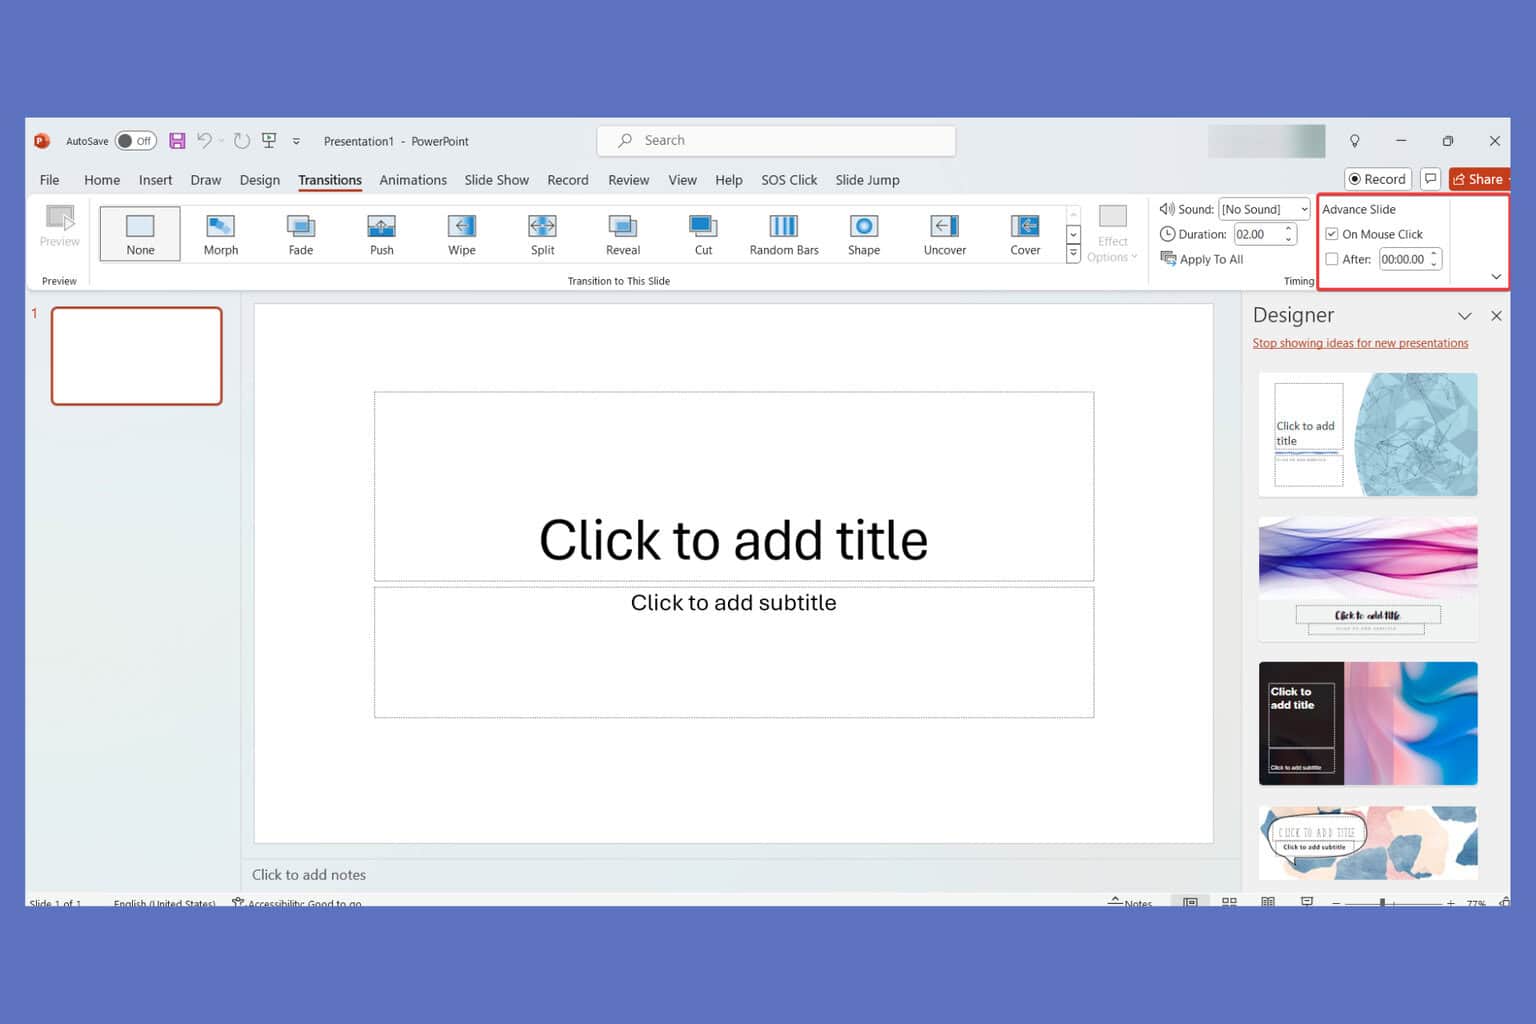
3. Compress files in Powerpoint
1. Open Microsoft Powerpoint.
2. Next, select the Info tab.

3. Open the Compress Media menu.
4. Choose a compression file size (Full HD 1080p, HD 720p or Standard 480p).

5. Save the file to your PC.
The default video compression available in PowerPoint does a really great job at compressing PPT files. This built-in compression feature can reduce the PPT file size by over 6x.
4. Use an online PDF compression tool

If you don’t feel confident in compressing your PowerPoint file by yourself, there are no worries. Fortunately enough there are plenty of online tools you can use in order to do this.
Most of these tools are very easy to use, with some simple instructions to follow. Usually, al you need to do is select your file, upload it on the website, wait for the compressing process to finish, and download it at the end.
One advantage of using an online browser-based tool is that by doing that you will avoid using your computer’s resources, and instead, make the entire process online.
We do recommend you check the website’s security and privacy and make sure your antivirus is activated and your device is protected.
Taking into consideration that you will be downloading the file over the Internet, is better to take some extra protection steps.
This is all. We hope one of our suggestions helped you learn how to easily compress your PowerPoint file without spending too much time. Before you leave, don’t miss our latest guide on how to open PPTX file in Windows 11.
If you have additional questions or suggestions, please let us know in the comments section below.
Read our disclosure page to find out how can you help Windows Report sustain the editorial team. Read more


Improve this guide


User forum
0 messages