How to Setup RAID 1 on Windows 11
Use this high speed, more storage array with Windows
Key notes
- Did you know you can increase the performance of your PC by stripping data across multiple physical disks?
- We found four different ways to secure your data by mirroring your drives.
- Check out this article for a more comprehensive step-by-step guide.

Windows 11 came with stringent requirements, and it would be a bummer to lose your hard drive and data after struggling tooth and nail to acquire that storage. Well, we have good news that can help cushion you from a hard drive failure.
With built-in Windows tools, you can copy all your data from one drive to another. This way, if one drive fails, you can mirror and reconstruct the original data on a replacement drive.
Can Windows 11 do RAID? Thanks to the Windows Storage Spaces feature, you can perform a RAID on your Windows 11. This feature allows you to create multiple virtual disks using hard drives directly attached to your computer with no degradation in performance.
Benefits of a RAID:
- Reduce the risk of data loss due to disk failure
- Increase performance by spreading the load across multiple disks
- Expand your storage capacity by adding additional drives
- Acts as an alternative backup solution
How do I configure RAID in Windows 11?
Hardware Requirements for a RAID setup:
- All the disks must use the same file system, preferably NTFS.
- Ensure you have enough free RAM so your PC doesn’t have to constantly write data back and forth between its hard drive and RAM.
- Download the RAID controller driver.
- Your CPU should be able to perform the supported RAID levels. If multi-core, even better.
- The hard drive disks required will depend on the RAID configuration you choose, but as a general rule of thumb, two should be for RAID 0, which is the minimum array configuration.
- Compatible motherboard and chipset. Most modern motherboards support RAID, but older ones may not so check whether your motherboard comes with SATA connectors.
1. By using the Settings app
- Hit the Windows key and click on Settings.

- Click on System, then select Storage.

- Select Advanced storage settings and select Storage Spaces.

- Click on Create a new pool and Storage Space.

- Select and check the disk you wish to RAID, then hit Create.

- Enter a new name for your storage space and a Size & resiliency.
- Under resiliency, select one of the options with Simple (no resiliency), Two-way mirror, Three-way mirror, and Parity representing RAID 0, RAID 1, RAID 1, and RAID 5, respectively, then hit Create.

- Next, select a name, drive letter, file system as NTFS, and finally, hit Format.

Remember to back up all your files before you embark on this exercise.
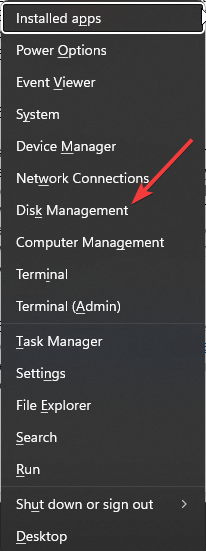
2. By using Disk Management settings
- Right-click on the Start Menu icon and select Disk Management.
- Locate the drive you wish to RAID, right-click on it, and select New Striped Volume or New Mirrored Volume, depending on the RAID array you wish to create. RAID 0 will be the default, and RAID 1 for the latter.

- Click Next.
- Add the disk you wish to RAID and hit Next.

- Assign a letter to the drive and hit Next.
- Select NFTS as the file system and click Next.

- Click on Finish and select Yes in the next confirmation prompt.
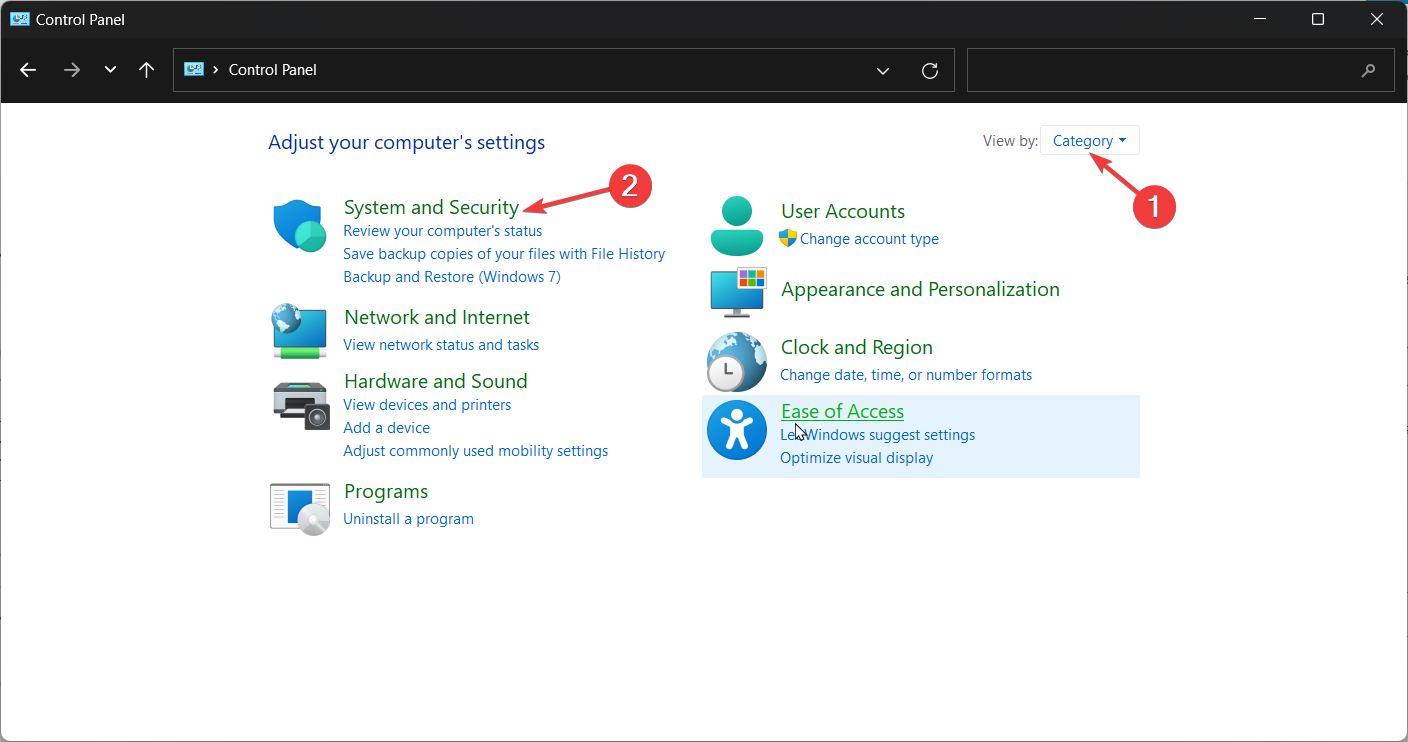
3. By using the Control Panel
- Hit the Windows key, type Control Panel, and click Open.

- Click on System and Security.
- Select Storage Spaces.

- Click on Create a new pool and storage space.

- Select a drive you’d like to add to the RAID array.
- Enter a name and select a drive letter for the Storage space, and set the file system as NTFS.
- Under Including resiliency, select one of the options with Simple (no resiliency), Two-way mirror, Three-way mirror, and Parity representing RAID 0, RAID 1, RAID 1, and RAID 5, respectively.
- Now press Create storage space.

4. By using the Command Prompt
- Hit the Windows key, type cmd in the search bar, and click Run as administrator.

- Type in the following command:
diskpart
- Next, enter the following command to list the drives and select one. Remember to replace X with the corresponding drive number:
listdiskSelect disk X - Now type in:
convert dynamic - Create a RAID by entering the following command:
Create Volume RAID Disk 1, 2, 3 - With the newly created RAID volume, type in the following commands and press Enter after each one to format. Remember to replace C with your desired drive letter:
select volume 2Format FS=NTFS Label=MyNewVolumeAssign Letter=C
You can achieve the same using the PowerShell command. Alternatively, you can consider using RAID software if these steps are too lengthy.
What do the different RAID levels mean?
- RAID 0 – Data from multiple drives is combined into one drive, providing higher performance than any single drive in the array. However, if one drive fails, all data is lost since there is no redundancy.
- RAID 1 – If one drive fails, data is still available on the other drive(s). However, performance is severely reduced because only half of your total storage capacity is available.
- RAID 2 – RAID 2 is a variation of RAID 1, only faster with more storage capacity. The results are still the same, where if one disk fails, both copies are lost.
- RAID 3 – This type can tolerate one drive failure at a time without losing data or suffering performance degradation. It uses disk striping with parity, and the parity information is stored in a separate stripe on a different disk.
- RAID 4 – RAID 4 is a combined striping and parity scheme, where data is striped across all drives, as with RAID 0. However, there’s an additional set of parity information to recover from drive failures.
- RAID 5 – Data is striped across all of the drives in the array. If one drive fails, the data on it isn’t lost because it’s distributed across all other drives. However, since each drive has to store more information than usual, it suffers from capacity bottlenecks.
- RAID 6 – This RAID type is the most balanced of all the RAID levels. It provides excellent read/write performance, good capacity, and fault tolerance.
- RAID 10 – RAID 10 is a particular type that provides the benefits of RAID 1 and RAID 0. It requires at least two physical drives and offers a two-way mirror combining striping and mirroring benefits.
This is just an overview of the different RAIDs, but for a complete scoop on all RAID levels, check out our detailed article. If you can’t decide which version to use, we suggest reading our guide on RAID 0 vs RAID 1 to learn about the differences between the two.
When you use RAID properly, you will create a virtual drive that can handle the failure of a disk drive or set of disks without interrupting the operation of your system. And the beauty of it all is that it is not only limited to your HDD, as you can also RAID external drives.
Let us know what method you found easy to follow in the comment section below.
Read our disclosure page to find out how can you help Windows Report sustain the editorial team. Read more


Improve this guide


User forum
1 messages