How to Convert an MBR Partition Table to GUID on a Mac
Changing the partition format is not hard using the right tools
Key notes
- One way of turning partitions from MBR to GPT on a Mac is to use a dedicated tool such as the one mentioned here.
- Users of macOS can convert MBR to GPT easily with the system's Disk Utility function.
- Come with us to find out how to configure it securely on your device.
If you own a Mac PC, then you should know that whenever you need to install your OS, your main partition needs to be GUID (or GPR), and not MBR which is primarily specific to Windows.
Of course, there are situations when you need to convert from MBR to GPR. These situations include:
- Upgrading your Mac to a newer version that no longer supports MBR
- Installing Windows on a Mac
- Changing the PC’s hard drive, but it comes as MBR by default
Because of this, we’ve decided to make a step-by-step guide on how you can convert an MBR partition to a GUID on a Mac device.
How do I convert my MBR partition to GPT?
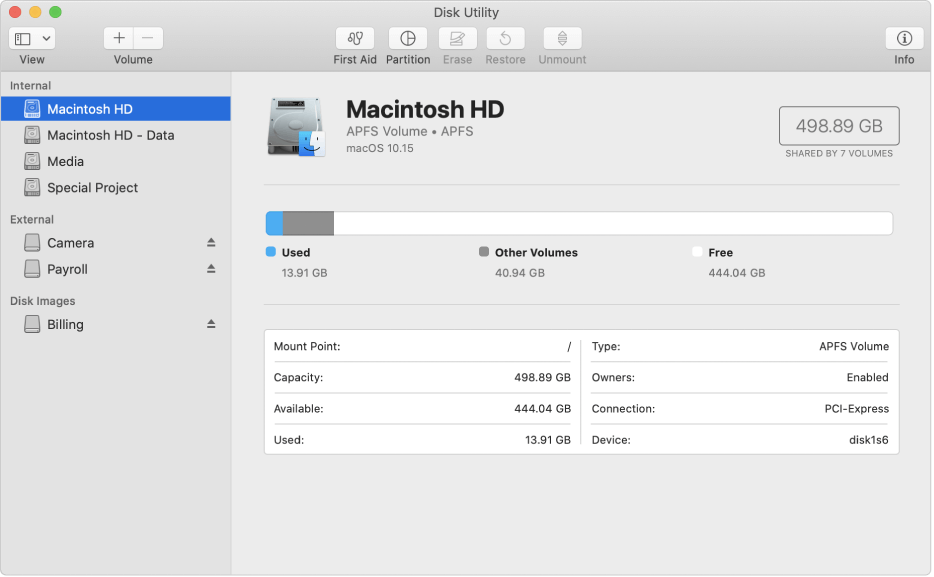
1. Use the Disk Utility tool
- Boot from your OS X Installer Disc.
- Choose your language and click on Continue. A menu bar should appear.
- Go to the Utilities menu.
- Select Disk Utility.
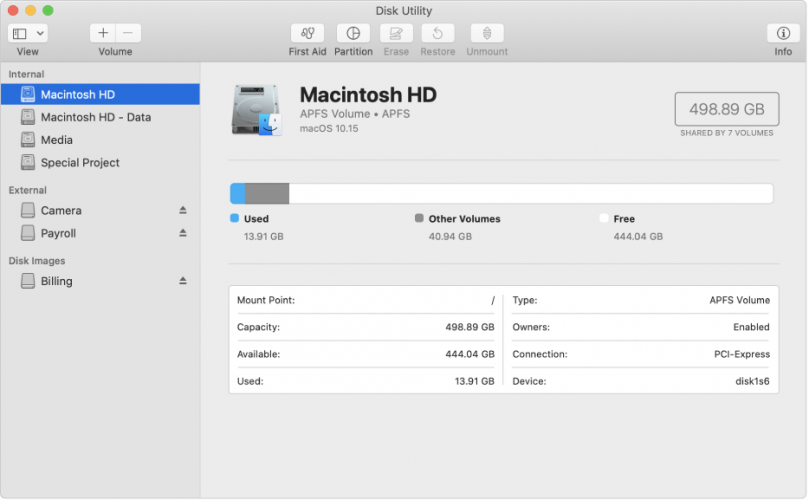
- When the Disk Utility loads select your hard drive.
- Under the Volume Scheme heading set the number of partitions to one.
- Click Options.
- Set the partition scheme to GUID.
- Click OK.
- Set the format type to Mac OS Extended (Journaled).
- Click on the Partition button.
- Wait for the process to run its course.
- Select the freshly created volume.
- Click on the Erase tab.
- Set the format type to Mac OS Extended (Journaled).
- Click on Security.
- Check the button for Zero Data.
- Click on OK to return to the Erase window.
- Click on Erase.
- Wait for the process to run its course.
2. Use a third-party tool
When you want to get the job done quicker and not waste too much time on this, using a dedicated third-party tool is the most convenient solution.
Paragon’s Hard Disk Manager for Mac is an excellent choice to manage your Mac’s disk partitions.
With a simple-to-use interface, Paragon provides powerful solutions to backup, resegment, and wipe your disk. Recovering deleted or lost files is also possible with just a few clicks.
Converting and redistributing the unused space between the partitions is among the most used tool option and you will be able to fully benefit from it.
By following these steps you should now have converted an MBR drive to a GUID (GPR) drive without any issues.
 NOTE
NOTE
You can reverse the changes at any time by following the steps mentioned above, only this time you select MBR instead of GUID.
Did you find this article useful? Let us know what your opinions are in the comment section below.
Read our disclosure page to find out how can you help Windows Report sustain the editorial team. Read more


Improve this guide


User forum
0 messages