How to Create a Self-Signed Certificate in Windows 10
Use a command-line tool or third-party software
Key notes
- The process of adding an SSL certificate to your website is pretty straightforward, and this guide will help.
- We also discuss the 3 most efficient ways to either purchase an SSL certificate, use an open-source SSL, or create your own.
- One of the best ways to generate a self-signed certificate in Windows 10 is to do so via a command line.

Adding an SSL certificate to your website is a straightforward process. You can either purchase a third-party SSL certificate and renew it on a yearly basis or use an open-source SSL certificate and create a corn job to renew it every month.
However, for development and testing, you can explore the possibility of creating a self-signed SSL certificate in Windows.
Creating a self-signed certificate is an excellent alternative to purchasing and renewing a yearly certification for testing purposes. You can make use of OpenSSL to generate a self-signed certificate for this purpose.
In this article, we explore how to create a self-signed certificate in Windows 10. The later part of the article also explores how to deploy the self-signed certificate to client machines.
Quick Tip:
Although you can save some money if you create a self-signed certificate, it may lead to a permanent block of your website for some users. This is caused by the certificate error message and in most cases cannot be undone.
Besides that, the process is time-consuming and really not worth your time which also has a certain cost. We strongly recommend using a 3rd party SSL service provider.

GoDaddy SSL Certificates
GoDaddy is one of the best web hosting providers that also offers affordable SSL certificates.How can I generate a self-signed certificate in Windows 10?
1. Use OpenSSL to create a self-signed certificate
1.1 Install OpenSSL

- Download the latest OpenSSL windows installer from a third-party source.
- Run the installer. OpenSSL requires Microsoft Visual C++ to run. The installer will prompt you to install Visual C++ if it is already not installed.
- Click Yes to install.
- Run the OpenSSL installer again and select the installation directory.
- Click Next.
- Open a command prompt and type OpenSSL to get OpenSSL prompt.
1.2 Create a public/private key file pair

- Make sure you have OpenSSL installed.
- Open Command Prompt and create a new directory on your C drive:
C: >cd Test - Now go to the new directory:
C: Test> - Now you need to type the path of the OpenSSL install directory followed by the RSA key algorithm.
C: Test>c:opensslbinopenssl genrsa -out privkey.pem 4096 - Run the following command to split the generated file into separate private and public key files:
C: Test>c:opensslbinopenssl ssh-keygen -t rsa -b 4096 -f privkey.pem
Once you have the public/private key generated, follow the next set of steps to create a self-signed certificate file on a Windows system.
1.3 Generate a self-signed certificate

- Open a Command Prompt window.
- Go to the directory that you created earlier for the public/private key file.
C: Test> - Enter the path of the OpenSSL install directory, followed by the self-signed certificate algorithm:
C: Test>c:opensslbinopenssl req -new -x509 -key privkey.pem -out cacert.pem -days 1095
- Follow the on-screen instruction.
- You need to enter information about your organization, region, and contact details to create a self-signed certificate.
If you would rather use PowerShell to create a self-signed certificate, follow the next set of steps instead.
After creating your self-signed certificate, you can use certmgr.msc to view, import, or manage it directly from the Windows Certificate Manager for easier handling.
2. Generate a Self-Signed Certificate on Windows using PowerShell
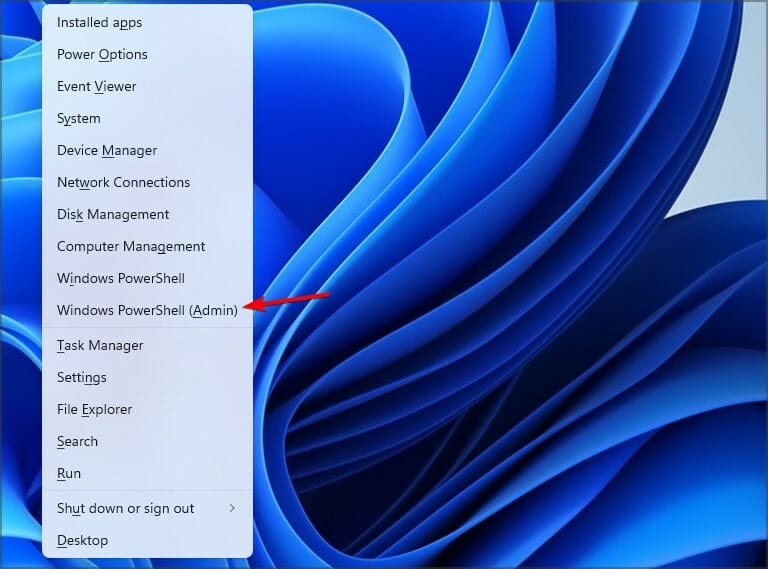
1. Press the Windows key, and type Powershell in the search box. Right-click on the PowerShell app and select Run as Administrator.
2. Run the New-SelfsignedCertificate command, as shown below:
$cert = New-SelfSignedCertificate -certstorelocation cert:localmachinemy -dnsname testcert.windowsreport.com
3. This will add the certificate to the locater store on your PC. Replace testcert.windowsreport.com with your domain name in the above command.
4. Next, create a password for your export file:
$pwd = ConvertTo-SecureString -String ‘password!’ -Force -AsPlainText5. Replace Password with your own password.
6. Enter the following command to export the self-signed certificate:
$path = 'cert:localMachinemy' + $cert.thumbprint Export-PfxCertificate -cert $path -FilePath c:tempcert.pfx -Password $pwd7. In the above command replace c:temp with the directory where you want to export the file.
8. You can import the exported file and deploy it for your project.
Another great option to generate a self-signed certificate on Windows 10 is to use a command-line tool such as Powershell.
With it, you don’t need to download any third-party software. You just need to input the appropriate command line in Powershell, and the tool will do the job for you.
How to add my self-signed certificate into the curls ca file on Windows 10?

- Once you have created a self-signed certificate and installed it, you may want cURL to trust the certificate as well.
- The later versions of cURL don’t include a trusted listed a .pem file. You can download the .pem file and type the following command in the php.ini file.
curl.cainfo = "C:xamppphpcacert.pem" - Once done, you need to get cURL to trust your self-signed certificate. To do this, open your server.crt file. The file is created when you created your self-signed certificate.
- Copy all the content of the server.crt file and then add it to the cacert.pem file.
Creating a self-signed certificate using OpenSSL can be done using the Command Prompt or PowerShell. Being able to create your self-signed certificate allows you to create a temporary certificate for in-development projects that require an SSL certificate.
We hope you managed to generate a self-signed certificate on your Windows 10 PC. Let us know in the comments section which method you prefer to use.
Read our disclosure page to find out how can you help Windows Report sustain the editorial team. Read more


Improve this guide

User forum
0 messages