DLL Files Missing After Installing Windows 10 Creators Update [FIX]
Fix annoying DLL issues with our tested methods in no time
Key notes
- Are you getting DLL errors after installing Windows 10 Creator Update? We're here to help.
- There are practical ways to fix this, such as running an SFC scan using Command Prompt.
- On the other hand, you can use dedicated software that can resolve this issue automatically.

As time passes, Windows 10 users are getting more skeptical about the updates. Creators Update indeed promised a lot of valid improvements, but it seems to have failed in some other departments.
Users reported a lot of various issues after the update, and the list is longer than one would expect. One of the issues that emerged after the Creators Update is quite disastrous for affected users.
Namely, it seems that some of the essential DLL files got deleted or corrupted after the update.
If you’re not aware of the importance of DLL files, you should be. Simply put, these are the files that are closely related to certain programs, and they heavily affect their behavior in the Windows system. Basically, without them, you won’t be able to run certain programs, both built-in or 3rd-party.
So, if you have encountered errors followed by prompts about missing or corrupted DLL files, you’re in the right place.
We prepared some solutions that should help you restore these files and they can be found below.
How to repair missing or corrupted DLL files in Windows 10 Creators Update?
1. Run the SFC tool
The first step you can take when addressing this issue is to run the Command Prompt and use the SFC tool.
You can use the SFC scan command by following these instructions:
- Go to Search, type cmd, and open Command Prompt (Admin).
- Under the command line type the following command and press Enter:
- sfc/scannow
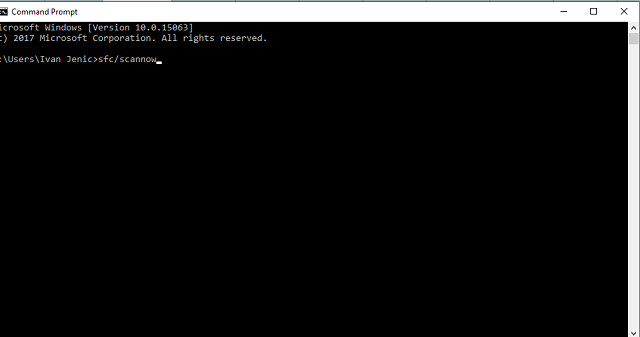
- sfc/scannow
- The scanning process may be lengthy.
SFC tool is a built-in function with the main purpose of scanning system files and restoring any that are corrupted or deleted. It should take care of the system files and restore their full functionality after the process is finished.
After the procedure is finished, the system should automatically restore missing DLL files. You should be able to use all the programs just like before the update.
2. Run DISM
- Go to Search, type cmd, and open Command Prompt (Admin).
- Under the command line, type the following command and press Enter:
- DISM /Online /Cleanup-Image /RestoreHealth
- Wait for approximately 10 minutes until the process is finished and restart your PC.
In addition, there’s an alternative way to utilize this nifty tool and restore missing DLL files. The procedure is just below:
- Mount your Windows 10 installation media. Either USB or DVD with the system ISO file.
- Right-click Start and open the Command Prompt (Admin).
- Under the command line, type the following commands and press Enter after each:
- dism /online /cleanup-image /scanhealth
- dism /online /cleanup-image /checkhealth
- dism /online /cleanup-image /restorehealth
- After all 3 of the above processes are finished, type the following command and press Enter:
- DISM /Online /Cleanup-Image /RestoreHealth /source:WIM:X:SourcesInstall.wim:1 /LimitAccess
- Make sure to change X value with the letter of the mounted drive with Windows 10 installation.
- After the procedure is finished, you should restart your PC and look for changes.
DISM brings a similar but a bit more advanced approach to the matter at hand. Namely, with the Deployment Image & Servicing Management tool, you can scan and restore missing files as same as with the SFC function.
However, instead of just relying on Windows Update, you can use Windows 10 installation media to restore missing or corrupted files. If the SFC isn’t up to the task, it’s worth running DISM first.
We’ll explain this procedure step-by-step, so make sure to follow the instructions closely and you should be good to go:
3. Reinstall 3rd-party applications
That can be done this way:
- Right-click the Start menu and open the Control Panel.
- Open Uninstall a program under the Programs section in the Category view.
- Navigate to the broken program and uninstall it.
- Restart your PC and reinstall the program/game again.
Even though the system tools mentioned above are perfect for system files, some users reported changes with their 3rd-party programs after the update.
Compared with the system files, this should be much easier to address. The answer is simple: just reinstall the troubled program or game, and you should resolve any DLL-related issues.
4. Obtain DLL files manually
If your system could not repair itself and restore missing DLL files, you can download those by hand. That’s most of the time a risky business since you are endangered of malware intrusions.
However, there’s a site that covers many of the present DLL files, malware-free and easy to use.
Once you know what DLL file is missing, you can search it under the site’s search bar and download it for free. After that, it’s just a question of placing it in the required location, and your problem should be resolved.
5. Reset your PC
If a problem at hand affected your system greatly and rendered it unusable (and missing DLL files can do that), you can try to reset your PC settings to default values.
- Click Start.
- Open Settings.
- Open the Update & Security section.
- Choose Recovery from the left pane.
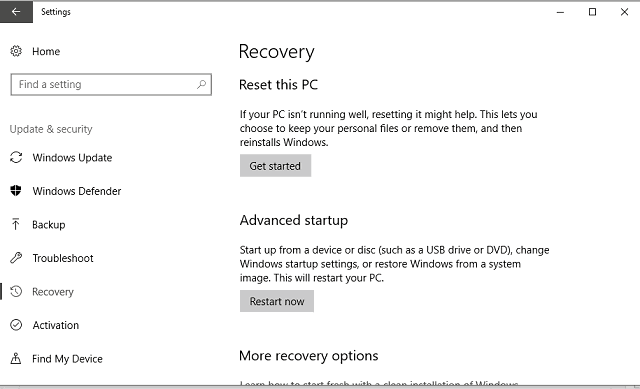
- Click Get Started under the Reset this PC.
- Choose Keep my files.
- After the procedure is finished, DLL errors should be long gone.
That is a similar procedure as a clean reinstall, but it will save you some time and preserve your data from the system partition. In case you’ve wondered how to utilize this recovery option that made its first appearance with Windows 10, follow the instructions below:
Check out our detailed article on how to deal with similar DLL-related errors like the speedtreert.dll.
That should do it. If you have any additional solutions and are keen to share them, please do so in the comments section. The same goes for questions.
Read our disclosure page to find out how can you help Windows Report sustain the editorial team. Read more


Improve this guide


User forum
0 messages