Fix Critical Windows error 0x00000019 in a few easy steps
3 min. read
Updated on
Read our disclosure page to find out how can you help Windows Report sustain the editorial team. Read more

Without any trigger from your part, you may encounter the Critical Windows error 0x00000019. This isn’t related to older Windows versions only, but it often appears on Windows 10 computers as well.
The error code is though replaced with the BAD_POOL_HEADER code instead, yet it means the same thing. As it turns out, this 0x00000019 error message has been known to occur as a result of one or more of the following: faulty RAM memory, 3rd party utilities, system file corruption, bad sectors on your HDD, and other hard drive issues.
This post shows you how to solve this Windows error, so don’t postpone applying the below procedures.
What can I do if getting Critical Windows error 0x00000019?
1. Check your RAM
- Click Start.
- Type in Memory Diagnostics Tool in the search box.
- Right-click on Memory Diagnostics Tool.
- Choose Run as Administrator.
- Follow the instructions to begin the diagnostic procedure.
If the error is caused by a faulty RAM memory, your best bet is to check your RAM using the Windows Memory Diagnostic Tool. To do so, follow the procedure detailed above.
2. Disable or uninstall any 3rd party utility
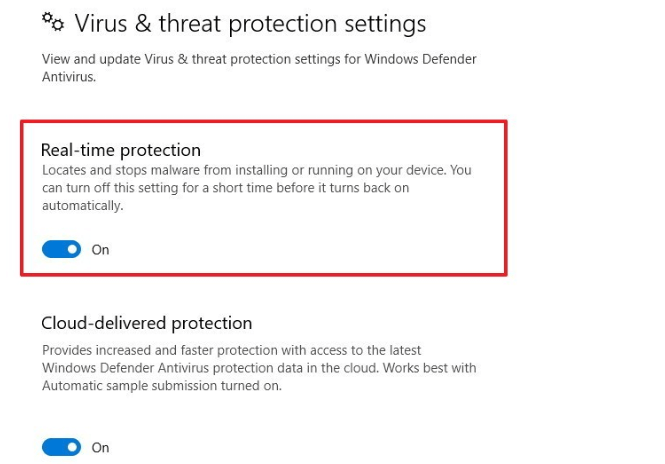
Certain brands of anti-malware software and other 3rd party utilities can corrupt the system memory, making this 0x00000019 error to appear. Thus, the second method you can try is to disable real-time protection.
This will be different depending on the 3rd party antivirus suite you’re using. However, you should generally be able to do it directly from the dedicated taskbar menu.
If this makes no difference, uninstall any anti-malware software running on your computer and then restart your computer.
3. Perform a CHKDSK scan
- To start, use the keyboard shortcut Windows Key + R to open up a Run dialog box and type cmd.
- Press Ctrl + Shift + Enter to open up an elevated Command Prompt.
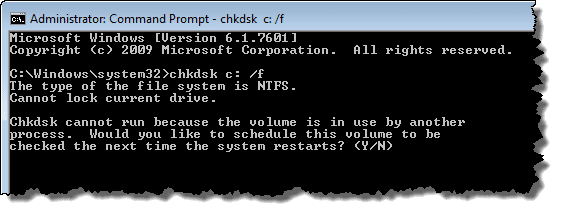
- Once you’re inside the elevated Command Prompt, type the following command:
chkdsk /f - Up next, press Enter to initiate an offline scan
- After you initiate the CHKDSK scan, the CHKDSK function will begin its checks. Depending on the size of your selected drive, and the amount of data stored on it, the operation could take anything from a few minutes to half an hour.
- If all is well, you’ll be informed that no issues were found.
- However, if the CHKDSK scan does find errors, it will attempt to fix what it can.
- Don’t forget to restart your computer and see if the issue is resolved at the next system startup.
No less important, some bad sectors on your HDD could affect a critical service, therefore forcing your system to trigger a stop error like the one you’re seeing.
That’s why we’re recommending performing a CHKDSK scan to maximize your chances of fixing the error 0x00000019. Don’t worry, you can’t do any damage to your computer by running this scan process.
chkdsk is giving you headaches? Check out this quick guide to solve any issues you might fear.
The same applies to other potential fixes. We’re hinting at running DISM and SFC scans and eventually performing a repair install if all other procedures failed.
That’s about it for now. After following some of the steps above, the Critical Windows error 0x00000019 should be gone.
If you have any other questions or suggestions, don’t hesitate to leave them in the comments area below and we will surely check them out.
[wl_navigator]


User forum
0 messages