D3DX9_32.dll Missing or Not Found Error: 7 Ways to Download it
Downloading DirectX End-User Runtime fixed the error for most
4 min. read
Published on
Read our disclosure page to find out how can you help Windows Report sustain the editorial team. Read more
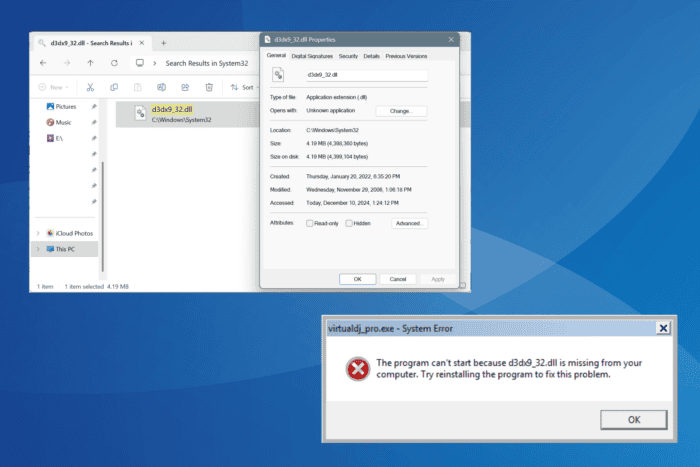
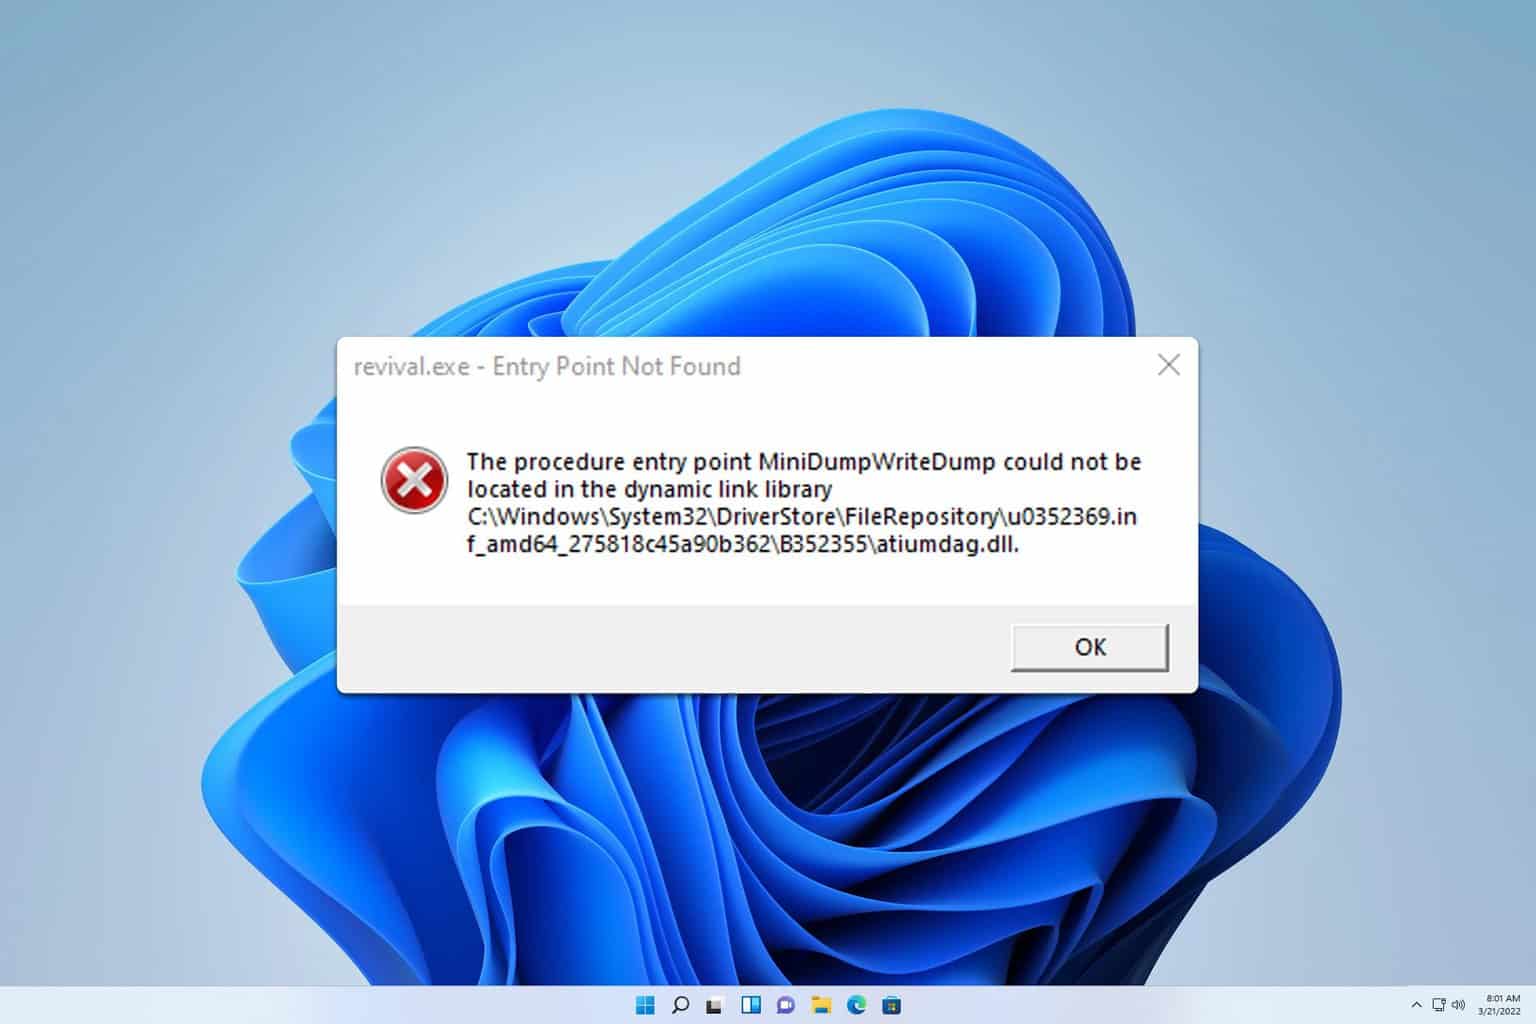
The d3dx9_32.dll file, a component of DirectX, is used by several programs and games to run. When the DLL is corrupted or not found in the default location, you get an error that reads, The program can’t start because d3dx9_32.dll is missing from your computer. Try reinstalling the program to fix this problem.
Remember, d3dx9_32.dll, developed by Microsoft, is a part of the default Windows installation and is stored in the System32 folder.
When the DLL is missing, you should first reboot the PC, install all pending Windows updates, and recover the file from the Recycle Bin in case it was inadvertently deleted!
How can I fix the d3dx9_32.dll missing error?
1. Manually get a copy of d3dx9_32.dll
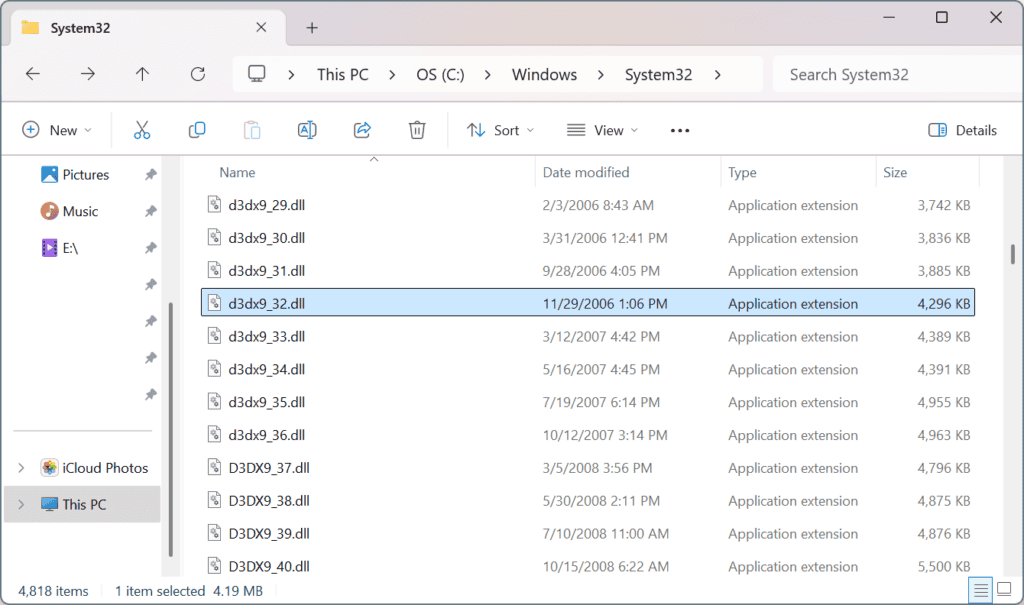
The quickest solution when getting the d3dx9_32.dll is missing error in Windows 11 should be to move a copy of the DLL to the System32 folder. Its path is: C:\Windows\System32
To do that, go to another PC running the same iteration and architecture (32-bit or 64-bit) of Windows> copy the DLL from the System32 folder to a flash drive > connect the drive to the affected PC > paste the DLL in the System32 folder > restart the computer > check for improvements.
2. Download DirectX End-User Runtime
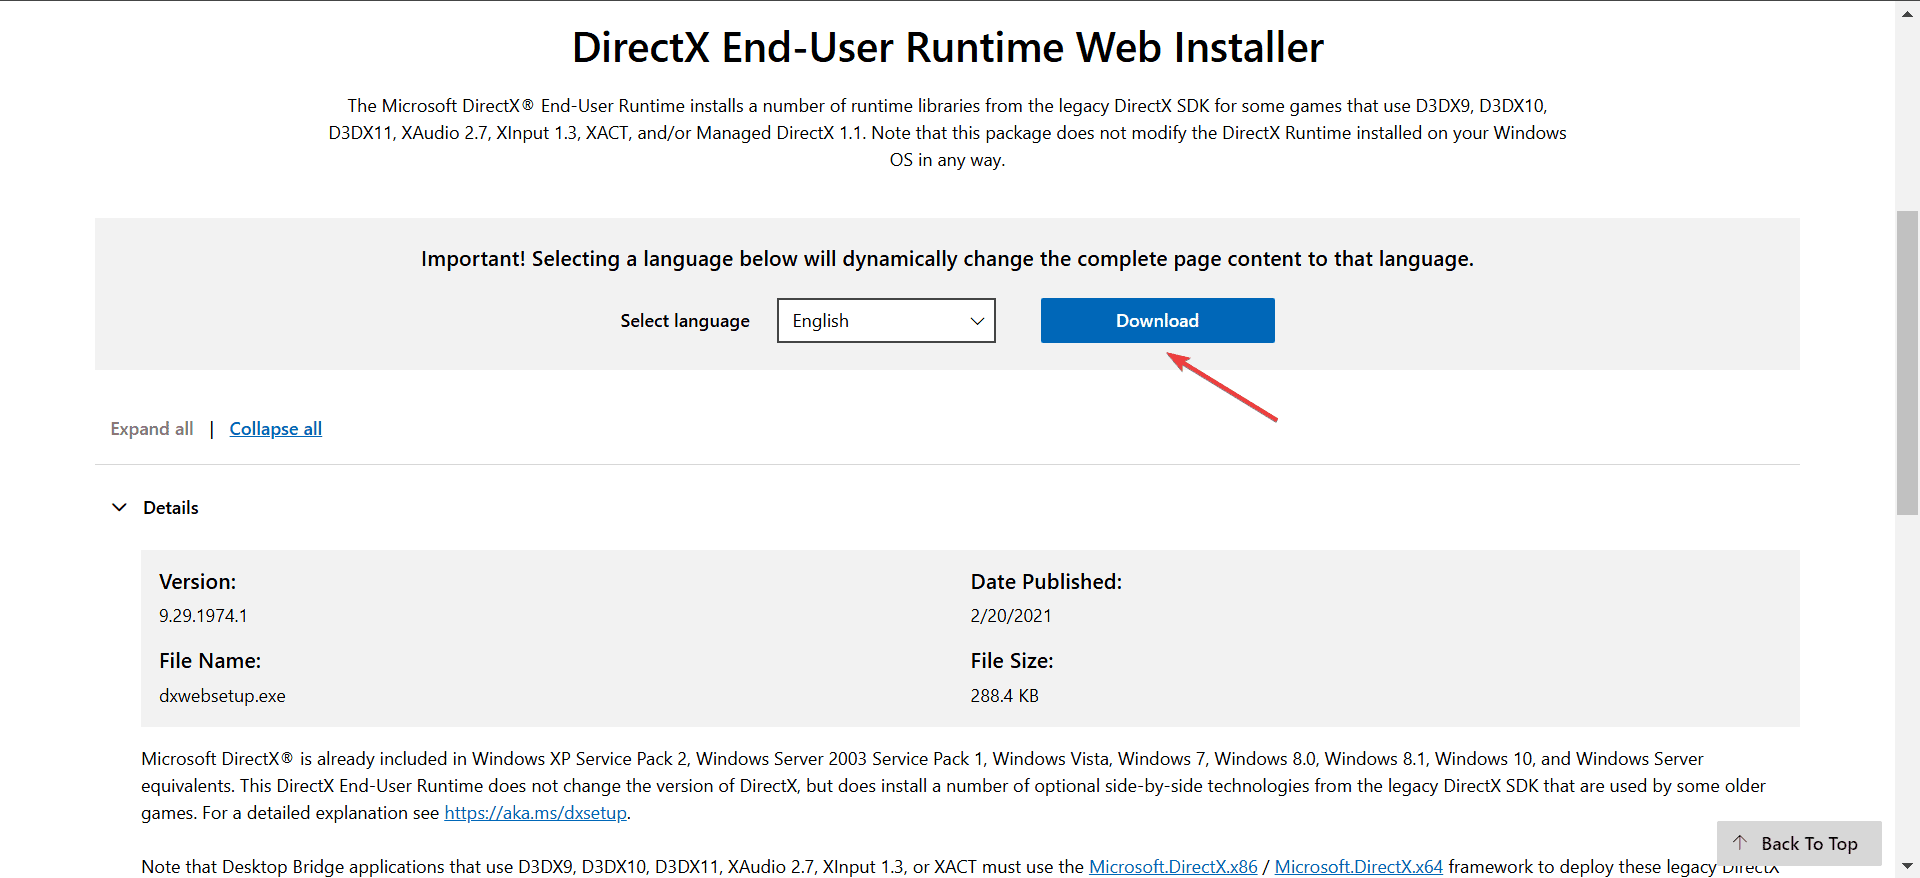
- Go to Microsoft’s download page for DirectX End-User Runtime Web Installer, and click the Download button.
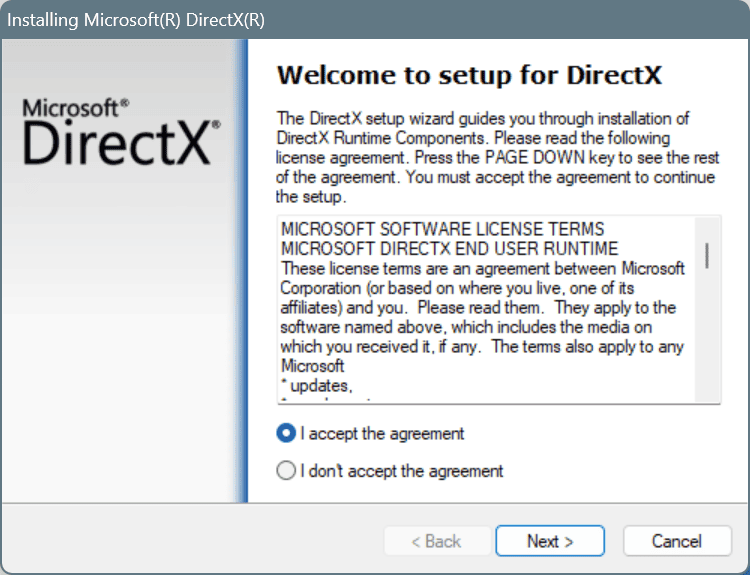
- Run the downloaded setup and follow the on-screen instructions to complete the installation. Make sure to not install any additional components.
In 3 out of 5 cases, downloading DirectX End-User Runtime fixed the d3dx9_32.dll not found error in Civilization 4 and other games and apps!
3. Run the affected app with administrative privileges
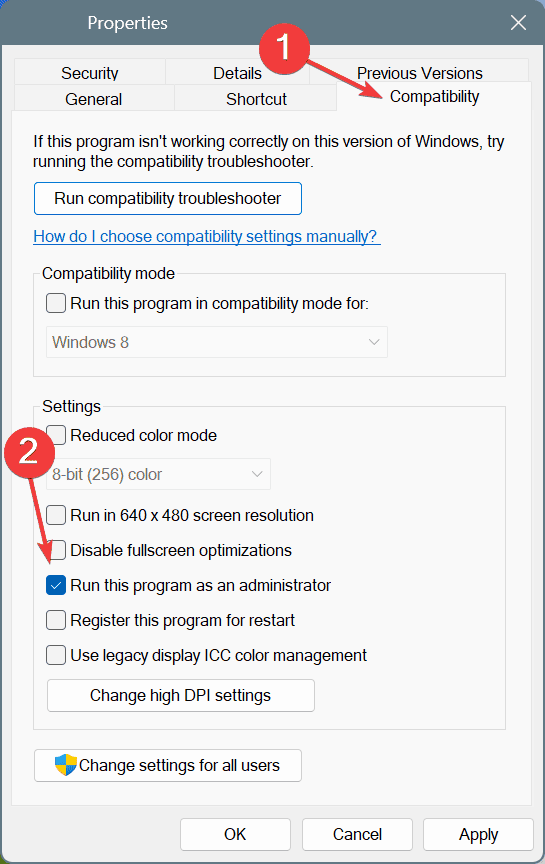
- Right-click on the affected app’s launcher (.exe file), and select Properties.
- Go to the Compatibility tab, and tick the checkbox for Run this program as an administrator.
- Click on Apply and OK to save the changes, then reboot the PC and check for improvements.
4. Run the affected app in compatibility mode
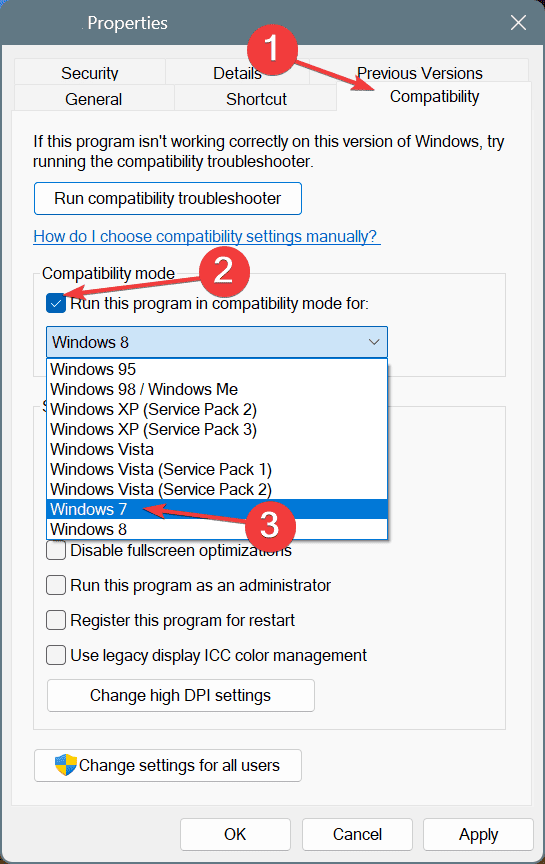
- Right-click on the affected app’s launcher, and select Properties.
- Go to the Compatibility tab, tick the checkbox for Run this program in compatibility mode for, and select an older iteration of Windows from the dropdown menu.
- Click Apply and OK to save the changes, then restart the computer and check for improvements.
5. Run the DISM and SFC scans
- Press Windows + S to open Search, type Command Prompt, and click on Run as administrator.
- Click Yes in the UAC prompt.
- Paste the following DISM commands individually and hit Enter:
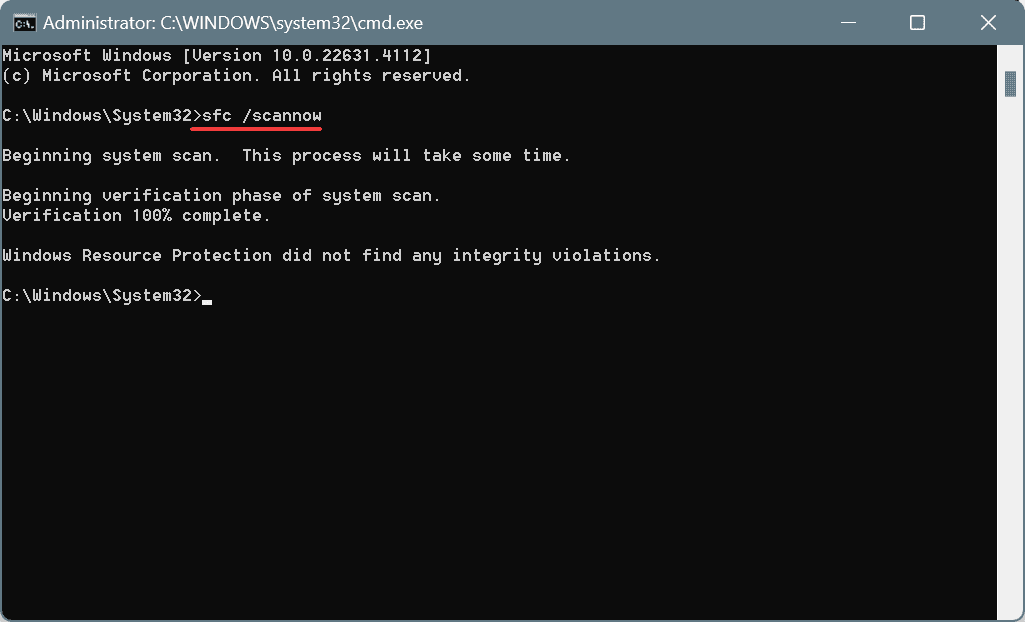
DISM /Online /Cleanup-Image /CheckHealthDISM /Online /Cleanup-Image /ScanHealthDISM /Online /Cleanup-Image /RestoreHealth - Now, execute this command to run the SFC scan:
sfc /scannow - Restart the PC to apply the changes, and then check for improvements.
Since d3dx9_32.dll is developed by Microsoft, corrupted system files can trigger issues with it. Say, the d3dx9_32.dll is either not designed on Windows or contains an error message.
In this case, run the DISM (Deployment Image Servicing and Management) and SFC (System File Checker) scans to replace all such problematic files with their cached copies!
6. Reinstall the app triggering the d3dx9_32.dll error
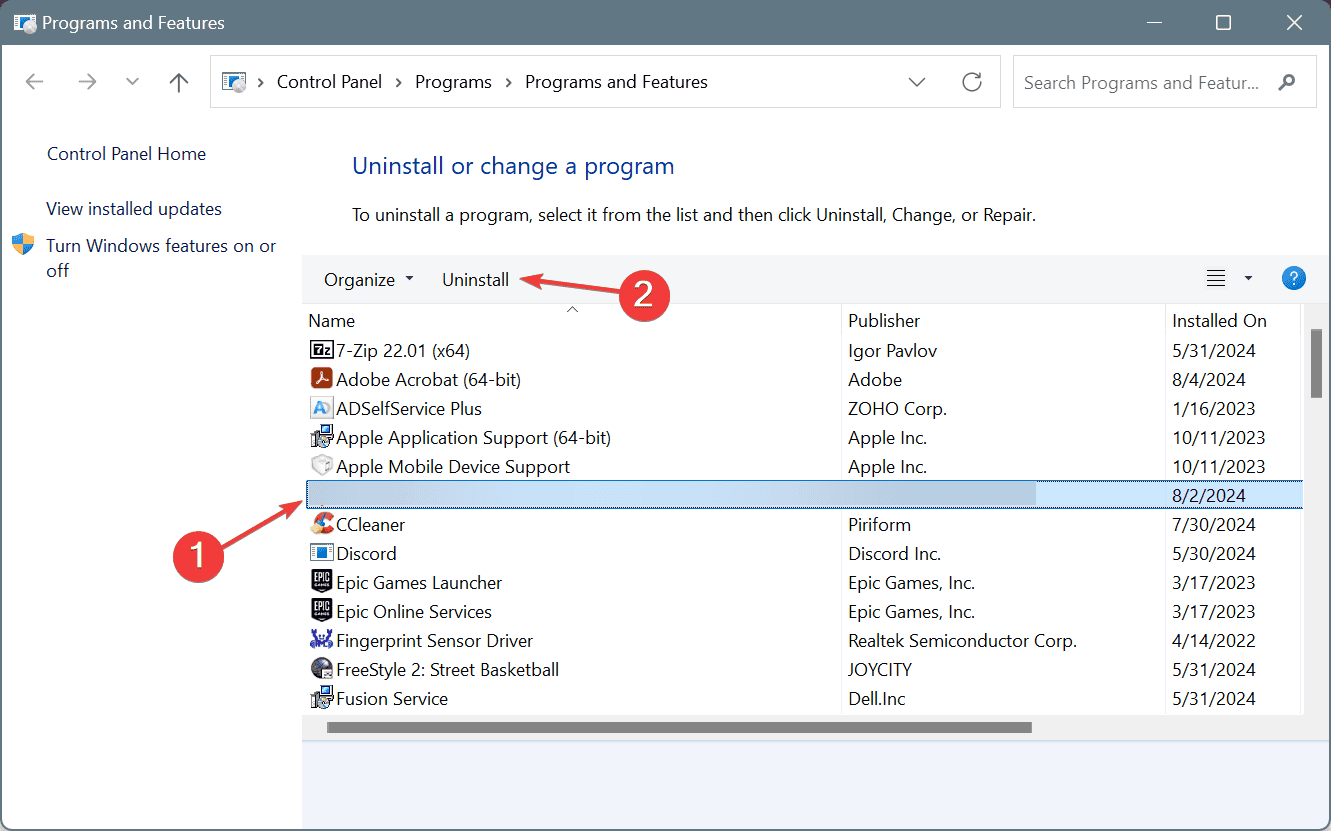
- Press Windows + R to open Run, type appwiz.cpl in the text field, and hit Enter.
- Select the affected app from the list, and click on Uninstall.
- Follow the on-screen instructions to complete the process and then reboot the PC.
- Finally, download and install the app from an official source.
Often, an improper app/game installation can lead to the d3dx9_32.dll not found error in Windows 10, and reinstalling the app will fix things. If a quick removal doesn’t work, use a top-rated software uninstaller to wipe all traces of the initial installation!
7. Perform an in-place upgrade
 NOTE
NOTE
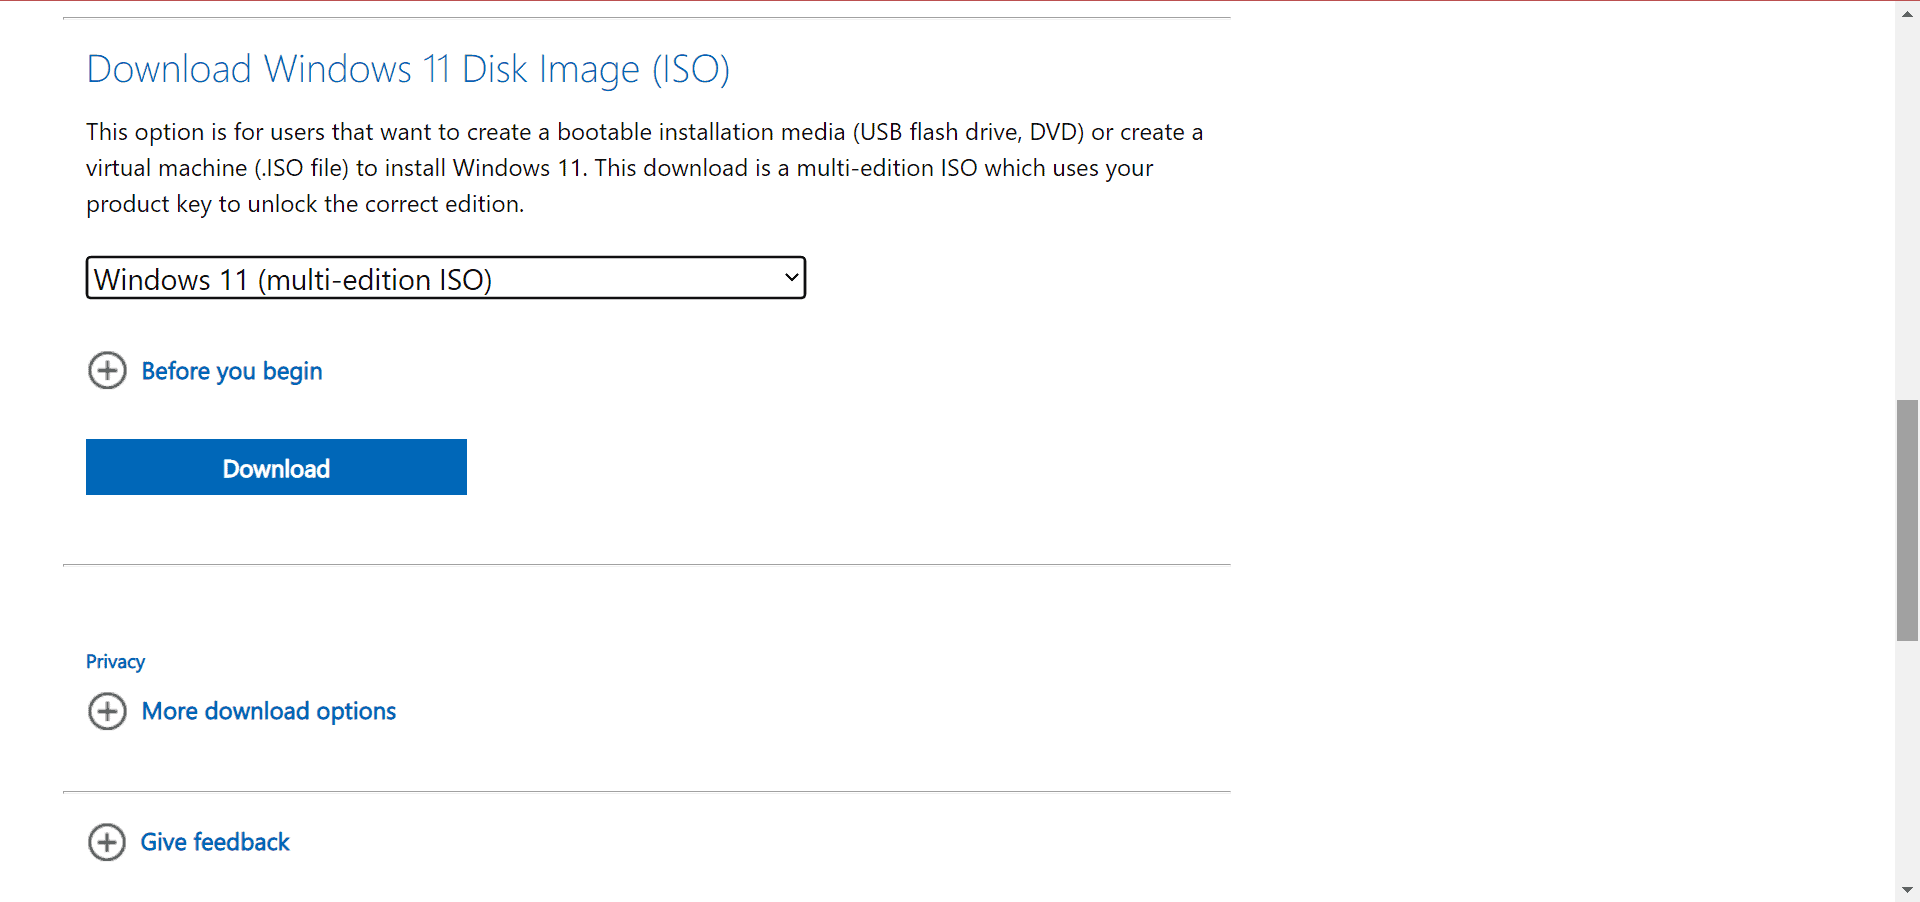
- Go to Microsoft’s official website, and download the Windows 11 ISO.
- Run the ISO file, and click Open in the confirmation prompt.
- Run the setup.exe file.
- Click Yes in the UAC prompt.
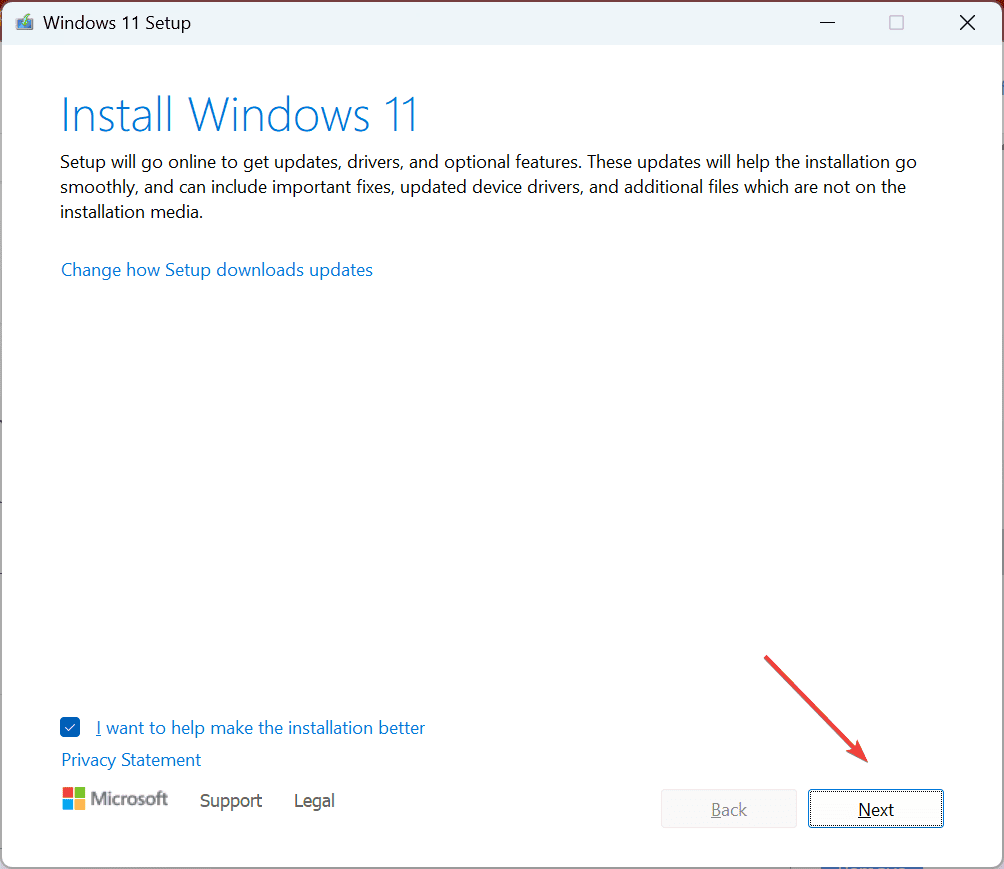
- Click Next to proceed.
- Review Microsoft’s license terms and click on Accept.
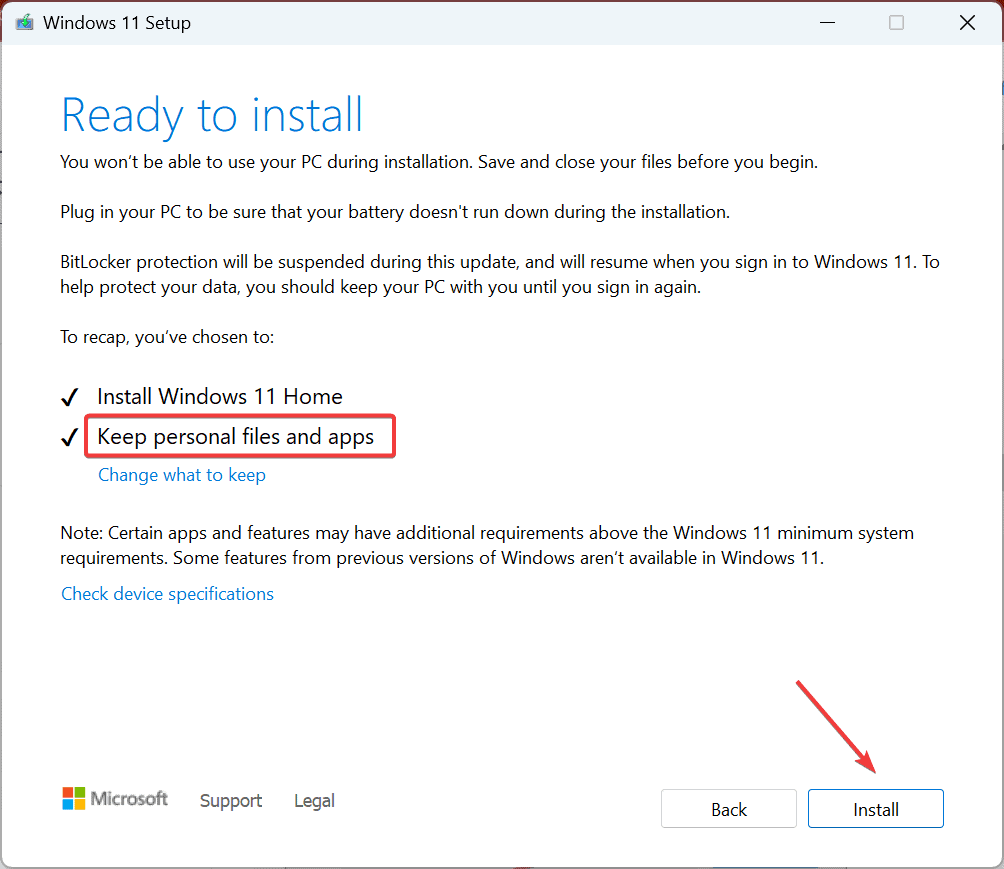
- Make sure the setup reads, Keep personal files and apps, and click on Install.
- Wait for the in-place upgrade to complete. It typically takes 45-90 minutes.
When nothing else works, the last option is to perform an in-place upgrade. It will replace all system files, including d3dx9_32.dll, without affecting the personal files or apps
Remember, fixing d3dx9_32.dll errors in Windows is simple, and in most cases, installing DirectX End-User Runtime will do the trick. And if that doesn’t, you now know what else to do.
Besides, if you frequently get DLL-related errors, consider downloading an effective DLL repair tool, which will automatically repair/replace the problematic DLLs!
For any queries or to share which fix worked for you, drop a comment below.



User forum
0 messages